
How to Use motor(forward/Reverse): Examples, Pinouts, and Specs
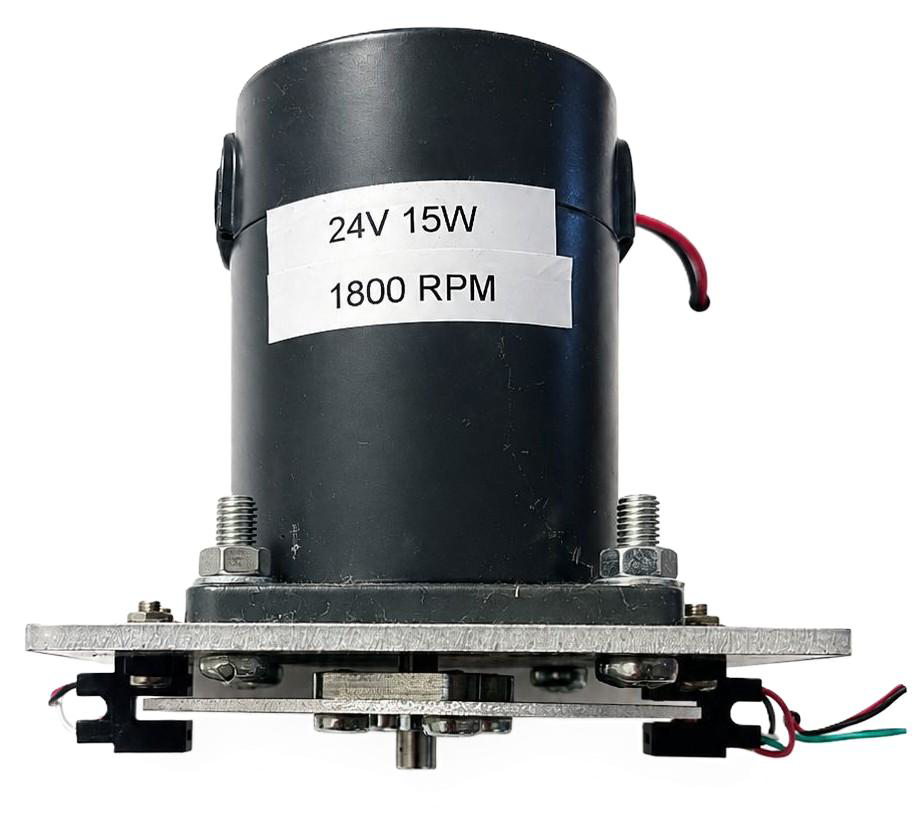
 Design with motor(forward/Reverse) in Cirkit Designer
Introduction
A motor (forward/reverse) is an electromechanical device capable of rotating in both clockwise and counterclockwise directions. This bidirectional capability makes it ideal for applications requiring precise control of movement, such as robotics, conveyor systems, automated gates, and other machinery. By reversing the polarity of the voltage applied to the motor, the direction of rotation can be controlled.
Common applications include:
- Robotics for bidirectional wheel or arm movement
- Conveyor systems for material handling
- Automated doors and gates
- Industrial machinery requiring reversible motion
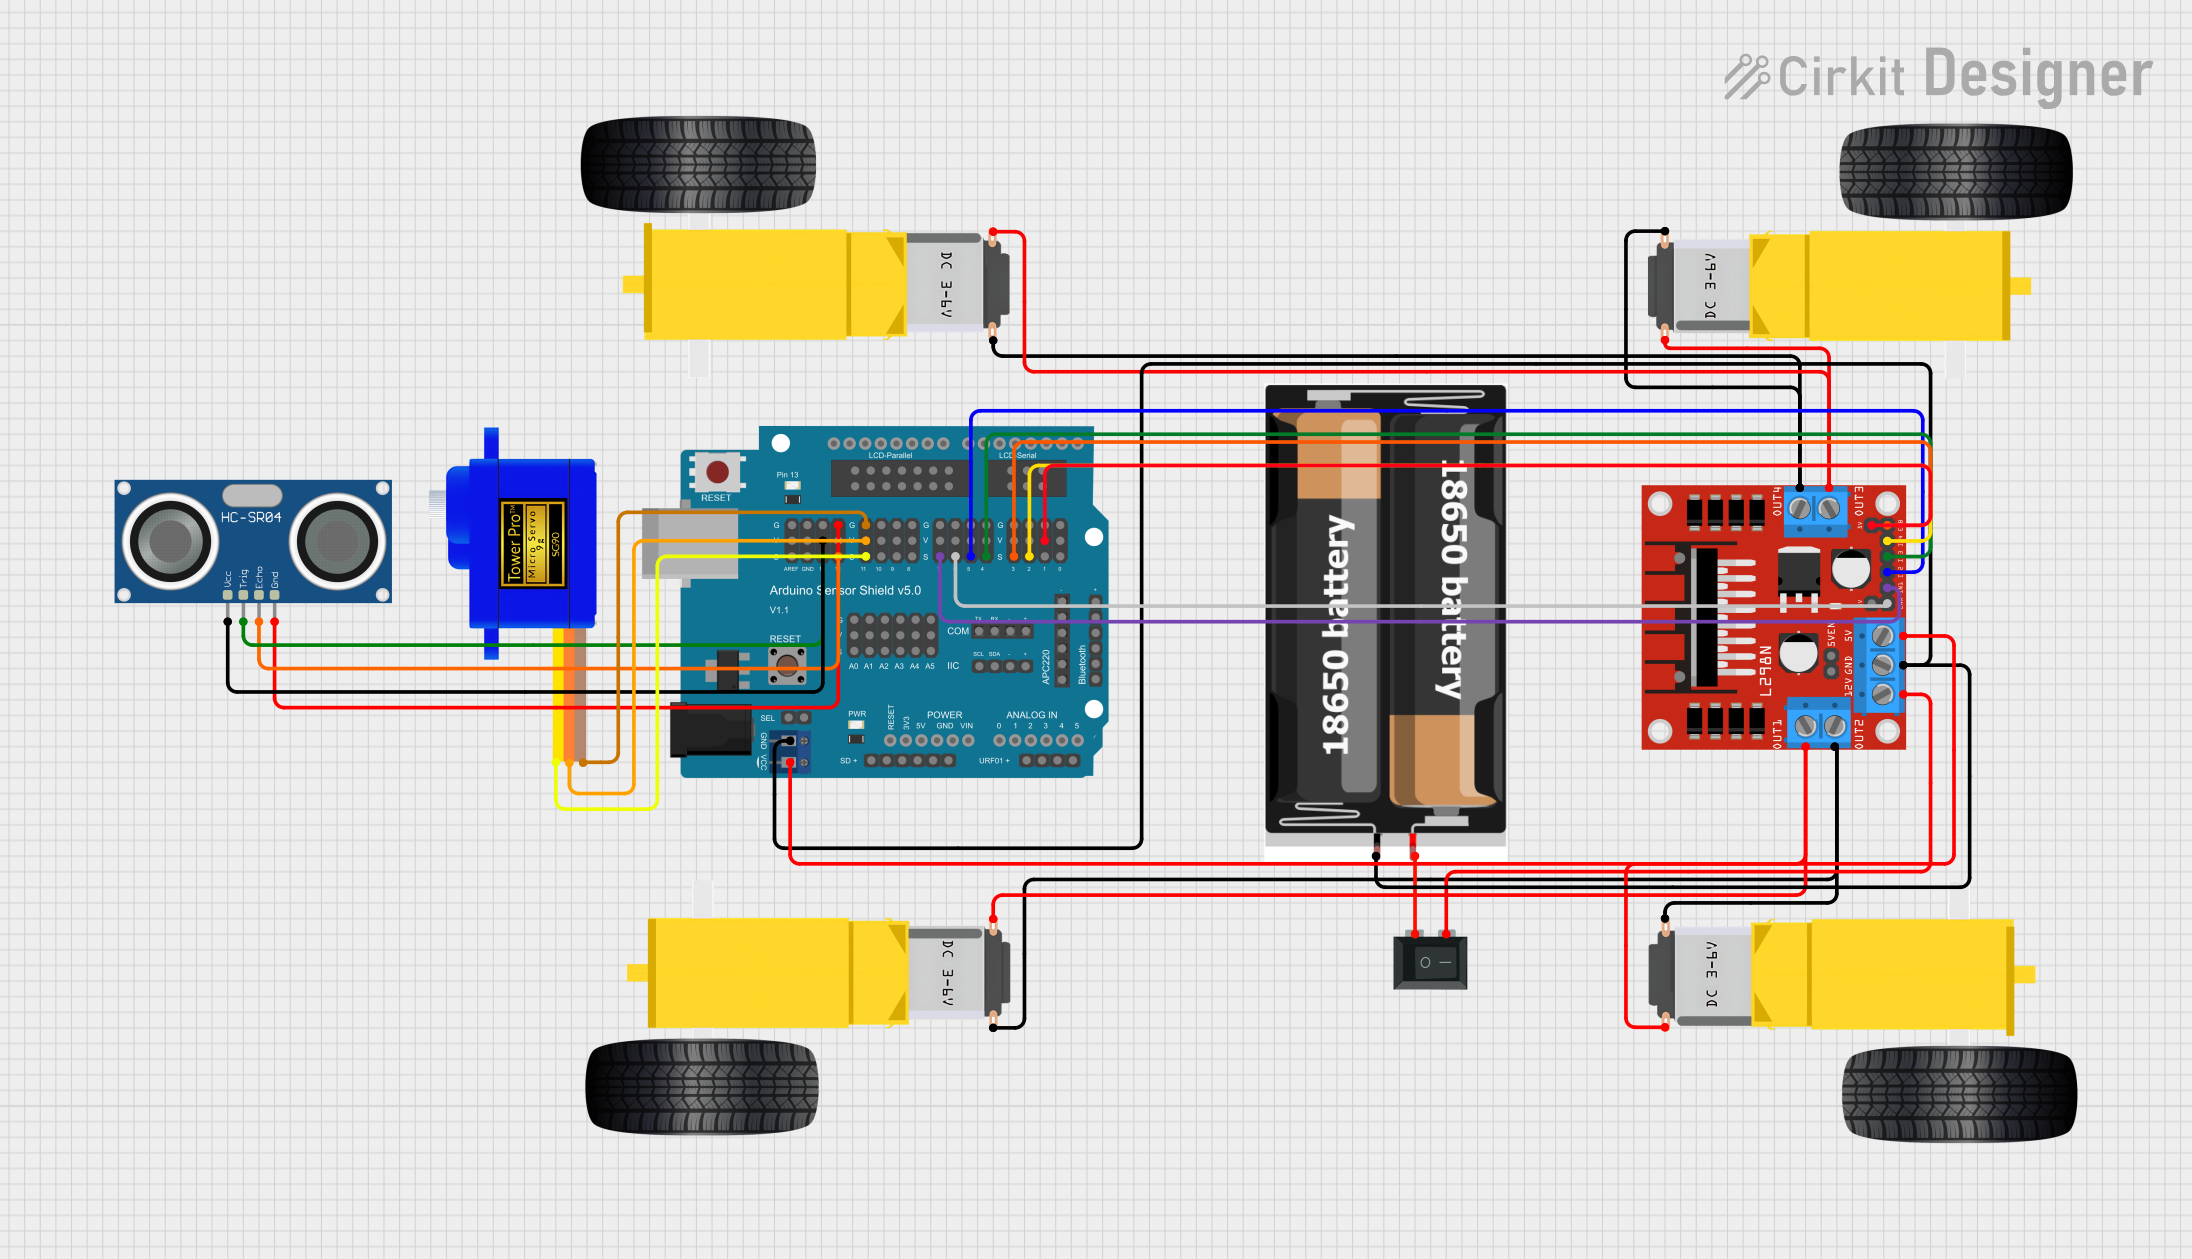
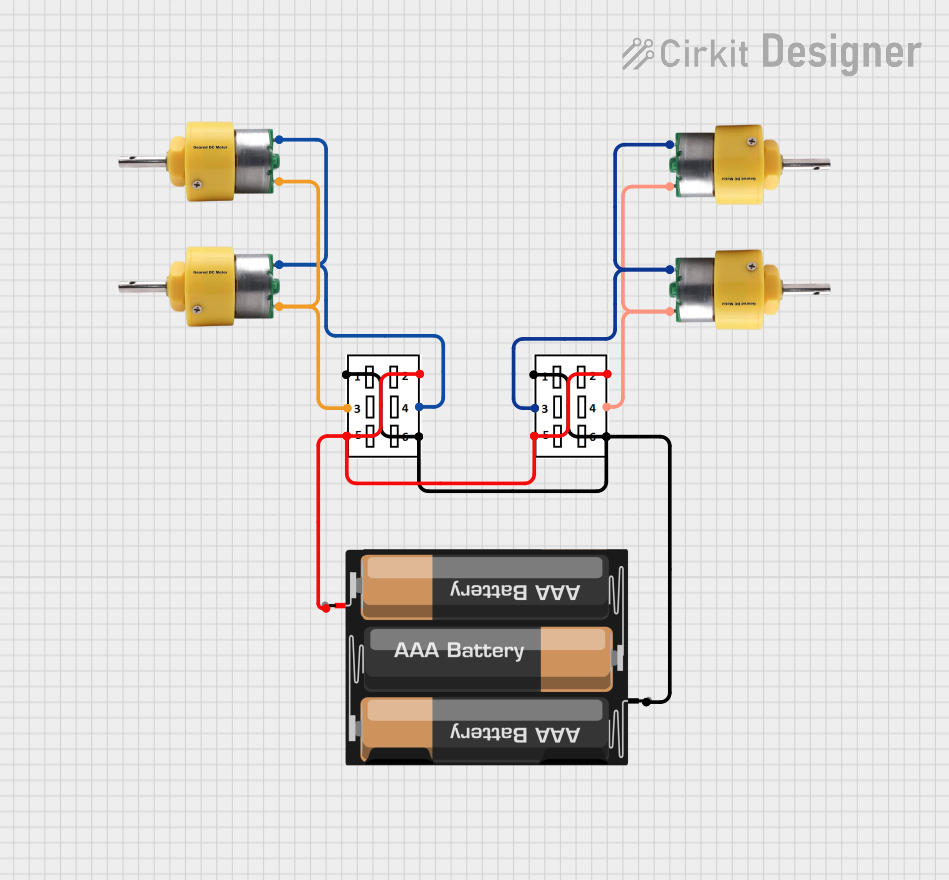
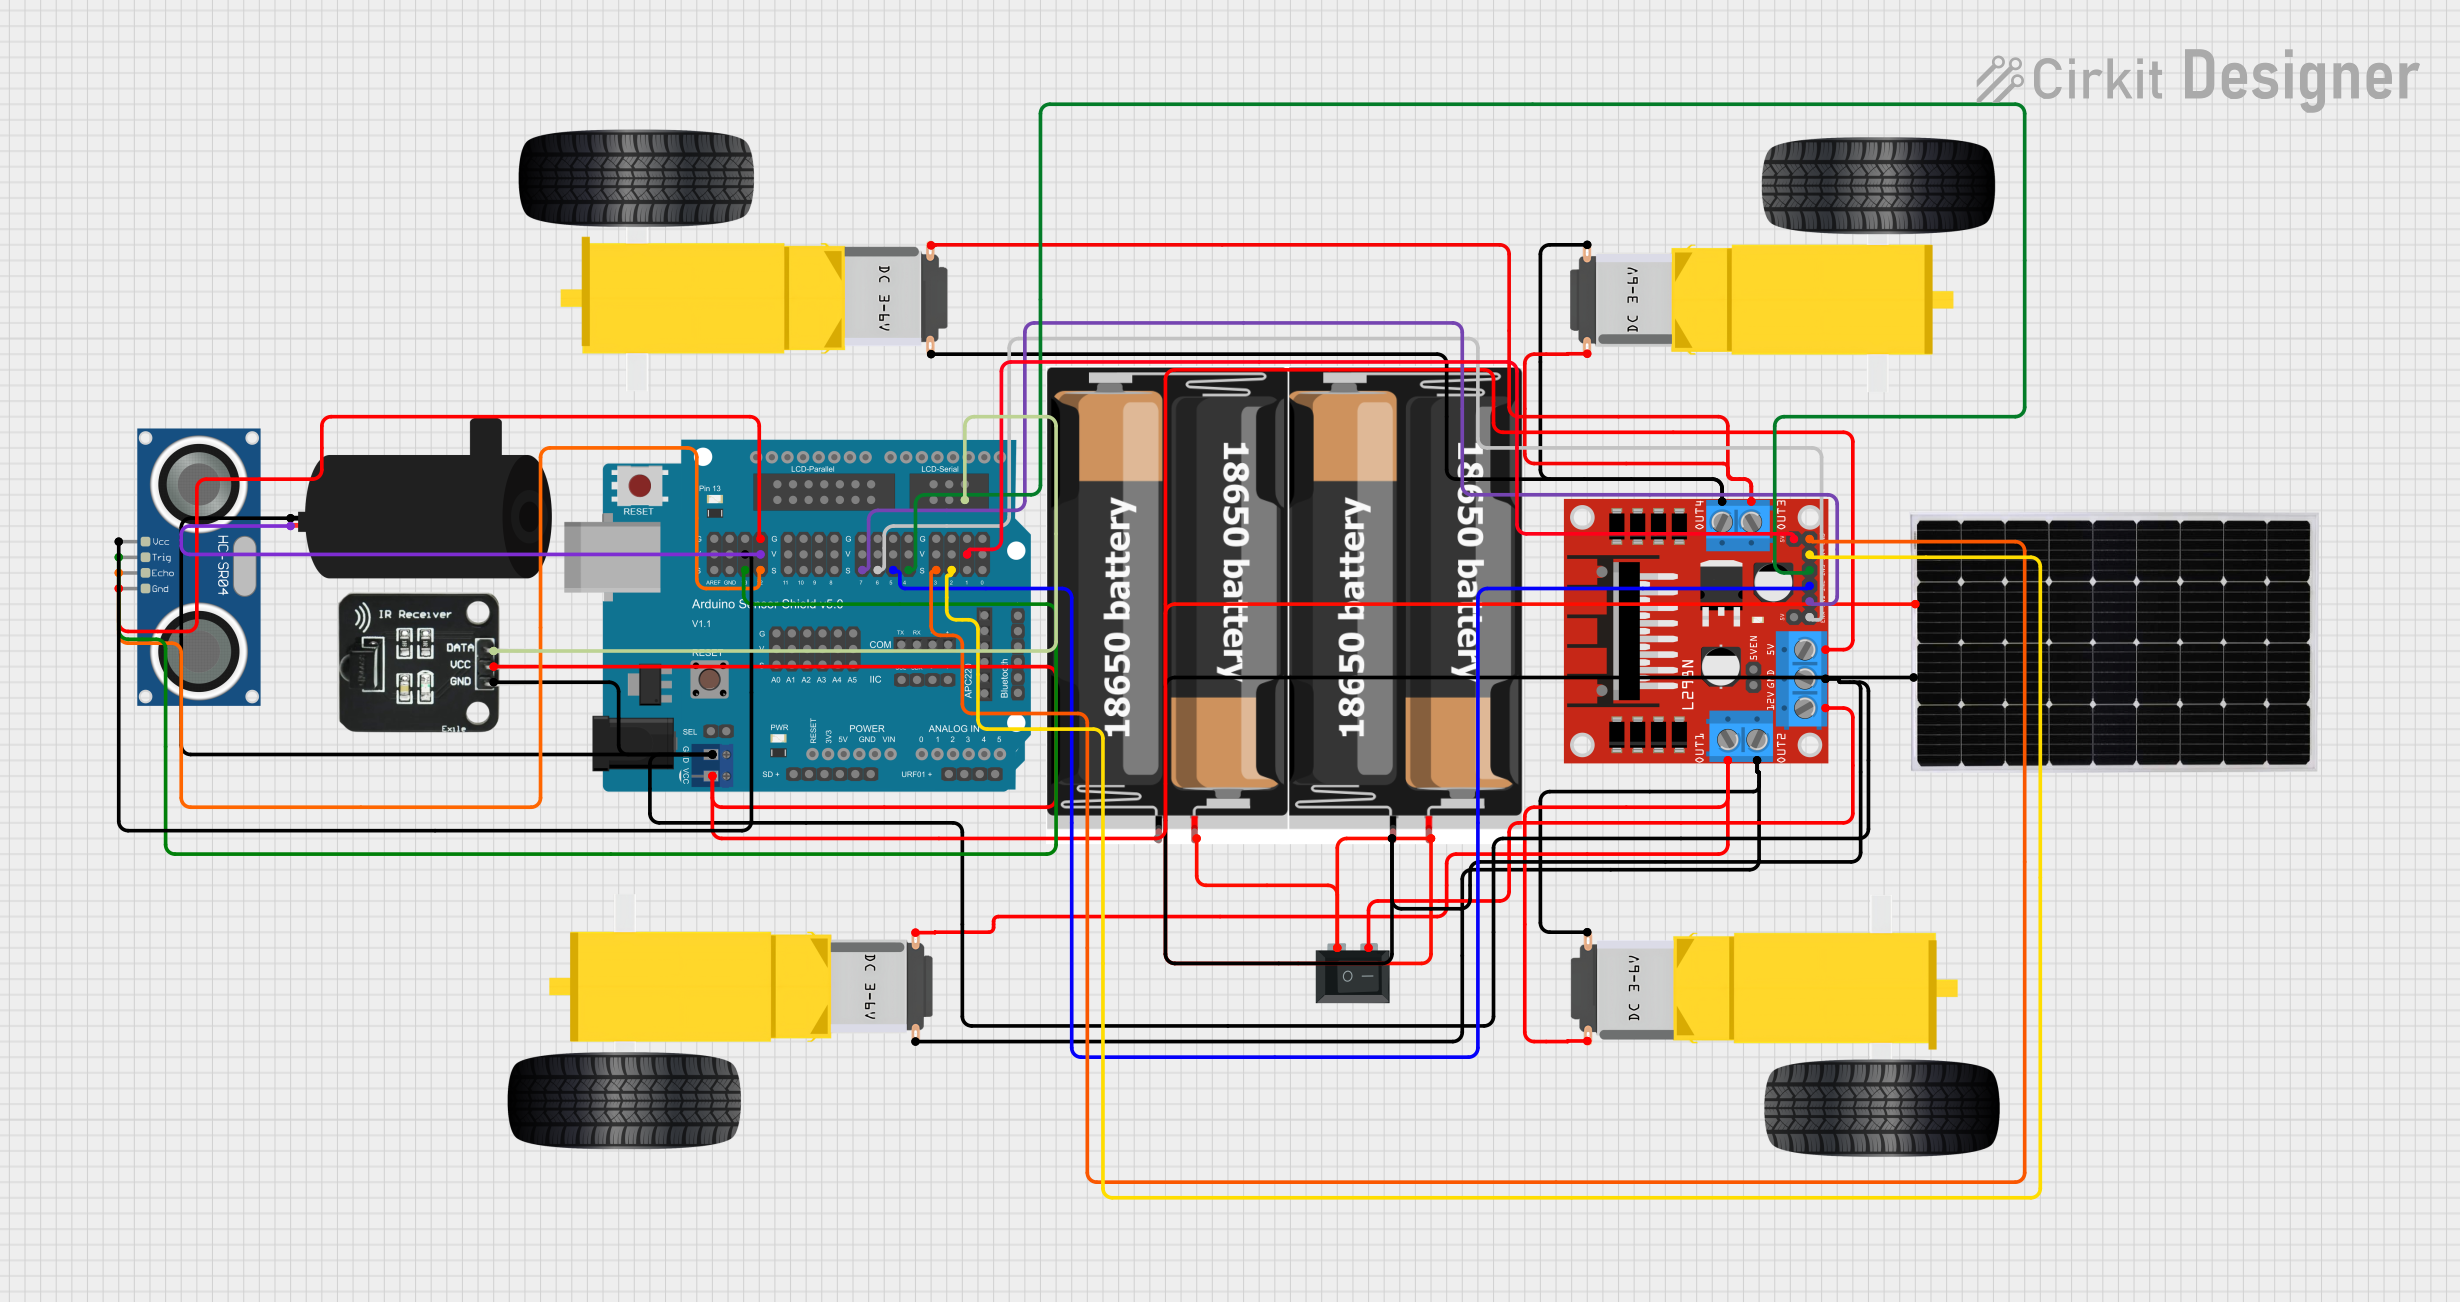
Explore Projects Built with motor(forward/Reverse)
 Open Project in Cirkit Designer
 Open Project in Cirkit Designer
 Open Project in Cirkit Designer
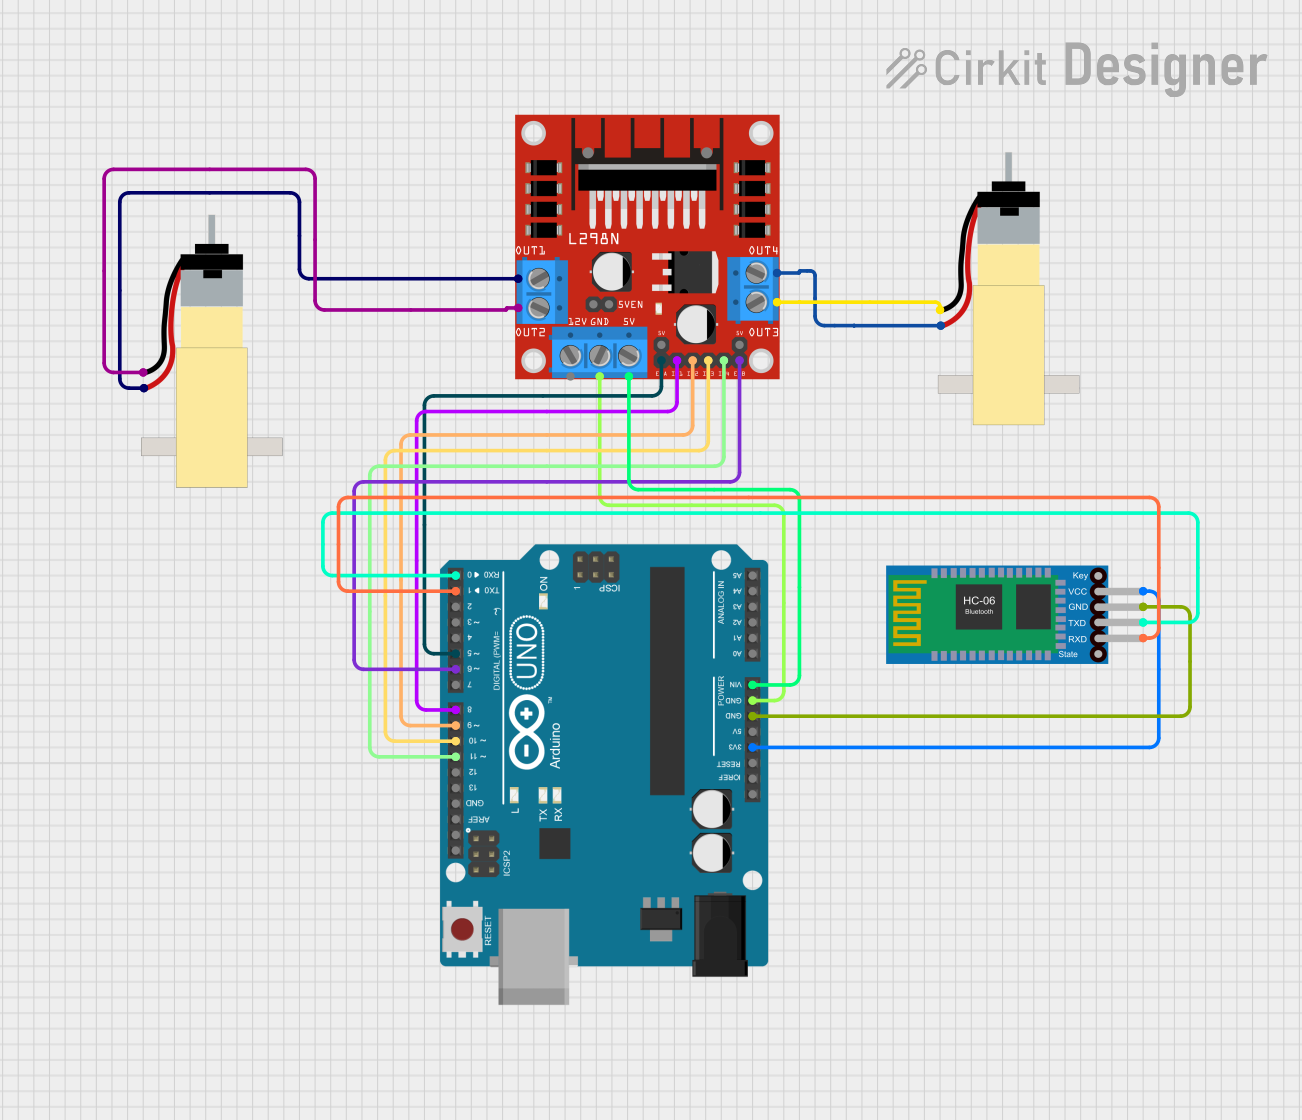 Open Project in Cirkit Designer
Explore Projects Built with motor(forward/Reverse)
Open Project in Cirkit DesignerOpen Project in Cirkit DesignerOpen Project in Cirkit DesignerOpen Project in Cirkit DesignerTechnical Specifications
Below are the general technical specifications for a typical forward/reverse motor. Note that actual values may vary depending on the specific motor model.
| Parameter | Specification |
|---|---|
| Operating Voltage | 6V - 24V DC |
| Rated Current | 1A - 5A |
| Stall Current | 10A (varies by model) |
| Power Output | 5W - 50W |
| Speed Range | 100 RPM - 3000 RPM |
| Torque Range | 0.1 Nm - 2 Nm |
| Direction Control | Polarity reversal or H-Bridge circuit |
| Operating Temperature | -10°C to 60°C |
| Motor Type | Brushed DC motor |
Pin Configuration and Descriptions
The motor typically has two terminals for power input. Additional connections may exist if the motor includes built-in encoders or sensors.
| Pin/Terminal | Description |
|---|---|
| Terminal 1 | Positive voltage input (connect to power supply or H-Bridge circuit) |
| Terminal 2 | Negative voltage input (connect to ground or H-Bridge circuit) |
| Encoder A (optional) | Output signal for encoder channel A (used for speed/direction feedback) |
| Encoder B (optional) | Output signal for encoder channel B (used for speed/direction feedback) |
Usage Instructions
How to Use the Motor in a Circuit
To control the forward/reverse motor, you can use an H-Bridge circuit or a motor driver module. An H-Bridge allows you to reverse the polarity of the voltage applied to the motor, enabling bidirectional rotation. Below is a step-by-step guide:
Connect the Motor to the Driver:
- Connect Terminal 1 and Terminal 2 of the motor to the output terminals of the motor driver.
- If using an encoder, connect the encoder pins to the microcontroller for feedback.
Power the Motor Driver:
- Provide the required voltage and current to the motor driver as per its specifications.
Control the Motor:
- Use a microcontroller (e.g., Arduino UNO) to send control signals to the motor driver.
- Use PWM (Pulse Width Modulation) to control the speed of the motor.
- Use digital signals to control the direction of rotation.
Important Considerations and Best Practices
- Current Handling: Ensure the motor driver can handle the stall current of the motor to avoid damage.
- Heat Dissipation: Motors and drivers can generate heat during operation. Use heat sinks or cooling mechanisms if necessary.
- Power Supply: Use a power supply capable of providing sufficient voltage and current for the motor.
- Noise Suppression: Add capacitors across the motor terminals to reduce electrical noise.
- Safety: Avoid sudden direction changes at high speeds to prevent mechanical stress.
Example: Controlling the Motor with Arduino UNO
Below is an example of how to control a forward/reverse motor using an Arduino UNO and an L298N motor driver.
// Define motor control pins
const int IN1 = 9;  // Motor driver input 1
const int IN2 = 10; // Motor driver input 2
const int ENA = 11; // Motor driver enable pin (PWM for speed control)

void setup() {
  // Set motor control pins as outputs
  pinMode(IN1, OUTPUT);
  pinMode(IN2, OUTPUT);
  pinMode(ENA, OUTPUT);
}

void loop() {
  // Rotate motor forward
  digitalWrite(IN1, HIGH);  // Set IN1 high
  digitalWrite(IN2, LOW);   // Set IN2 low
  analogWrite(ENA, 128);    // Set speed to 50% (PWM value: 128 out of 255)
  delay(2000);              // Run for 2 seconds

  // Stop motor
  digitalWrite(IN1, LOW);   // Set IN1 low
  digitalWrite(IN2, LOW);   // Set IN2 low
  delay(1000);              // Wait for 1 second

  // Rotate motor in reverse
  digitalWrite(IN1, LOW);   // Set IN1 low
  digitalWrite(IN2, HIGH);  // Set IN2 high
  analogWrite(ENA, 128);    // Set speed to 50% (PWM value: 128 out of 255)
  delay(2000);              // Run for 2 seconds

  // Stop motor
  digitalWrite(IN1, LOW);   // Set IN1 low
  digitalWrite(IN2, LOW);   // Set IN2 low
  delay(1000);              // Wait for 1 second
}
Troubleshooting and FAQs
Common Issues and Solutions
Motor Does Not Rotate:
- Cause: Insufficient power supply or incorrect wiring.
- Solution: Verify the power supply voltage and current. Check all connections.
Motor Rotates in Only One Direction:
- Cause: Faulty H-Bridge or incorrect control signals.
- Solution: Test the H-Bridge circuit and ensure the control signals are correct.
Motor Overheats:
- Cause: Excessive load or prolonged operation at high current.
- Solution: Reduce the load or use a motor with a higher power rating. Add cooling if necessary.
Electrical Noise Interference:
- Cause: Motor generates noise that affects nearby circuits.
- Solution: Add capacitors across motor terminals and use shielded cables.
FAQs
Q: Can I use this motor with an AC power supply?
A: No, this motor is designed for DC operation only. Using an AC supply will damage the motor.
Q: How do I control the speed of the motor?
A: Use PWM (Pulse Width Modulation) to control the speed. Most motor drivers support PWM input.
Q: What happens if I reverse the polarity of the motor terminals?
A: Reversing the polarity will change the direction of rotation. This is how bidirectional control is achieved.
Q: Can I connect the motor directly to a microcontroller?
A: No, microcontrollers cannot supply the required current. Always use a motor driver or H-Bridge circuit.