Cirkit Designer Logo
Cirkit Designer
Your all-in-one circuit design IDE
Home / 
Component Documentation

How to Use Feather Teensy 3 Adapter: Examples, Pinouts, and Specs

Image of Feather Teensy 3 Adapter
Cirkit Designer LogoDesign with Feather Teensy 3 Adapter in Cirkit Designer

Introduction

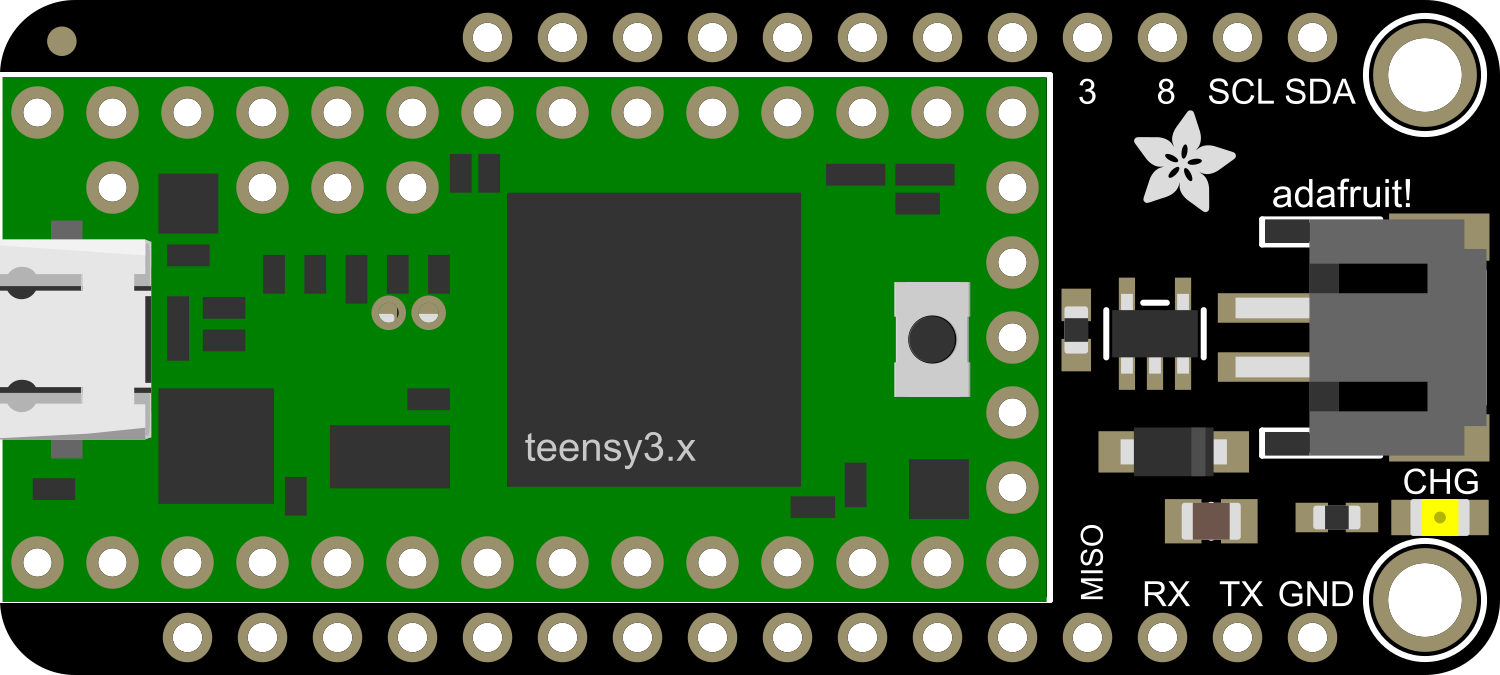
The Feather Teensy 3 Adapter is a versatile adapter board designed to bridge the gap between Teensy 3.x microcontroller boards and the Adafruit Feather ecosystem. This adapter enables users to take advantage of the wide array of Feather wings, which are add-on boards that extend the functionality of the base microcontroller with features such as GPS, OLED displays, motor control, and more. The adapter is ideal for hobbyists, makers, and professionals looking to leverage the power and speed of Teensy 3.x boards while utilizing the modular Feather system for rapid prototyping and development.

Explore Projects Built with Feather Teensy 3 Adapter

Use Cirkit Designer to design, explore, and prototype these projects online. Some projects support real-time simulation. Click "Open Project" to start designing instantly!
Teensy 4.0 Audio Controller with Adjustable Volume and Power Management
Image of proj2: A project utilizing Feather Teensy 3 Adapter in a practical application
This circuit features a Teensy 4.0 microcontroller interfaced with an audio shield for audio processing, controlled by a potentiometer for volume adjustment. It is powered by an Adafruit PowerBoost 1000C with a toggle switch for power control, and includes a 12-pin FFC converter for additional connectivity options.
Cirkit Designer LogoOpen Project in Cirkit Designer
ESP32-Based Vibration Feedback System with Quad Alphanumeric Display and ADXL343 Accelerometer
Image of EC444 - Quest 3: A project utilizing Feather Teensy 3 Adapter in a practical application
This circuit features an Adafruit HUZZAH32 ESP32 Feather board as the central microcontroller, which is connected to an Adafruit Quad AlphaNumeric Featherwing display and an Adafruit ADXL343 accelerometer via I2C communication (SCL and SDA lines). The ESP32 controls a vibration motor connected to one of its GPIO pins (A5_IO4) and shares a common power supply (3.3V) and ground (GND) with the other components. The purpose of this circuit is likely to read acceleration data, display information on the alphanumeric display, and provide haptic feedback through the vibration motor.
Cirkit Designer LogoOpen Project in Cirkit Designer
Adafruit Feather 32u4 Bluefruit with MPR121 Capacitive Touch Sensor Interface
Image of ALi WTSE: A project utilizing Feather Teensy 3 Adapter in a practical application
This circuit integrates an Adafruit MPR121 capacitive touch sensor with an Adafruit Feather 32u4 Bluefruit microcontroller. The MPR121 is powered by the 3.3V supply from the Feather and communicates with the microcontroller via I2C, with SCL connected to pin 3 and SDA connected to pin 2 of the Feather. This setup allows the Feather to detect touch inputs from the MPR121 for further processing or wireless communication.
Cirkit Designer LogoOpen Project in Cirkit Designer
Solar-Powered Environmental Data Logger with Adafruit Feather M0 Express
Image of Lake Thoreau Monitoring Station: A project utilizing Feather Teensy 3 Adapter in a practical application
This circuit is designed for environmental data collection and logging, utilizing an Adafruit Feather M0 Express microcontroller as the central processing unit. It interfaces with a BME280 sensor for atmospheric temperature, humidity, and pressure measurements, an SGP30 sensor for monitoring air quality (eCO2 and TVOC), and a STEMMA soil sensor for detecting soil moisture and temperature. The system is powered by a solar panel and a 3.7v LiPo battery, managed by an Adafruit BQ24074 Solar-DC-USB Lipo Charger, and provides easy access to the microcontroller's connections through an Adafruit Terminal Breakout FeatherWing.
Cirkit Designer LogoOpen Project in Cirkit Designer

Explore Projects Built with Feather Teensy 3 Adapter

Use Cirkit Designer to design, explore, and prototype these projects online. Some projects support real-time simulation. Click "Open Project" to start designing instantly!
Image of proj2: A project utilizing Feather Teensy 3 Adapter in a practical application
Teensy 4.0 Audio Controller with Adjustable Volume and Power Management
This circuit features a Teensy 4.0 microcontroller interfaced with an audio shield for audio processing, controlled by a potentiometer for volume adjustment. It is powered by an Adafruit PowerBoost 1000C with a toggle switch for power control, and includes a 12-pin FFC converter for additional connectivity options.
Cirkit Designer LogoOpen Project in Cirkit Designer
Image of EC444 - Quest 3: A project utilizing Feather Teensy 3 Adapter in a practical application
ESP32-Based Vibration Feedback System with Quad Alphanumeric Display and ADXL343 Accelerometer
This circuit features an Adafruit HUZZAH32 ESP32 Feather board as the central microcontroller, which is connected to an Adafruit Quad AlphaNumeric Featherwing display and an Adafruit ADXL343 accelerometer via I2C communication (SCL and SDA lines). The ESP32 controls a vibration motor connected to one of its GPIO pins (A5_IO4) and shares a common power supply (3.3V) and ground (GND) with the other components. The purpose of this circuit is likely to read acceleration data, display information on the alphanumeric display, and provide haptic feedback through the vibration motor.
Cirkit Designer LogoOpen Project in Cirkit Designer
Image of ALi WTSE: A project utilizing Feather Teensy 3 Adapter in a practical application
Adafruit Feather 32u4 Bluefruit with MPR121 Capacitive Touch Sensor Interface
This circuit integrates an Adafruit MPR121 capacitive touch sensor with an Adafruit Feather 32u4 Bluefruit microcontroller. The MPR121 is powered by the 3.3V supply from the Feather and communicates with the microcontroller via I2C, with SCL connected to pin 3 and SDA connected to pin 2 of the Feather. This setup allows the Feather to detect touch inputs from the MPR121 for further processing or wireless communication.
Cirkit Designer LogoOpen Project in Cirkit Designer
Image of Lake Thoreau Monitoring Station: A project utilizing Feather Teensy 3 Adapter in a practical application
Solar-Powered Environmental Data Logger with Adafruit Feather M0 Express
This circuit is designed for environmental data collection and logging, utilizing an Adafruit Feather M0 Express microcontroller as the central processing unit. It interfaces with a BME280 sensor for atmospheric temperature, humidity, and pressure measurements, an SGP30 sensor for monitoring air quality (eCO2 and TVOC), and a STEMMA soil sensor for detecting soil moisture and temperature. The system is powered by a solar panel and a 3.7v LiPo battery, managed by an Adafruit BQ24074 Solar-DC-USB Lipo Charger, and provides easy access to the microcontroller's connections through an Adafruit Terminal Breakout FeatherWing.
Cirkit Designer LogoOpen Project in Cirkit Designer

Common Applications and Use Cases

  • Rapid prototyping of embedded systems
  • IoT device development
  • Wearable electronics
  • Educational projects and workshops
  • Robotics and automation systems

Technical Specifications

Key Technical Details

  • Compatible with Teensy 3.1, 3.2, 3.5, and 3.6 boards
  • Operating Voltage: 3.3V (from Teensy board)
  • Logic Level: 3.3V
  • Dimensions: Matches the standard Feather size

Pin Configuration and Descriptions

Pin Number Description Notes
1 GND Ground
2 3V3 3.3V power from Teensy
3 AREF Analog reference voltage
4 A0 - A5 Analog pins
5 D0 - D13 Digital pins
6 SDA/SCL I2C Data/Clock
7 MOSI/MISO/SCK SPI Data In/Out, Clock
8 RX1/TX1 Serial1 Receive/Transmit
9 21/A7 Digital pin 21/Analog pin 7
10 22/A8 Digital pin 22/Analog pin 8
11 23/A9 Digital pin 23/Analog pin 9
12 5V 5V supply (if available)
13 RST Reset pin
14 BAT Battery voltage (if available)
15 USB USB host voltage (if available)
16 EN Enable pin for Feather

Usage Instructions

How to Use the Component in a Circuit

  1. Mounting the Teensy: Securely mount the Teensy 3.x board onto the Feather Teensy 3 Adapter, ensuring that all pins are aligned and making proper contact.
  2. Connecting Feather Wings: Attach the desired Feather wings to the adapter. Make sure to align the pins correctly to avoid damaging the boards.
  3. Power Supply: Provide power to the Teensy board through its USB port or VIN pin. The adapter does not require a separate power supply.
  4. Programming: Program the Teensy board as usual using the Teensyduino add-on for the Arduino IDE or other compatible development environments.

Important Considerations and Best Practices

  • Always power off the Teensy board and any attached Feather wings before making or changing connections.
  • Double-check pin alignments to prevent short circuits or damage to the components.
  • Be aware of the power requirements of any attached Feather wings to ensure the Teensy board can supply sufficient current.
  • Use the provided mounting holes to secure the adapter in place to prevent movement that could lead to intermittent connections.

Troubleshooting and FAQs

Common Issues Users Might Face

  • Feather Wing Not Recognized: Ensure that all pins are correctly seated and that there are no bent pins on the adapter or the Feather wing.
  • Power Issues: Verify that the Teensy board is powered on and that the voltage levels are within the acceptable range for both the Teensy and the Feather wings.
  • Incompatible Libraries: Some libraries may be written specifically for the Feather ecosystem and may not be directly compatible with the Teensy board. Check for Teensy-compatible versions of the libraries.

Solutions and Tips for Troubleshooting

  • Re-seat the Boards: If a connection issue arises, power down the system and re-seat the Teensy board and Feather wings to ensure a solid connection.
  • Check for Updates: Ensure that you are using the latest version of the Teensyduino add-on and any libraries required for your project.
  • Consult the Community: The Teensy and Adafruit communities are active and can be a valuable resource when troubleshooting issues.

FAQs

Q: Can I use all Feather wings with the adapter? A: Most Feather wings should be compatible, but check the power requirements and pin functionalities to ensure compatibility.

Q: Does the adapter include voltage regulation? A: No, the adapter relies on the Teensy board's voltage regulation. Make sure to supply the correct voltage to the Teensy board.

Q: Can I use the adapter with a battery? A: Yes, if the Teensy board supports battery operation, you can connect a battery to the BAT pin if available.

Example Code for Arduino UNO

Since the Feather Teensy 3 Adapter is specifically designed for use with Teensy 3.x boards and not directly with an Arduino UNO, example code for the Arduino UNO is not applicable. However, when using the adapter with Teensy boards, the programming approach is similar to using an Arduino. Here is a simple example of blinking an LED on pin 13, which is common to both Teensy and Arduino boards:

// Simple LED blink example for Teensy 3.x with Feather Teensy 3 Adapter

void setup() {
  pinMode(13, OUTPUT); // Set pin 13 as an output
}

void loop() {
  digitalWrite(13, HIGH);   // Turn the LED on
  delay(1000);              // Wait for a second
  digitalWrite(13, LOW);    // Turn the LED off
  delay(1000);              // Wait for a second
}

Remember to select the correct board and processor from the Tools menu in the Arduino IDE when programming your Teensy board.