How to Use SIMA7670E-LASE: Examples, Pinouts, and Specs
Introduction
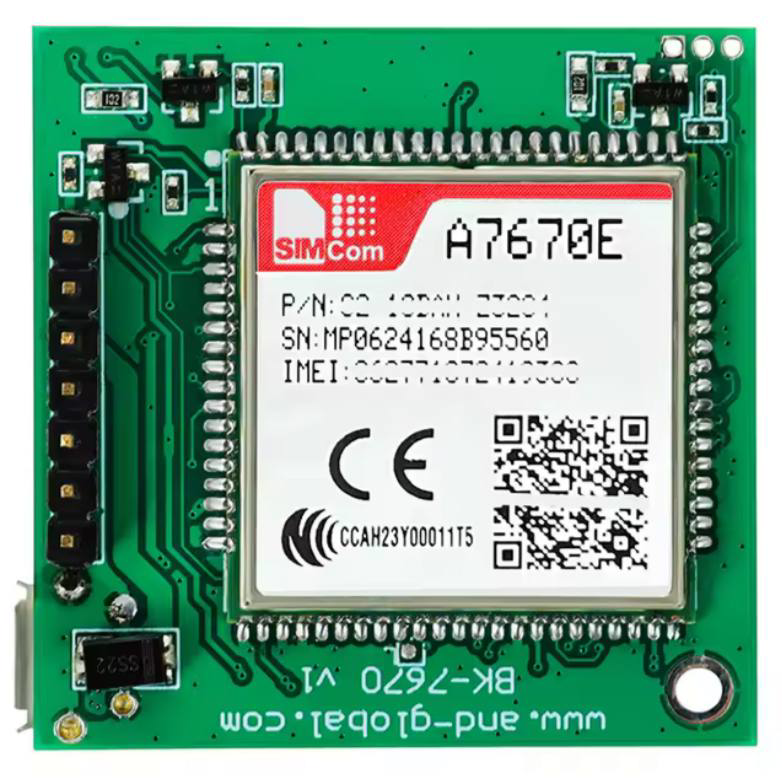
The SIMA7670E-LASE, manufactured by SIMCom (Part ID: A7670E-LASE), is a high-performance laser driver designed for precision control of laser diodes. It features low noise operation, high efficiency, and robust performance, making it ideal for applications in telecommunications, industrial laser systems, and other precision laser-based technologies.
This component is engineered to provide stable and reliable operation, ensuring optimal performance of laser diodes in demanding environments. Its compact design and advanced features make it a versatile choice for a wide range of laser control applications.
Explore Projects Built with SIMA7670E-LASE


Explore Projects Built with SIMA7670E-LASE
Common Applications
- Fiber optic communication systems
- Industrial laser cutting and engraving
- Medical laser equipment
- Scientific research and instrumentation
- Laser-based measurement and sensing systems
Technical Specifications
Key Technical Details
| Parameter | Value |
|---|---|
| Input Voltage Range | 3.3V to 5.5V |
| Output Current Range | 0mA to 500mA |
| Output Voltage Range | 0V to 3.3V |
| Efficiency | Up to 90% |
| Noise Level | < 1mV RMS |
| Operating Temperature | -40°C to +85°C |
| Package Type | QFN-16 (4mm x 4mm) |
| Communication Interface | Analog and PWM control inputs |
Pin Configuration and Descriptions
| Pin Number | Pin Name | Description |
|---|---|---|
| 1 | VIN | Input voltage supply (3.3V to 5.5V). Connect to a stable power source. |
| 2 | GND | Ground. Connect to the system ground. |
| 3 | LD+ | Positive terminal for the laser diode. |
| 4 | LD- | Negative terminal for the laser diode. |
| 5 | EN | Enable pin. High to enable the driver, low to disable. |
| 6 | PWM | PWM input for modulating the laser output. |
| 7 | ISET | Current set pin. Connect a resistor to set the laser current. |
| 8 | TEMP | Temperature monitoring pin. Outputs a voltage proportional to temperature. |
| 9-16 | NC | No connection. Leave these pins unconnected. |
Usage Instructions
How to Use the SIMA7670E-LASE in a Circuit
- Power Supply: Connect the VIN pin to a stable power source within the range of 3.3V to 5.5V. Ensure the power supply can handle the maximum current required by the laser diode.
- Laser Diode Connection: Connect the laser diode's positive terminal to the LD+ pin and the negative terminal to the LD- pin.
- Enable the Driver: Use the EN pin to enable or disable the driver. Pull the pin high (logic 1) to enable the driver and low (logic 0) to disable it.
- Set the Current: Use the ISET pin to set the desired laser current. Connect a resistor between the ISET pin and ground to define the current level.
- PWM Modulation: If modulation is required, connect a PWM signal to the PWM pin. The duty cycle of the PWM signal will control the laser output intensity.
- Temperature Monitoring: Use the TEMP pin to monitor the temperature of the driver. The output voltage on this pin is proportional to the temperature.
Important Considerations and Best Practices
- Heat Dissipation: Ensure proper heat dissipation for the component, especially in high-power applications. Use a heat sink or thermal pad if necessary.
- Current Limiting: Always set the current limit using the ISET pin to prevent damage to the laser diode.
- Noise Reduction: Use decoupling capacitors close to the VIN and GND pins to minimize noise and ensure stable operation.
- Laser Safety: Follow all safety guidelines for handling and operating laser diodes to prevent injury or damage.
Example: Connecting to an Arduino UNO
The SIMA7670E-LASE can be controlled using an Arduino UNO for applications requiring PWM modulation. Below is an example code snippet:
// Example code to control the SIMA7670E-LASE with an Arduino UNO
// This code generates a PWM signal to modulate the laser output.

const int pwmPin = 9; // PWM pin connected to the PWM input of SIMA7670E-LASE
const int enablePin = 8; // Enable pin connected to the EN pin of SIMA7670E-LASE

void setup() {
  pinMode(pwmPin, OUTPUT); // Set the PWM pin as output
  pinMode(enablePin, OUTPUT); // Set the enable pin as output

  digitalWrite(enablePin, HIGH); // Enable the laser driver
}

void loop() {
  // Generate a PWM signal with 50% duty cycle
  analogWrite(pwmPin, 128); // 128/255 = 50% duty cycle
  delay(1000); // Keep the laser on for 1 second

  // Turn off the laser
  digitalWrite(enablePin, LOW); // Disable the laser driver
  delay(1000); // Wait for 1 second before re-enabling
}
Troubleshooting and FAQs
Common Issues and Solutions
Laser Diode Not Turning On
- Cause: The EN pin is not set to high.
- Solution: Ensure the EN pin is connected to a logic high signal (3.3V or 5V).
Output Current Too High or Low
- Cause: Incorrect resistor value on the ISET pin.
- Solution: Verify the resistor value and calculate the current using the formula provided in the datasheet.
Excessive Heat Generation
- Cause: Insufficient heat dissipation.
- Solution: Use a heat sink or improve airflow around the component.
No PWM Modulation
- Cause: Incorrect PWM signal or connection.
- Solution: Verify the PWM signal frequency and duty cycle. Ensure the PWM pin is properly connected.
FAQs
Q1: What is the maximum PWM frequency supported?
A1: The SIMA7670E-LASE supports PWM frequencies up to 100kHz.
Q2: Can I use this driver with a 12V power supply?
A2: No, the maximum input voltage is 5.5V. Using a higher voltage may damage the component.
Q3: How do I calculate the resistor value for the ISET pin?
A3: Refer to the datasheet for the exact formula. Typically, the resistor value is inversely proportional to the desired current.
Q4: Is the driver compatible with all laser diodes?
A4: The driver is compatible with most laser diodes within the specified current and voltage range. Verify the diode's specifications before use.
This concludes the documentation for the SIMA7670E-LASE. For further details, refer to the official datasheet or contact SIMCom support.