
How to Use 5V One channel relay with OPTO lsolation H/L level triggerrigger: Examples, Pinouts, and Specs
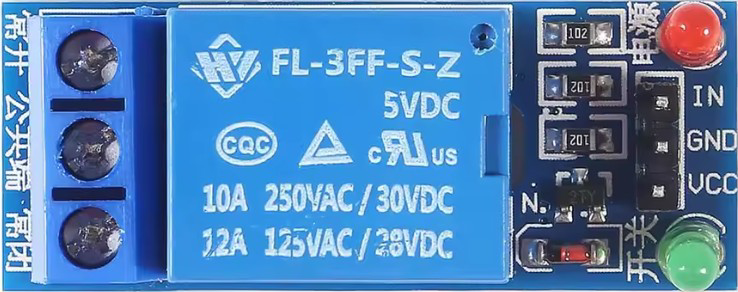
 Design with 5V One channel relay with OPTO lsolation H/L level triggerrigger in Cirkit Designer
Introduction
The 5V One Channel Relay with OPTO Isolation is a versatile module designed for controlling high-voltage devices using low-voltage signals. It features optical isolation to ensure safety and prevent electrical interference between the control circuit and the high-voltage load. The module supports both high-level and low-level trigger inputs, making it compatible with a wide range of microcontrollers and control systems.
Explore Projects Built with 5V One channel relay with OPTO lsolation H/L level triggerrigger
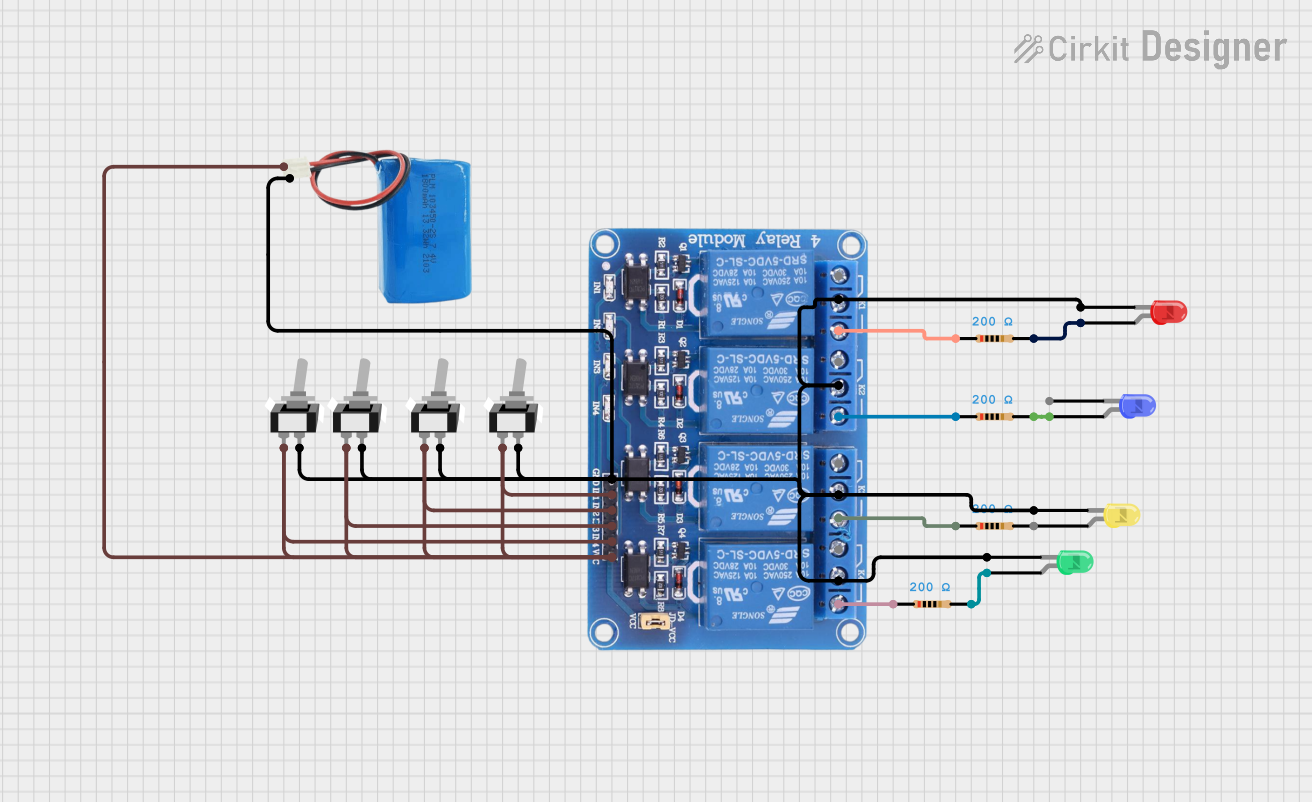 Open Project in Cirkit Designer
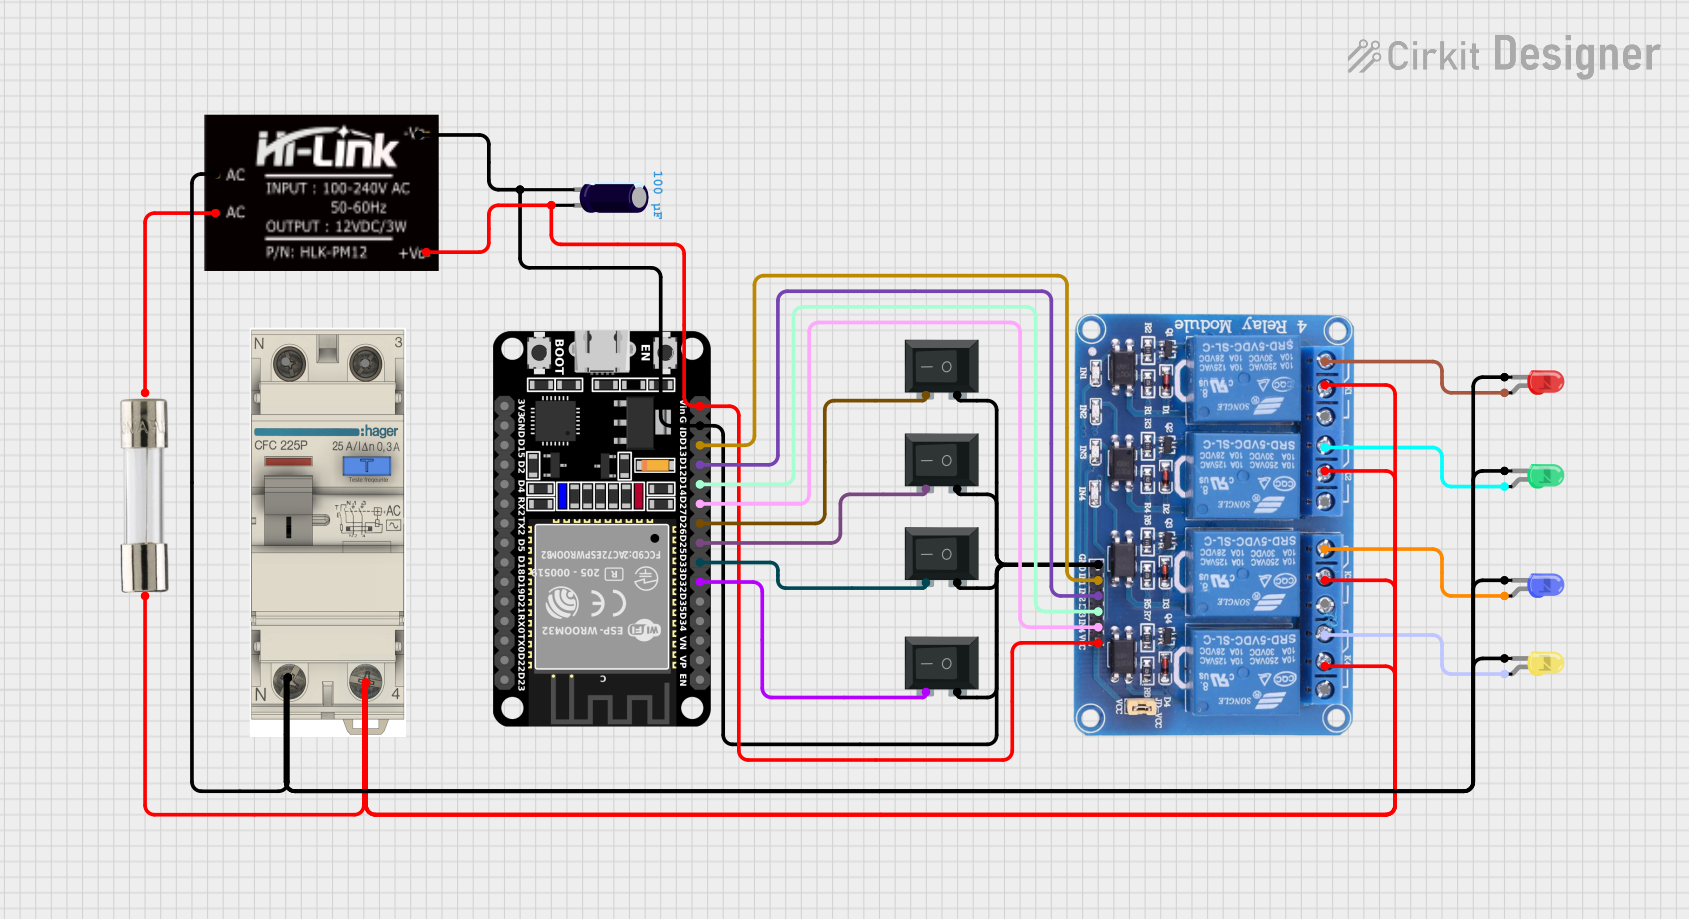 Open Project in Cirkit Designer
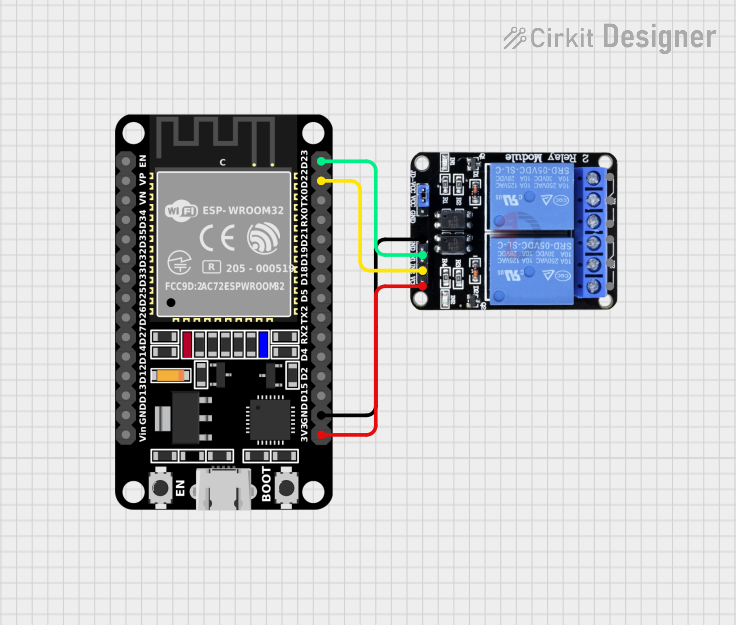 Open Project in Cirkit Designer
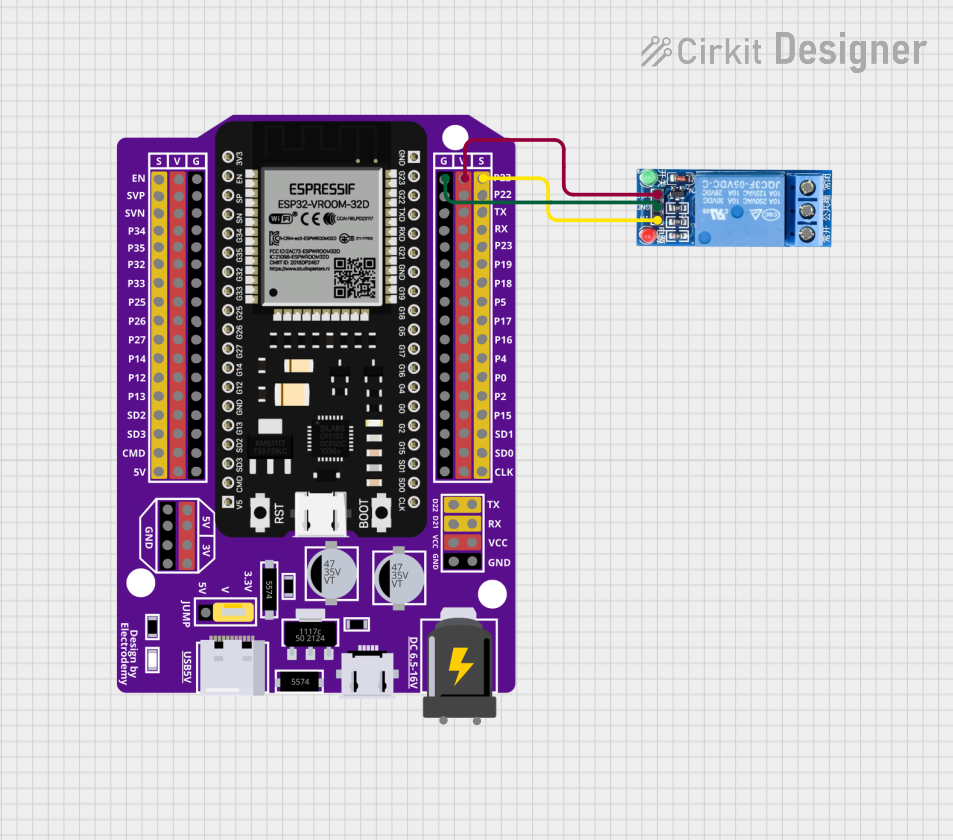 Open Project in Cirkit Designer
Explore Projects Built with 5V One channel relay with OPTO lsolation H/L level triggerrigger
Open Project in Cirkit DesignerOpen Project in Cirkit DesignerOpen Project in Cirkit DesignerOpen Project in Cirkit DesignerCommon Applications and Use Cases
- Home automation systems (e.g., controlling lights, fans, or appliances)
- Industrial control systems
- Robotics and IoT projects
- Switching AC or DC loads
- Motor control and automation
Technical Specifications
Key Technical Details
| Parameter | Specification |
|---|---|
| Operating Voltage | 5V DC |
| Trigger Voltage | High-level: 2.5V–5V, Low-level: 0V–1.5V |
| Relay Control Signal | High/Low level trigger |
| Maximum Load (AC) | 250V AC @ 10A |
| Maximum Load (DC) | 30V DC @ 10A |
| Isolation Method | Optical isolation |
| Dimensions | ~50mm x 26mm x 18.5mm |
| Weight | ~15g |
Pin Configuration and Descriptions
| Pin Name | Description |
|---|---|
| VCC | Power supply input (5V DC) |
| GND | Ground connection |
| IN | Control signal input (trigger pin, accepts high/low level signals) |
| COM (Common) | Common terminal for the relay switch |
| NO (Normally Open) | Normally open terminal; connected to COM when the relay is activated |
| NC (Normally Closed) | Normally closed terminal; connected to COM when the relay is inactive |
Usage Instructions
How to Use the Component in a Circuit
- Power the Module: Connect the
VCCpin to a 5V DC power source and theGNDpin to ground. - Connect the Control Signal: Connect the
INpin to the control signal from a microcontroller (e.g., Arduino) or other control circuit. - Connect the Load:
- For devices that should turn on when the relay is activated, connect the load between the
NO(Normally Open) terminal and theCOMterminal. - For devices that should turn off when the relay is activated, connect the load between the
NC(Normally Closed) terminal and theCOMterminal.
- For devices that should turn on when the relay is activated, connect the load between the
- Trigger the Relay: Send a high-level or low-level signal to the
INpin to activate or deactivate the relay, depending on the module's configuration.
Important Considerations and Best Practices
- Optical Isolation: Ensure the control circuit and the high-voltage load are electrically isolated to prevent damage or interference.
- Load Ratings: Do not exceed the maximum load ratings (250V AC @ 10A or 30V DC @ 10A) to avoid damaging the relay.
- Trigger Signal: Verify whether the module is configured for high-level or low-level triggering before connecting it to your control circuit.
- Flyback Diode: If controlling an inductive load (e.g., a motor), use a flyback diode across the load to protect the relay from voltage spikes.
Example: Connecting to an Arduino UNO
Below is an example of how to connect and control the relay module using an Arduino UNO:
Circuit Connections
- Connect the
VCCpin of the relay module to the 5V pin on the Arduino. - Connect the
GNDpin of the relay module to the GND pin on the Arduino. - Connect the
INpin of the relay module to digital pin 7 on the Arduino. - Connect the load (e.g., a light bulb) to the
COMandNOterminals of the relay.
Arduino Code
// Define the relay control pin
const int relayPin = 7;

void setup() {
  pinMode(relayPin, OUTPUT); // Set the relay pin as an output
  digitalWrite(relayPin, LOW); // Ensure the relay is off at startup
}

void loop() {
  digitalWrite(relayPin, HIGH); // Turn the relay on
  delay(5000); // Keep the relay on for 5 seconds
  digitalWrite(relayPin, LOW); // Turn the relay off
  delay(5000); // Keep the relay off for 5 seconds
}
Code Explanation
- The
relayPinis set to digital pin 7. - The
setup()function initializes the relay pin as an output and ensures the relay is off at startup. - The
loop()function alternates between turning the relay on and off every 5 seconds.
Troubleshooting and FAQs
Common Issues and Solutions
Relay Not Activating:
- Ensure the
VCCandGNDpins are properly connected to a 5V power source. - Verify that the control signal on the
INpin matches the trigger level (high or low) required by the module.
- Ensure the
Load Not Switching:
- Check the wiring between the load and the relay terminals (
COM,NO,NC). - Ensure the load does not exceed the relay's maximum current and voltage ratings.
- Check the wiring between the load and the relay terminals (
Interference or Unstable Operation:
- Use a separate power supply for the relay module if the control circuit is sensitive to noise.
- Add a capacitor across the power supply pins (
VCCandGND) to filter out noise.
Relay Stuck in One State:
- Inspect the relay for physical damage or wear.
- Ensure the control signal is being sent correctly from the microcontroller.
FAQs
Q: Can this relay module control AC appliances?
A: Yes, the relay can control AC appliances up to 250V AC at 10A. Ensure proper wiring and safety precautions.
Q: Is the relay module compatible with 3.3V microcontrollers?
A: The module may work with 3.3V control signals if the trigger voltage threshold is met. However, a level shifter or transistor may be required for reliable operation.
Q: What is the purpose of optical isolation?
A: Optical isolation protects the control circuit from high-voltage spikes and electrical noise generated by the load.
Q: Can I use this relay module to control a motor?
A: Yes, but for inductive loads like motors, use a flyback diode to protect the relay from voltage spikes.