How to Use Waveshare Barcode Sanner: Examples, Pinouts, and Specs
Introduction
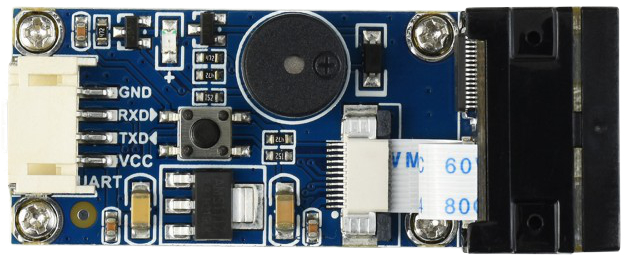
The Waveshare Barcode Scanner is a compact and efficient device designed to read and decode barcodes. It is capable of scanning both 1D and 2D barcodes, making it versatile for a wide range of applications. This scanner is commonly used in retail, inventory management, logistics, and embedded systems. It can interface with microcontrollers, such as Arduino, Raspberry Pi, or computers, to transmit scanned data for further processing.
Explore Projects Built with Waveshare Barcode Sanner

Explore Projects Built with Waveshare Barcode Sanner
Technical Specifications
- Manufacturer: Waveshare
- Supported Barcode Types: 1D (e.g., Code 128, EAN-13) and 2D (e.g., QR Code, Data Matrix)
- Interface: UART (TTL), USB
- Operating Voltage: 3.3V to 5V
- Current Consumption: ~120mA (typical)
- Scan Speed: Up to 300 scans per second
- Communication Baud Rate: Configurable (default: 9600 bps)
- Operating Temperature: -20°C to 60°C
- Dimensions: Compact and lightweight for easy integration
Pin Configuration and Descriptions
The Waveshare Barcode Scanner typically uses a 4-pin interface for UART communication. Below is the pinout:
| Pin | Name | Description |
|---|---|---|
| 1 | VCC | Power supply input (3.3V to 5V) |
| 2 | GND | Ground connection |
| 3 | TXD | Transmit data (output from the scanner) |
| 4 | RXD | Receive data (input to the scanner) |
For USB communication, the scanner uses a standard USB interface and does not require manual pin connections.
Usage Instructions
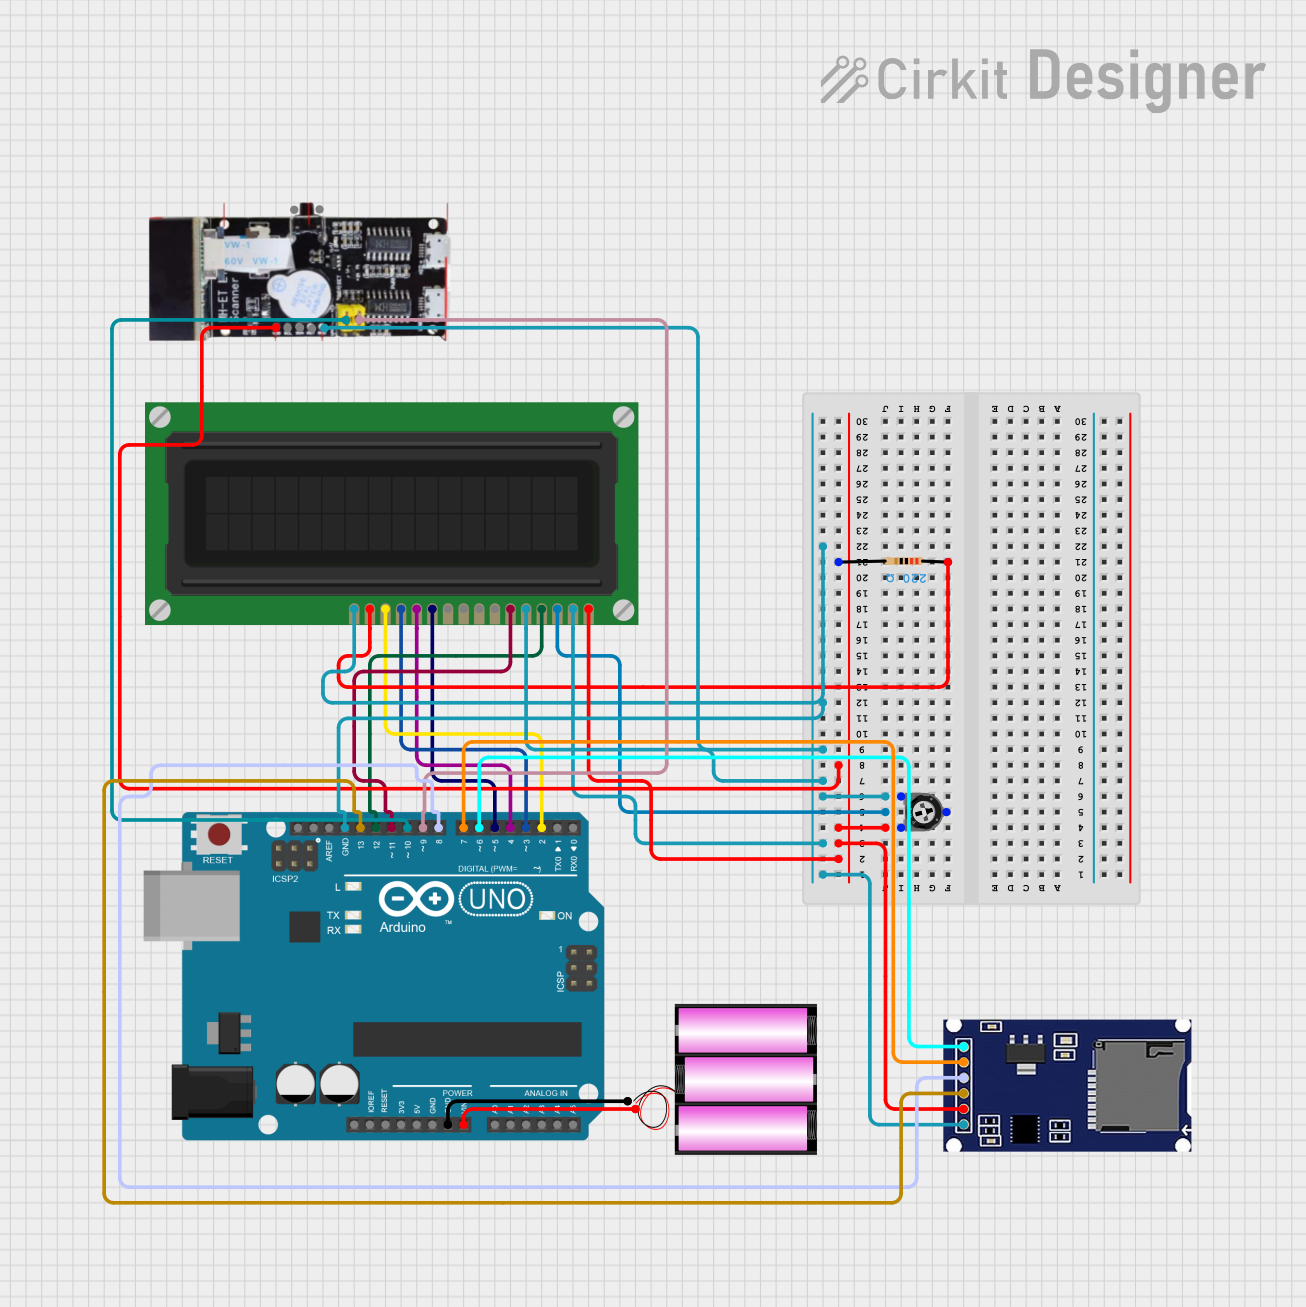
Connecting the Barcode Scanner to an Arduino UNO
To use the Waveshare Barcode Scanner with an Arduino UNO, follow these steps:
Wiring:
- Connect the scanner's
VCCpin to the Arduino's5Vpin. - Connect the scanner's
GNDpin to the Arduino'sGNDpin. - Connect the scanner's
TXDpin to the Arduino'sRXpin (digital pin 0). - Connect the scanner's
RXDpin to the Arduino'sTXpin (digital pin 1).
- Connect the scanner's
Upload Code: Use the following Arduino sketch to read barcode data and display it in the Serial Monitor.
// Waveshare Barcode Scanner Example Code
// This code reads data from the scanner and displays it in the Serial Monitor.

void setup() {
  Serial.begin(9600); // Initialize Serial communication at 9600 bps
  Serial.println("Waveshare Barcode Scanner Ready");
}

void loop() {
  // Check if data is available from the scanner
  if (Serial.available() > 0) {
    String barcodeData = ""; // Variable to store the scanned data

    // Read all available characters from the scanner
    while (Serial.available() > 0) {
      char c = Serial.read(); // Read one character
      barcodeData += c;       // Append character to the string
      delay(5);               // Small delay to ensure all data is read
    }

    // Print the scanned barcode data to the Serial Monitor
    Serial.print("Scanned Data: ");
    Serial.println(barcodeData);
  }
}
- Testing:
- Open the Arduino IDE's Serial Monitor (set the baud rate to 9600).
- Scan a barcode using the Waveshare Barcode Scanner.
- The scanned data will appear in the Serial Monitor.
Important Considerations
- Ensure the scanner is powered within its operating voltage range (3.3V to 5V).
- Avoid connecting the scanner's
TXDpin directly to a 3.3V microcontroller without a level shifter if the scanner is powered at 5V. - For USB communication, install the necessary drivers (if required) on your computer.
- The scanner's baud rate can be configured using specific commands (refer to the manufacturer's manual for details).
Troubleshooting and FAQs
Common Issues and Solutions
No Data Received in Serial Monitor
- Cause: Incorrect wiring or baud rate mismatch.
- Solution: Double-check the connections and ensure the baud rate in the code matches the scanner's default baud rate (9600 bps).
Scanner Not Powering On
- Cause: Insufficient power supply or loose connections.
- Solution: Verify that the
VCCandGNDpins are properly connected and the power source provides adequate voltage.
Unreadable or Garbled Data
- Cause: Noise in the communication line or incorrect baud rate.
- Solution: Use shorter wires to reduce noise and confirm the baud rate settings.
Scanner Fails to Read Barcodes
- Cause: Poor lighting, damaged barcode, or unsupported barcode type.
- Solution: Ensure proper lighting, use a clear barcode, and verify that the barcode type is supported.
FAQs
Q1: Can the scanner read barcodes from a screen (e.g., smartphone)?
A1: Yes, the Waveshare Barcode Scanner can read barcodes displayed on screens, provided the screen brightness and contrast are adequate.
Q2: How do I change the scanner's baud rate?
A2: The baud rate can be changed by sending specific configuration commands to the scanner. Refer to the manufacturer's manual for detailed instructions.
Q3: Is the scanner compatible with Raspberry Pi?
A3: Yes, the scanner can be connected to a Raspberry Pi via UART or USB. Use the appropriate GPIO pins or USB port for communication.
Q4: Can the scanner decode custom barcode formats?
A4: The scanner supports standard 1D and 2D barcode formats. Custom formats may not be supported unless they conform to standard encoding schemes.
By following this documentation, you can effectively integrate and use the Waveshare Barcode Scanner in your projects. For advanced configurations, refer to the manufacturer's user manual.