How to Use Speaker: Examples, Pinouts, and Specs
Introduction
A speaker is a device that converts electrical energy into sound waves, enabling audio signals to be heard by the human ear. It is a fundamental component in audio systems, used to reproduce sound from various sources such as music players, computers, televisions, and communication devices. Speakers come in various sizes and types, including dynamic, piezoelectric, and electrostatic, each suited for specific applications.
Explore Projects Built with Speaker


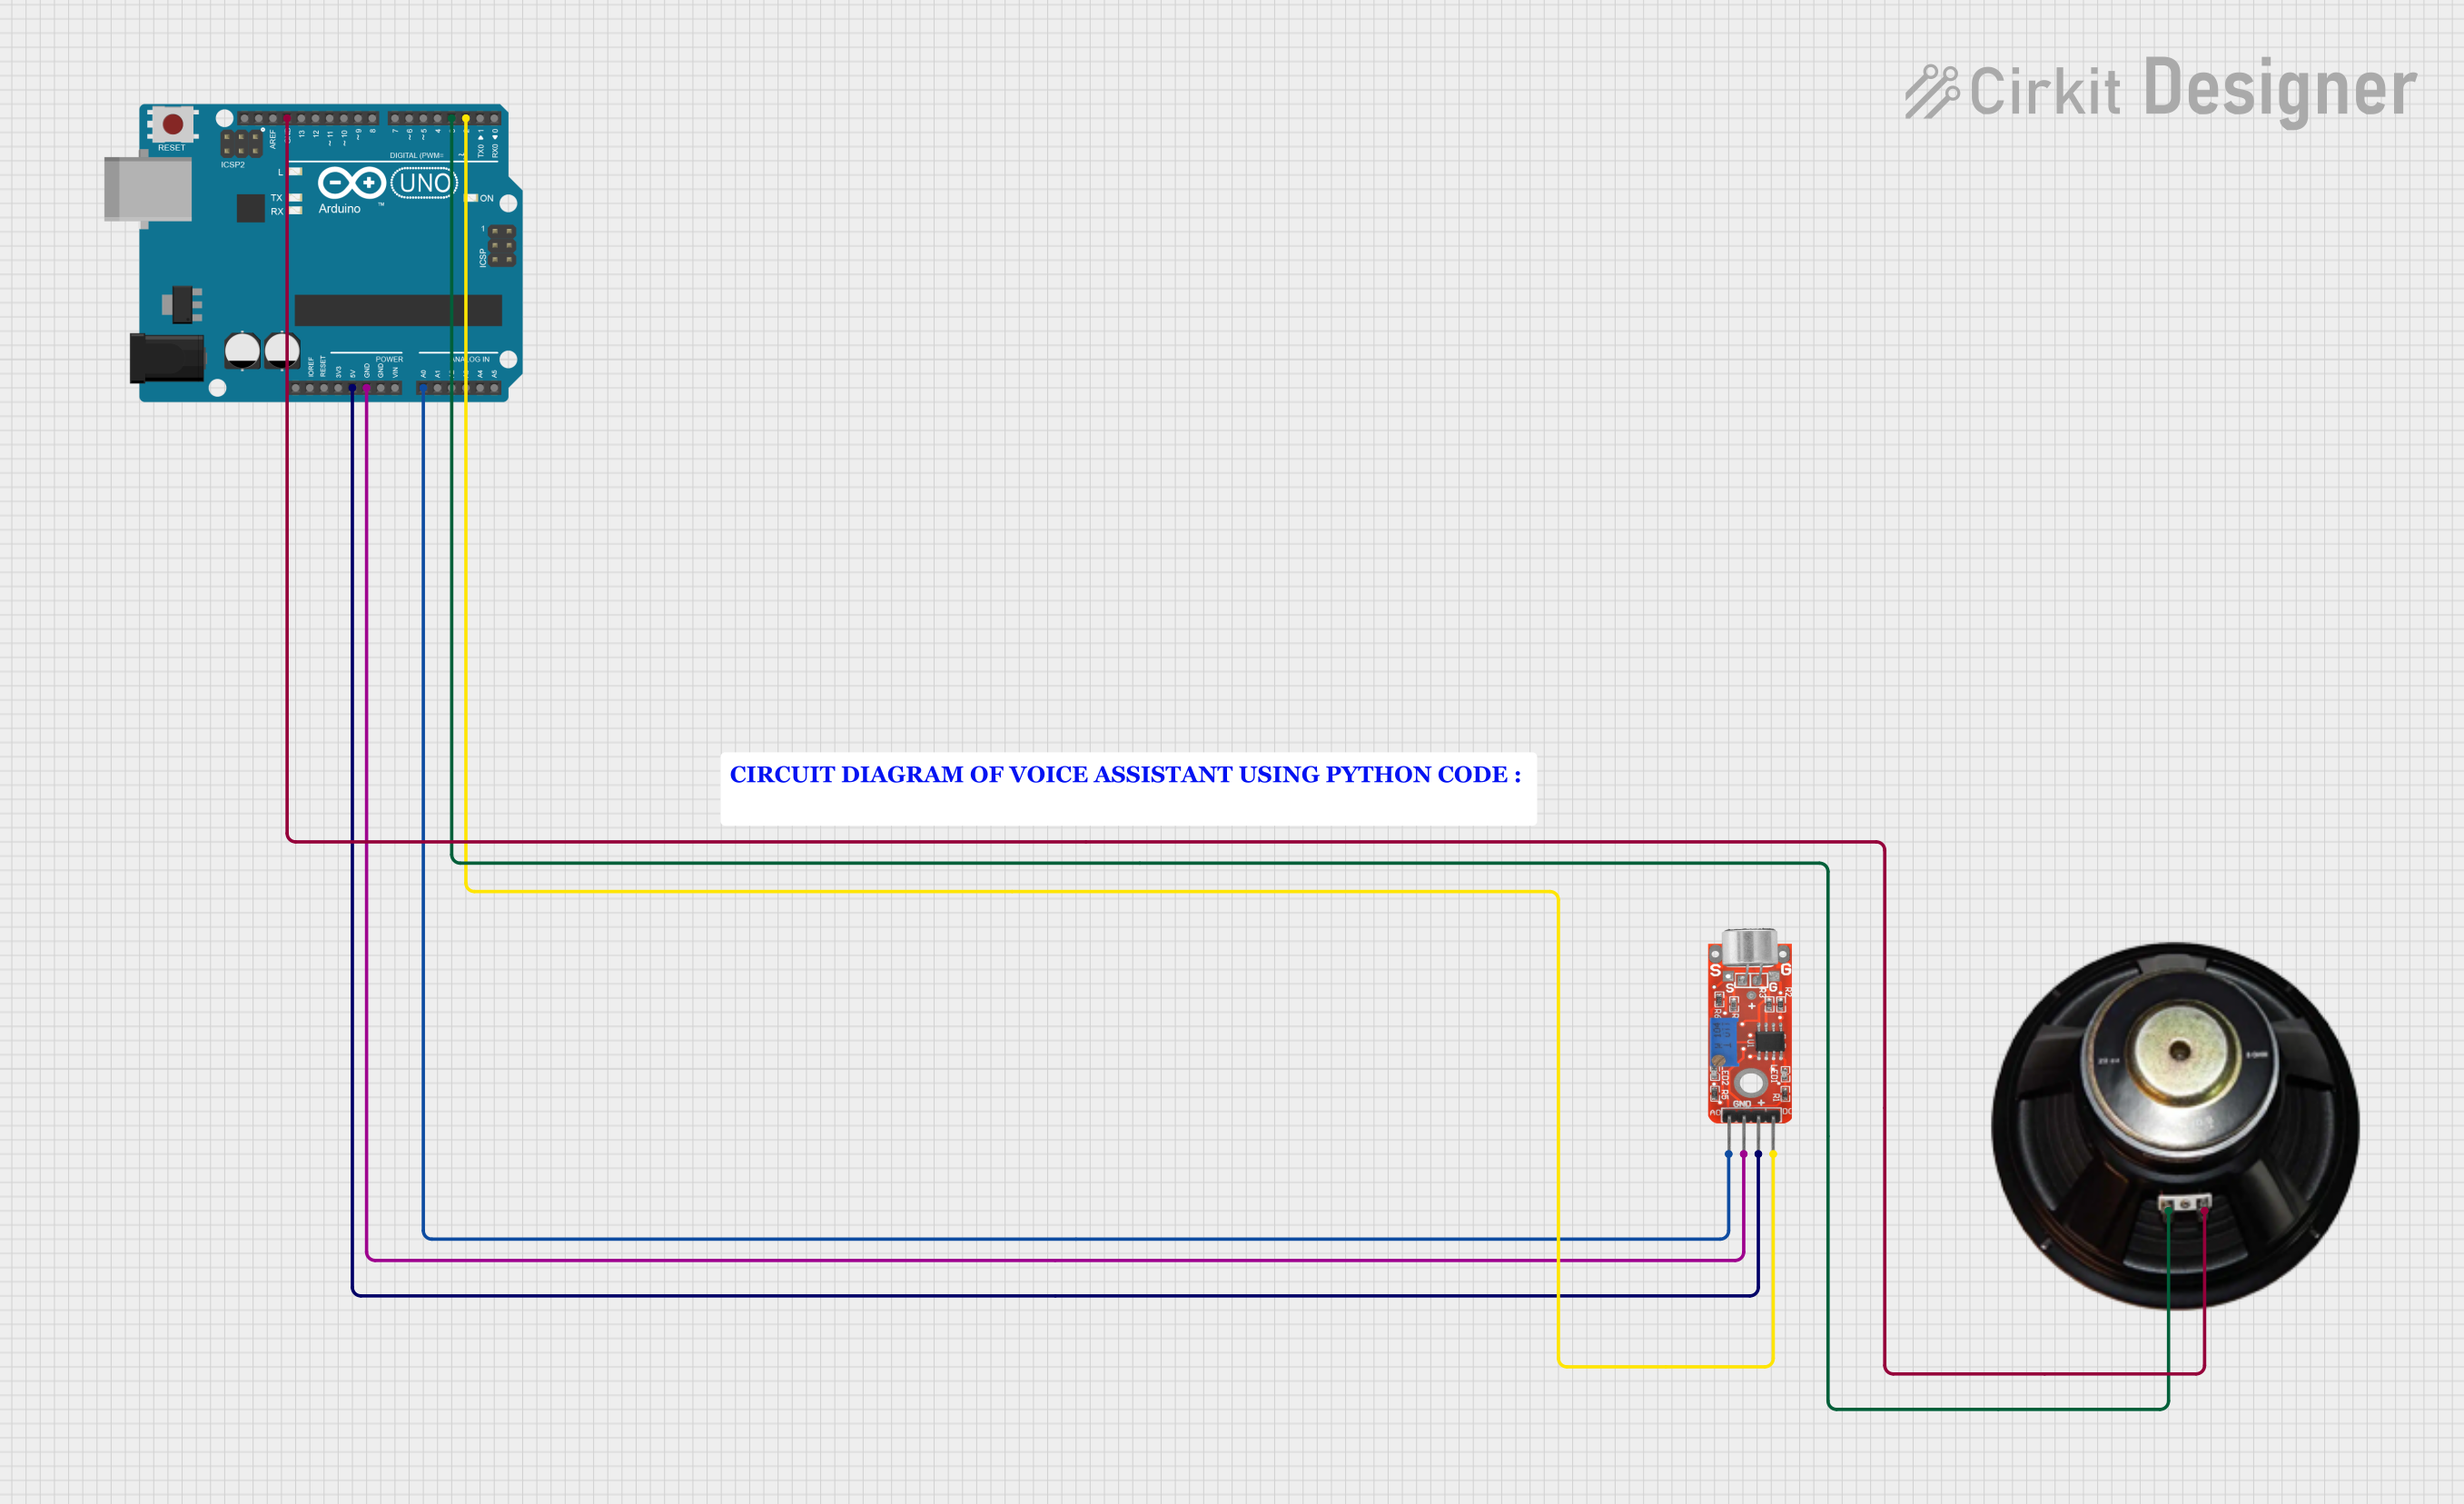
Explore Projects Built with Speaker
Common Applications and Use Cases
- Home audio systems and portable speakers
- Public address systems
- Telecommunication devices (e.g., phones, intercoms)
- Automotive audio systems
- Embedded systems for sound output (e.g., alarms, notifications)
Technical Specifications
The technical specifications of a speaker can vary depending on its type and intended application. Below are general specifications for a typical small speaker used in electronic projects:
| Parameter | Value |
|---|---|
| Operating Voltage | 3V to 12V |
| Impedance | 4Ω, 8Ω, or 16Ω |
| Power Rating | 0.5W to 5W |
| Frequency Response | 20Hz to 20kHz |
| Sensitivity | 85dB to 100dB |
| Dimensions | Varies (e.g., 40mm, 50mm, etc.) |
Pin Configuration and Descriptions
Speakers typically have two terminals or pins for electrical connections:
| Pin | Description |
|---|---|
| Positive (+) | Connects to the positive terminal of the audio signal or power source. |
| Negative (-) | Connects to the ground or negative terminal of the audio signal. |
Usage Instructions
How to Use the Speaker in a Circuit
- Determine the Speaker's Impedance and Power Rating: Ensure the speaker's impedance matches the output impedance of the audio amplifier or microcontroller circuit. Also, verify that the power rating of the speaker is suitable for the application.
- Connect the Speaker:
- Connect the positive terminal of the speaker to the audio signal output or amplifier's positive terminal.
- Connect the negative terminal of the speaker to the ground or amplifier's negative terminal.
- Amplify the Signal: If the audio signal is weak (e.g., from a microcontroller), use an audio amplifier circuit to drive the speaker.
- Test the Speaker: Play an audio signal or tone to verify the speaker's functionality.
Important Considerations and Best Practices
- Avoid Overloading: Do not exceed the speaker's power rating, as this can damage the speaker.
- Use an Amplifier: For microcontroller-based projects, use an external amplifier to ensure the speaker receives sufficient power.
- Protect the Circuit: Add a capacitor in series with the speaker to block DC components and prevent damage to the speaker or circuit.
- Enclosure Design: For optimal sound quality, mount the speaker in a properly designed enclosure to enhance bass and reduce distortion.
Example: Connecting a Speaker to an Arduino UNO
Below is an example of how to connect a small 8Ω speaker to an Arduino UNO to play a simple tone:
Circuit Diagram
- Connect the positive terminal of the speaker to Arduino pin 9 through a 100Ω resistor.
- Connect the negative terminal of the speaker to the Arduino's GND.
Code Example
// Arduino code to play a tone on a speaker connected to pin 9

// Define the pin connected to the speaker
const int speakerPin = 9;

void setup() {
  // No setup required for this example
}

void loop() {
  // Play a 440Hz tone (A4 note) for 500ms
  tone(speakerPin, 440, 500);
  delay(1000); // Wait for 1 second before playing the tone again
}
Troubleshooting and FAQs
Common Issues and Solutions
No Sound from the Speaker:
- Cause: Incorrect wiring or loose connections.
- Solution: Verify the connections and ensure the speaker is properly connected to the circuit.
Distorted Sound:
- Cause: Overdriving the speaker or using an incompatible amplifier.
- Solution: Check the power rating and impedance of the speaker. Use a suitable amplifier.
Speaker Gets Hot:
- Cause: Excessive current or continuous DC signal.
- Solution: Add a capacitor in series to block DC and ensure the amplifier is not outputting excessive power.
Low Volume:
- Cause: Weak audio signal or insufficient power.
- Solution: Use an audio amplifier to boost the signal.
FAQs
Q: Can I connect a speaker directly to a microcontroller?
A: While it is possible to connect a small speaker directly to a microcontroller, the output may be weak. It is recommended to use an amplifier for better sound quality and to avoid overloading the microcontroller's GPIO pin.
Q: What type of speaker should I use for my project?
A: Choose a speaker based on your project's requirements, such as impedance, power rating, and size. For small electronic projects, an 8Ω, 0.5W speaker is commonly used.
Q: How can I improve the sound quality of my speaker?
A: Use a properly designed enclosure, ensure the speaker is driven by a clean audio signal, and match the speaker's impedance with the amplifier.
Q: Can I use a piezoelectric buzzer instead of a speaker?
A: Yes, but piezoelectric buzzers are better suited for generating simple tones or beeps, while speakers are ideal for reproducing complex audio signals.