
How to Use Jumper: Examples, Pinouts, and Specs
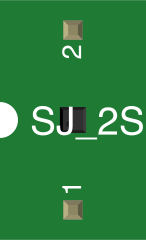
 Design with Jumper in Cirkit Designer
Introduction
A jumper is a short length of wire or a small connector used to establish an electrical connection between two points in a circuit. Jumpers are commonly used to bypass switches, configure hardware settings, or connect different parts of a circuit board. They are simple yet essential components in prototyping, debugging, and modifying circuits.
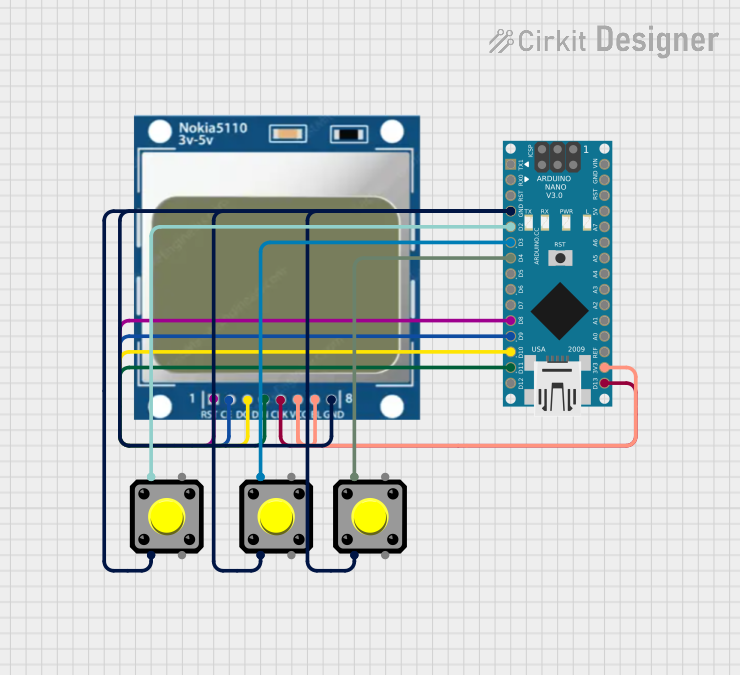
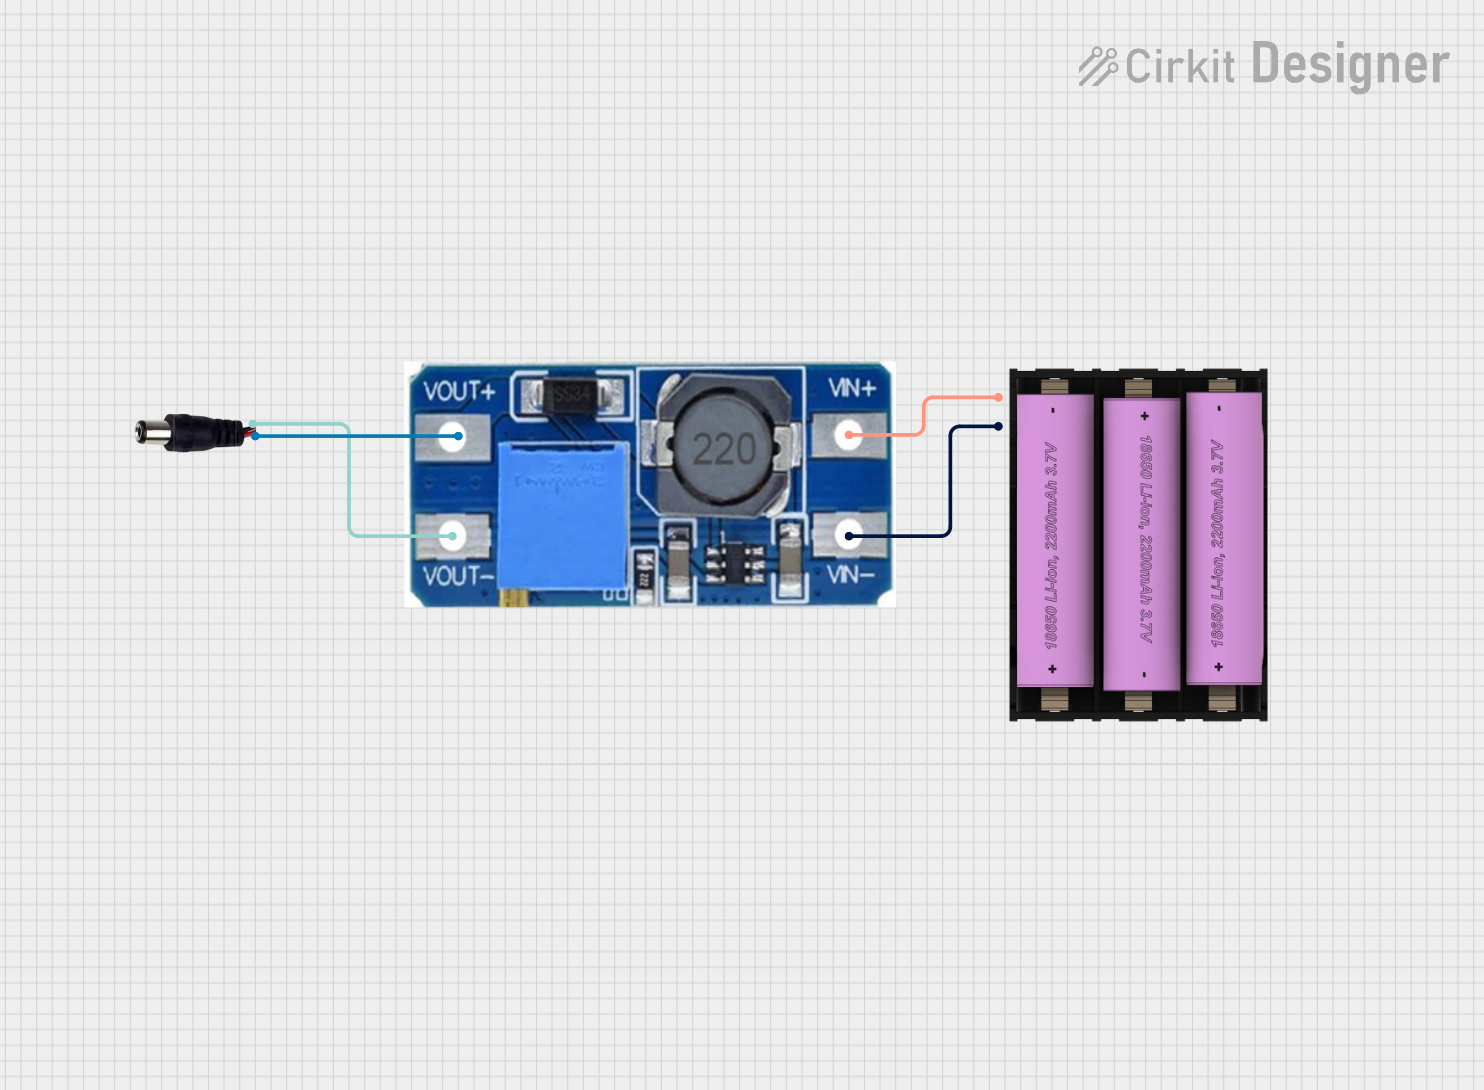
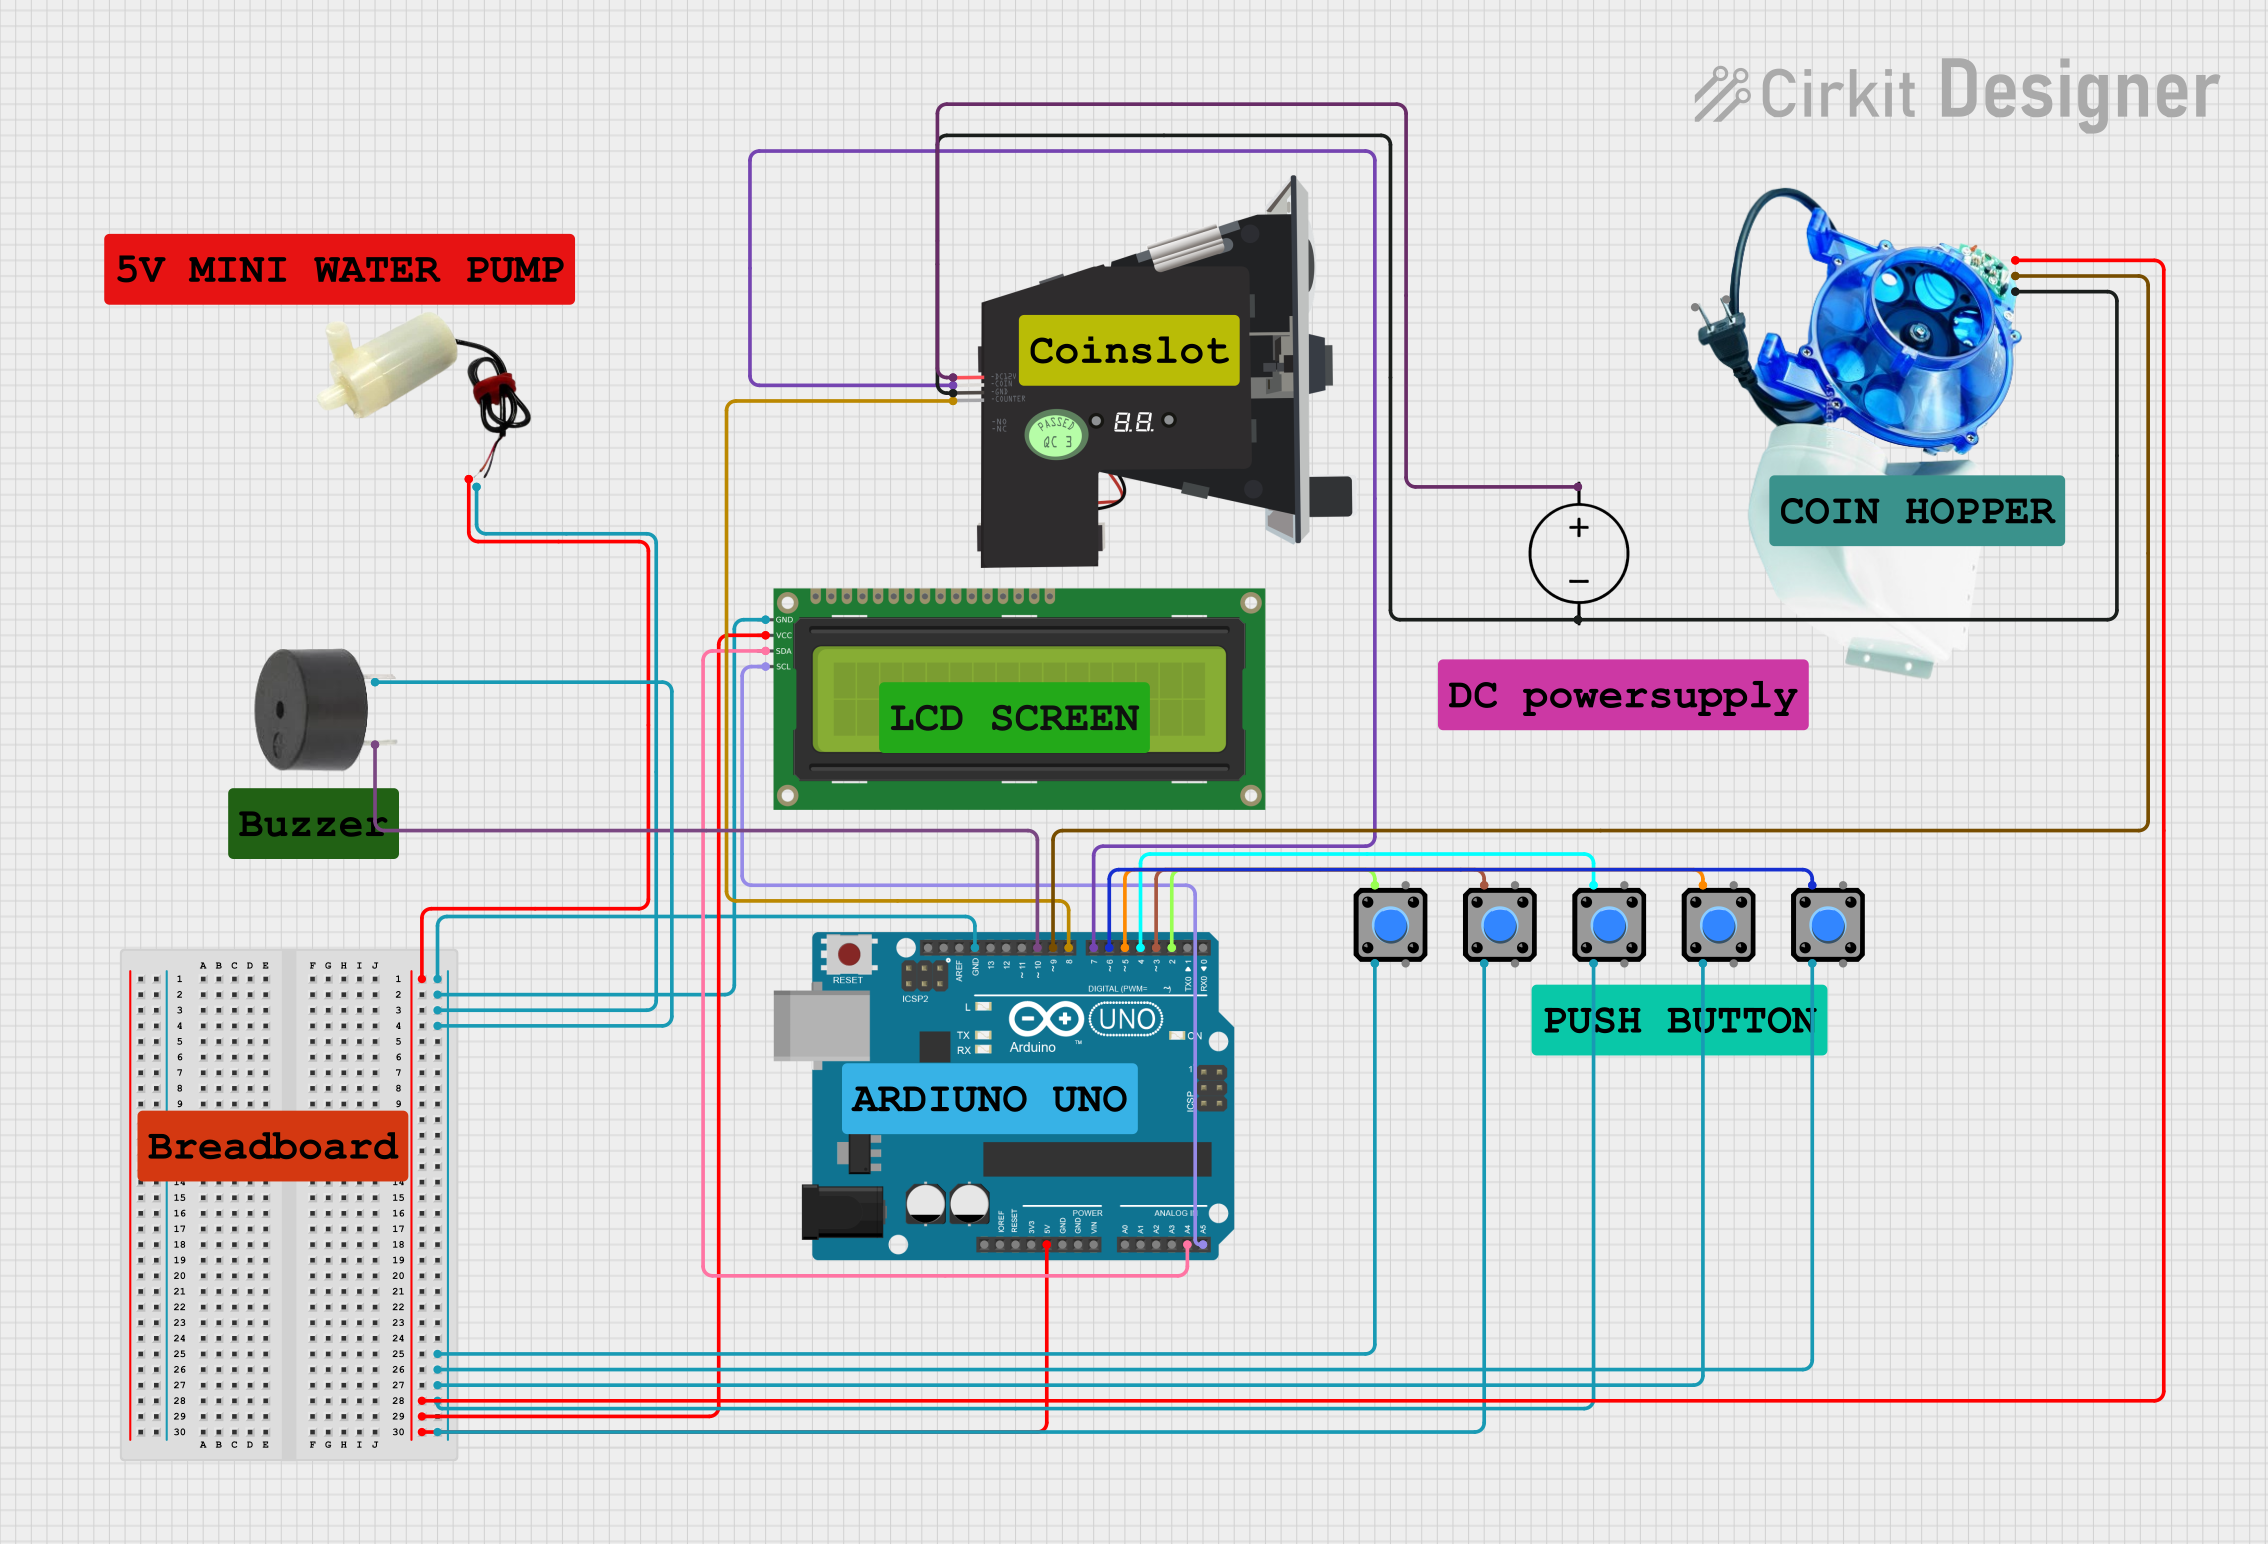
Explore Projects Built with Jumper
 Open Project in Cirkit Designer
 Open Project in Cirkit Designer
 Open Project in Cirkit Designer
 Open Project in Cirkit Designer
Explore Projects Built with Jumper
Open Project in Cirkit DesignerOpen Project in Cirkit DesignerOpen Project in Cirkit DesignerOpen Project in Cirkit DesignerCommon Applications and Use Cases
- Prototyping: Quickly connecting components on a breadboard.
- Configuration: Setting hardware options on devices like motherboards or hard drives.
- Bypassing: Temporarily bypassing a switch or broken connection.
- Debugging: Testing and troubleshooting circuits by creating temporary connections.
Technical Specifications
Jumpers come in various forms, such as single-pin connectors, wire jumpers, or soldered connections. Below are the general specifications for common jumper types:
General Specifications
| Parameter | Value/Range |
|---|---|
| Wire Material | Copper (with or without insulation) |
| Connector Type | Male-to-Male, Male-to-Female, Female-to-Female |
| Insulation Material | PVC, Silicone, or None |
| Current Rating | Typically up to 1A |
| Voltage Rating | Typically up to 30V |
| Length Options | 5 cm to 30 cm (or custom lengths) |
Pin Configuration and Descriptions
For pre-fabricated jumper wires with connectors, the pin configuration depends on the type of connector used. Below is an example for a Male-to-Female Jumper Wire:
| Pin | Description |
|---|---|
| Male | Fits into female headers or breadboard holes. |
| Female | Fits onto male pins or headers on a circuit board. |
Usage Instructions
How to Use a Jumper in a Circuit
- Identify Connection Points: Determine the two points in the circuit that need to be connected.
- Select the Jumper Type: Choose the appropriate jumper wire (e.g., Male-to-Male for breadboards).
- Connect the Jumper: Insert the male or female ends into the corresponding headers, pins, or breadboard holes.
- Verify the Connection: Ensure the jumper is securely connected and does not cause short circuits.
Important Considerations and Best Practices
- Avoid Short Circuits: Ensure the jumper does not accidentally connect unintended points.
- Use Insulated Jumpers: For safety, use insulated jumpers to prevent accidental contact with other components.
- Check Current Ratings: Ensure the jumper can handle the current flowing through the circuit.
- Label Connections: When using multiple jumpers, label them to avoid confusion.
Example: Using Jumpers with an Arduino UNO
Jumpers are often used to connect sensors, modules, or other components to an Arduino UNO. Below is an example of connecting an LED to an Arduino using a jumper wire:
Circuit Setup
- Connect the long leg (anode) of the LED to a 220-ohm resistor.
- Use a Male-to-Male jumper wire to connect the resistor to pin 13 on the Arduino.
- Connect the short leg (cathode) of the LED to the GND pin on the Arduino using another jumper wire.
Arduino Code
// Simple LED Blink Example
// This code blinks an LED connected to pin 13 of the Arduino UNO.

void setup() {
  pinMode(13, OUTPUT); // Set pin 13 as an output pin
}

void loop() {
  digitalWrite(13, HIGH); // Turn the LED on
  delay(1000);            // Wait for 1 second
  digitalWrite(13, LOW);  // Turn the LED off
  delay(1000);            // Wait for 1 second
}
Troubleshooting and FAQs
Common Issues
Loose Connections:
- Problem: The jumper wire is not securely connected, causing intermittent behavior.
- Solution: Ensure the jumper is firmly inserted into the header or breadboard.
Short Circuits:
- Problem: The jumper wire accidentally connects unintended points.
- Solution: Double-check connections and use insulated jumpers to prevent accidental contact.
Incorrect Connections:
- Problem: The jumper wire is connected to the wrong pins.
- Solution: Verify the circuit diagram and ensure the jumper is connected to the correct points.
FAQs
Q: Can I use a bare wire as a jumper?
A: Yes, but it is not recommended unless the wire is insulated or carefully positioned to avoid short circuits.Q: What is the difference between Male-to-Male and Female-to-Female jumpers?
A: Male-to-Male jumpers have pins on both ends, while Female-to-Female jumpers have sockets on both ends. Choose based on the type of connection required.Q: Can jumpers handle high currents?
A: Most jumpers are designed for low-current applications (up to 1A). For higher currents, use thicker wires or specialized connectors.
By following these guidelines, you can effectively use jumpers in your electronic projects for prototyping, debugging, and more!