Cirkit Designer Logo
Cirkit Designer
Your all-in-one circuit design IDE
Home / 
Component Documentation

How to Use Adafruit 7 Segment FeatherWing - Green: Examples, Pinouts, and Specs
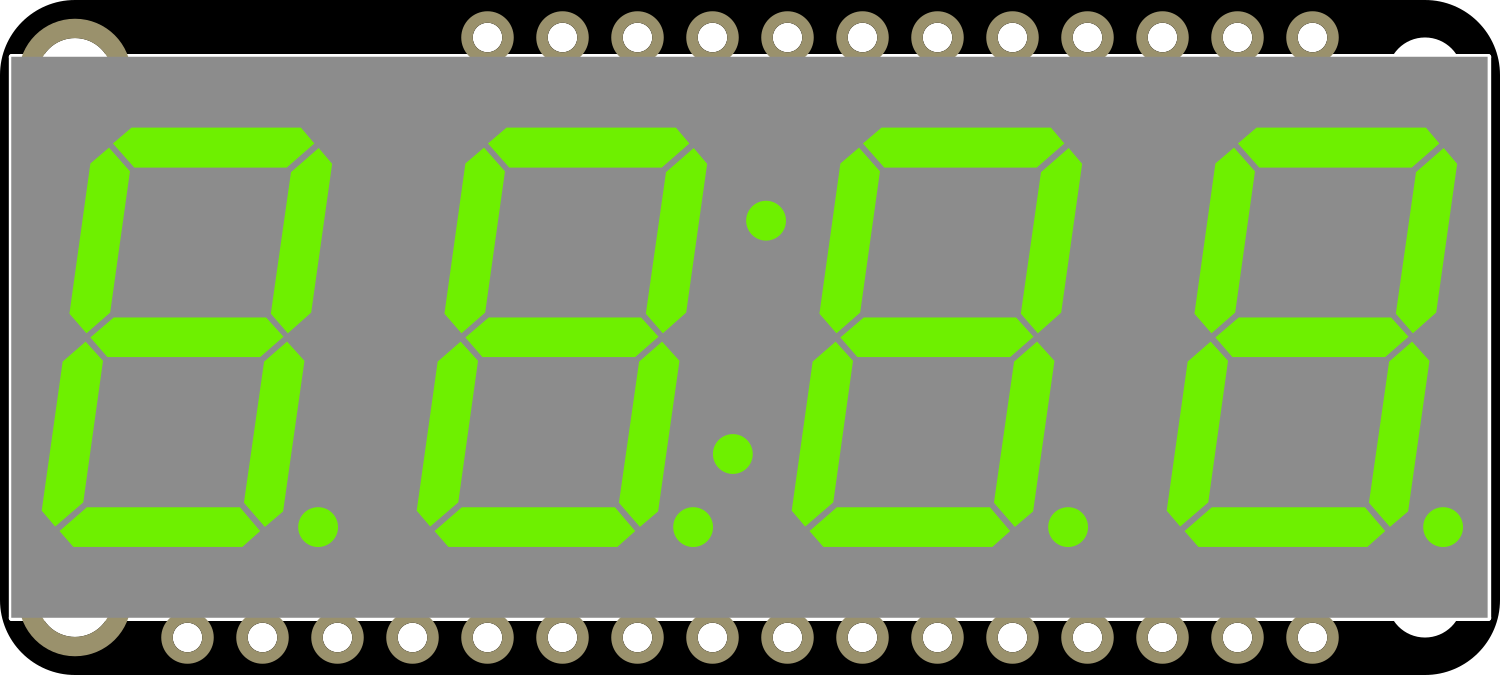
Image of Adafruit 7 Segment FeatherWing - Green
Cirkit Designer LogoDesign with Adafruit 7 Segment FeatherWing - Green in Cirkit Designer

Introduction

The Adafruit 7 Segment FeatherWing - Green is a compact, easy-to-use display module designed for integration with the Adafruit Feather ecosystem. This module features a 4-digit, 7-segment LED display that allows users to present numerical data or simple alphanumeric characters in a clear and visible format. Common applications include clocks, timers, counters, and readouts for various sensors.

Explore Projects Built with Adafruit 7 Segment FeatherWing - Green
Use Cirkit Designer to design, explore, and prototype these projects online. Some projects support real-time simulation. Click "Open Project" to start designing instantly!
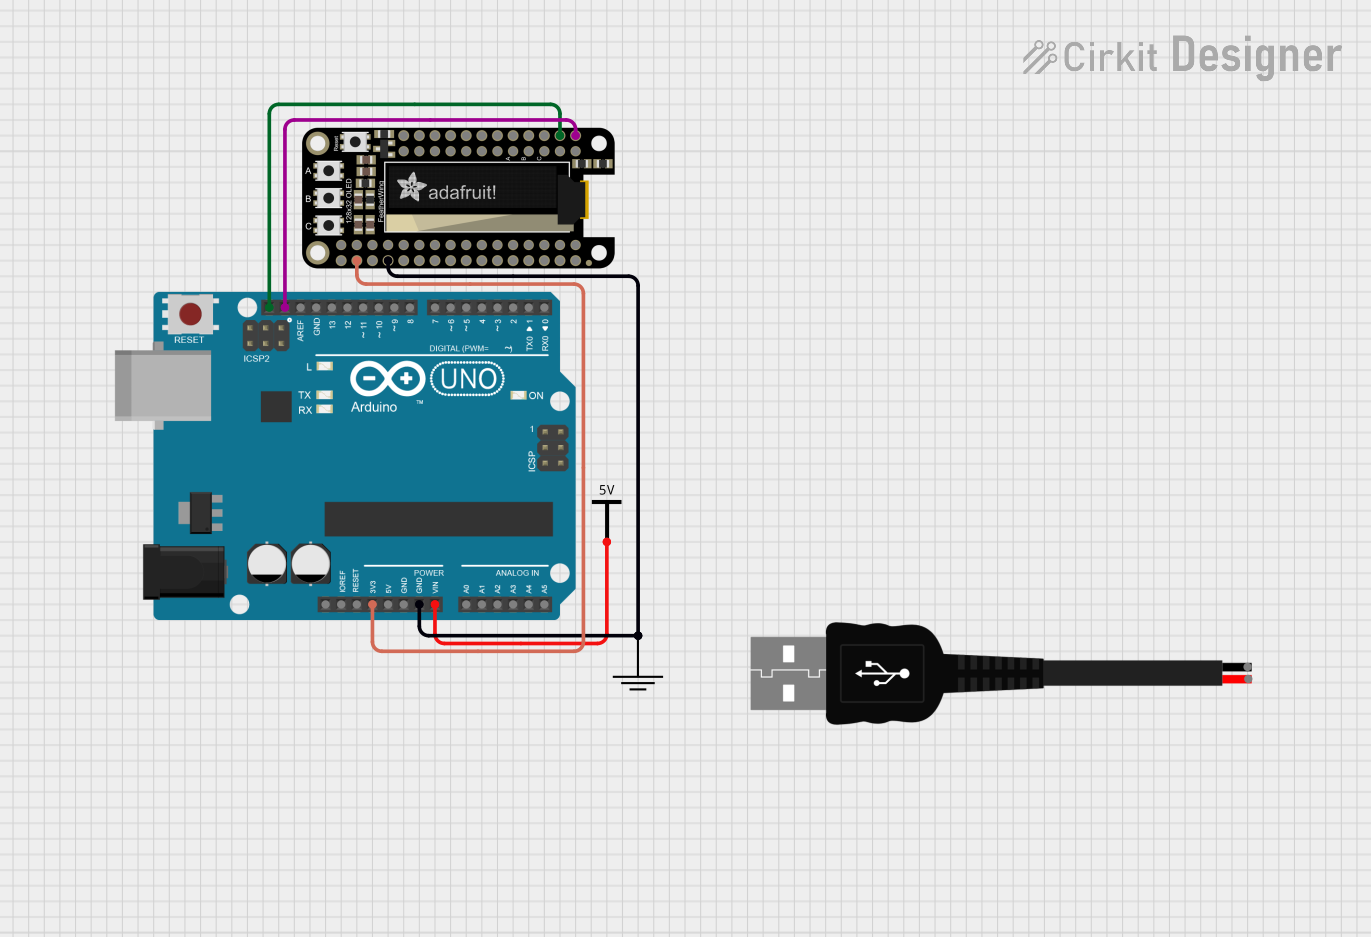
Arduino UNO and OLED FeatherWing Display: Battery-Powered Hello World Project
Image of ARDUINO_SSD1306: A project utilizing Adafruit 7 Segment FeatherWing - Green in a practical application
This circuit consists of an Arduino UNO connected to an Adafruit OLED FeatherWing display via I2C communication (SDA and SCL lines). The Arduino is powered through a Vcc source and provides 3.3V and GND connections to the OLED display. The Arduino runs a program to display 'Hello, World!' on the OLED screen.
Cirkit Designer LogoOpen Project in Cirkit Designer
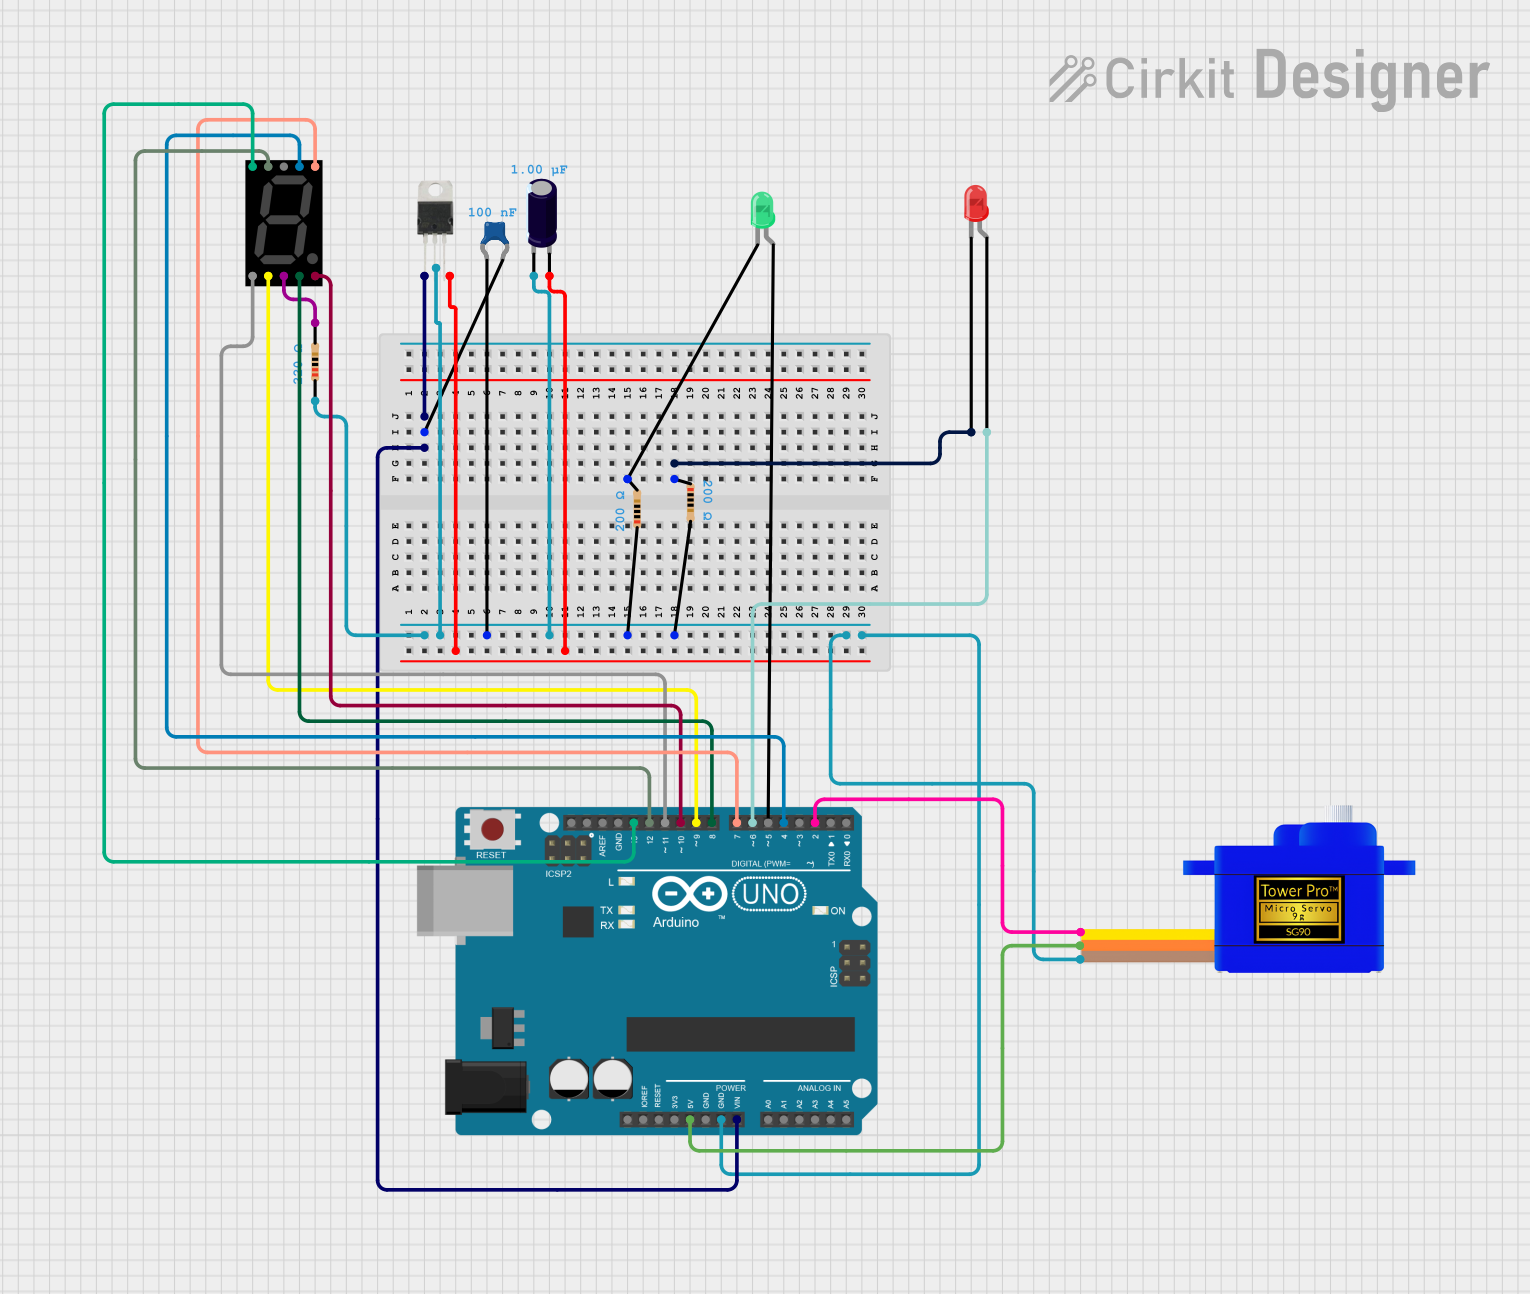
Arduino UNO Controlled Display and Servomotor System
Image of nim: A project utilizing Adafruit 7 Segment FeatherWing - Green in a practical application
This circuit features an Arduino UNO microcontroller that interfaces with a seven-segment display and controls a servomotor and two LEDs (red and green). A LM7805 voltage regulator with accompanying capacitors provides a stable 5V power supply. The circuit's functionality is determined by the embedded code, which is currently a placeholder for further development.
Cirkit Designer LogoOpen Project in Cirkit Designer
Arduino UNO Controlled Dual Seven Segment Display with Pushbutton Interaction and AHT10 Temperature Sensor
Image of enel290: A project utilizing Adafruit 7 Segment FeatherWing - Green in a practical application
This circuit features an Arduino UNO microcontroller connected to two seven-segment displays, a pushbutton, a red LED with a 330-ohm resistor, and an AHT10 temperature and humidity sensor. The Arduino controls the segments of the displays via its digital pins and reads the pushbutton state. The LED is used as an indicator, and the AHT10 sensor interfaces with the Arduino over I2C to provide environmental data.
Cirkit Designer LogoOpen Project in Cirkit Designer
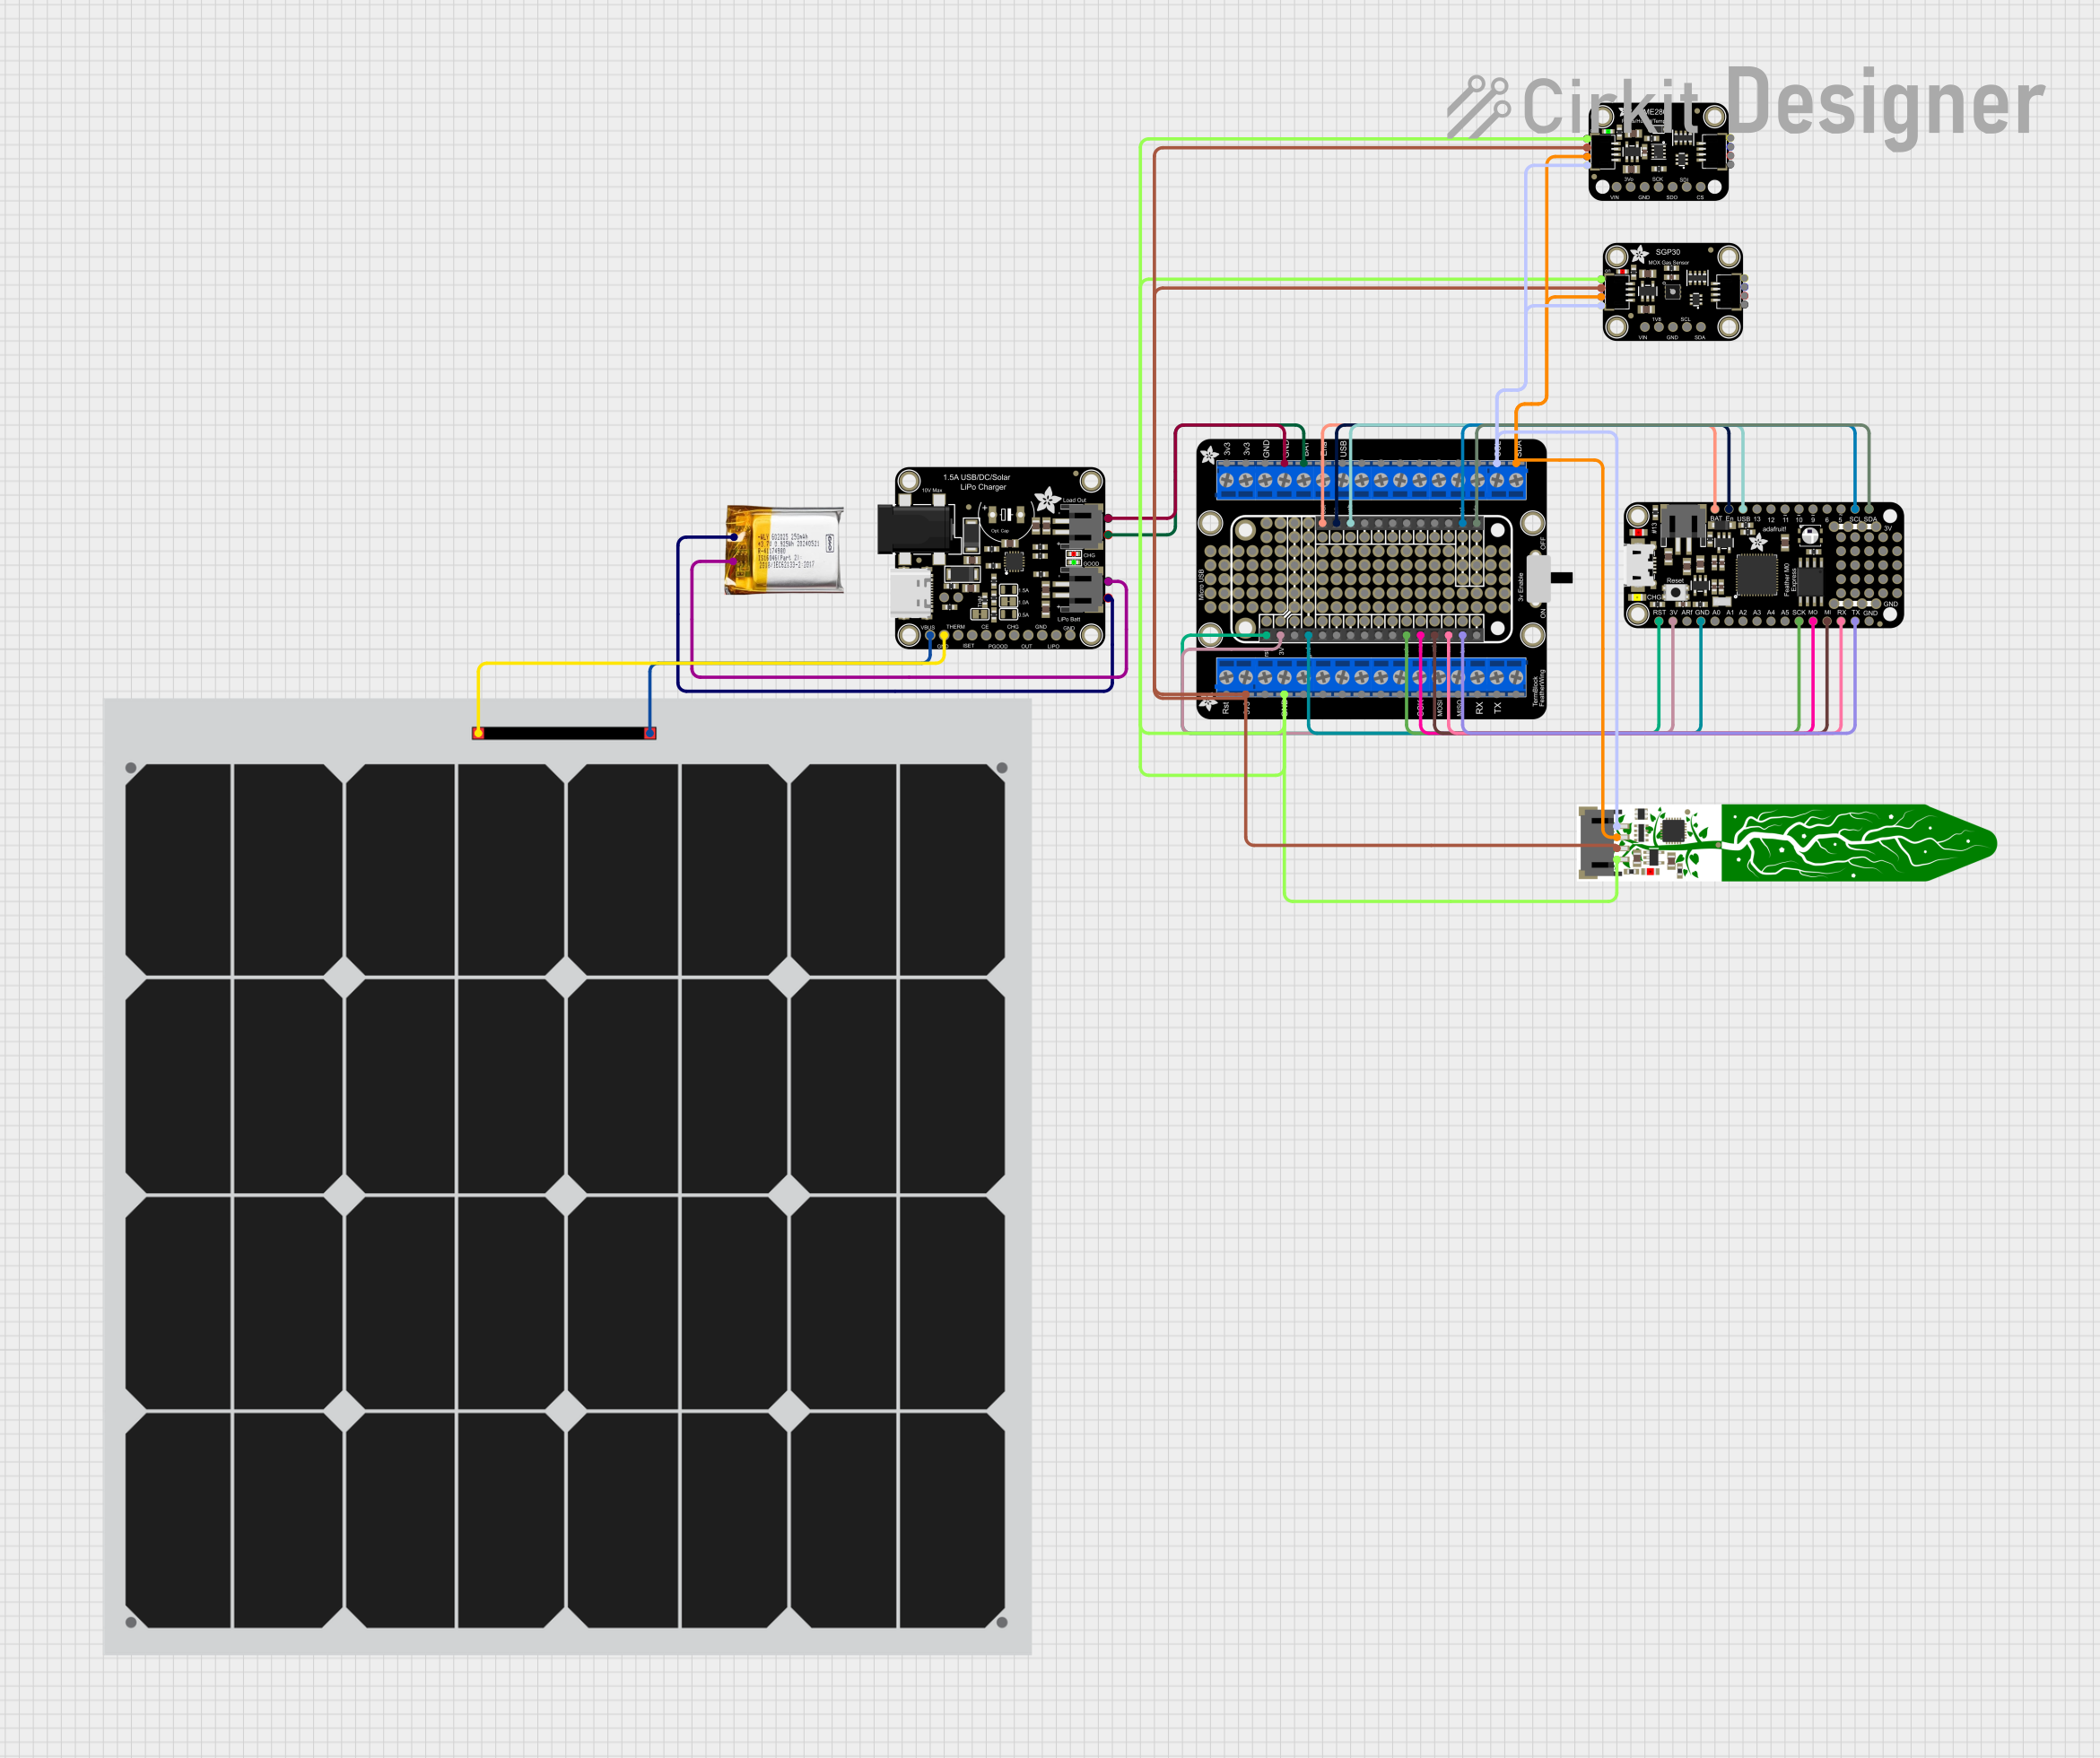
Solar-Powered Environmental Data Logger with Adafruit Feather M0 Express
Image of Lake Thoreau Monitoring Station: A project utilizing Adafruit 7 Segment FeatherWing - Green in a practical application
This circuit is designed for environmental data collection and logging, utilizing an Adafruit Feather M0 Express microcontroller as the central processing unit. It interfaces with a BME280 sensor for atmospheric temperature, humidity, and pressure measurements, an SGP30 sensor for monitoring air quality (eCO2 and TVOC), and a STEMMA soil sensor for detecting soil moisture and temperature. The system is powered by a solar panel and a 3.7v LiPo battery, managed by an Adafruit BQ24074 Solar-DC-USB Lipo Charger, and provides easy access to the microcontroller's connections through an Adafruit Terminal Breakout FeatherWing.
Cirkit Designer LogoOpen Project in Cirkit Designer

Explore Projects Built with Adafruit 7 Segment FeatherWing - Green

Use Cirkit Designer to design, explore, and prototype these projects online. Some projects support real-time simulation. Click "Open Project" to start designing instantly!
Image of ARDUINO_SSD1306: A project utilizing Adafruit 7 Segment FeatherWing - Green in a practical application
Arduino UNO and OLED FeatherWing Display: Battery-Powered Hello World Project
This circuit consists of an Arduino UNO connected to an Adafruit OLED FeatherWing display via I2C communication (SDA and SCL lines). The Arduino is powered through a Vcc source and provides 3.3V and GND connections to the OLED display. The Arduino runs a program to display 'Hello, World!' on the OLED screen.
Cirkit Designer LogoOpen Project in Cirkit Designer
Image of nim: A project utilizing Adafruit 7 Segment FeatherWing - Green in a practical application
Arduino UNO Controlled Display and Servomotor System
This circuit features an Arduino UNO microcontroller that interfaces with a seven-segment display and controls a servomotor and two LEDs (red and green). A LM7805 voltage regulator with accompanying capacitors provides a stable 5V power supply. The circuit's functionality is determined by the embedded code, which is currently a placeholder for further development.
Cirkit Designer LogoOpen Project in Cirkit Designer
Image of enel290: A project utilizing Adafruit 7 Segment FeatherWing - Green in a practical application
Arduino UNO Controlled Dual Seven Segment Display with Pushbutton Interaction and AHT10 Temperature Sensor
This circuit features an Arduino UNO microcontroller connected to two seven-segment displays, a pushbutton, a red LED with a 330-ohm resistor, and an AHT10 temperature and humidity sensor. The Arduino controls the segments of the displays via its digital pins and reads the pushbutton state. The LED is used as an indicator, and the AHT10 sensor interfaces with the Arduino over I2C to provide environmental data.
Cirkit Designer LogoOpen Project in Cirkit Designer
Image of Lake Thoreau Monitoring Station: A project utilizing Adafruit 7 Segment FeatherWing - Green in a practical application
Solar-Powered Environmental Data Logger with Adafruit Feather M0 Express
This circuit is designed for environmental data collection and logging, utilizing an Adafruit Feather M0 Express microcontroller as the central processing unit. It interfaces with a BME280 sensor for atmospheric temperature, humidity, and pressure measurements, an SGP30 sensor for monitoring air quality (eCO2 and TVOC), and a STEMMA soil sensor for detecting soil moisture and temperature. The system is powered by a solar panel and a 3.7v LiPo battery, managed by an Adafruit BQ24074 Solar-DC-USB Lipo Charger, and provides easy access to the microcontroller's connections through an Adafruit Terminal Breakout FeatherWing.
Cirkit Designer LogoOpen Project in Cirkit Designer

Technical Specifications

Key Technical Details

  • Display Type: 4-digit, 7-segment LED
  • Color: Green
  • Operating Voltage: 3.3V to 5V
  • Communication: I2C interface
  • I2C Addresses: 0x70 (default) - 0x77 (selectable with solder jumpers)
  • Dimensions: 51mm x 23mm x 5mm / 2.0" x 0.9" x 0.2"
  • Weight: 4.8 grams

Pin Configuration and Descriptions

Pin Description
GND Ground connection
3V 3.3V power supply
SDA I2C data line
SCL I2C clock line
RST Reset pin (optional use)

Usage Instructions

Integration with a Feather Board

  1. Mounting: Align the headers of the 7 Segment FeatherWing with the corresponding sockets on your Feather board and solder them together.
  2. Powering Up: Once connected, power your Feather board as usual. The display should light up if the connections are correct.
  3. I2C Communication: The FeatherWing uses I2C for communication, which requires only two data lines (SDA and SCL). Ensure that these lines are connected properly to your Feather board.

Programming the Display

To control the 7 Segment FeatherWing, you will need to use the Adafruit LED Backpack library, which can be installed via the Arduino Library Manager.

#include <Wire.h>
#include <Adafruit_GFX.h>
#include "Adafruit_LEDBackpack.h"

Adafruit_7segment matrix = Adafruit_7segment();

void setup() {
  matrix.begin(0x70); // Initialize the display with its I2C address
}

void loop() {
  matrix.print(1234, DEC); // Display the number 1234
  matrix.writeDisplay();   // Send the data to the display
  delay(5000);             // Wait for 5 seconds
}

Best Practices

  • I2C Addressing: If you are using multiple I2C devices, ensure that each device has a unique address. The 7 Segment FeatherWing address can be changed by soldering the address jumpers on the back of the PCB.
  • Power Supply: Do not exceed the recommended voltage as it may damage the display.
  • Handling: Be careful when handling the display to avoid static discharge or mechanical stress.

Troubleshooting and FAQs

Common Issues

  • Display Not Lighting Up: Check the power supply and I2C connections. Ensure that the correct I2C address is being used in your code.
  • Garbled Characters: This can be caused by incorrect data being sent to the display. Check your code for errors in the data output routines.
  • Partial Display: If only part of the display is working, there may be a cold solder joint or a damaged segment. Re-solder any suspect connections and inspect the segments.

FAQs

Q: Can I use the 7 Segment FeatherWing with a 5V Feather board? A: Yes, the display is compatible with both 3.3V and 5V logic levels.

Q: How do I change the I2C address? A: Solder the address jumpers on the back of the PCB to set the address between 0x70 and 0x77.

Q: Can I display letters as well as numbers? A: Yes, the display can show some basic alphanumeric characters. Refer to the Adafruit LED Backpack library for supported characters.

Q: How many of these displays can I chain together? A: You can chain up to 8 displays together, each with a unique I2C address.

For further assistance, consult the Adafruit support forums or the detailed guides available on the Adafruit Learning System website.