How to Use SHT40 Temperature & Humidity Sensor I2C: Examples, Pinouts, and Specs
Introduction
The SHT40 Temperature & Humidity Sensor, manufactured by Sensirion AG, is a highly accurate digital sensor designed to measure temperature and relative humidity. It features a compact design, low power consumption, and fast response times, making it ideal for a wide range of applications. The sensor communicates via the I2C interface, ensuring seamless integration with microcontrollers and other digital systems.
Explore Projects Built with SHT40 Temperature & Humidity Sensor I2C
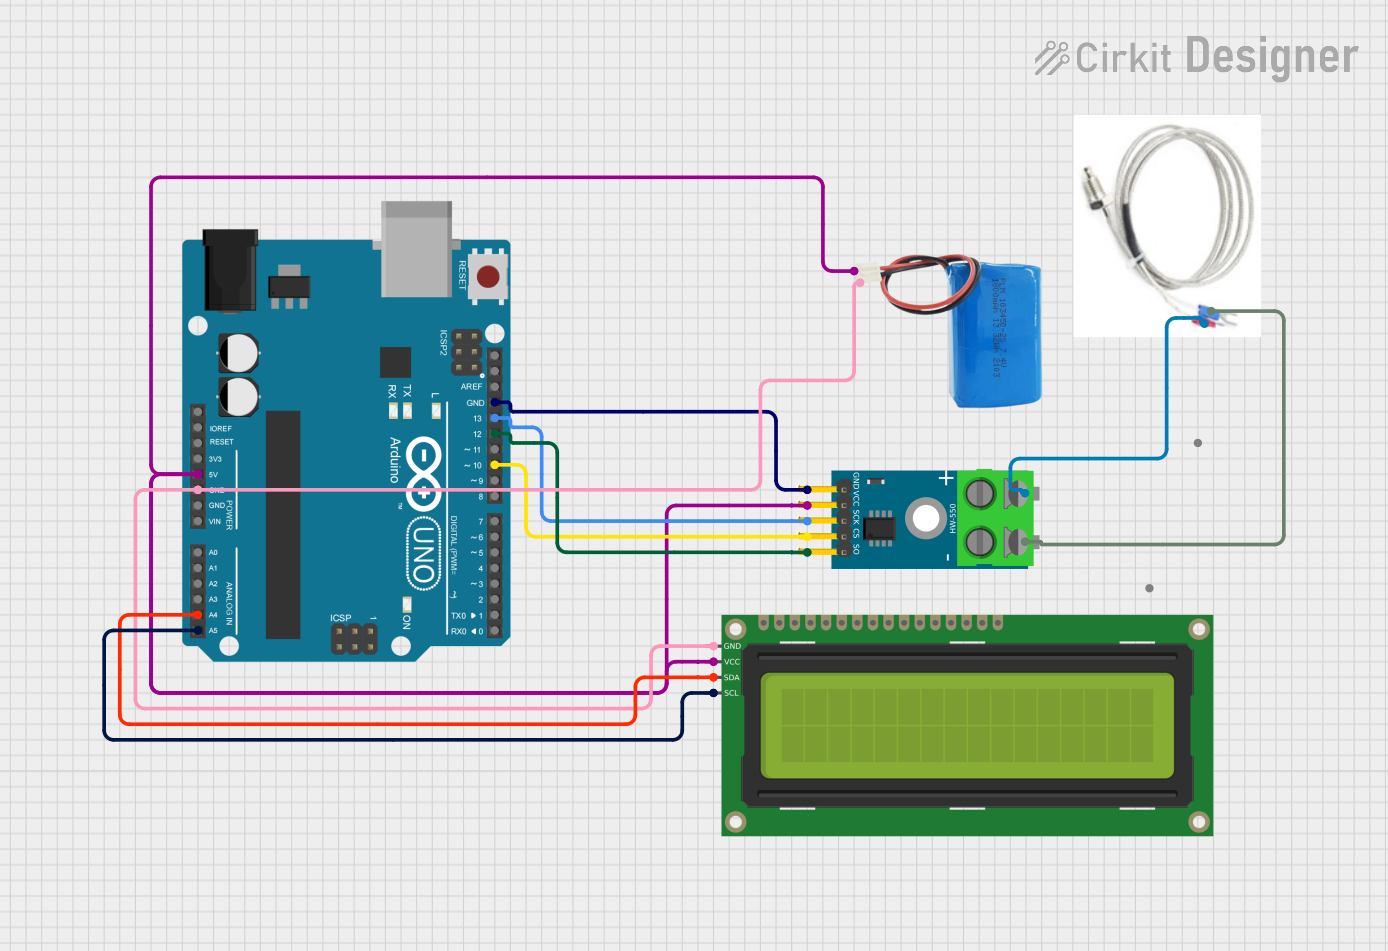

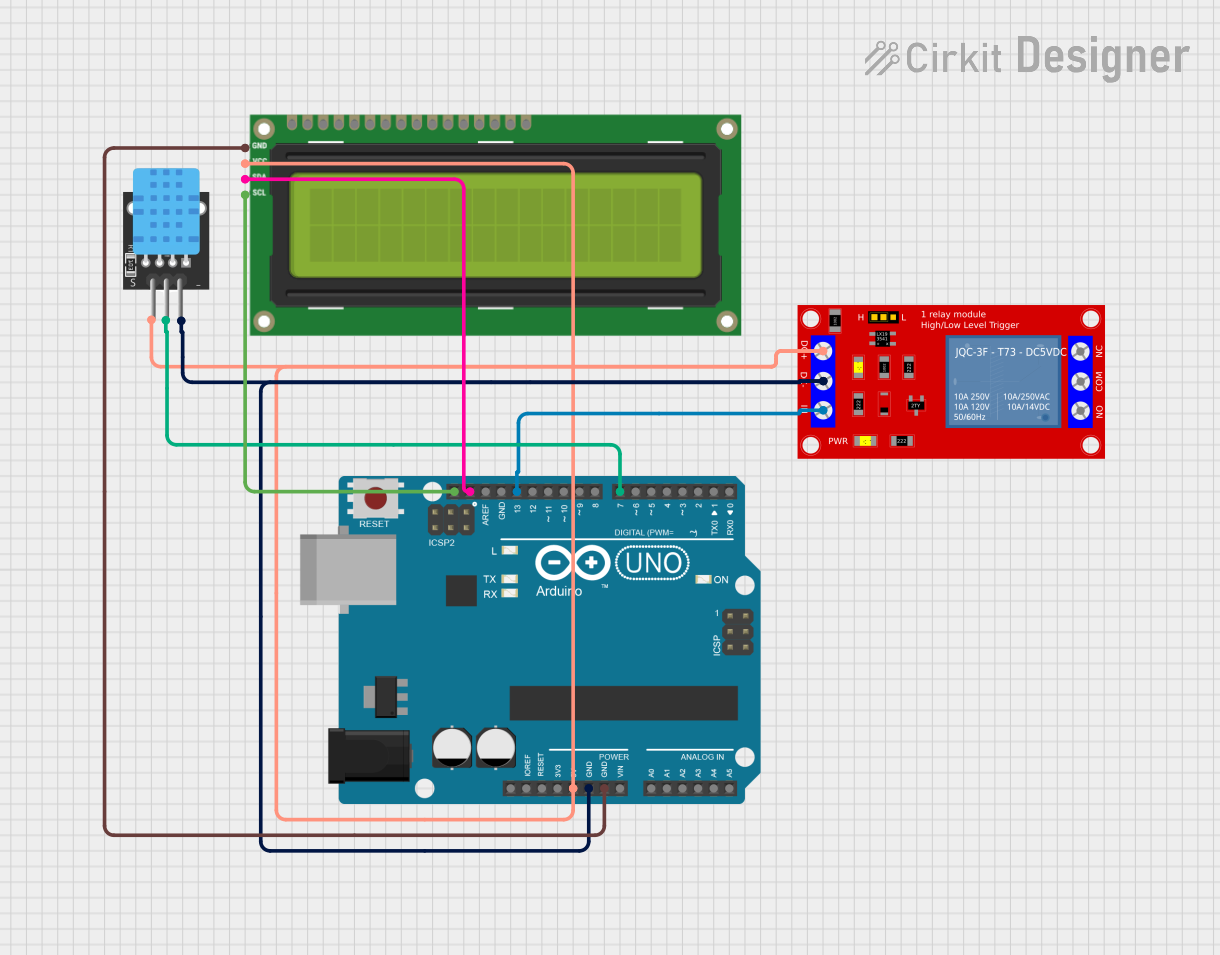
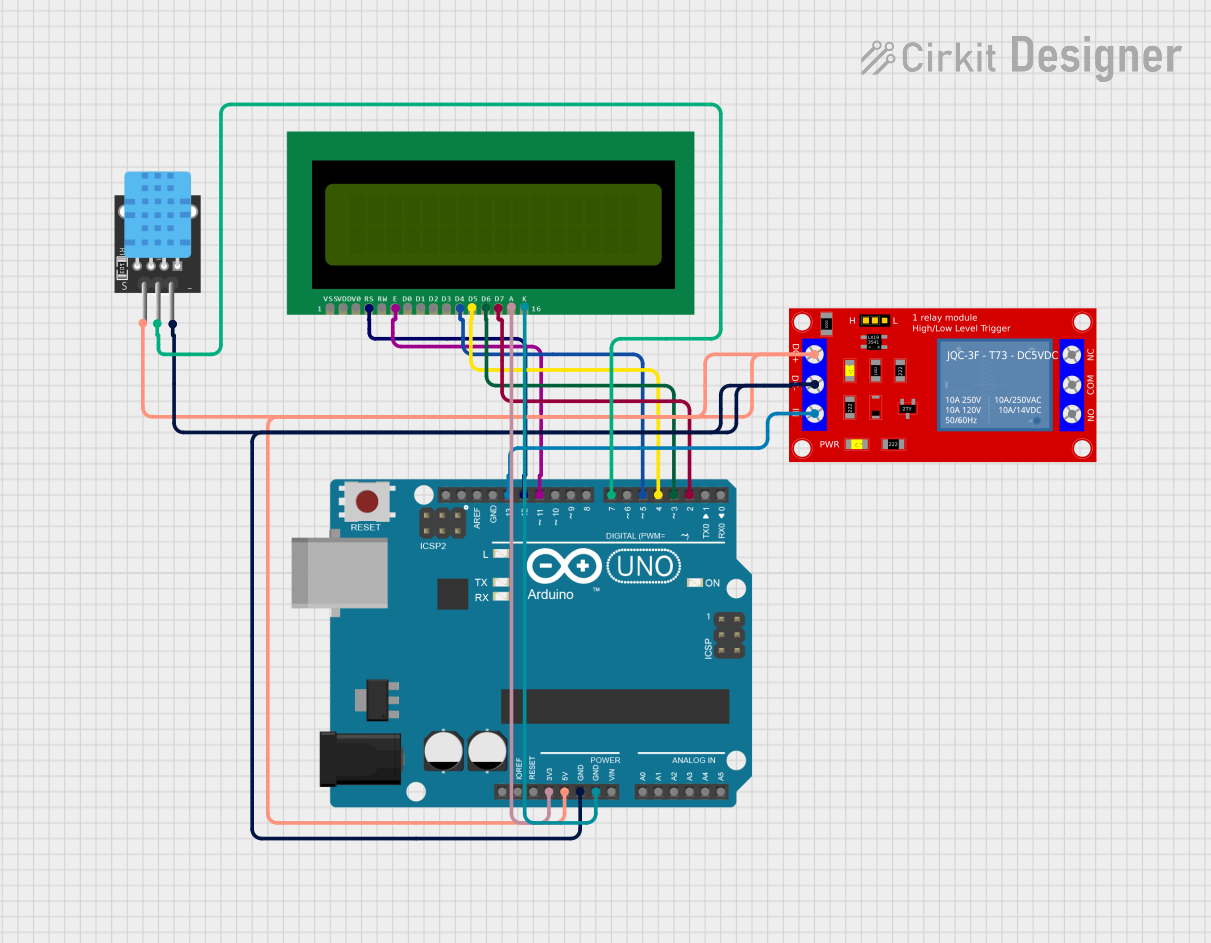
Explore Projects Built with SHT40 Temperature & Humidity Sensor I2C
Common Applications
- Environmental monitoring systems
- HVAC (Heating, Ventilation, and Air Conditioning) controls
- Weather stations
- IoT (Internet of Things) devices
- Industrial and consumer electronics
Technical Specifications
The following table outlines the key technical details of the SHT40 sensor:
| Parameter | Value |
|---|---|
| Supply Voltage (VDD) | 1.08V to 3.6V |
| Typical Operating Voltage | 3.3V |
| Current Consumption | 0.4 µA (standby), 900 µA (active) |
| Temperature Range | -40°C to +125°C |
| Temperature Accuracy | ±0.2°C (typical) |
| Humidity Range | 0% to 100% RH |
| Humidity Accuracy | ±1.8% RH (typical) |
| Communication Interface | I2C |
| I2C Address | 0x44 (default) |
| Response Time | < 8 seconds (humidity) |
| Dimensions | 1.5 mm x 1.5 mm x 0.5 mm |
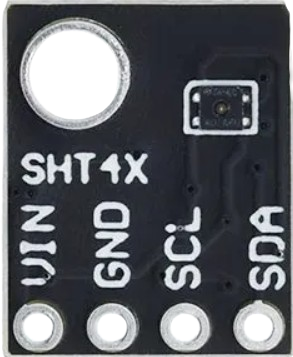
Pin Configuration and Descriptions
The SHT40 sensor has four pins, as described in the table below:
| Pin Name | Pin Number | Description |
|---|---|---|
| VDD | 1 | Power supply pin (1.08V to 3.6V) |
| GND | 2 | Ground pin |
| SDA | 3 | I2C data line |
| SCL | 4 | I2C clock line |
Usage Instructions
How to Use the SHT40 in a Circuit
- Power Supply: Connect the VDD pin to a 3.3V power source and the GND pin to ground.
- I2C Communication: Connect the SDA and SCL pins to the corresponding I2C pins on your microcontroller. Use pull-up resistors (typically 4.7 kΩ) on both SDA and SCL lines.
- Address Selection: The default I2C address of the SHT40 is
0x44. Ensure no other devices on the I2C bus share this address. - Bypass Capacitor: Place a 100 nF capacitor close to the VDD and GND pins to stabilize the power supply.
Best Practices
- Avoid exposing the sensor to extreme conditions (e.g., condensation, dust) to maintain accuracy.
- Use a protective cover or filter in environments with high contamination.
- Calibrate the sensor periodically if used in critical applications.
Example Code for Arduino UNO
Below is an example of how to interface the SHT40 with an Arduino UNO using the I2C protocol. This code uses the Sensirion SHT4x library, which can be installed via the Arduino Library Manager.
#include <Wire.h>
#include <SensirionI2CSht4x.h>

// Create an instance of the SHT4x sensor
SensirionI2CSht4x sht40;

// Variables to store temperature and humidity readings
float temperature;
float humidity;

void setup() {
  Wire.begin(); // Initialize I2C communication
  Serial.begin(9600); // Start serial communication for debugging

  // Initialize the SHT40 sensor
  sht40.begin(Wire);
  uint16_t error = sht40.reset();
  if (error) {
    Serial.print("Error initializing SHT40: ");
    Serial.println(error);
    while (1); // Halt execution if initialization fails
  }

  Serial.println("SHT40 initialized successfully!");
}

void loop() {
  // Read temperature and humidity from the sensor
  uint16_t error = sht40.measureHighPrecision(temperature, humidity);
  if (error) {
    Serial.print("Error reading from SHT40: ");
    Serial.println(error);
    delay(1000); // Wait before retrying
    return;
  }

  // Print the readings to the Serial Monitor
  Serial.print("Temperature: ");
  Serial.print(temperature);
  Serial.println(" °C");

  Serial.print("Humidity: ");
  Serial.print(humidity);
  Serial.println(" %RH");

  delay(2000); // Wait 2 seconds before the next reading
}
Notes
- Ensure the pull-up resistors are connected to the SDA and SCL lines.
- Use a regulated 3.3V power supply for optimal performance.
Troubleshooting and FAQs
Common Issues and Solutions
No Response from the Sensor
- Cause: Incorrect I2C address or wiring.
- Solution: Verify the I2C address (
0x44) and check all connections.
Inaccurate Readings
- Cause: Sensor exposed to contaminants or condensation.
- Solution: Clean the sensor gently or use a protective cover.
I2C Communication Errors
- Cause: Missing pull-up resistors or incorrect clock speed.
- Solution: Add 4.7 kΩ pull-up resistors to SDA and SCL lines. Ensure the I2C clock speed is set to 100 kHz or 400 kHz.
Sensor Overheating
- Cause: Prolonged exposure to high temperatures.
- Solution: Ensure the sensor operates within the specified temperature range (-40°C to +125°C).
FAQs
Q: Can the SHT40 operate at 5V?
A: No, the SHT40 operates within a supply voltage range of 1.08V to 3.6V. Use a voltage regulator if your system operates at 5V.
Q: How do I protect the sensor in harsh environments?
A: Use a protective filter or housing to shield the sensor from dust, water, and other contaminants.
Q: What is the typical response time of the sensor?
A: The SHT40 has a response time of less than 8 seconds for humidity measurements.
Q: Can I use multiple SHT40 sensors on the same I2C bus?
A: The SHT40 has a fixed I2C address (0x44), so multiple sensors cannot share the same bus unless an I2C multiplexer is used.
This concludes the documentation for the SHT40 Temperature & Humidity Sensor.