Cirkit Designer Logo
Cirkit Designer
Your all-in-one circuit design IDE
Home / 
Component Documentation

How to Use Adafruit 3.5in 480x320 TFT FeatherWing: Examples, Pinouts, and Specs

Image of Adafruit 3.5in 480x320 TFT FeatherWing
Cirkit Designer LogoDesign with Adafruit 3.5in 480x320 TFT FeatherWing in Cirkit Designer

Introduction

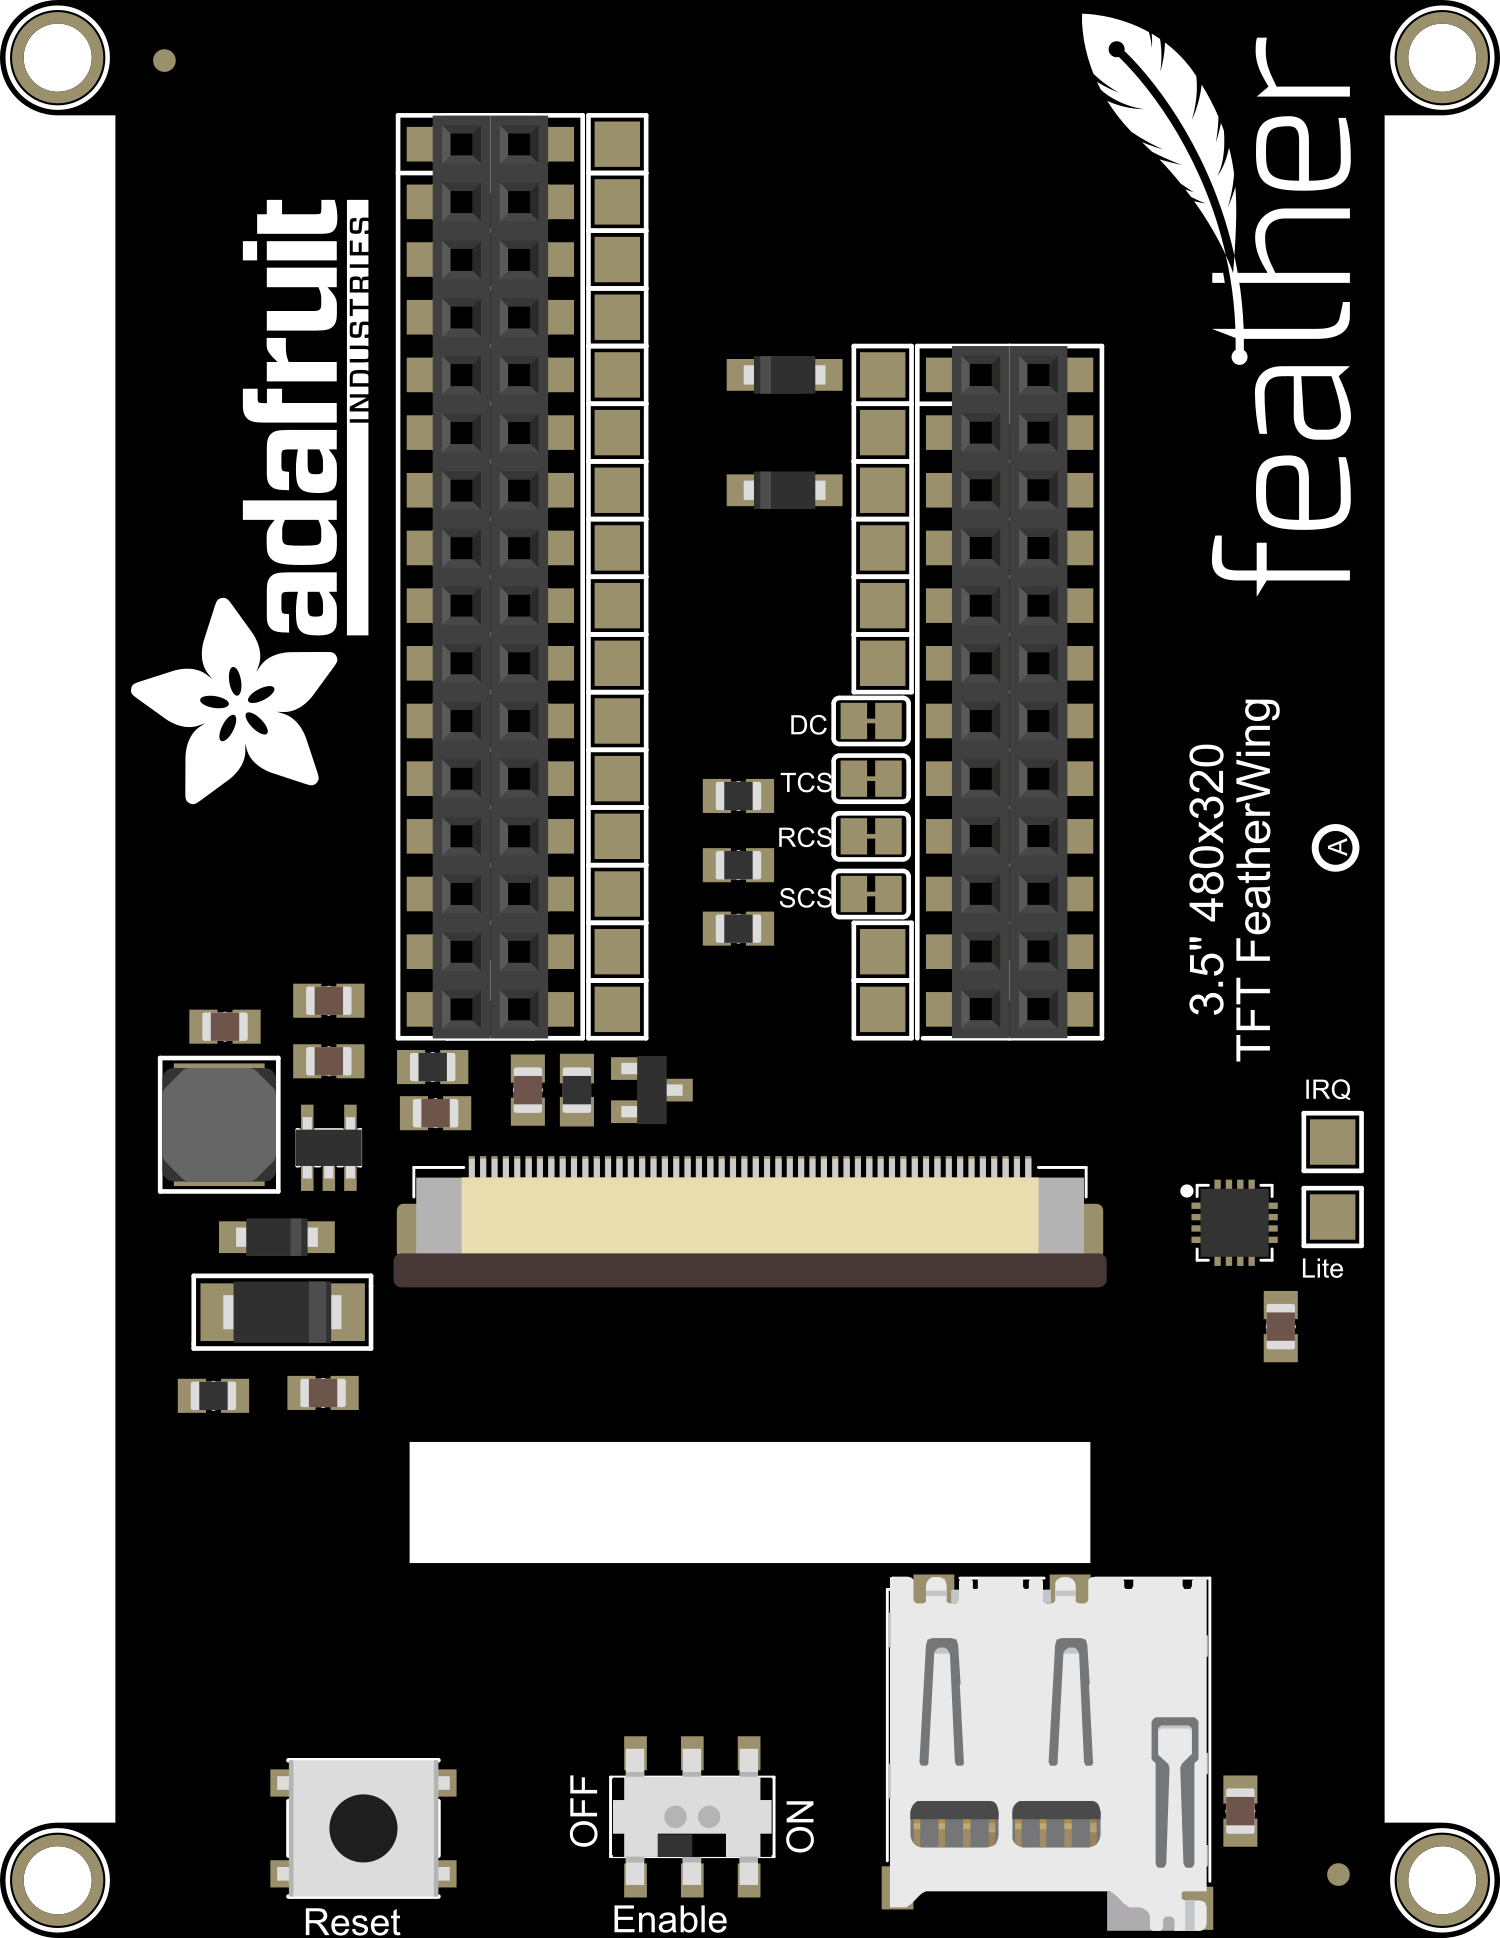
The Adafruit 3.5in 480x320 TFT FeatherWing is a vibrant, full-color display module that provides a high-resolution interface for Adafruit Feather boards. With its 3.5-inch screen and 480x320 pixel resolution, it is an excellent choice for projects requiring graphical output, such as handheld games, data monitors, or interactive control panels.

Explore Projects Built with Adafruit 3.5in 480x320 TFT FeatherWing

Use Cirkit Designer to design, explore, and prototype these projects online. Some projects support real-time simulation. Click "Open Project" to start designing instantly!
Arduino Mega 2560 Controlled TFT Touchscreen Interface
Image of Tablero Moto: A project utilizing Adafruit 3.5in 480x320 TFT FeatherWing in a practical application
This circuit connects an Arduino Mega 2560 microcontroller to a 3.5-inch 480x320 TFT LCD display. The Arduino provides power, ground, and digital signals to control the display, including data lines for pixel information and control lines for reset, write, and command/data selection. The embedded code initializes the display and configures the Arduino's pins for communication, likely to create a user interface or visual output for a project.
Cirkit Designer LogoOpen Project in Cirkit Designer
Arduino UNO and OLED FeatherWing Display: Battery-Powered Hello World Project
Image of ARDUINO_SSD1306: A project utilizing Adafruit 3.5in 480x320 TFT FeatherWing in a practical application
This circuit consists of an Arduino UNO connected to an Adafruit OLED FeatherWing display via I2C communication (SDA and SCL lines). The Arduino is powered through a Vcc source and provides 3.3V and GND connections to the OLED display. The Arduino runs a program to display 'Hello, World!' on the OLED screen.
Cirkit Designer LogoOpen Project in Cirkit Designer
Arduino Nano and 3.5 TFT LCD Shield Display Interface
Image of BAROMETR BMP280 TFT 9488: A project utilizing Adafruit 3.5in 480x320 TFT FeatherWing in a practical application
This circuit interfaces an Arduino Nano with a 3.5-inch TFT LCD Shield, allowing the Arduino to control the display and read/write data to it. The connections include data lines, control signals, and power, enabling the Arduino to drive the LCD for various display applications.
Cirkit Designer LogoOpen Project in Cirkit Designer
ESP32-Based Vibration Feedback System with Quad Alphanumeric Display and ADXL343 Accelerometer
Image of EC444 - Quest 3: A project utilizing Adafruit 3.5in 480x320 TFT FeatherWing in a practical application
This circuit features an Adafruit HUZZAH32 ESP32 Feather board as the central microcontroller, which is connected to an Adafruit Quad AlphaNumeric Featherwing display and an Adafruit ADXL343 accelerometer via I2C communication (SCL and SDA lines). The ESP32 controls a vibration motor connected to one of its GPIO pins (A5_IO4) and shares a common power supply (3.3V) and ground (GND) with the other components. The purpose of this circuit is likely to read acceleration data, display information on the alphanumeric display, and provide haptic feedback through the vibration motor.
Cirkit Designer LogoOpen Project in Cirkit Designer

Explore Projects Built with Adafruit 3.5in 480x320 TFT FeatherWing

Use Cirkit Designer to design, explore, and prototype these projects online. Some projects support real-time simulation. Click "Open Project" to start designing instantly!
Image of Tablero Moto: A project utilizing Adafruit 3.5in 480x320 TFT FeatherWing in a practical application
Arduino Mega 2560 Controlled TFT Touchscreen Interface
This circuit connects an Arduino Mega 2560 microcontroller to a 3.5-inch 480x320 TFT LCD display. The Arduino provides power, ground, and digital signals to control the display, including data lines for pixel information and control lines for reset, write, and command/data selection. The embedded code initializes the display and configures the Arduino's pins for communication, likely to create a user interface or visual output for a project.
Cirkit Designer LogoOpen Project in Cirkit Designer
Image of ARDUINO_SSD1306: A project utilizing Adafruit 3.5in 480x320 TFT FeatherWing in a practical application
Arduino UNO and OLED FeatherWing Display: Battery-Powered Hello World Project
This circuit consists of an Arduino UNO connected to an Adafruit OLED FeatherWing display via I2C communication (SDA and SCL lines). The Arduino is powered through a Vcc source and provides 3.3V and GND connections to the OLED display. The Arduino runs a program to display 'Hello, World!' on the OLED screen.
Cirkit Designer LogoOpen Project in Cirkit Designer
Image of BAROMETR BMP280 TFT 9488: A project utilizing Adafruit 3.5in 480x320 TFT FeatherWing in a practical application
Arduino Nano and 3.5 TFT LCD Shield Display Interface
This circuit interfaces an Arduino Nano with a 3.5-inch TFT LCD Shield, allowing the Arduino to control the display and read/write data to it. The connections include data lines, control signals, and power, enabling the Arduino to drive the LCD for various display applications.
Cirkit Designer LogoOpen Project in Cirkit Designer
Image of EC444 - Quest 3: A project utilizing Adafruit 3.5in 480x320 TFT FeatherWing in a practical application
ESP32-Based Vibration Feedback System with Quad Alphanumeric Display and ADXL343 Accelerometer
This circuit features an Adafruit HUZZAH32 ESP32 Feather board as the central microcontroller, which is connected to an Adafruit Quad AlphaNumeric Featherwing display and an Adafruit ADXL343 accelerometer via I2C communication (SCL and SDA lines). The ESP32 controls a vibration motor connected to one of its GPIO pins (A5_IO4) and shares a common power supply (3.3V) and ground (GND) with the other components. The purpose of this circuit is likely to read acceleration data, display information on the alphanumeric display, and provide haptic feedback through the vibration motor.
Cirkit Designer LogoOpen Project in Cirkit Designer

Common Applications and Use Cases

  • Portable gaming systems
  • Data visualization for sensors
  • User interfaces for projects
  • Image and video display

Technical Specifications

Key Technical Details

  • Display Size: 3.5 inches diagonal
  • Resolution: 480x320 pixels
  • Interface: SPI
  • Touch Screen: Resistive touch overlay
  • Backlight: LED

Pin Configuration and Descriptions

Pin Name Description
SCK SPI Clock
MOSI SPI Master Out Slave In
MISO SPI Master In Slave Out (not used)
CS Chip Select for the TFT display
D/C Data/Command control pin
RESET Reset pin for the TFT
T_CS Touch screen chip select
T_IRQ Touch screen interrupt pin (optional)

Usage Instructions

How to Use the Component in a Circuit

  1. Connecting to a Feather Board:

    • Align the headers of the TFT FeatherWing with the corresponding sockets on the Feather board and press gently to connect.
    • Ensure that the pins are correctly aligned to avoid damaging the board.
  2. Powering the Display:

    • The TFT FeatherWing is powered through the Feather board. No additional power supply is needed.
  3. Programming the Display:

    • Use the Adafruit GFX library for drawing graphics and text on the screen.
    • Use the Adafruit STMPE610 library if you need to read touch inputs.

Important Considerations and Best Practices

  • Static Sensitivity: Handle the display with care to avoid electrostatic discharge damage.
  • Power Requirements: Ensure that your Feather board can supply enough current for the display, especially when using the backlight at full brightness.
  • Screen Protection: Consider adding a screen protector to prevent scratches on the touch surface.

Example Code for Arduino UNO

#include <Adafruit_GFX.h>    // Core graphics library
#include <Adafruit_TFTLCD.h> // Hardware-specific library

#define LCD_CS A3 // Chip Select goes to Analog 3
#define LCD_CD A2 // Command/Data goes to Analog 2
#define LCD_WR A1 // LCD Write goes to Analog 1
#define LCD_RD A0 // LCD Read goes to Analog 0
#define LCD_RESET A4 // Can alternately just connect to Arduino's reset pin

Adafruit_TFTLCD tft(LCD_CS, LCD_CD, LCD_WR, LCD_RD, LCD_RESET);

void setup() {
  Serial.begin(9600);
  tft.reset();
  uint16_t identifier = tft.readID();
  tft.begin(identifier);
  tft.fillScreen(BLACK);
}

void loop() {
  // Basic test code to display colors
  tft.fillScreen(RED);
  delay(500);
  tft.fillScreen(GREEN);
  delay(500);
  tft.fillScreen(BLUE);
  delay(500);
}

Note: This example assumes the use of an Arduino UNO with the Adafruit TFTLCD library. Make sure to install the library using the Arduino Library Manager before uploading the code.

Troubleshooting and FAQs

Common Issues Users Might Face

  • Display Not Lighting Up: Check the connections between the FeatherWing and the Feather board. Ensure that the pins are correctly aligned and fully inserted.
  • Touch Not Responsive: Verify that the T_CS and T_IRQ pins are properly connected if using the touch features. Also, ensure that the STMPE610 library is correctly installed and initialized in your code.
  • Garbled or No Display: Make sure that the correct driver is selected in your code for the TFT controller. Reset the board and re-upload the code if necessary.

Solutions and Tips for Troubleshooting

  • Check Connections: Loose or incorrect connections are often the cause of issues. Double-check all connections.
  • Update Libraries: Ensure that you have the latest version of the Adafruit GFX and other relevant libraries.
  • Power Supply: Insufficient power can cause the display to malfunction. Make sure your Feather board is supplied with adequate power.

FAQs:

Q: Can I use the TFT FeatherWing with boards other than Feather? A: While designed for Feather boards, with proper wiring and code modifications, it can be used with other microcontrollers that support SPI.

Q: Is the display sunlight-readable? A: The TFT FeatherWing is not optimized for sunlight readability. It is best viewed indoors or in shaded areas.

Q: How do I calibrate the touch screen? A: Use the calibration sketch provided with the STMPE610 library to calibrate the touch screen for accurate input.