
How to Use 5inch Capacitive Touch Screen LCD (H) Slimmed-down Version, 800×480, HDMI, Toughened Glass Panel, Low Power: Examples, Pinouts, and Specs
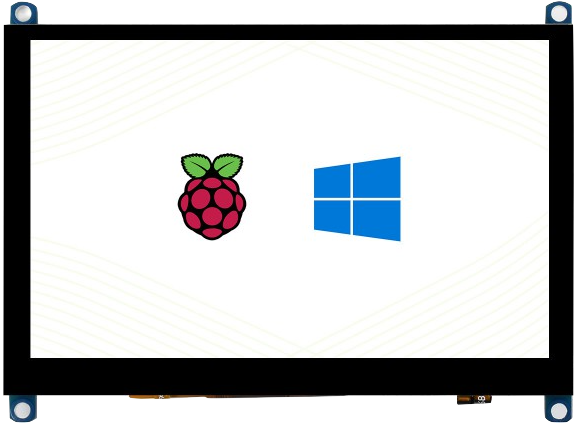
 Design with 5inch Capacitive Touch Screen LCD (H) Slimmed-down Version, 800×480, HDMI, Toughened Glass Panel, Low Power in Cirkit Designer
Introduction
The 5inch Capacitive Touch Screen LCD (H) Slimmed-down Version (Manufacturer Part ID: 20109) by Waveshare is a compact and versatile display module. It features a capacitive touch panel with a resolution of 800×480 pixels, making it ideal for applications requiring a high-quality visual interface. The display is equipped with an HDMI interface for seamless connectivity and is protected by a toughened glass panel, ensuring durability. Its low power consumption makes it suitable for portable and energy-efficient projects.
Explore Projects Built with 5inch Capacitive Touch Screen LCD (H) Slimmed-down Version, 800×480, HDMI, Toughened Glass Panel, Low Power
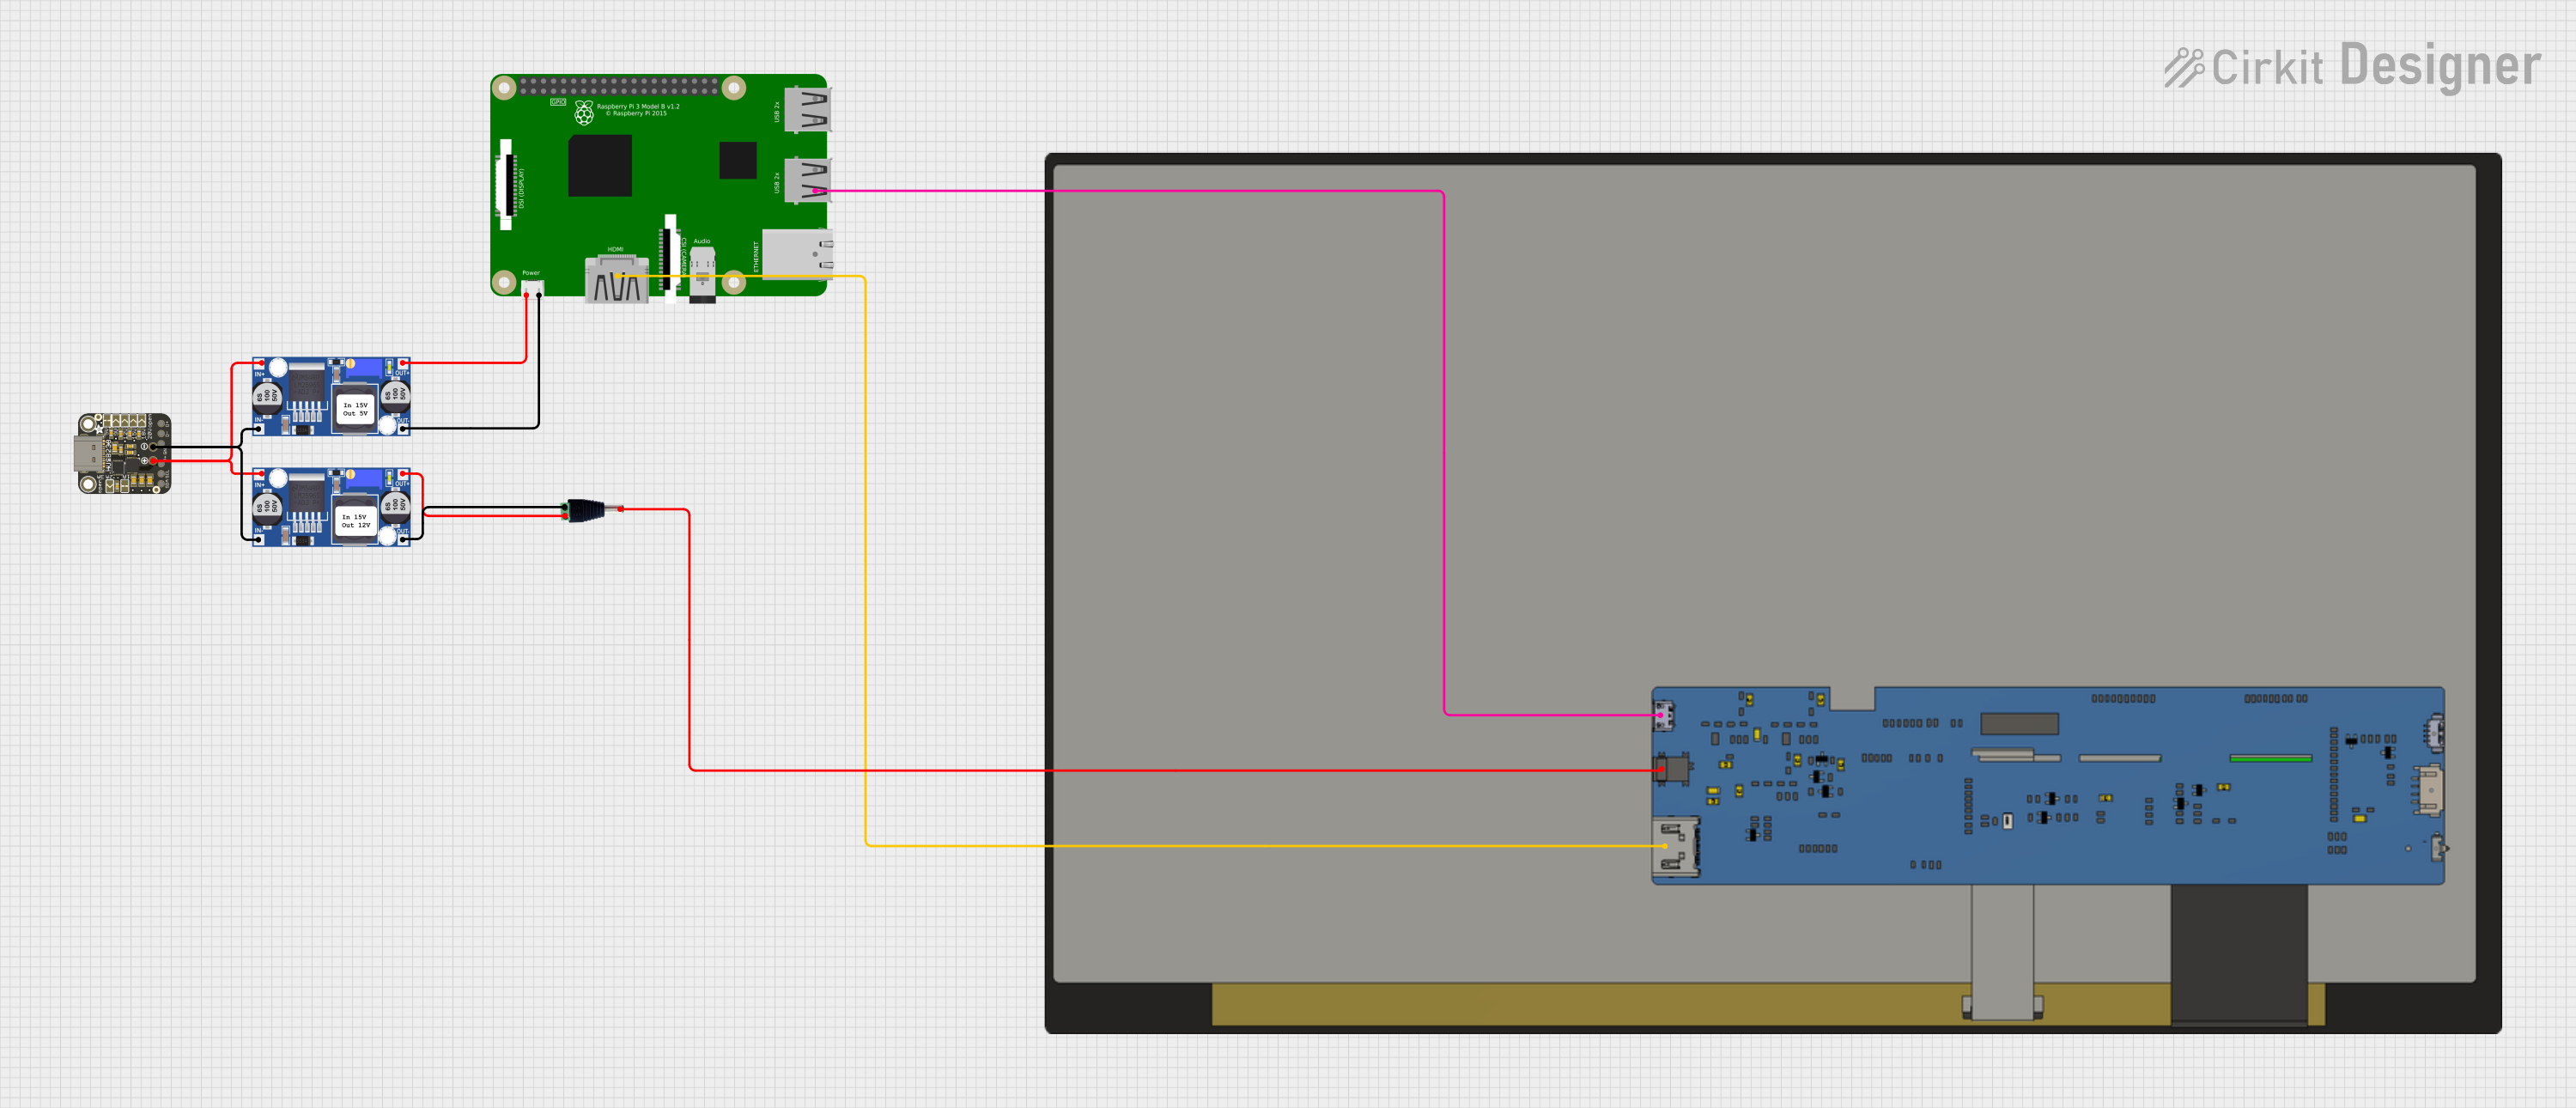 Open Project in Cirkit Designer
 Open Project in Cirkit Designer
 Open Project in Cirkit Designer
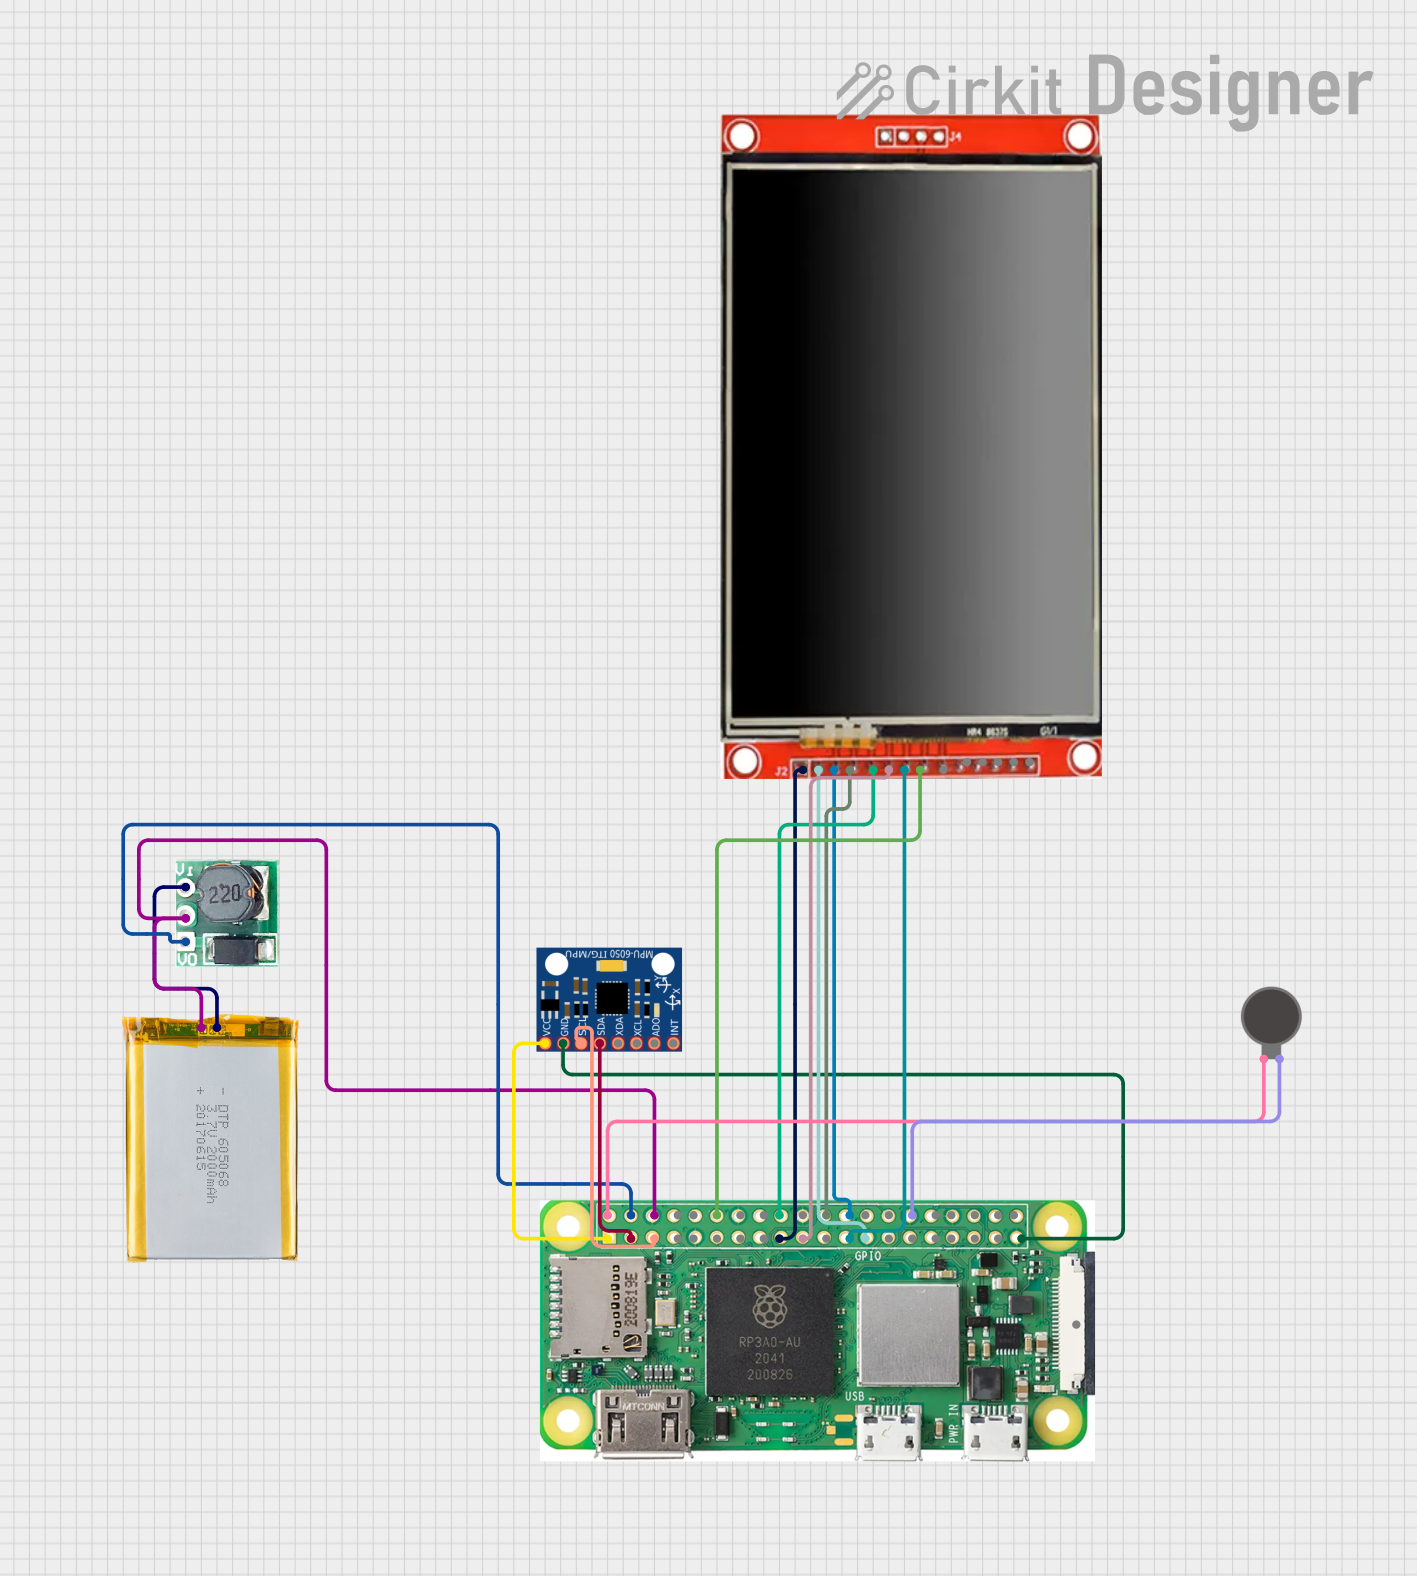 Open Project in Cirkit Designer
Explore Projects Built with 5inch Capacitive Touch Screen LCD (H) Slimmed-down Version, 800×480, HDMI, Toughened Glass Panel, Low Power
Open Project in Cirkit DesignerOpen Project in Cirkit DesignerOpen Project in Cirkit DesignerOpen Project in Cirkit DesignerCommon Applications
- Embedded Systems: Ideal for Raspberry Pi, Arduino, and other microcontroller-based projects.
- Human-Machine Interfaces (HMI): Used in industrial control panels and kiosks.
- Portable Devices: Suitable for handheld devices requiring a touch interface.
- Prototyping: Perfect for developers creating interactive prototypes.
- Educational Projects: Great for learning and experimenting with touch screen technology.
Technical Specifications
Key Technical Details
| Parameter | Specification |
|---|---|
| Display Size | 5 inches |
| Resolution | 800×480 pixels |
| Touch Technology | Capacitive |
| Interface | HDMI |
| Touch Interface | USB |
| Power Supply Voltage | 5V (via USB) |
| Power Consumption | Low power |
| Panel Material | Toughened glass |
| Dimensions | 121.11mm × 76.31mm × 7.5mm |
| Weight | ~110g |
Pin Configuration and Descriptions
HDMI Interface
| Pin Name | Description |
|---|---|
| HDMI | Standard HDMI input for video signal |
USB Interface
| Pin Name | Description |
|---|---|
| USB | Provides power and touch interface |
Usage Instructions
Connecting the Display
- Power Supply: Connect the USB cable to the display's USB port and a 5V power source (e.g., a USB port on your computer or a power adapter).
- Video Input: Connect the HDMI cable from the display to the HDMI output of your device (e.g., Raspberry Pi, PC, or other HDMI-enabled devices).
- Touch Interface: Ensure the USB cable is connected to the host device to enable touch functionality.
Using with Raspberry Pi
- Connect the Display:
- Plug the HDMI cable into the Raspberry Pi's HDMI port.
- Connect the USB cable to the Raspberry Pi for power and touch functionality.
- Configure the Resolution:
- Open the Raspberry Pi's
config.txtfile:sudo nano /boot/config.txt - Add the following lines to set the resolution:
hdmi_group=2 hdmi_mode=87 hdmi_cvt=800 480 60 6 0 0 0 hdmi_drive=2 - Save and exit the file, then reboot the Raspberry Pi:
sudo reboot
- Open the Raspberry Pi's
Using with Arduino UNO
The display is not directly compatible with Arduino UNO due to its HDMI interface. However, it can be used with an Arduino-compatible HDMI shield or as a secondary display for an Arduino-based system.
Best Practices
- Use a high-quality HDMI cable to ensure stable video output.
- Avoid exposing the display to extreme temperatures or physical shocks.
- Clean the toughened glass panel with a soft, lint-free cloth to prevent scratches.
Troubleshooting and FAQs
Common Issues and Solutions
No Display Output:
- Ensure the HDMI cable is securely connected to both the display and the host device.
- Verify that the host device is outputting video to the HDMI port.
- Check the power supply; ensure the USB cable is providing sufficient power.
Touch Functionality Not Working:
- Confirm that the USB cable is connected to the host device.
- Ensure the host device has the necessary USB drivers installed.
- Test the USB connection with another port or device.
Resolution Issues:
- For Raspberry Pi, ensure the correct resolution settings are added to the
config.txtfile. - For other devices, check the display settings and set the resolution to 800×480.
- For Raspberry Pi, ensure the correct resolution settings are added to the
Screen Flickering:
- Use a stable power source to avoid voltage fluctuations.
- Replace the HDMI cable if it is damaged or of low quality.
FAQs
Q: Can this display be used with a PC?
A: Yes, the display can be connected to a PC via HDMI for video and USB for touch functionality.
Q: Is the touch panel multi-touch capable?
A: Yes, the capacitive touch panel supports multi-touch gestures.
Q: Does the display require additional drivers?
A: For most systems (e.g., Raspberry Pi, Windows, Linux), no additional drivers are required. However, ensure your system supports USB touch input.
Q: Can I power the display using a power bank?
A: Yes, the display can be powered using a 5V USB power bank.
Q: Is the display compatible with other microcontrollers?
A: The display can be used with microcontrollers that support HDMI output, such as Raspberry Pi or HDMI shields for Arduino.