How to Use 220 fan: Examples, Pinouts, and Specs
Introduction
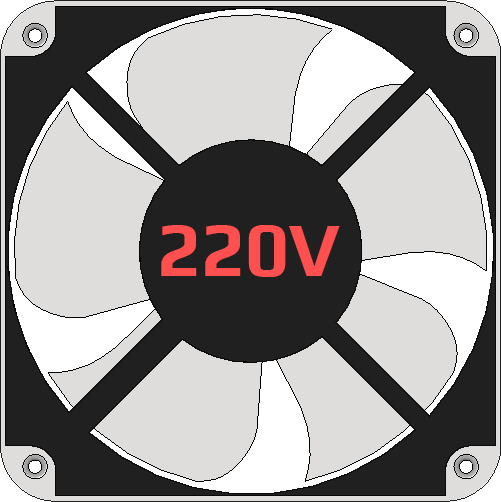
A 220 volt fan is an electromechanical device designed to move air for the purposes of cooling, ventilation, or exhaust. It operates on a 220 volt electrical system, which is a common voltage for residential and commercial power in many countries. These fans are widely used in various applications such as HVAC systems, electronics cooling, industrial processes, and in residential settings for comfort and air quality management.
Explore Projects Built with 220 fan
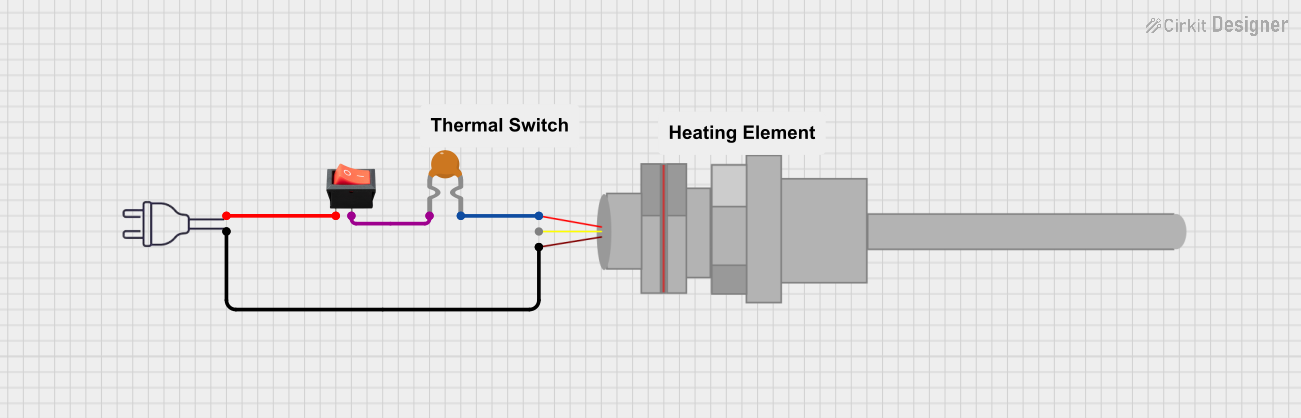

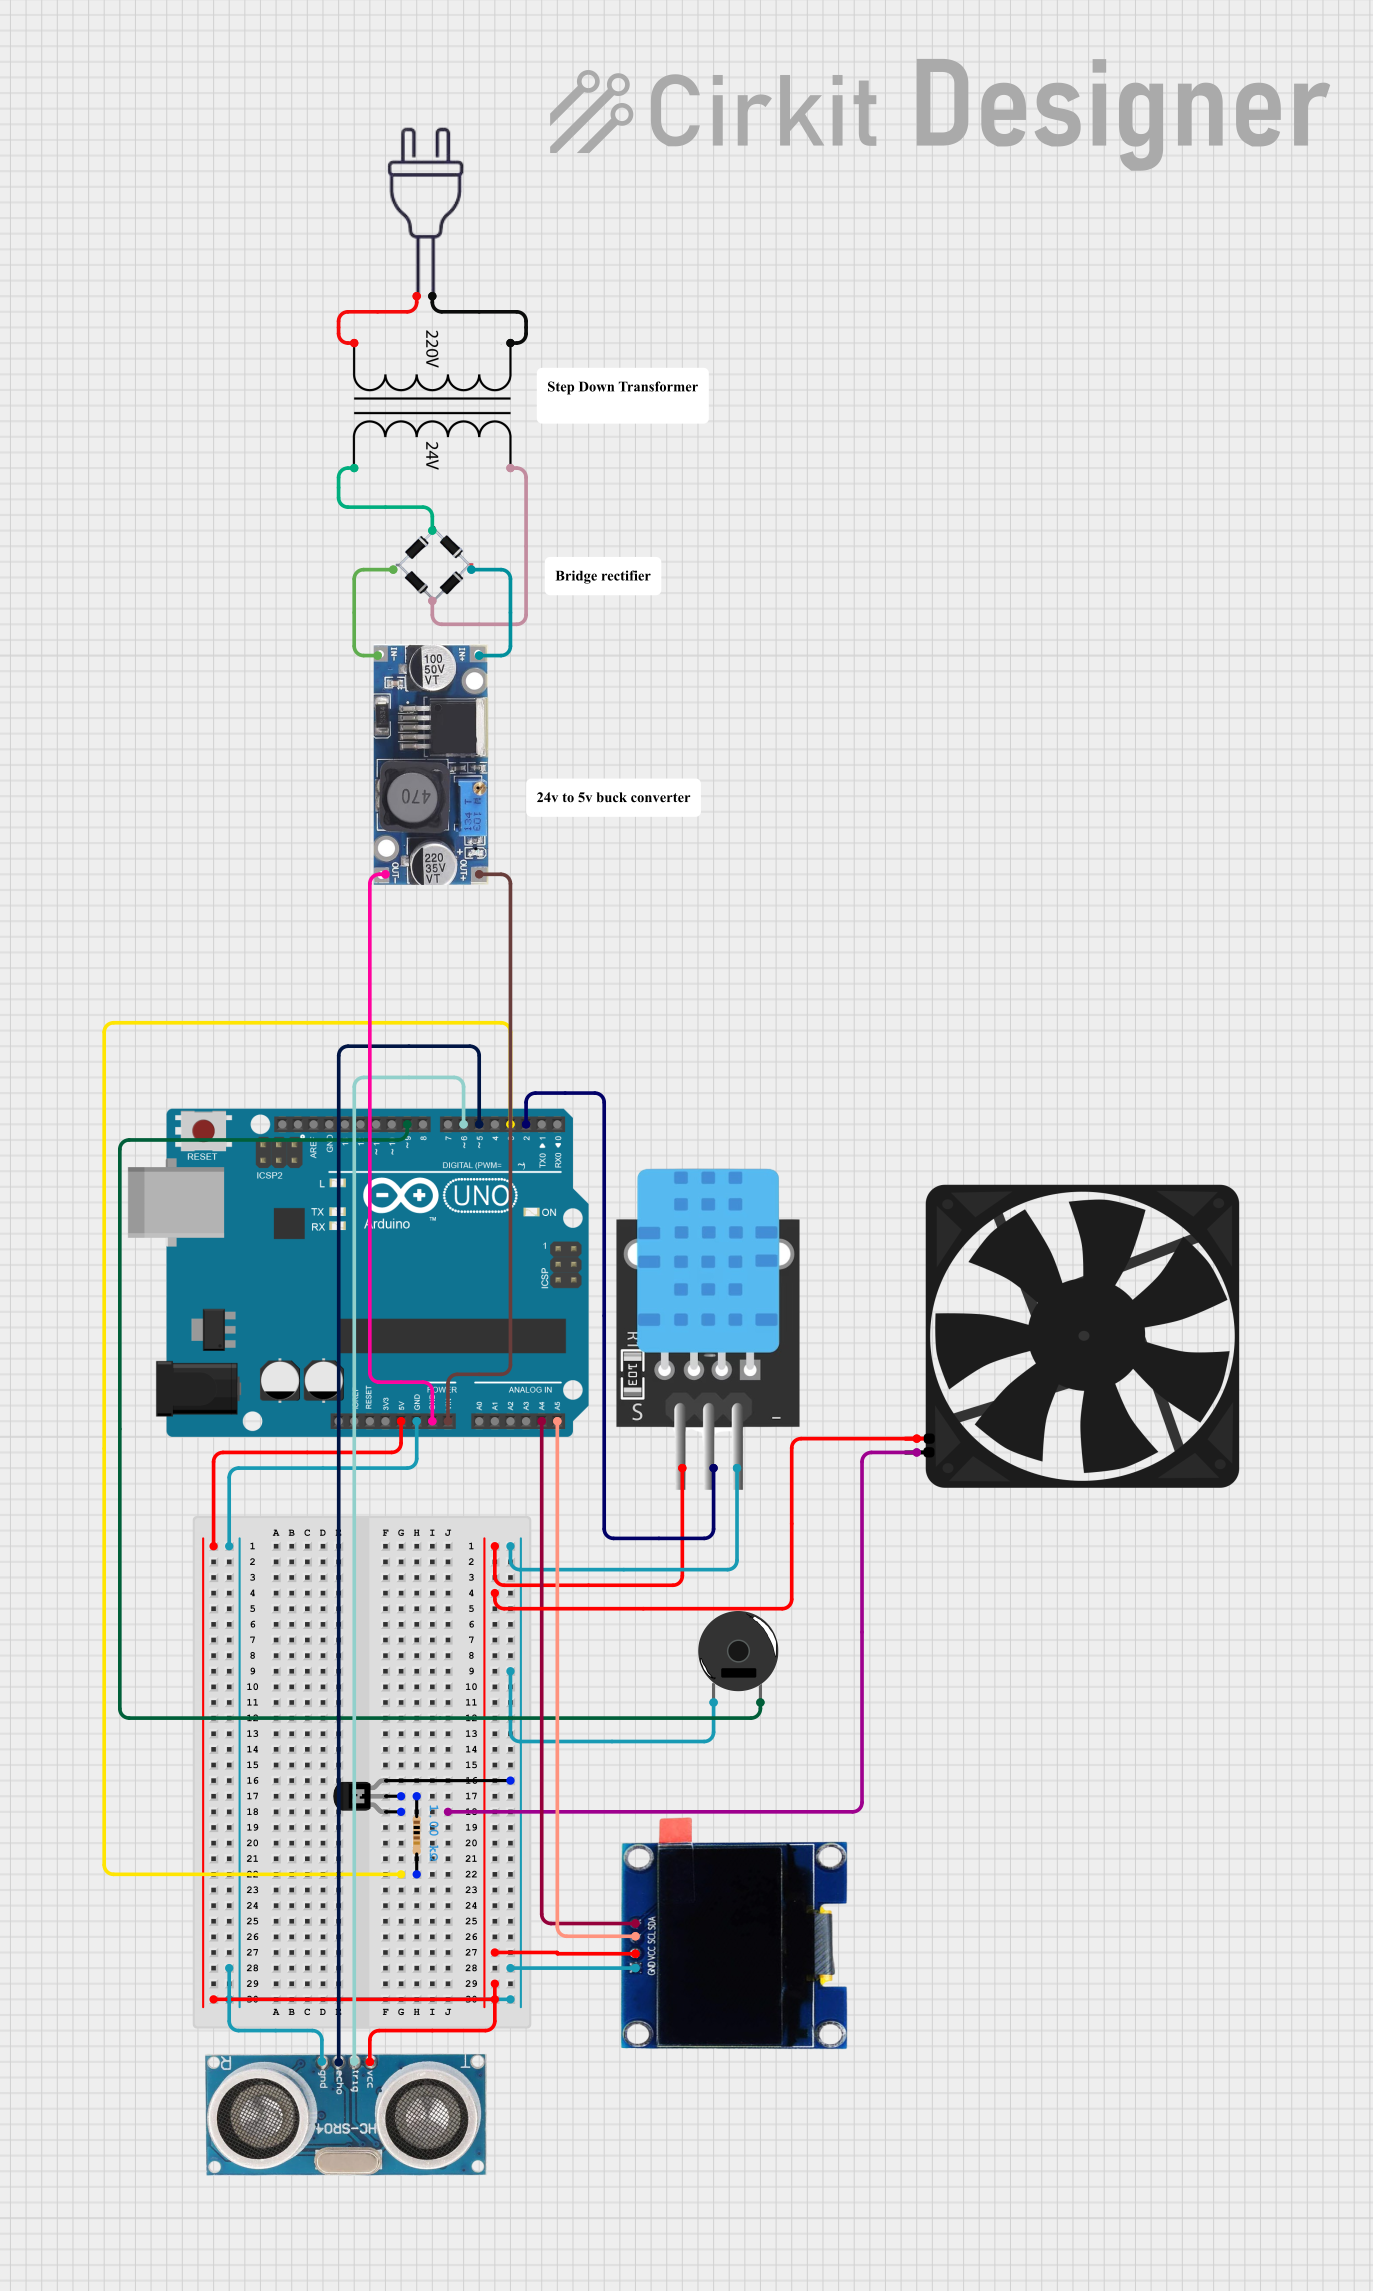
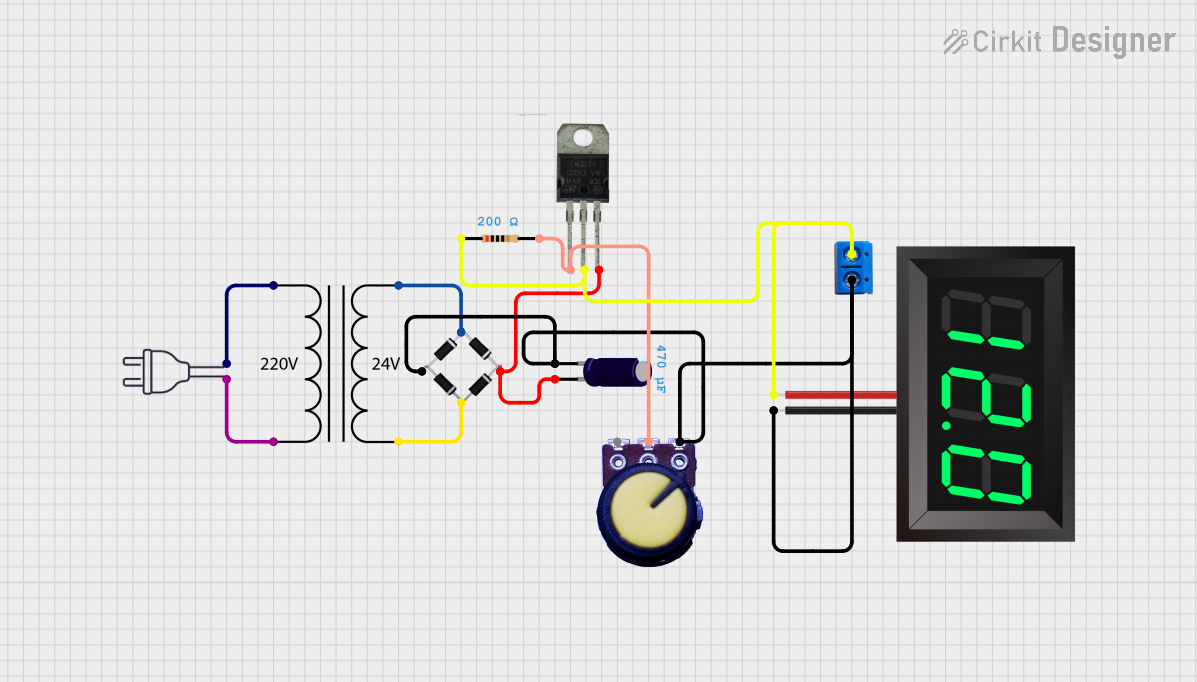
Explore Projects Built with 220 fan
Technical Specifications
General Specifications
- Voltage Rating: 220V AC
- Frequency: 50/60 Hz
- Power Consumption: Varies with model (e.g., 20W, 50W, 100W)
- Speed: Varies with model (e.g., 1200 RPM, 1500 RPM)
- Airflow: Varies with model (e.g., 100 CFM, 200 CFM)
- Noise Level: Varies with model (e.g., 30 dB, 40 dB)
- Operating Temperature: -10°C to 70°C
- Life Expectancy: Varies with model (e.g., 30,000 hours, 50,000 hours)
Pin Configuration and Descriptions
Since a 220 volt fan typically has two wires for connection, a pin configuration table is not applicable. However, the wire descriptions are as follows:
| Wire Color | Description |
|---|---|
| Brown/Black | Live wire (connects to the phase of AC supply) |
| Blue/White | Neutral wire (connects to the neutral of AC supply) |
Usage Instructions
Installation
- Safety First: Ensure that the power supply is turned off before attempting to install the fan.
- Mounting: Secure the fan in the desired location using appropriate screws or mounting brackets provided by the manufacturer.
- Wiring: Connect the live wire (brown or black) to the phase of the AC supply and the neutral wire (blue or white) to the neutral of the AC supply. It is recommended to use a connector block or terminal for secure connections.
- Testing: Once installed, turn on the power supply and check the operation of the fan.
Best Practices
- Ensure that the fan is compatible with the electrical system's voltage and frequency.
- Use a protective grill to prevent accidental contact with the fan blades.
- Regularly clean the fan blades and housing to maintain optimal performance.
- Consider using a fan speed controller if variable speed operation is desired.
Troubleshooting and FAQs
Common Issues
- Fan Not Starting: Check the power supply and connections. Ensure that the fan is receiving the correct voltage.
- Unusual Noise: Inspect for any obstructions or debris in the fan blades. Check if the fan is securely mounted.
- Overheating: Ensure that the fan is not obstructed and that there is sufficient airflow around the fan.
FAQs
Q: Can I connect a 220 volt fan directly to an Arduino UNO? A: No, an Arduino UNO operates at 5V DC and cannot directly control a 220V AC fan. You would need additional components such as a relay and proper circuitry to interface the two safely.
Q: Is it safe to use a 220 volt fan in a damp or wet environment? A: Unless the fan is specifically rated for use in damp or wet environments, it is not safe to do so. Look for fans with appropriate IP ratings for such conditions.
Q: How can I control the speed of a 220 volt fan? A: You can use a fan speed controller designed for 220V AC fans. These controllers typically use triac-based circuits to adjust the voltage and control the speed of the fan.
Note: This documentation is for informational purposes only. Always consult a professional electrician or a qualified technician for installation and maintenance of 220 volt fans.