
How to Use Power Jack: Examples, Pinouts, and Specs
 Design with Power Jack in Cirkit Designer
Introduction
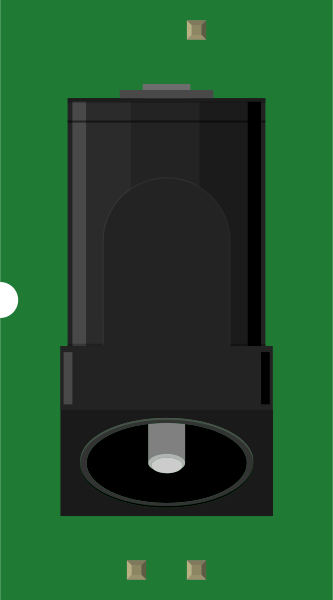
The Power Jack (Manufacturer: SparkFun, Part ID: PRT-00119) is a socket designed to connect an external power supply to an electronic device. It serves as a reliable interface for delivering electrical power, ensuring stable operation of the connected circuit or device. This component is commonly used in projects requiring a DC power source, such as Arduino-based systems, robotics, and other embedded electronics.
Explore Projects Built with Power Jack
 Open Project in Cirkit Designer
 Open Project in Cirkit Designer
 Open Project in Cirkit Designer
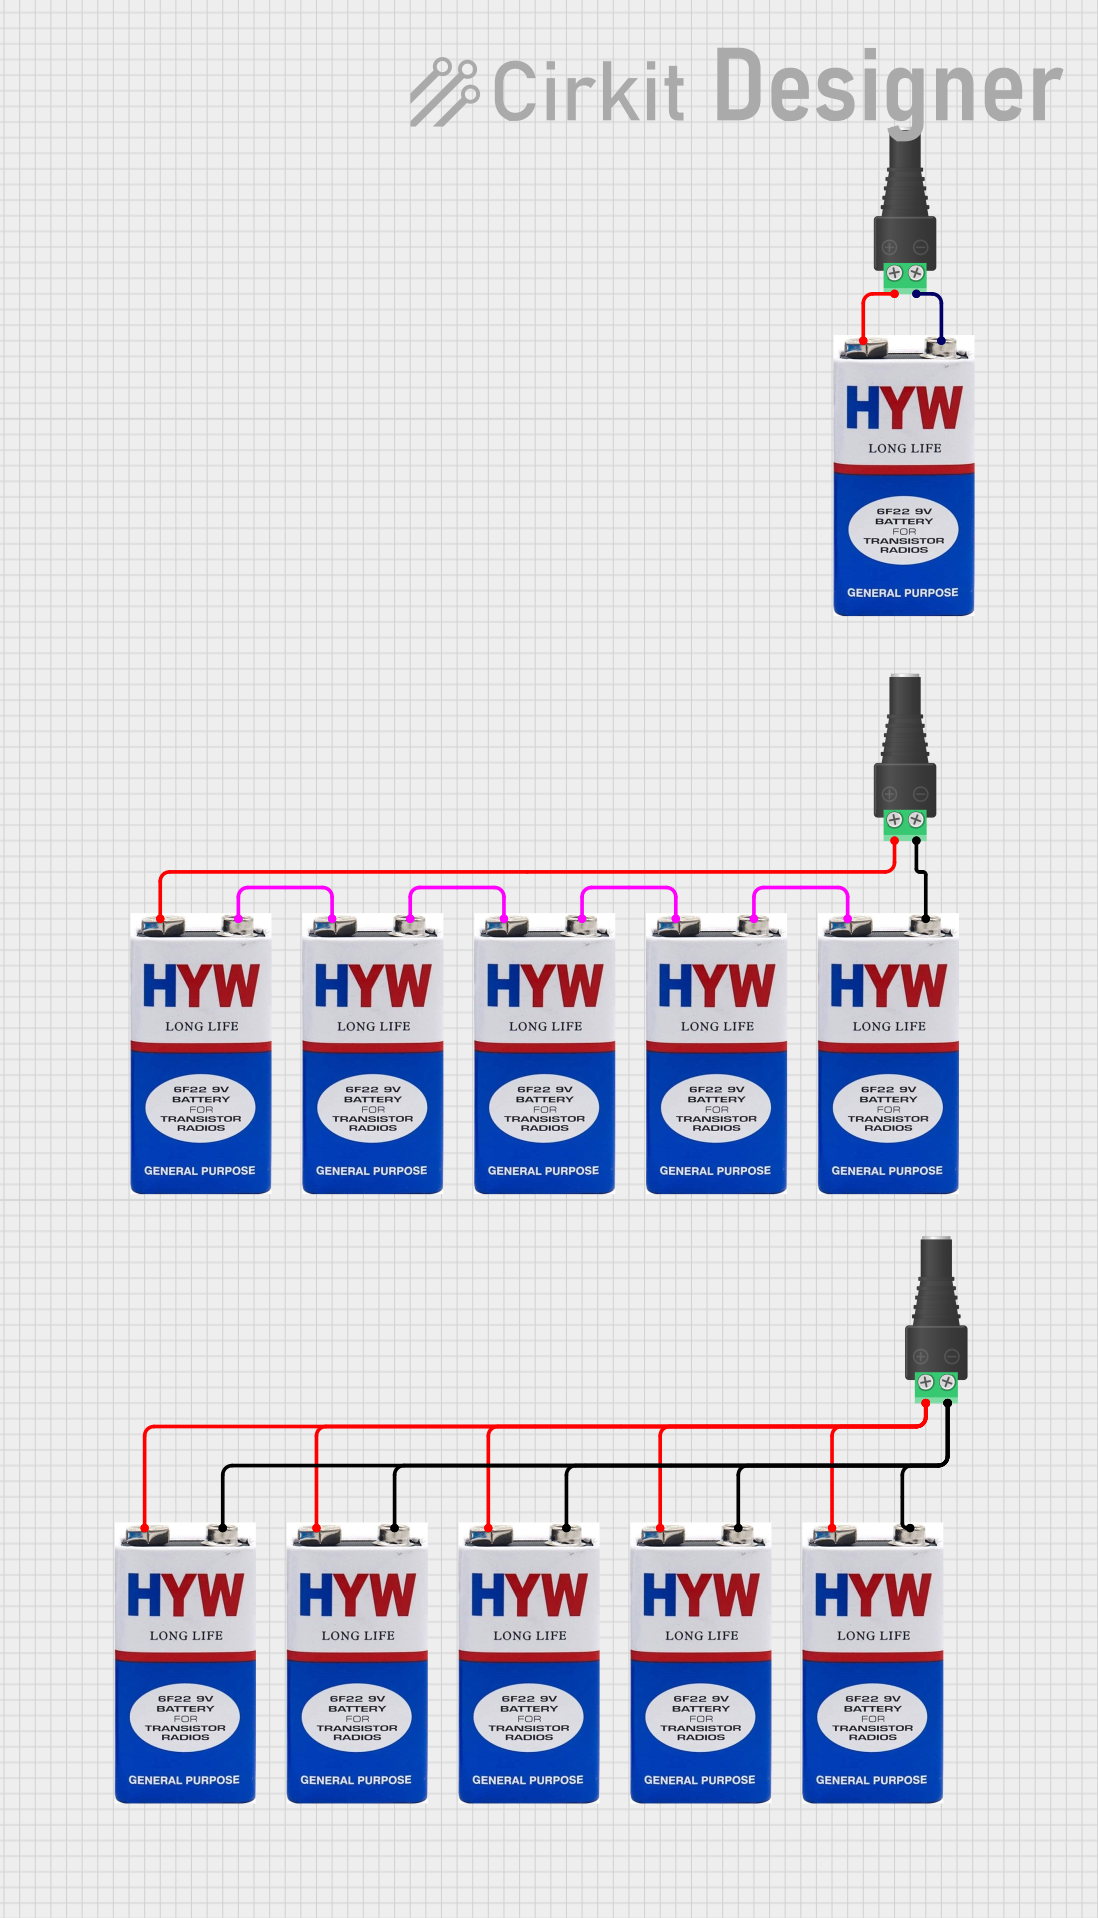 Open Project in Cirkit Designer
Explore Projects Built with Power Jack
Open Project in Cirkit DesignerOpen Project in Cirkit DesignerOpen Project in Cirkit DesignerOpen Project in Cirkit DesignerCommon Applications and Use Cases
- Powering microcontroller boards (e.g., Arduino, Raspberry Pi with adapters)
- Robotics and automation systems
- Consumer electronics requiring external DC power
- Prototyping and DIY electronics projects
Technical Specifications
The following table outlines the key technical details of the SparkFun Power Jack (PRT-00119):
| Specification | Details |
|---|---|
| Manufacturer | SparkFun |
| Part ID | PRT-00119 |
| Connector Type | Barrel Jack (Female) |
| Barrel Dimensions | 5.5 mm outer diameter, 2.1 mm inner diameter |
| Voltage Rating | Up to 24V DC |
| Current Rating | Up to 2A |
| Mounting Style | Through-hole |
| Material | Plastic housing with metal contacts |
| Operating Temperature | -40°C to +85°C |
Pin Configuration and Descriptions
The Power Jack has three pins, as described in the table below:
| Pin | Name | Description |
|---|---|---|
| 1 | Positive (V+) | Connects to the positive terminal of the DC power source. |
| 2 | Negative (V-) | Connects to the negative terminal (ground) of the DC power source. |
| 3 | Switch Pin | Optional pin that disconnects a circuit when a plug is inserted into the jack. |
Usage Instructions
How to Use the Power Jack in a Circuit
Mounting the Power Jack:
- Solder the through-hole pins of the Power Jack onto a PCB or breadboard. Ensure proper alignment and secure solder joints for reliable connections.
Connecting the Power Source:
- Use a compatible DC barrel plug (5.5 mm outer diameter, 2.1 mm inner diameter) to connect the external power supply to the Power Jack.
- Verify that the voltage and current ratings of the power supply match the requirements of your circuit.
Wiring the Pins:
- Connect the Positive (V+) pin to the positive rail of your circuit.
- Connect the Negative (V-) pin to the ground rail of your circuit.
- If using the Switch Pin, connect it to a circuit that should be disconnected when a plug is inserted.
Testing the Circuit:
- Before powering the circuit, double-check all connections to ensure there are no short circuits or reversed polarities.
- Power on the external supply and measure the voltage at the output terminals to confirm proper operation.
Important Considerations and Best Practices
- Polarity: Always ensure the correct polarity of the power supply to avoid damaging the circuit.
- Voltage and Current Ratings: Do not exceed the maximum voltage (24V DC) or current (2A) ratings of the Power Jack.
- Heat Dissipation: If operating near the maximum current rating, ensure adequate ventilation to prevent overheating.
- Switch Pin Usage: The switch pin can be used to automatically disconnect a battery or secondary power source when the external power supply is connected.
Example: Connecting to an Arduino UNO
The Power Jack can be used to power an Arduino UNO board. Below is an example of how to connect and use it:
- Solder the Power Jack onto a PCB or connect it to a breadboard.
- Connect the Positive (V+) pin to the Arduino's VIN pin.
- Connect the Negative (V-) pin to the Arduino's GND pin.
- Plug in a 9V DC power adapter with a compatible barrel plug.
Arduino Code Example
If you are using the Power Jack to power an Arduino UNO, you can upload the following code to test the board's functionality:
// Simple LED Blink Test for Arduino UNO
// This code assumes an LED is connected to pin 13 with a resistor.

void setup() {
  pinMode(13, OUTPUT); // Set pin 13 as an output for the LED
}

void loop() {
  digitalWrite(13, HIGH); // Turn the LED on
  delay(1000);            // Wait for 1 second
  digitalWrite(13, LOW);  // Turn the LED off
  delay(1000);            // Wait for 1 second
}
Troubleshooting and FAQs
Common Issues and Solutions
No Power to the Circuit:
- Cause: Incorrect polarity or loose connections.
- Solution: Verify the polarity of the power supply and ensure all connections are secure.
Overheating of the Power Jack:
- Cause: Exceeding the current rating (2A).
- Solution: Use a power supply within the specified current limits or add a heat sink if necessary.
Intermittent Power Loss:
- Cause: Poor solder joints or damaged barrel plug.
- Solution: Re-solder the connections and inspect the barrel plug for wear or damage.
Switch Pin Not Working:
- Cause: Incorrect wiring or incompatible circuit design.
- Solution: Verify the wiring of the switch pin and ensure it is connected to the correct part of the circuit.
FAQs
Q1: Can I use this Power Jack with a 12V DC power supply?
A1: Yes, the Power Jack supports up to 24V DC, so a 12V DC power supply is compatible.
Q2: Is the Power Jack compatible with a 5.5 mm x 2.5 mm barrel plug?
A2: No, the Power Jack is designed for a 5.5 mm x 2.1 mm barrel plug. Using a 2.5 mm inner diameter plug may result in a loose connection.
Q3: Can I use the Power Jack for AC power?
A3: No, the Power Jack is designed for DC power only. Using AC power may damage the component and connected devices.
Q4: What happens if I reverse the polarity of the power supply?
A4: Reversing the polarity can damage your circuit. Always double-check the polarity before connecting the power supply.
By following this documentation, you can effectively integrate the SparkFun Power Jack (PRT-00119) into your electronic projects.