Cirkit Designer Logo
Cirkit Designer
Your all-in-one circuit design IDE
Home / 
Component Documentation

How to Use Gravity : PM2.5 Air Quality Sensor: Examples, Pinouts, and Specs

Image of Gravity : PM2.5 Air Quality Sensor
Cirkit Designer LogoDesign with Gravity : PM2.5 Air Quality Sensor in Cirkit Designer

Introduction

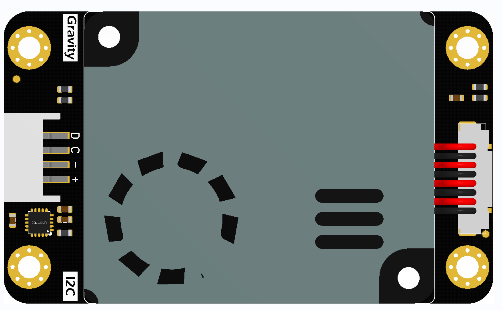
The Gravity: PM2.5 Air Quality Sensor (SEN0460) is a high-precision sensor module designed by DFRobot to detect and measure the concentration of fine particulate matter (PM2.5) in the air. PM2.5 refers to particles that are 2.5 micrometers or smaller in diameter, which can pose health risks when inhaled. This sensor is essential for environmental monitoring, air purification systems, and indoor air quality assessment.

Explore Projects Built with Gravity : PM2.5 Air Quality Sensor

Use Cirkit Designer to design, explore, and prototype these projects online. Some projects support real-time simulation. Click "Open Project" to start designing instantly!
Arduino-Based Air Quality Monitoring System with Bluetooth Connectivity
Image of Air quality part 2: A project utilizing Gravity : PM2.5 Air Quality Sensor in a practical application
This circuit is an air quality monitoring system that uses an Arduino UNO to collect data from a PM2.5 air quality sensor (PMS5003) and an ozone sensor (MQ131). The collected data is then transmitted via an HC-05 Bluetooth module for remote monitoring, with a rocker switch used to control the power supply.
Cirkit Designer LogoOpen Project in Cirkit Designer
Arduino UNO Based PM2.5 Air Quality Monitoring System
Image of Plantower PMS7003 Dust sensor: A project utilizing Gravity : PM2.5 Air Quality Sensor in a practical application
This circuit connects a PM2.5 Air Quality Sensor (PMS5003) to an Arduino UNO for air quality monitoring. The sensor's VCC and GND pins are powered by the Arduino's 5V and GND pins, respectively. The sensor's RX and TX pins are connected to the Arduino's digital pins D8 and D9 for serial communication, allowing the Arduino to read and process the air quality data from the sensor.
Cirkit Designer LogoOpen Project in Cirkit Designer
ESP32-Based IoT Indoor Air Quality Monitoring System with OLED Display and RGB LED
Image of air quality: A project utilizing Gravity : PM2.5 Air Quality Sensor in a practical application
This IoT indoor air quality monitoring circuit uses an ESP32 microcontroller to read data from a DHT22 temperature and humidity sensor, an MQ-7 carbon monoxide sensor, and a PM2.5 air quality sensor. The collected data is displayed on a 128x64 OLED display, and an RGB LED and PWM fan are controlled based on the air quality readings to indicate and manage air quality levels.
Cirkit Designer LogoOpen Project in Cirkit Designer
ESP32-Based Air Quality Monitoring System with Multiple Sensors
Image of IIIT_H_mini_project: A project utilizing Gravity : PM2.5 Air Quality Sensor in a practical application
This circuit is an air quality monitoring system that uses an ESP32 microcontroller to collect data from various sensors, including the MQ135 and MQ-2 gas sensors, a DHT11 temperature and humidity sensor, and a PMS5003 PM2.5 air quality sensor. The ESP32 processes the sensor data and can potentially transmit it for further analysis or display.
Cirkit Designer LogoOpen Project in Cirkit Designer

Explore Projects Built with Gravity : PM2.5 Air Quality Sensor

Use Cirkit Designer to design, explore, and prototype these projects online. Some projects support real-time simulation. Click "Open Project" to start designing instantly!
Image of Air quality part 2: A project utilizing Gravity : PM2.5 Air Quality Sensor in a practical application
Arduino-Based Air Quality Monitoring System with Bluetooth Connectivity
This circuit is an air quality monitoring system that uses an Arduino UNO to collect data from a PM2.5 air quality sensor (PMS5003) and an ozone sensor (MQ131). The collected data is then transmitted via an HC-05 Bluetooth module for remote monitoring, with a rocker switch used to control the power supply.
Cirkit Designer LogoOpen Project in Cirkit Designer
Image of Plantower PMS7003 Dust sensor: A project utilizing Gravity : PM2.5 Air Quality Sensor in a practical application
Arduino UNO Based PM2.5 Air Quality Monitoring System
This circuit connects a PM2.5 Air Quality Sensor (PMS5003) to an Arduino UNO for air quality monitoring. The sensor's VCC and GND pins are powered by the Arduino's 5V and GND pins, respectively. The sensor's RX and TX pins are connected to the Arduino's digital pins D8 and D9 for serial communication, allowing the Arduino to read and process the air quality data from the sensor.
Cirkit Designer LogoOpen Project in Cirkit Designer
Image of air quality: A project utilizing Gravity : PM2.5 Air Quality Sensor in a practical application
ESP32-Based IoT Indoor Air Quality Monitoring System with OLED Display and RGB LED
This IoT indoor air quality monitoring circuit uses an ESP32 microcontroller to read data from a DHT22 temperature and humidity sensor, an MQ-7 carbon monoxide sensor, and a PM2.5 air quality sensor. The collected data is displayed on a 128x64 OLED display, and an RGB LED and PWM fan are controlled based on the air quality readings to indicate and manage air quality levels.
Cirkit Designer LogoOpen Project in Cirkit Designer
Image of IIIT_H_mini_project: A project utilizing Gravity : PM2.5 Air Quality Sensor in a practical application
ESP32-Based Air Quality Monitoring System with Multiple Sensors
This circuit is an air quality monitoring system that uses an ESP32 microcontroller to collect data from various sensors, including the MQ135 and MQ-2 gas sensors, a DHT11 temperature and humidity sensor, and a PMS5003 PM2.5 air quality sensor. The ESP32 processes the sensor data and can potentially transmit it for further analysis or display.
Cirkit Designer LogoOpen Project in Cirkit Designer

Common Applications and Use Cases

  • Air quality monitoring stations
  • Smart home air purifiers
  • Environmental monitoring equipment
  • HVAC systems with air quality control
  • Portable air quality detectors

Technical Specifications

Key Technical Details

  • Operating Voltage: 5V DC
  • Measurement Range: 0 to 999 µg/m³
  • Output Signal: Analog voltage, PWM
  • Preheat Time: 3 minutes
  • Response Time: ≤10 seconds
  • Operating Temperature: -10°C to 50°C
  • Operating Humidity: 0 to 90% RH (non-condensing)

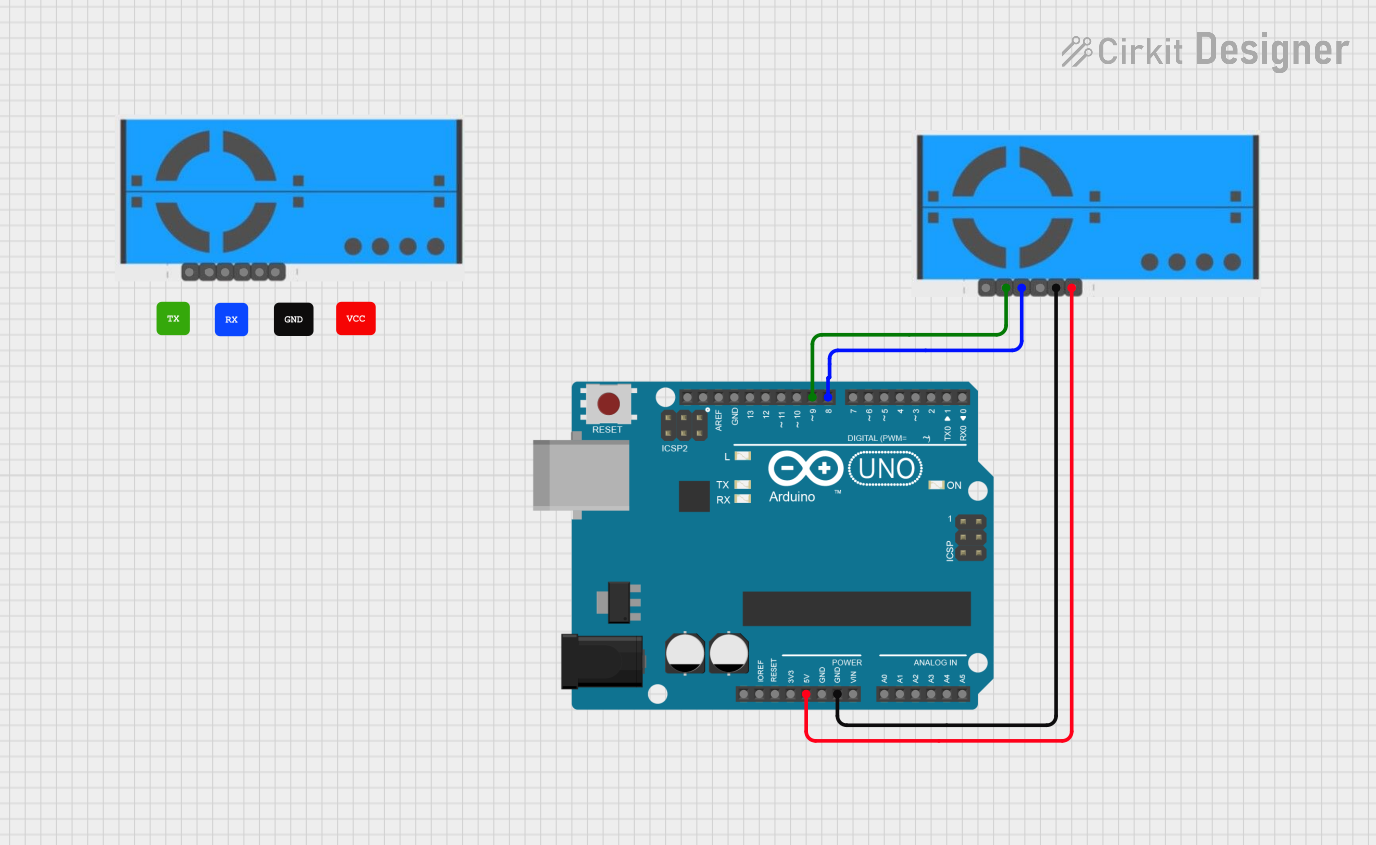
Pin Configuration and Descriptions

Pin Number Description Type
1 Analog Output (AO) Output
2 PWM Output Output
3 LED Indicator Output
4 Not Connected (NC) -
5 Ground (GND) Power
6 Power Supply (VCC) Power

Usage Instructions

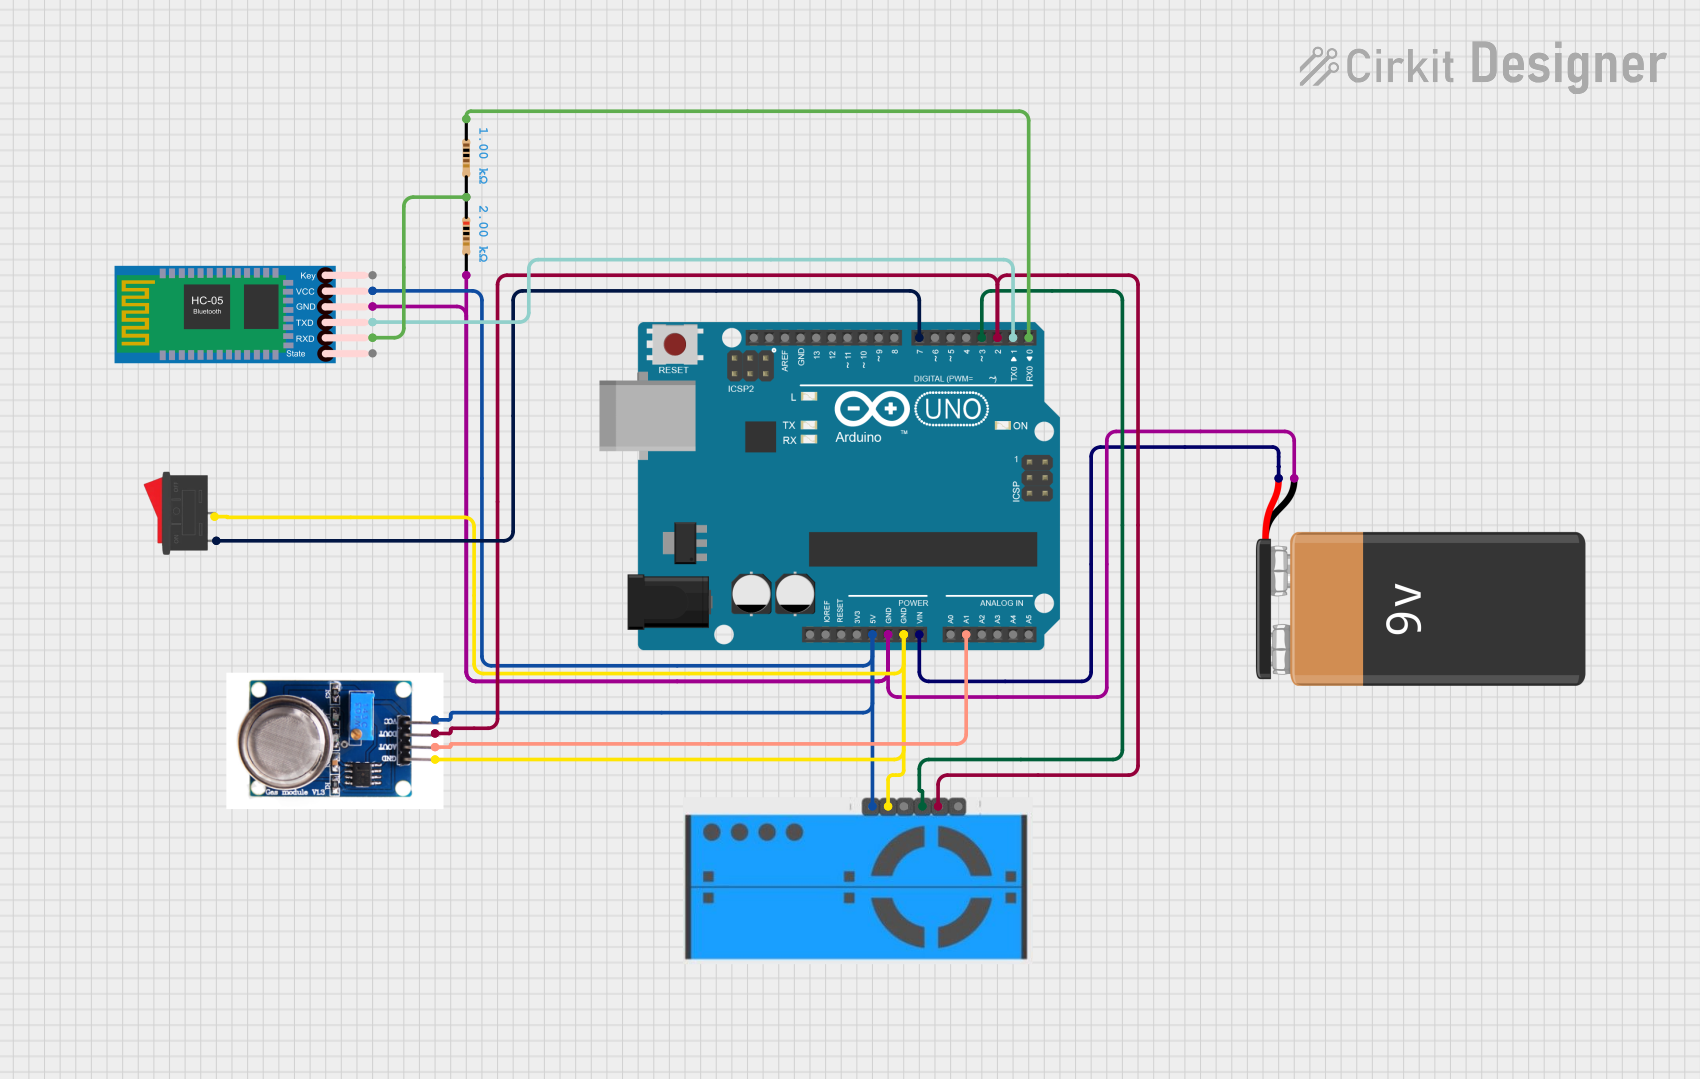
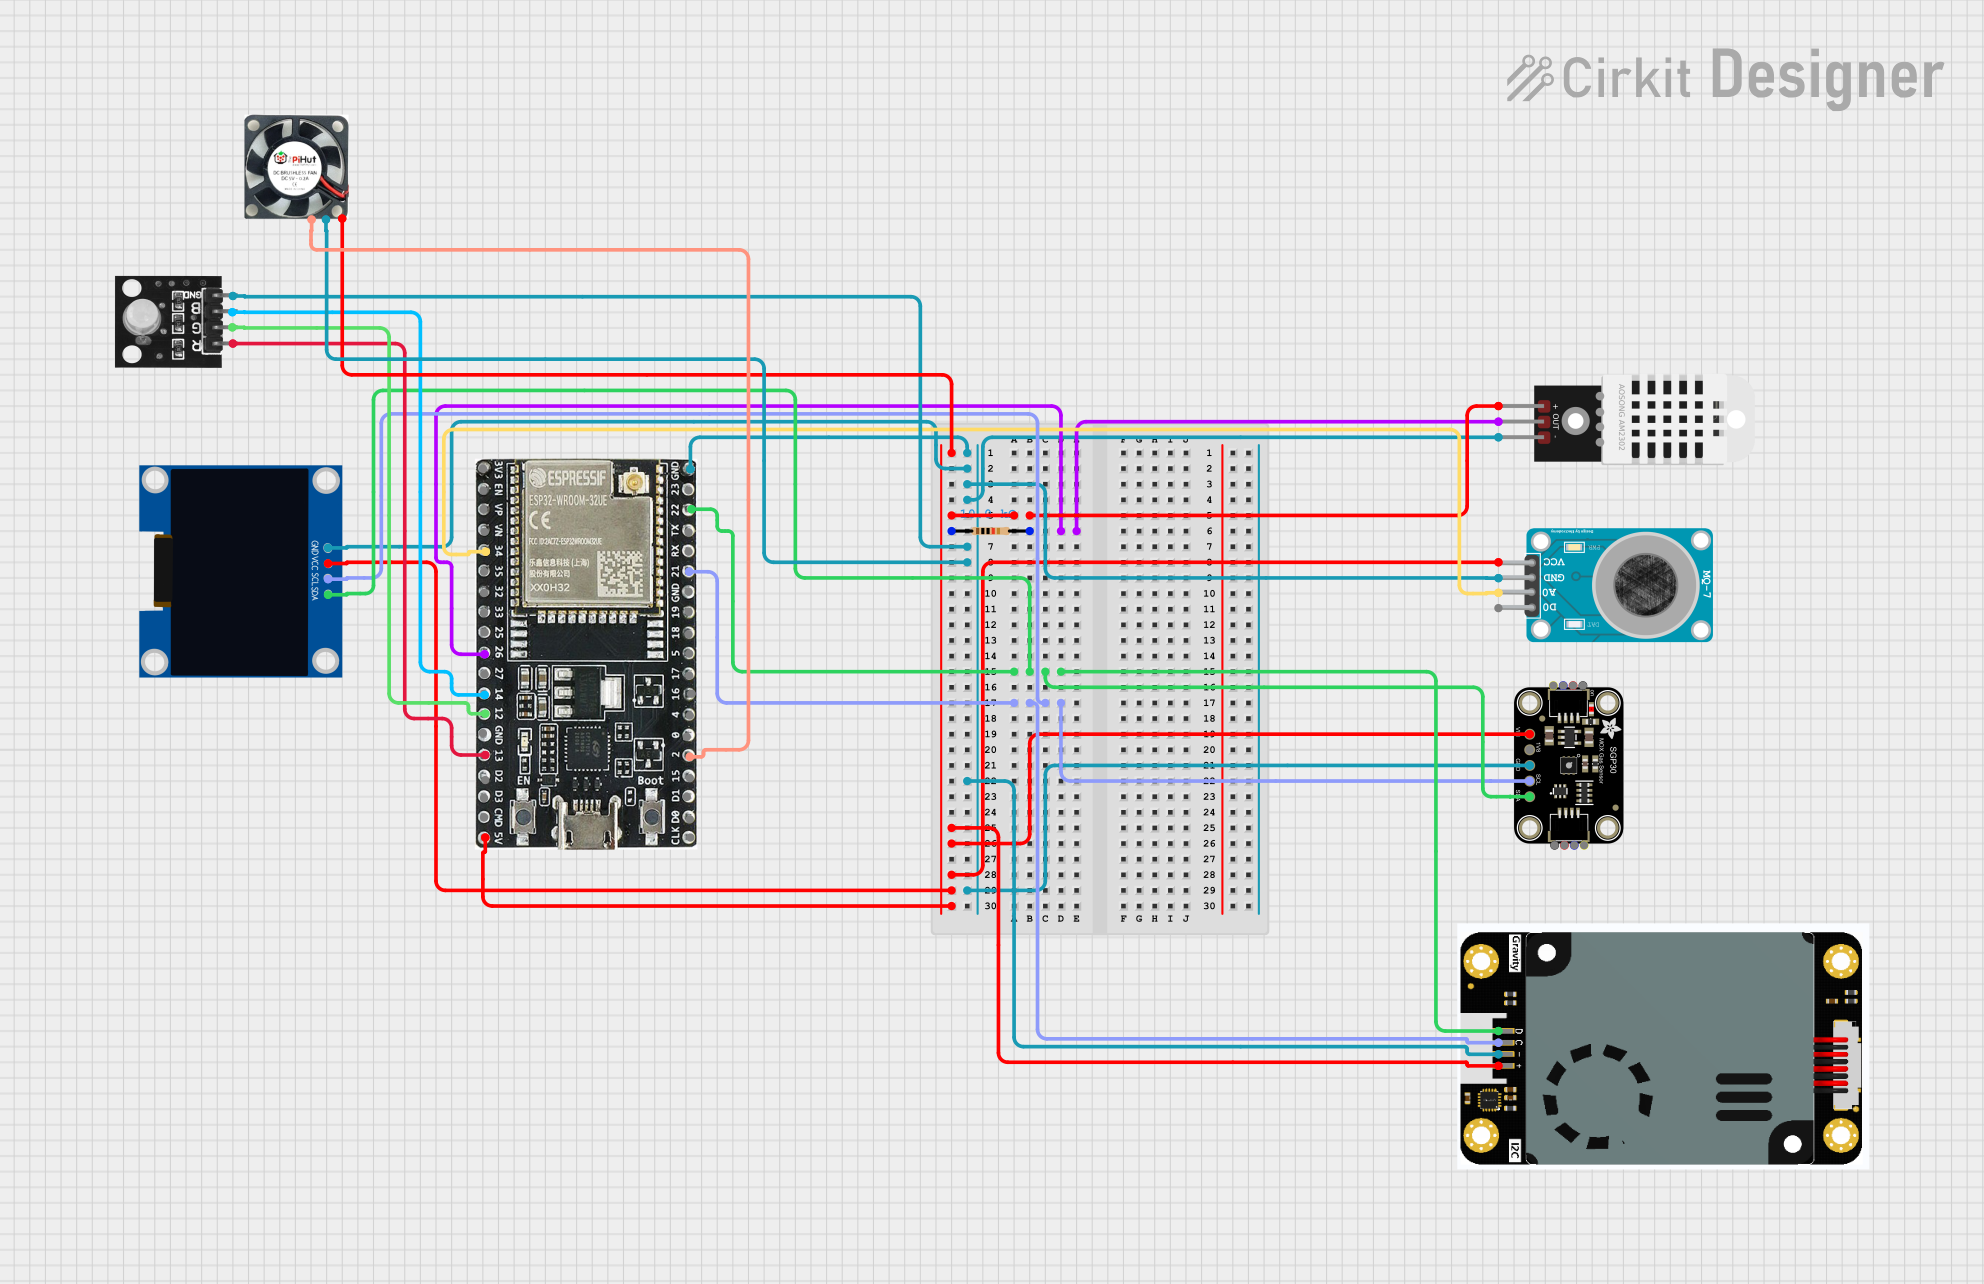
How to Use the Component in a Circuit

  1. Connect the VCC pin to a 5V power supply.
  2. Connect the GND pin to the ground of the power supply.
  3. Choose between the analog output or PWM to read the PM2.5 concentration:
    • For analog output, connect the AO pin to an analog input on your microcontroller.
    • For PWM output, connect the PWM pin to a digital input on your microcontroller.

Important Considerations and Best Practices

  • Allow the sensor to preheat for at least 3 minutes before taking measurements.
  • Avoid using the sensor in environments with high concentrations of corrosive gases.
  • Keep the sensor away from high humidity conditions to prevent condensation.
  • Ensure proper airflow around the sensor for accurate readings.
  • Calibrate the sensor periodically to maintain measurement accuracy.

Troubleshooting and FAQs

Common Issues Users Might Face

  • Inaccurate Readings: Ensure the sensor has been preheated and is not placed near sources of pollution or dust.
  • No Output Signal: Check the power supply and connections to the sensor. Ensure the pins are correctly connected to the microcontroller.

Solutions and Tips for Troubleshooting

  • If the sensor is not responding, reset the power supply and check the wiring.
  • For persistent inaccurate readings, recalibrate the sensor according to the manufacturer's instructions.

FAQs

  • Q: Can the sensor detect other particulate sizes?
    • A: The sensor is specifically designed for PM2.5 detection and may not accurately measure other particle sizes.
  • Q: How often should the sensor be calibrated?
    • A: Calibration frequency depends on usage but typically once every six months is recommended.

Arduino UNO Example Code

#include <SoftwareSerial.h>

SoftwareSerial mySerial(10, 11); // RX, TX

void setup() {
  // Start the hardware serial port
  Serial.begin(9600);
  // Start the software serial port
  mySerial.begin(9600);
}

void loop() {
  if (mySerial.available()) {
    // Read the data from the sensor
    int pmValue = mySerial.read();
    // Output the PM2.5 value to the hardware serial port
    Serial.print("PM2.5 Value: ");
    Serial.println(pmValue);
  }
}

Note: This example assumes the use of a SoftwareSerial library to communicate with the sensor. The actual implementation may vary depending on the sensor's communication protocol and the specific library used for interfacing with the sensor. Always refer to the sensor's datasheet and the library's documentation for accurate implementation details.