
How to Use BTM182: Examples, Pinouts, and Specs
 Design with BTM182 in Cirkit Designer
Introduction
The BTM182 is a Bluetooth Low Energy (BLE) module designed for wireless communication in embedded systems. It features a compact design, low power consumption, and supports various profiles for seamless integration into IoT applications. This module is ideal for applications requiring short-range wireless communication with minimal energy usage.
Explore Projects Built with BTM182
 Open Project in Cirkit Designer
 Open Project in Cirkit Designer
 Open Project in Cirkit Designer
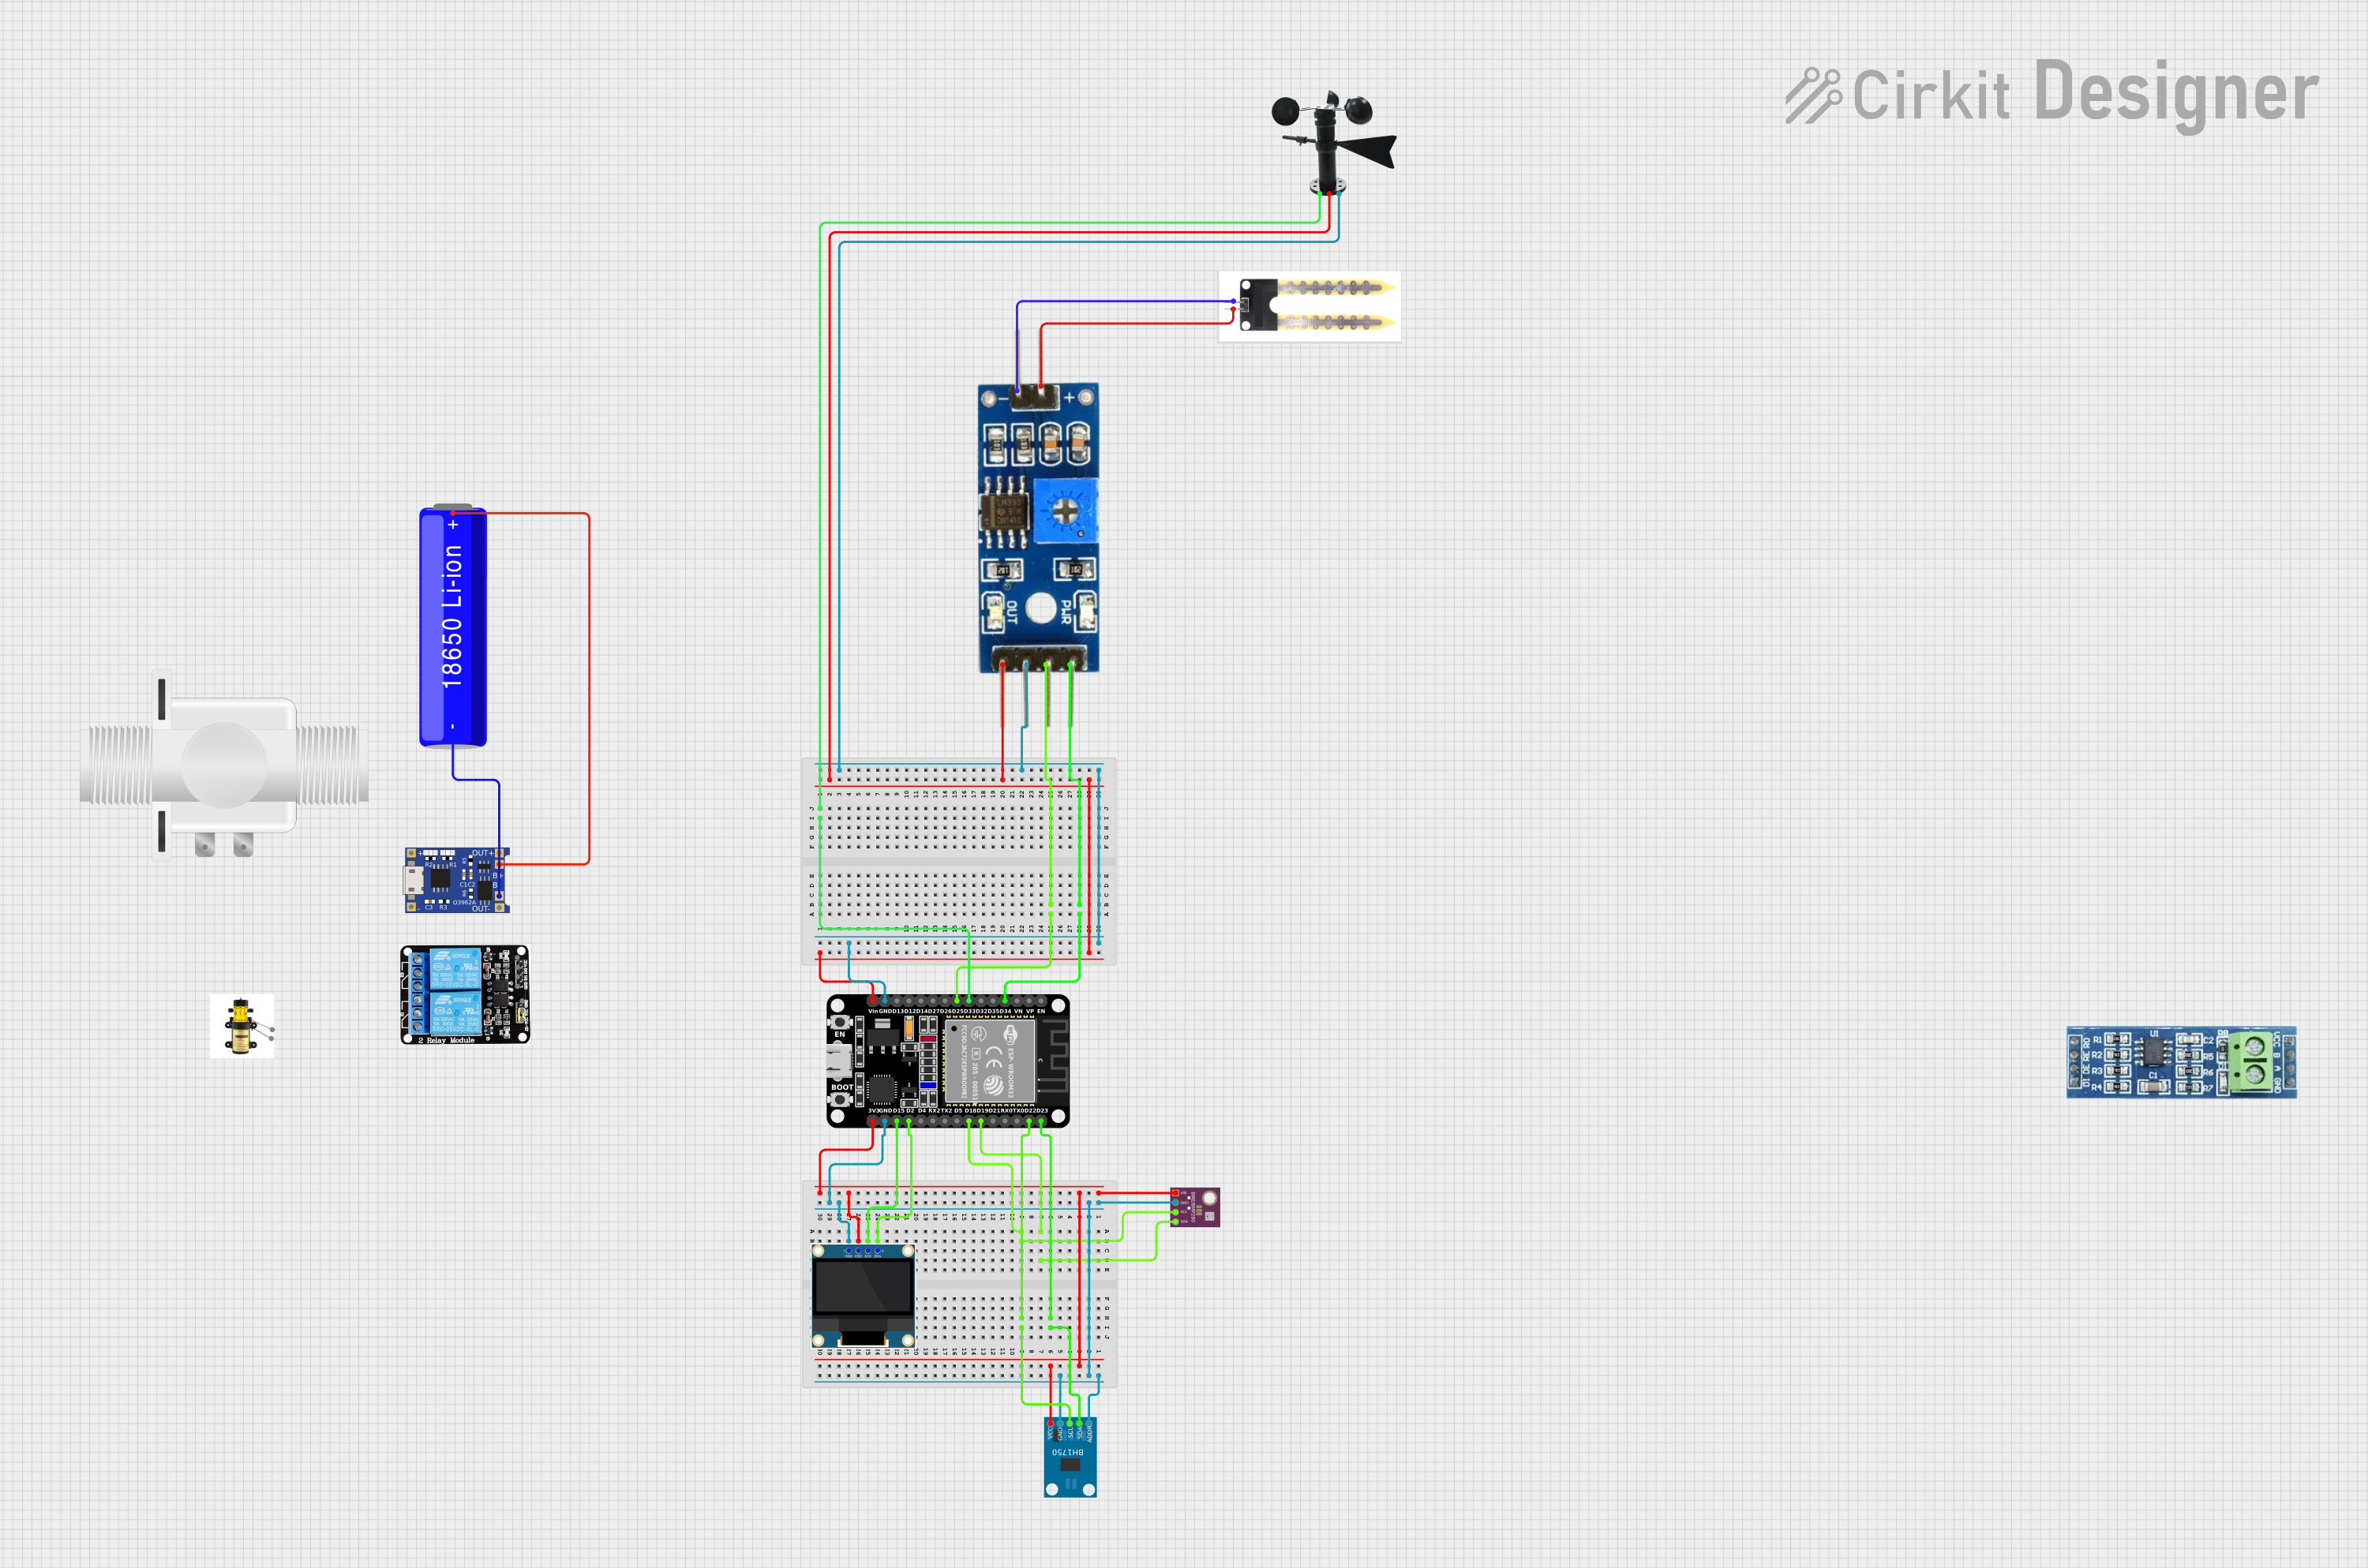 Open Project in Cirkit Designer
Explore Projects Built with BTM182
Open Project in Cirkit DesignerOpen Project in Cirkit DesignerOpen Project in Cirkit DesignerOpen Project in Cirkit DesignerCommon Applications and Use Cases
- IoT Devices: Smart home systems, wearable devices, and industrial IoT sensors.
- Wireless Data Transmission: Remote monitoring, data logging, and control systems.
- Consumer Electronics: Bluetooth-enabled gadgets such as speakers, headphones, and fitness trackers.
- Healthcare Devices: Wireless medical monitoring and diagnostic tools.
Technical Specifications
Key Technical Details
| Parameter | Value |
|---|---|
| Bluetooth Version | BLE 4.2 |
| Operating Voltage | 2.0V - 3.6V |
| Current Consumption | 5 mA (active mode), 1 µA (sleep mode) |
| Communication Range | Up to 50 meters (line of sight) |
| Data Rate | Up to 1 Mbps |
| Operating Temperature | -40°C to +85°C |
| Dimensions | 15 mm x 10 mm x 2 mm |
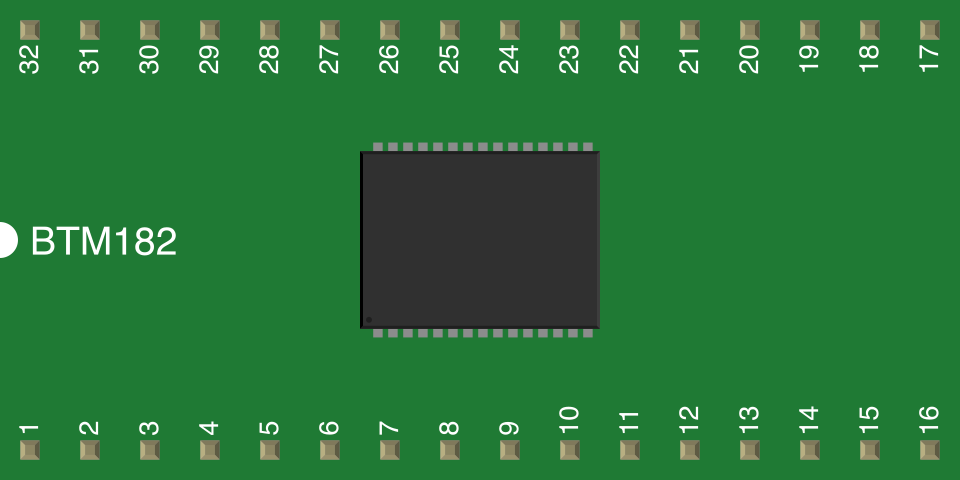
Pin Configuration and Descriptions
| Pin Number | Pin Name | Description |
|---|---|---|
| 1 | VCC | Power supply input (2.0V - 3.6V). |
| 2 | GND | Ground connection. |
| 3 | TXD | UART Transmit Data (connect to RX of host device). |
| 4 | RXD | UART Receive Data (connect to TX of host device). |
| 5 | RESET | Active-low reset pin. |
| 6 | GPIO1 | General-purpose I/O pin. |
| 7 | GPIO2 | General-purpose I/O pin. |
| 8 | ANT | External antenna connection. |
Usage Instructions
How to Use the BTM182 in a Circuit
- Power Supply: Connect the VCC pin to a regulated power source (2.0V - 3.6V) and the GND pin to the ground.
- UART Communication: Connect the TXD and RXD pins to the corresponding RX and TX pins of the host microcontroller or device.
- Antenna: Attach an external antenna to the ANT pin for optimal signal strength.
- Reset: Use the RESET pin to initialize the module if needed. Pull it low momentarily to reset the module.
- GPIO Pins: Configure GPIO1 and GPIO2 as needed for additional functionality.
Important Considerations and Best Practices
- Power Supply: Ensure a stable and noise-free power supply to avoid communication issues.
- Antenna Placement: Place the antenna in an open area, away from metal objects, to maximize range and signal quality.
- UART Settings: Configure the UART baud rate to match the module's default setting (typically 9600 bps, 8-N-1).
- Firmware Updates: Check for firmware updates from the manufacturer to ensure compatibility and access to the latest features.
Example: Connecting BTM182 to an Arduino UNO
Below is an example of how to connect and use the BTM182 module with an Arduino UNO for basic communication.
Circuit Connections
| BTM182 Pin | Arduino UNO Pin |
|---|---|
| VCC | 3.3V |
| GND | GND |
| TXD | Pin 10 (Software RX) |
| RXD | Pin 11 (Software TX) |
Arduino Code
#include <SoftwareSerial.h>

// Define RX and TX pins for SoftwareSerial
SoftwareSerial BTSerial(10, 11); // RX = Pin 10, TX = Pin 11

void setup() {
  // Start the hardware serial communication for debugging
  Serial.begin(9600);
  // Start the software serial communication with the BTM182
  BTSerial.begin(9600);

  Serial.println("BTM182 Module Initialized");
}

void loop() {
  // Check if data is available from the BTM182
  if (BTSerial.available()) {
    // Read data from the BTM182 and send it to the Serial Monitor
    char data = BTSerial.read();
    Serial.print("Received: ");
    Serial.println(data);
  }

  // Check if data is available from the Serial Monitor
  if (Serial.available()) {
    // Read data from the Serial Monitor and send it to the BTM182
    char data = Serial.read();
    BTSerial.write(data);
    Serial.print("Sent: ");
    Serial.println(data);
  }
}
Troubleshooting and FAQs
Common Issues and Solutions
No Communication with the Module
- Cause: Incorrect UART connections or mismatched baud rate.
- Solution: Verify the TXD and RXD connections. Ensure the baud rate is set to 9600 bps.
Short Communication Range
- Cause: Poor antenna placement or interference.
- Solution: Reposition the antenna to an open area and away from metal objects or other wireless devices.
Module Not Powering On
- Cause: Insufficient or unstable power supply.
- Solution: Ensure the power supply voltage is within the 2.0V - 3.6V range and is noise-free.
Unresponsive Module
- Cause: Module stuck in an undefined state.
- Solution: Perform a hardware reset by pulling the RESET pin low momentarily.
FAQs
Q: Can the BTM182 module be used with a 5V microcontroller?
A: Yes, but a level shifter is required for the UART pins to avoid damaging the module.Q: What is the default baud rate of the BTM182?
A: The default baud rate is 9600 bps.Q: Does the module support multiple connections simultaneously?
A: No, the BTM182 supports a single connection at a time as per BLE 4.2 specifications.Q: Can I use the module without an external antenna?
A: While possible, using an external antenna is recommended for optimal performance and range.