How to Use Adafruit PowerBoost 1000C with USB Port: Examples, Pinouts, and Specs
Introduction
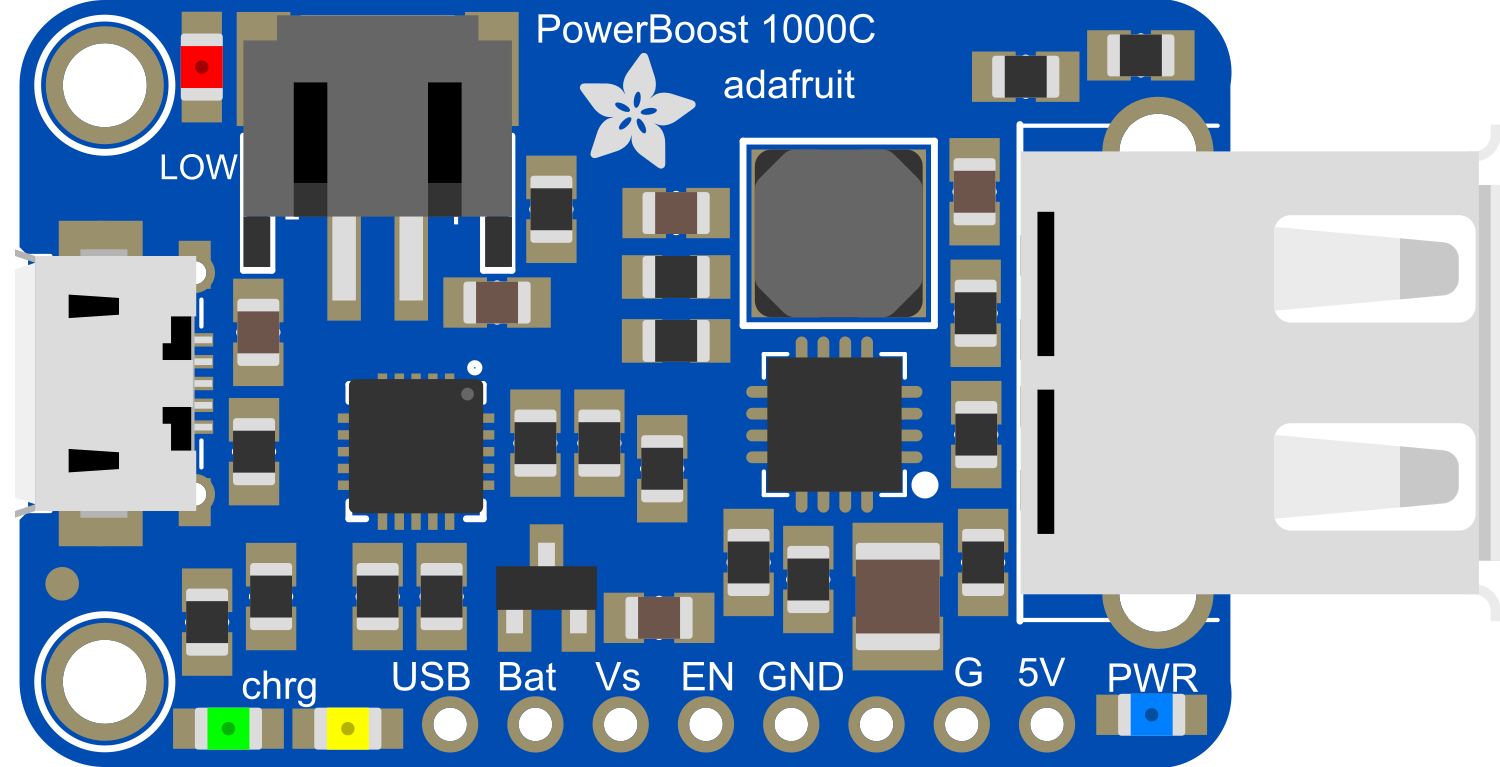
The Adafruit PowerBoost 1000C is a versatile power management board designed for portable electronics projects. It is capable of boosting battery voltages to a consistent 5V output, suitable for powering USB devices and other electronics requiring a 5V supply. With its built-in LiPo battery charger and USB port, the PowerBoost 1000C is ideal for DIY portable chargers, wearables, and any project where a stable power supply is needed on the go.
Explore Projects Built with Adafruit PowerBoost 1000C with USB Port


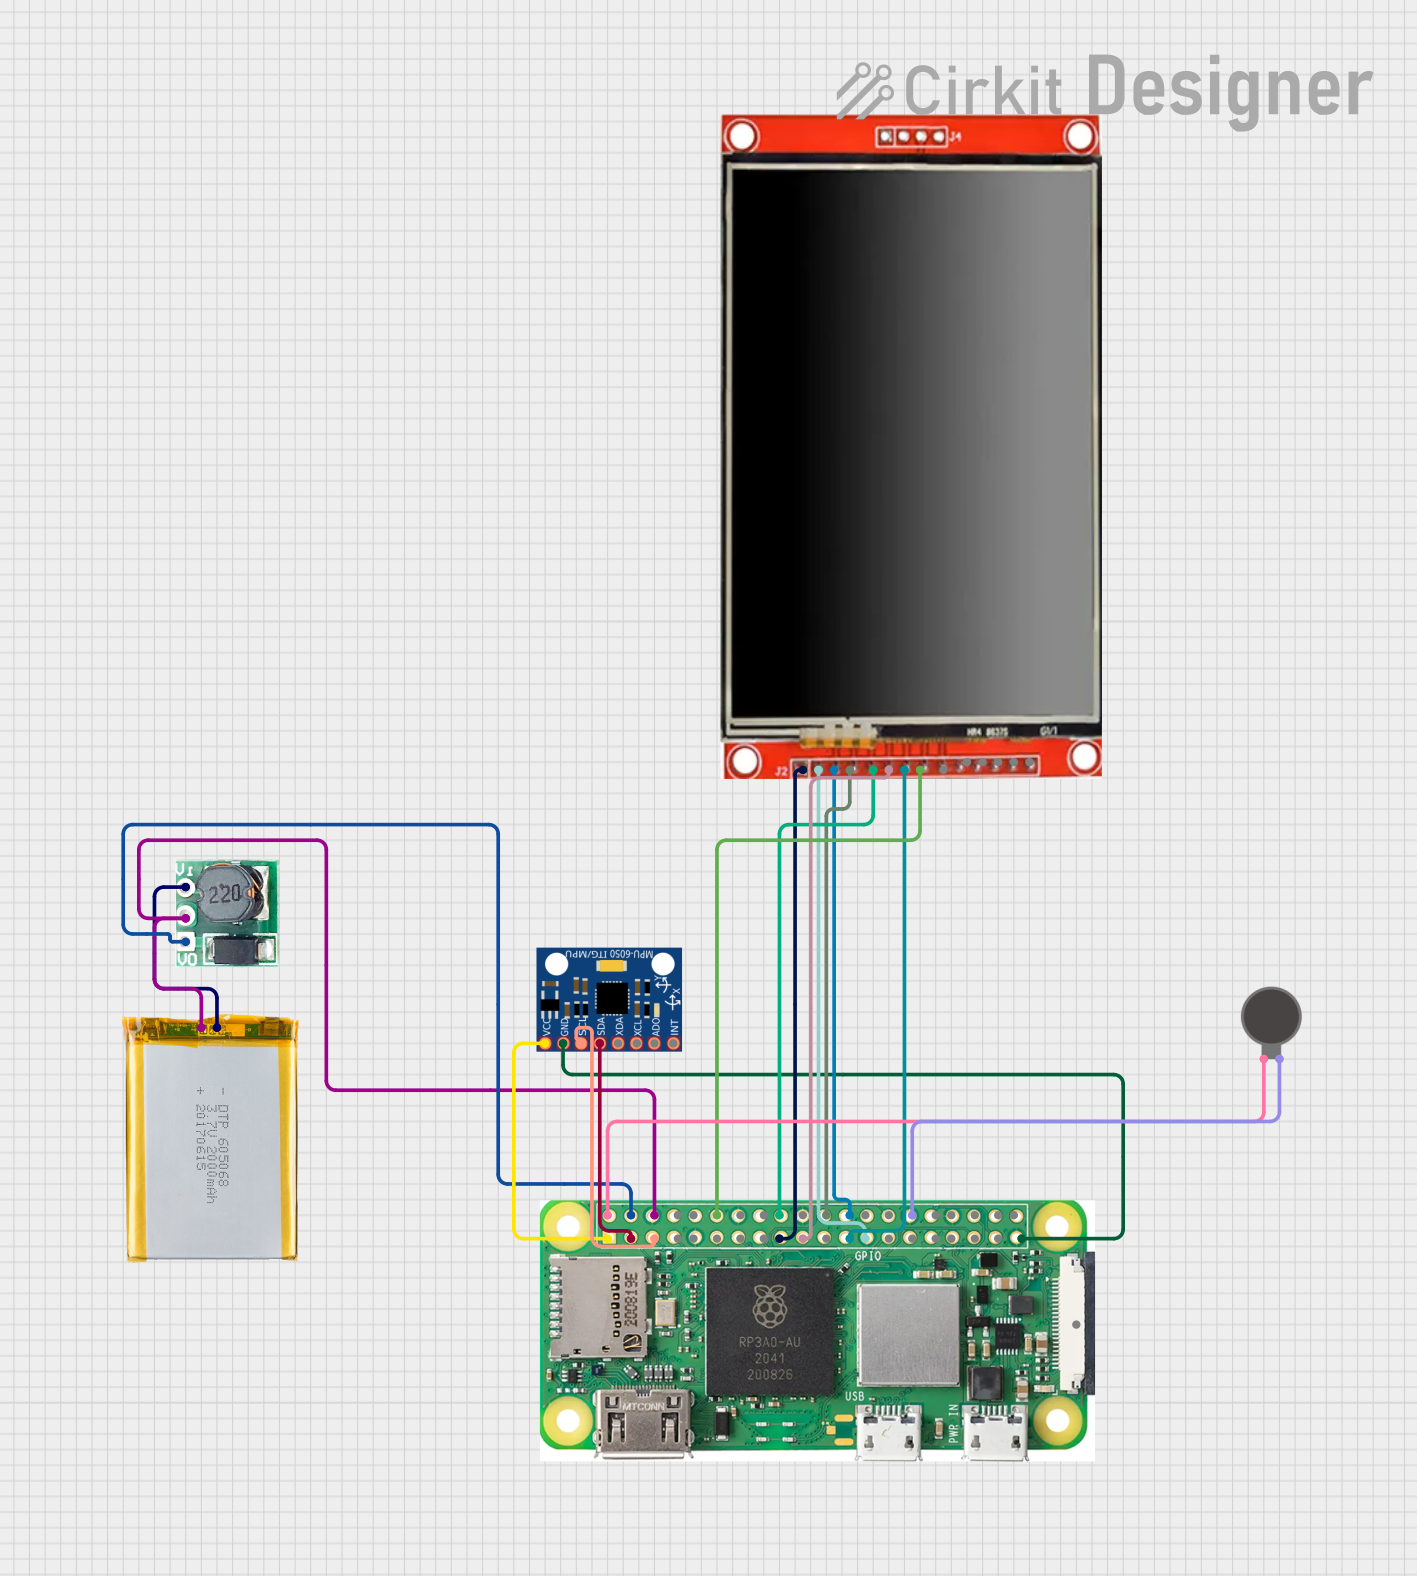
Explore Projects Built with Adafruit PowerBoost 1000C with USB Port
Common Applications and Use Cases
- Portable USB chargers
- Battery-powered Raspberry Pi or Arduino projects
- Wearable electronics
- Mobile devices requiring 5V power
Technical Specifications
Key Technical Details
- Input Voltage (USB): 5V
- Input Voltage (LiPo): 3.7V nominal
- Output Voltage: 5V regulated
- Peak Output Current: 1A
- Quiescent Current: 5mA typical
- Battery Charging Rate: 500mA or 1000mA selectable
- Efficiency: 90%+ for most of the battery charge
Pin Configuration and Descriptions
| Pin Name | Description |
|---|---|
BAT |
Battery input from LiPo cell |
GND |
Ground connection |
5V |
Regulated 5V output |
EN |
Enable pin, ground to disable |
USB |
USB input for charging the battery |
LBO |
Low Battery Output, goes low when the battery is low |
Usage Instructions
How to Use the Component in a Circuit
Connecting the Battery:
- Connect a 3.7V LiPo battery to the
BATandGNDpins for battery input.
- Connect a 3.7V LiPo battery to the
Powering a Device:
- Connect the device's power input to the
5VandGNDpins on the PowerBoost 1000C.
- Connect the device's power input to the
Charging the Battery:
- Plug a micro USB cable into the USB port to charge the connected LiPo battery.
Enabling/Disabling the Output:
- The
ENpin can be connected to ground to disable the 5V output when not in use.
- The
Important Considerations and Best Practices
- Battery Selection: Use a high-quality LiPo battery with a protection circuit.
- Load Current: Ensure the device's current draw does not exceed 1A.
- Heat Dissipation: Provide adequate ventilation if the board is enclosed, as it may generate heat during operation.
- Charging Safety: Do not leave the charging battery unattended, and ensure the use of a proper micro USB cable.
Troubleshooting and FAQs
Common Issues
- No Output Voltage: Ensure the battery is charged and properly connected. Check the
ENpin is not grounded unintentionally. - Battery Not Charging: Verify the USB cable and power source are functioning correctly. Check for any signs of damage on the board.
- Overheating: If the board is too hot, reduce the load or improve ventilation.
Solutions and Tips for Troubleshooting
- Battery Connection: Double-check the polarity of the battery connections.
- USB Power Source: Use a reliable USB power source capable of supplying sufficient current for charging.
- Visual Inspection: Look for any damaged components or solder joints.
FAQs
Q: Can I use the PowerBoost 1000C to charge multiple devices simultaneously? A: The PowerBoost 1000C can output up to 1A, so it can charge multiple low-power devices as long as the total current draw does not exceed this limit.
Q: What should I do if the LBO pin indicates a low battery?
A: Recharge the battery as soon as possible to prevent deep discharge, which can damage the LiPo cell.
Q: Can I use the PowerBoost 1000C with a battery other than LiPo? A: The PowerBoost 1000C is designed specifically for 3.7V LiPo batteries. Using other types of batteries is not recommended and may damage the board.
Example Code for Arduino UNO
The following example demonstrates how to use the PowerBoost 1000C with an Arduino UNO to monitor the battery voltage and low battery indicator.
// Define the analog pin connected to the 'BAT' pin on the PowerBoost
const int batteryPin = A0;

// Define the digital pin connected to the 'LBO' pin on the PowerBoost
const int lowBatteryPin = 2;

void setup() {
  pinMode(lowBatteryPin, INPUT_PULLUP); // Set the low battery pin as input with pull-up
  Serial.begin(9600); // Start serial communication at 9600 baud
}

void loop() {
  int batteryValue = analogRead(batteryPin); // Read the battery voltage level
  float batteryVoltage = (batteryValue * 5.0) / 1023.0; // Convert to voltage

  bool lowBattery = digitalRead(lowBatteryPin) == LOW; // Read the low battery pin

  // Print the battery voltage and low battery status to the serial monitor
  Serial.print("Battery Voltage: ");
  Serial.print(batteryVoltage);
  Serial.print("V, Low Battery: ");
  Serial.println(lowBattery ? "Yes" : "No");

  delay(1000); // Wait for 1 second before reading again
}
Remember to adjust the voltage conversion calculation if you're using a reference voltage other than 5V for the analog inputs.