
How to Use Terminal Block: Examples, Pinouts, and Specs
 Design with Terminal Block in Cirkit Designer
Introduction
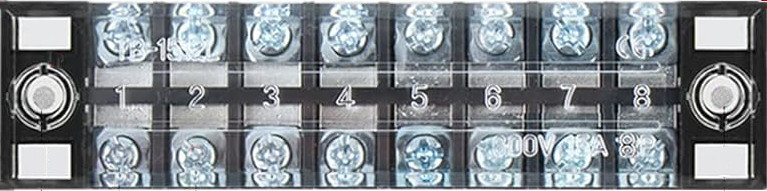
A terminal block is a modular, insulated block that secures two or more wires together. It provides a convenient way to connect and disconnect electrical circuits, ensuring safe and organized wiring. Terminal blocks are widely used in electrical and electronic systems for their reliability, ease of use, and ability to handle high currents and voltages.
Explore Projects Built with Terminal Block
 Open Project in Cirkit Designer
 Open Project in Cirkit Designer
 Open Project in Cirkit Designer
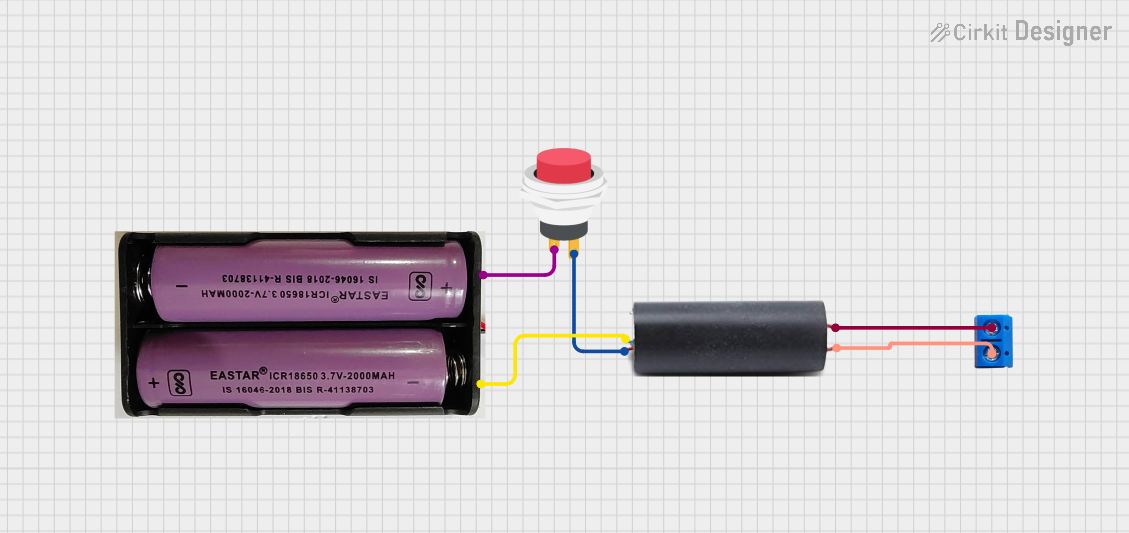 Open Project in Cirkit Designer
Explore Projects Built with Terminal Block
Open Project in Cirkit DesignerOpen Project in Cirkit DesignerOpen Project in Cirkit DesignerOpen Project in Cirkit DesignerCommon Applications and Use Cases
- Industrial control panels and automation systems
- Power distribution in electrical cabinets
- Connecting sensors, actuators, and other devices in circuits
- Audio and speaker connections
- Renewable energy systems (e.g., solar panel wiring)
- Prototyping and testing circuits
Technical Specifications
Terminal blocks come in various types and configurations, depending on the application. Below are the general technical specifications for a standard screw-type terminal block:
| Specification | Details |
|---|---|
| Voltage Rating | 250V to 1000V (varies by model) |
| Current Rating | 10A to 125A (varies by model) |
| Wire Size Compatibility | 22 AWG to 6 AWG (varies by model) |
| Insulation Material | Polyamide (PA66), flame-retardant |
| Operating Temperature | -40°C to +105°C |
| Mounting Type | DIN rail, PCB mount, or panel mount |
| Connection Type | Screw terminal, spring clamp, or push-in |
| Number of Poles | 1 to 24 poles (or more, depending on the design) |
Pin Configuration and Descriptions
Terminal blocks do not have traditional "pins" like ICs or connectors, but they have terminals for wire connections. Below is an example of a 2-pole screw-type terminal block:
| Terminal | Description |
|---|---|
| Terminal 1 | Connects to the first wire or circuit |
| Terminal 2 | Connects to the second wire or circuit |
| Screw | Secures the wires in place |
| Housing | Insulated body to prevent short circuits |
Usage Instructions
How to Use a Terminal Block in a Circuit
- Select the Right Terminal Block: Choose a terminal block that matches your circuit's voltage, current, and wire size requirements.
- Prepare the Wires:
- Strip the insulation from the wire ends (typically 5-10mm, depending on the terminal block).
- Ensure the wire ends are clean and free of frayed strands.
- Insert the Wires:
- Loosen the screw or clamp on the terminal block.
- Insert the stripped wire end into the terminal opening.
- Secure the Connection:
- Tighten the screw or clamp to secure the wire.
- Ensure the wire is firmly held and does not pull out easily.
- Test the Connection:
- Use a multimeter to verify continuity and ensure proper connections.
Important Considerations and Best Practices
- Avoid Over-Tightening: Over-tightening screws can damage the wire or terminal block.
- Use Ferrules for Stranded Wires: For stranded wires, use ferrules to prevent fraying and ensure a secure connection.
- Check Voltage and Current Ratings: Ensure the terminal block can handle the voltage and current of your circuit.
- Organize Wiring: Use terminal blocks to keep wiring neat and reduce the risk of short circuits.
- Label Connections: Label each terminal for easy identification during maintenance or troubleshooting.
Example: Connecting a Terminal Block to an Arduino UNO
Terminal blocks can be used to connect external components (e.g., sensors, motors) to an Arduino UNO. Below is an example of wiring an LED through a terminal block:
Circuit Diagram
- Connect the positive terminal of the LED to one terminal of the block.
- Connect the other terminal of the block to a resistor, and then to an Arduino digital pin.
- Connect the LED's negative terminal to the Arduino GND.
Arduino Code
// Example code to blink an LED connected via a terminal block

const int ledPin = 8; // Digital pin connected to the LED

void setup() {
  pinMode(ledPin, OUTPUT); // Set the LED pin as an output
}

void loop() {
  digitalWrite(ledPin, HIGH); // Turn the LED on
  delay(1000);               // Wait for 1 second
  digitalWrite(ledPin, LOW);  // Turn the LED off
  delay(1000);               // Wait for 1 second
}
Troubleshooting and FAQs
Common Issues and Solutions
Loose Connections:
- Issue: Wires are not securely held in the terminal block.
- Solution: Ensure screws or clamps are tightened properly. Use ferrules for stranded wires.
Overheating:
- Issue: Terminal block becomes hot during operation.
- Solution: Check if the current exceeds the terminal block's rating. Use a higher-rated terminal block if necessary.
Wire Slips Out:
- Issue: Wire slips out of the terminal when pulled.
- Solution: Ensure the wire is stripped to the correct length and securely clamped.
Short Circuits:
- Issue: Adjacent terminals cause a short circuit.
- Solution: Verify proper insulation and spacing between terminals. Use terminal blocks with barriers if needed.
FAQs
Q: Can terminal blocks be reused?
A: Yes, terminal blocks can be reused as long as they are not damaged. Ensure the screws or clamps are in good condition.
Q: What is the difference between screw and spring clamp terminal blocks?
A: Screw terminal blocks use screws to secure wires, while spring clamp terminal blocks use a spring mechanism. Spring clamps are faster to use but may not handle high currents as well as screw terminals.
Q: Can terminal blocks be used for high-frequency signals?
A: Terminal blocks are generally suitable for low-frequency or DC applications. For high-frequency signals, consider using specialized connectors to minimize signal loss.
Q: How do I choose the right terminal block for my project?
A: Consider the voltage, current, wire size, and mounting type required for your application. Always select a terminal block with ratings that exceed your circuit's maximum requirements for safety.