How to Use AHT10: Examples, Pinouts, and Specs
Introduction
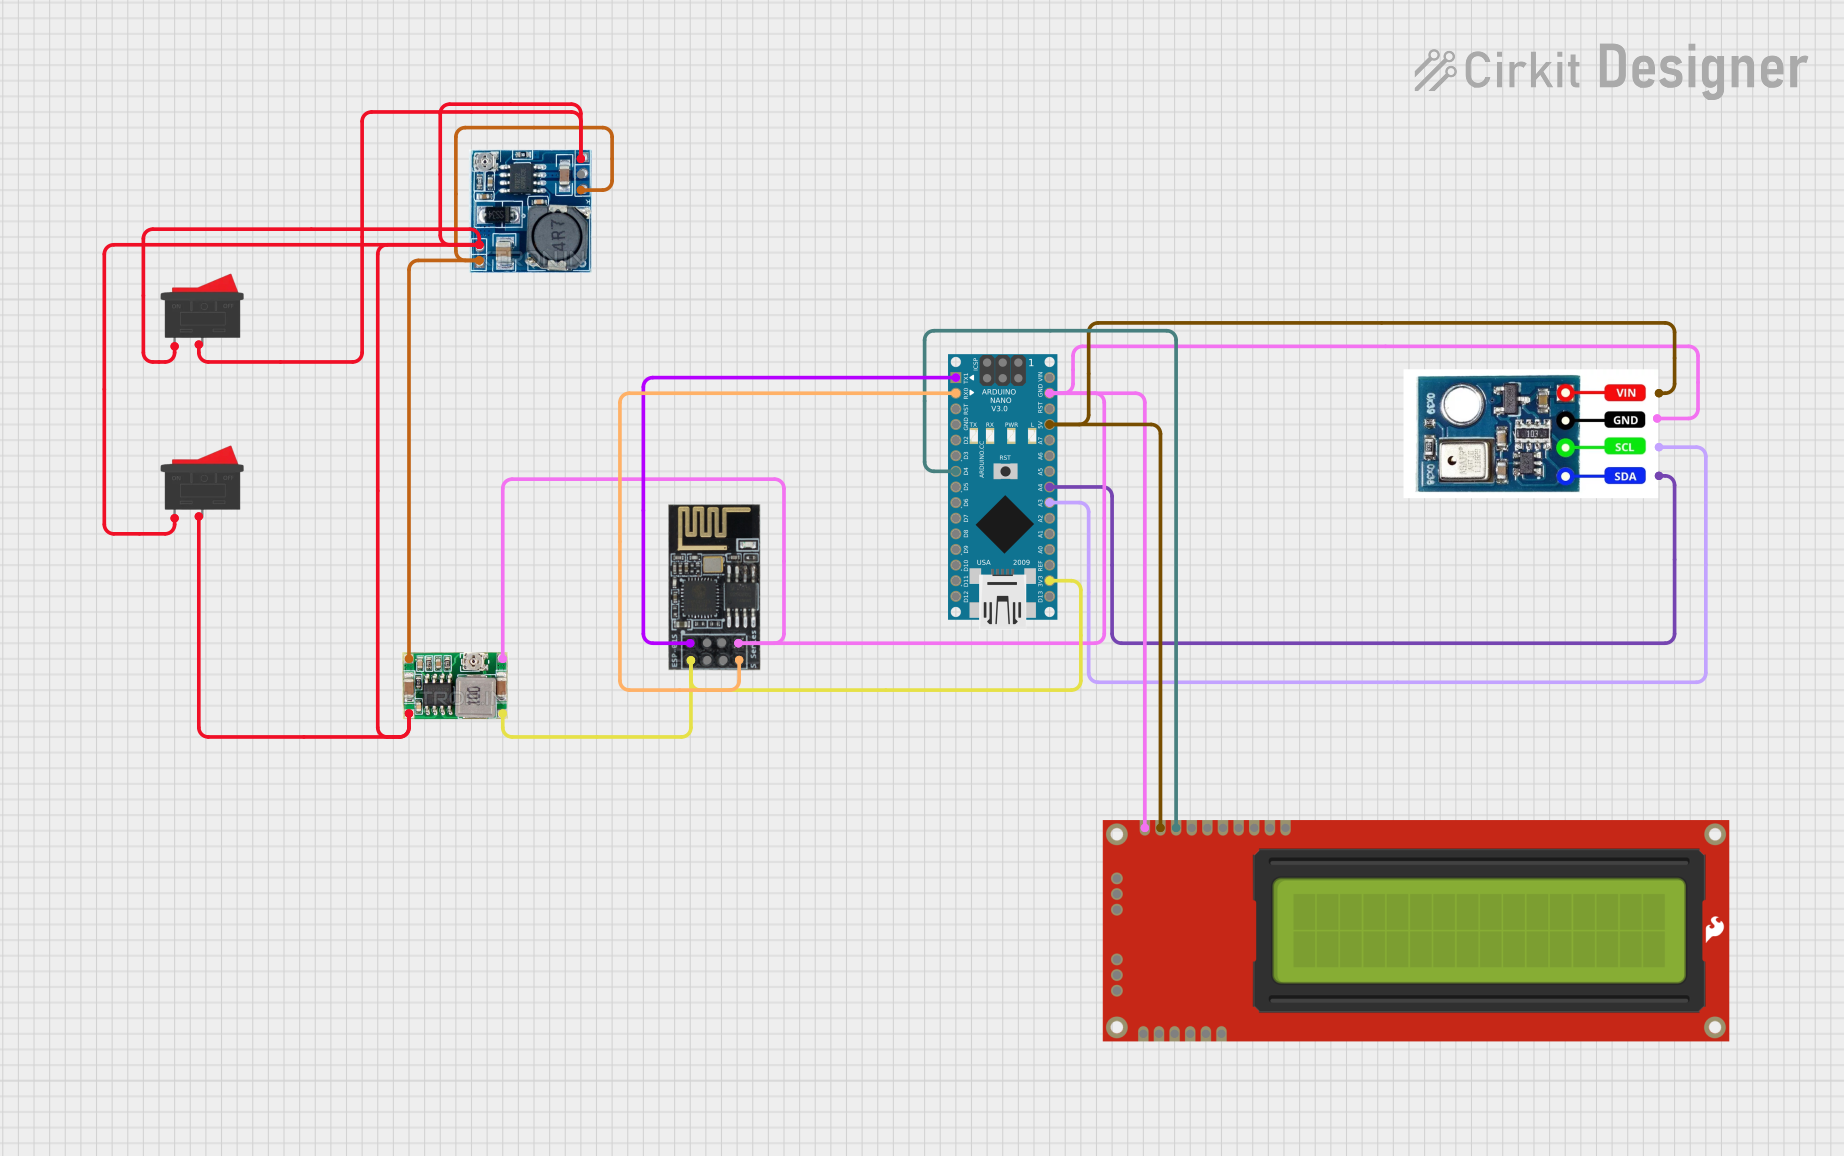
The AHT10 is a high-precision, calibrated digital sensor that measures relative humidity and temperature. Manufactured by NN, the AHT10-01 is widely used in applications such as weather stations, HVAC systems, consumer electronics, and any system requiring environmental monitoring. Its small form factor and low power consumption make it suitable for battery-operated devices and IoT applications.
Explore Projects Built with AHT10
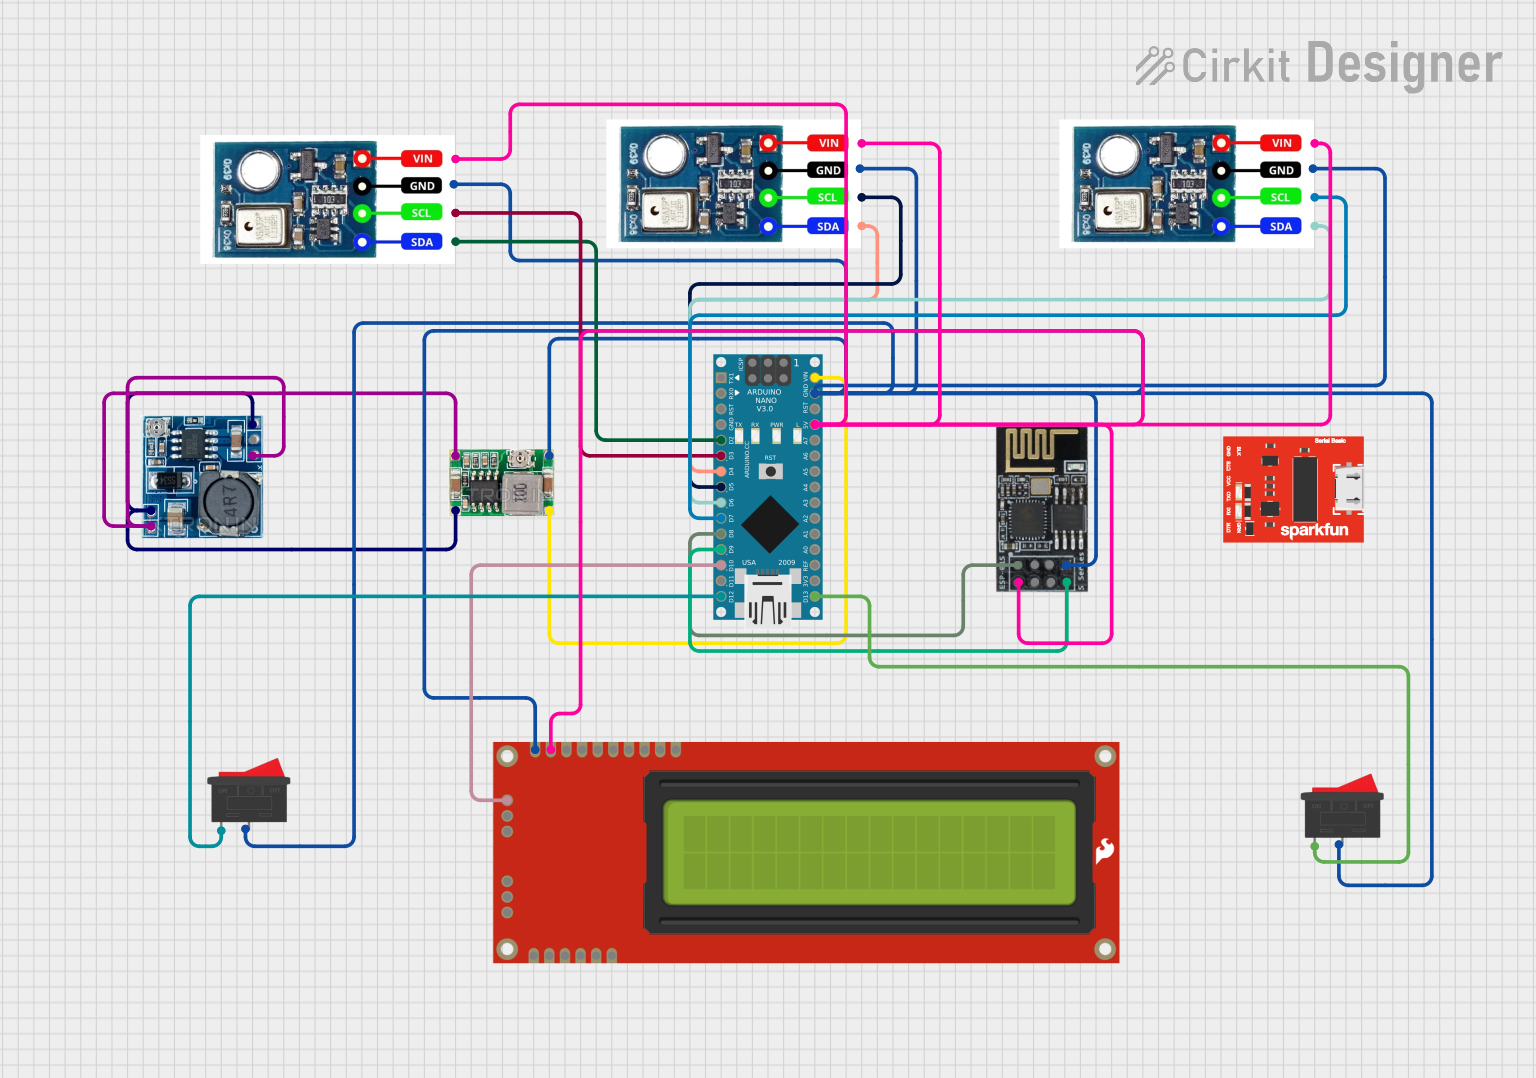
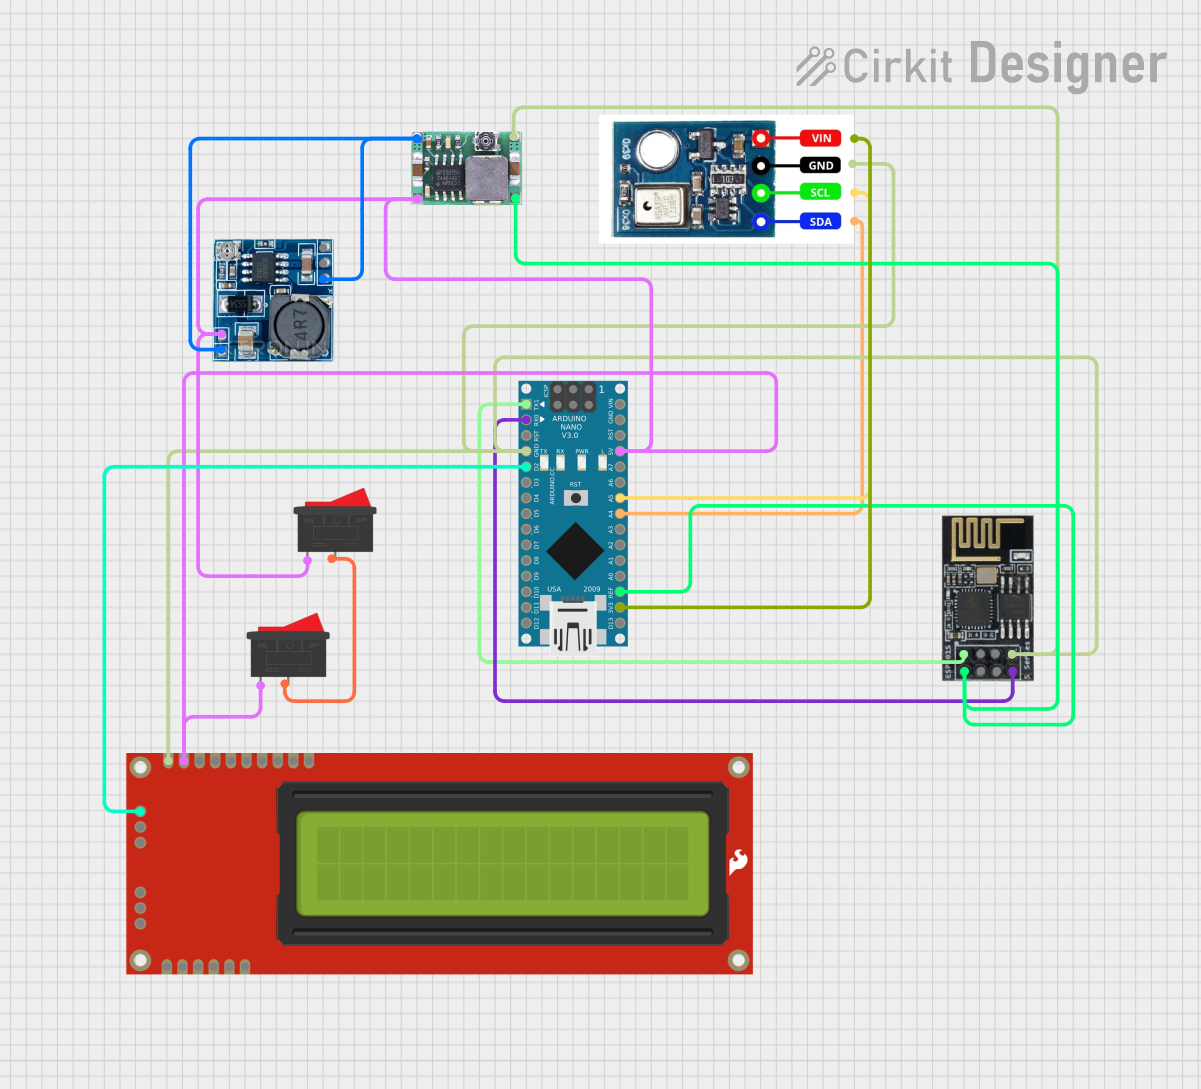
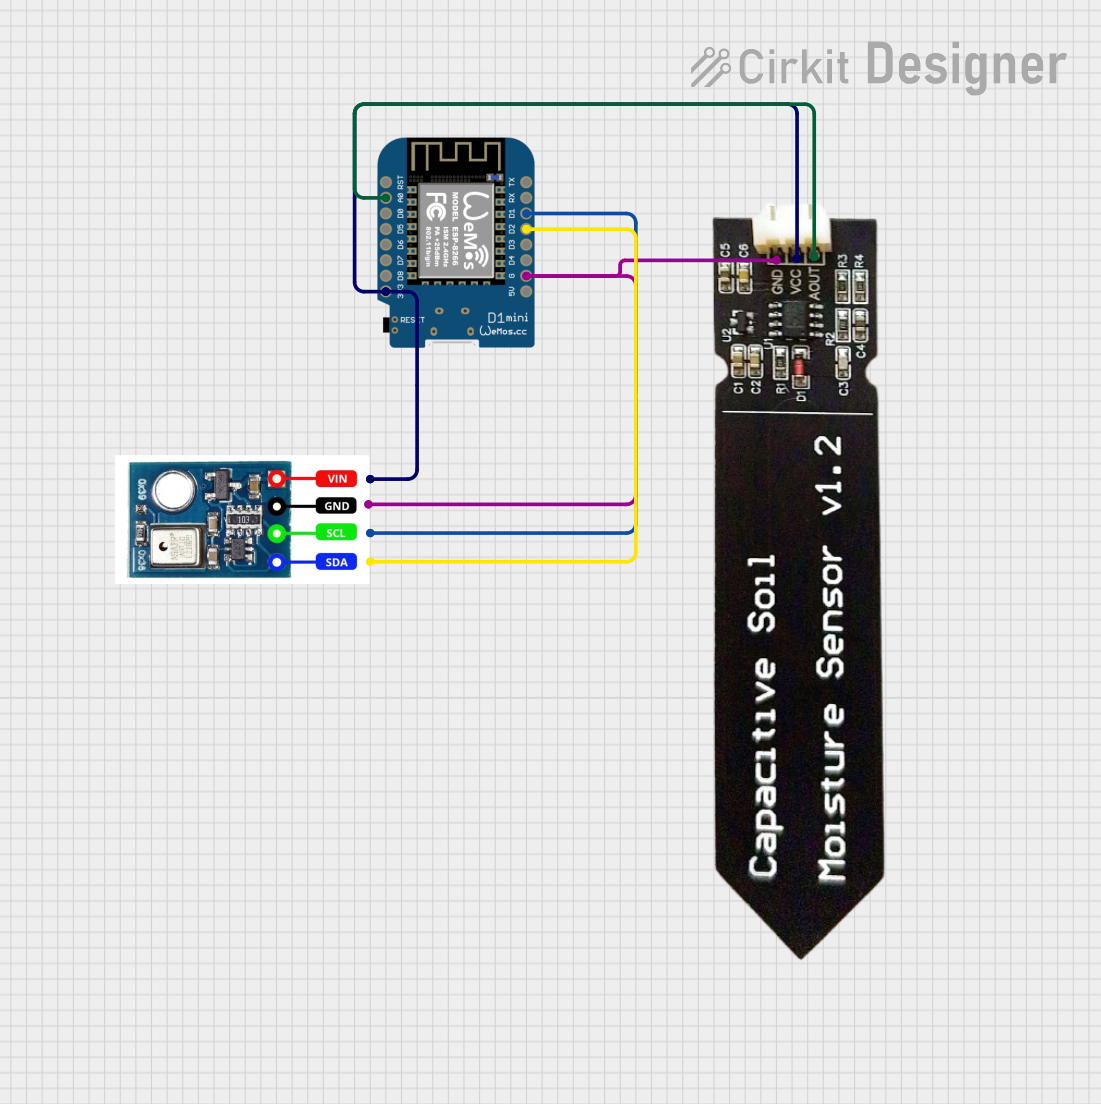
Explore Projects Built with AHT10
Technical Specifications
Key Technical Details
- Supply Voltage (Vcc): 2.2V to 5.5V
- Measuring Range (Humidity): 0% to 100% RH
- Measuring Range (Temperature): -40°C to +85°C
- Accuracy (Humidity): ±2% RH
- Accuracy (Temperature): ±0.3°C
- Resolution (Humidity): 0.024% RH
- Resolution (Temperature): 0.01°C
- Interface: I2C
- I2C Address: 0x38 (fixed)
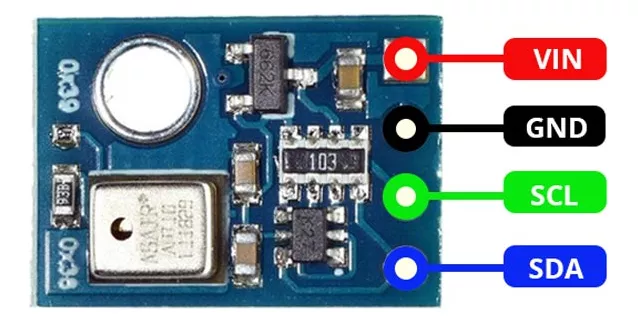
Pin Configuration and Descriptions
| Pin Number | Name | Description |
|---|---|---|
| 1 | VDD | Power supply (2.2V to 5.5V) |
| 2 | SDA | Serial Data Line for I2C communication |
| 3 | GND | Ground reference for the power supply |
| 4 | SCL | Serial Clock Line for I2C communication |
Usage Instructions
Integration into a Circuit
- Connect the VDD pin to a power supply within the range of 2.2V to 5.5V.
- Connect the GND pin to the ground of the power supply.
- Connect the SDA and SCL pins to the corresponding I2C data and clock lines on your microcontroller (e.g., Arduino UNO).
- If necessary, use pull-up resistors on the SDA and SCL lines, as per the I2C standard.
Best Practices
- Ensure that the power supply is stable and within the specified voltage range.
- Keep the sensor away from direct sunlight and sources of heat or moisture that could affect its readings.
- Use proper decoupling capacitors close to the sensor's power supply pin to minimize power supply noise.
- Avoid placing the sensor in environments with condensing humidity.
Example Code for Arduino UNO
#include <Wire.h>

// AHT10 I2C address is 0x38(56)
#define AHT10_I2C_ADDRESS 0x38

// Commands
#define AHT10_INIT_CMD 0xE1
#define AHT10_START_MEASUREMENT_CMD 0xAC
#define AHT10_NORMAL_CMD 0xA8
#define AHT10_SOFT_RESET_CMD 0xBA

// Initialize I2C communication
void setup() {
  Wire.begin(); // Join I2C bus
  Serial.begin(9600); // Start serial communication at 9600 baud rate

  // Send initialization command
  Wire.beginTransmission(AHT10_I2C_ADDRESS);
  Wire.write(AHT10_INIT_CMD);
  Wire.write(0x08);
  Wire.write(0x00);
  Wire.endTransmission();
  delay(20); // Wait for the AHT10 to initialize
}

// Function to read temperature and humidity
void readAHT10(float *temperature, float *humidity) {
  // Trigger measurement
  Wire.beginTransmission(AHT10_I2C_ADDRESS);
  Wire.write(AHT10_START_MEASUREMENT_CMD);
  Wire.write(0x33);
  Wire.write(0x00);
  Wire.endTransmission();
  delay(100); // Measurement takes about 80ms

  // Read 6 bytes of data
  // humidity msb, humidity lsb, humidity crc, temp msb, temp lsb, temp crc
  Wire.requestFrom(AHT10_I2C_ADDRESS, 6);
  if (Wire.available() == 6) {
    uint8_t data[6];
    for (int i = 0; i < 6; i++) {
      data[i] = Wire.read();
    }

    // Convert the data
    *humidity = ((data[1] << 12) | (data[2] << 4) | (data[3] >> 4)) * 100.0 / (1 << 20);
    *temperature = (((data[3] & 0x0F) << 16) | (data[4] << 8) | data[5]) * 200.0 / (1 << 20) - 50;
  }
}

// Main loop
void loop() {
  float temperature = 0, humidity = 0;

  // Read temperature and humidity
  readAHT10(&temperature, &humidity);

  // Output data to serial monitor
  Serial.print("Humidity: ");
  Serial.print(humidity);
  Serial.println(" %RH");
  Serial.print("Temperature: ");
  Serial.print(temperature);
  Serial.println(" C");

  delay(2000); // Wait for 2 seconds before reading again
}
Troubleshooting and FAQs
Common Issues
- Sensor not responding: Ensure that the I2C address is correct and that the wiring is secure. Check for proper power supply voltage.
- Inaccurate readings: Verify that the sensor is not exposed to rapid temperature changes or direct sunlight. Ensure that the sensor is not in a condensing humidity environment.
- No communication: Check the pull-up resistors on the I2C lines. They may be necessary for proper communication.
FAQs
Q: Can the AHT10 sensor be used outdoors? A: Yes, but it should be protected from direct sunlight, rain, and condensation.
Q: How long does the sensor need to stabilize before taking accurate readings? A: The sensor typically requires a few minutes to stabilize after being powered on or after significant environmental changes.
Q: Is calibration required for the AHT10 sensor? A: The AHT10 comes factory-calibrated. However, for critical applications, additional calibration may be performed to ensure accuracy.
Q: What is the lifespan of the AHT10 sensor? A: The AHT10 has a typical lifespan of several years, but this can vary depending on the operating conditions and frequency of use.
For further assistance, please contact NN customer support with the part ID AHT10-01 for specific inquiries related to the AHT10 sensor.