How to Use DFRobot DO sensor: Examples, Pinouts, and Specs
Introduction
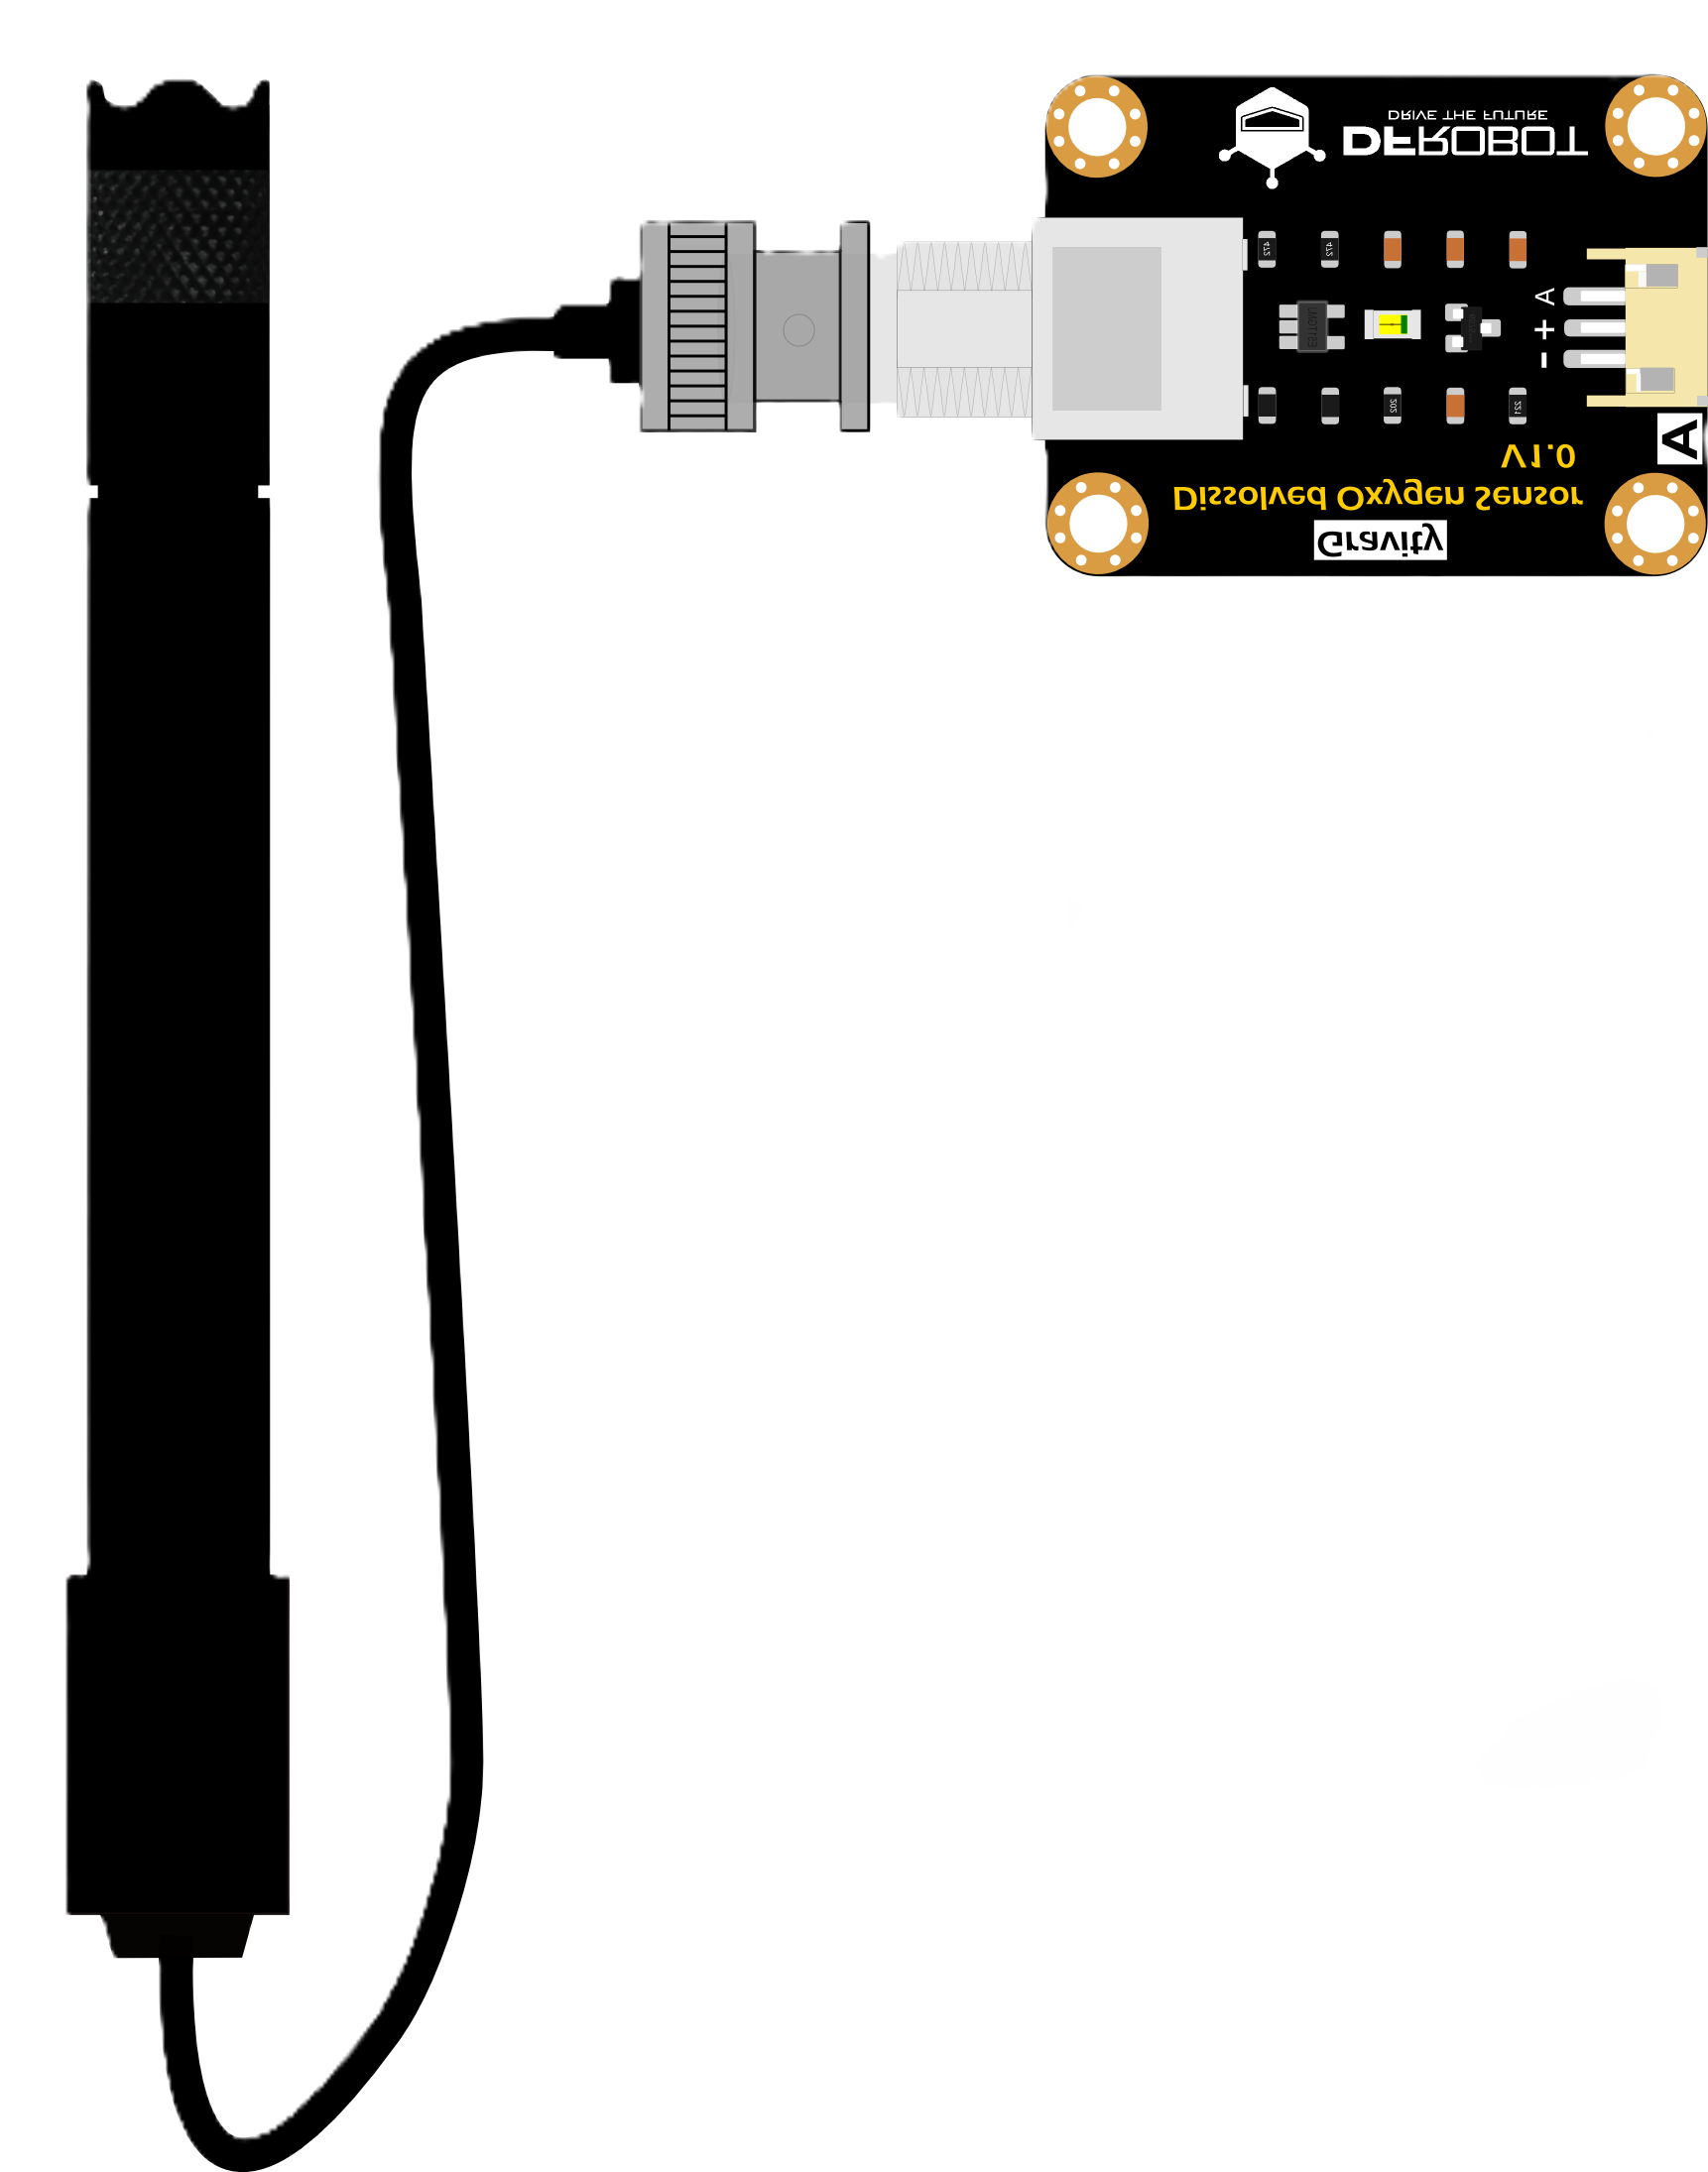
The DFRobot Dissolved Oxygen (DO) Sensor (SKU: SEN0237) is a high-precision sensor designed to measure the concentration of dissolved oxygen in water. It is widely used in applications such as environmental monitoring, aquaculture, hydroponics, and water quality testing. The sensor provides reliable and accurate readings, making it an essential tool for professionals and hobbyists working with water quality analysis.
This sensor is compatible with microcontrollers like Arduino, making it easy to integrate into custom monitoring systems. Its robust design ensures durability and consistent performance in various water conditions.
Explore Projects Built with DFRobot DO sensor

Explore Projects Built with DFRobot DO sensor
Technical Specifications
- Manufacturer: DFRobot
- Part ID: SKU SEN0237
- Measurement Range: 0–20 mg/L (ppm)
- Accuracy: ±0.1 mg/L
- Operating Voltage: 3.3V–5.5V
- Output Signal: Analog (0–3.0V)
- Temperature Compensation: Yes (via included temperature sensor)
- Operating Temperature: 0°C–60°C
- Cable Length: 1 meter
- Dimensions: 42mm x 32mm x 12mm (main board)
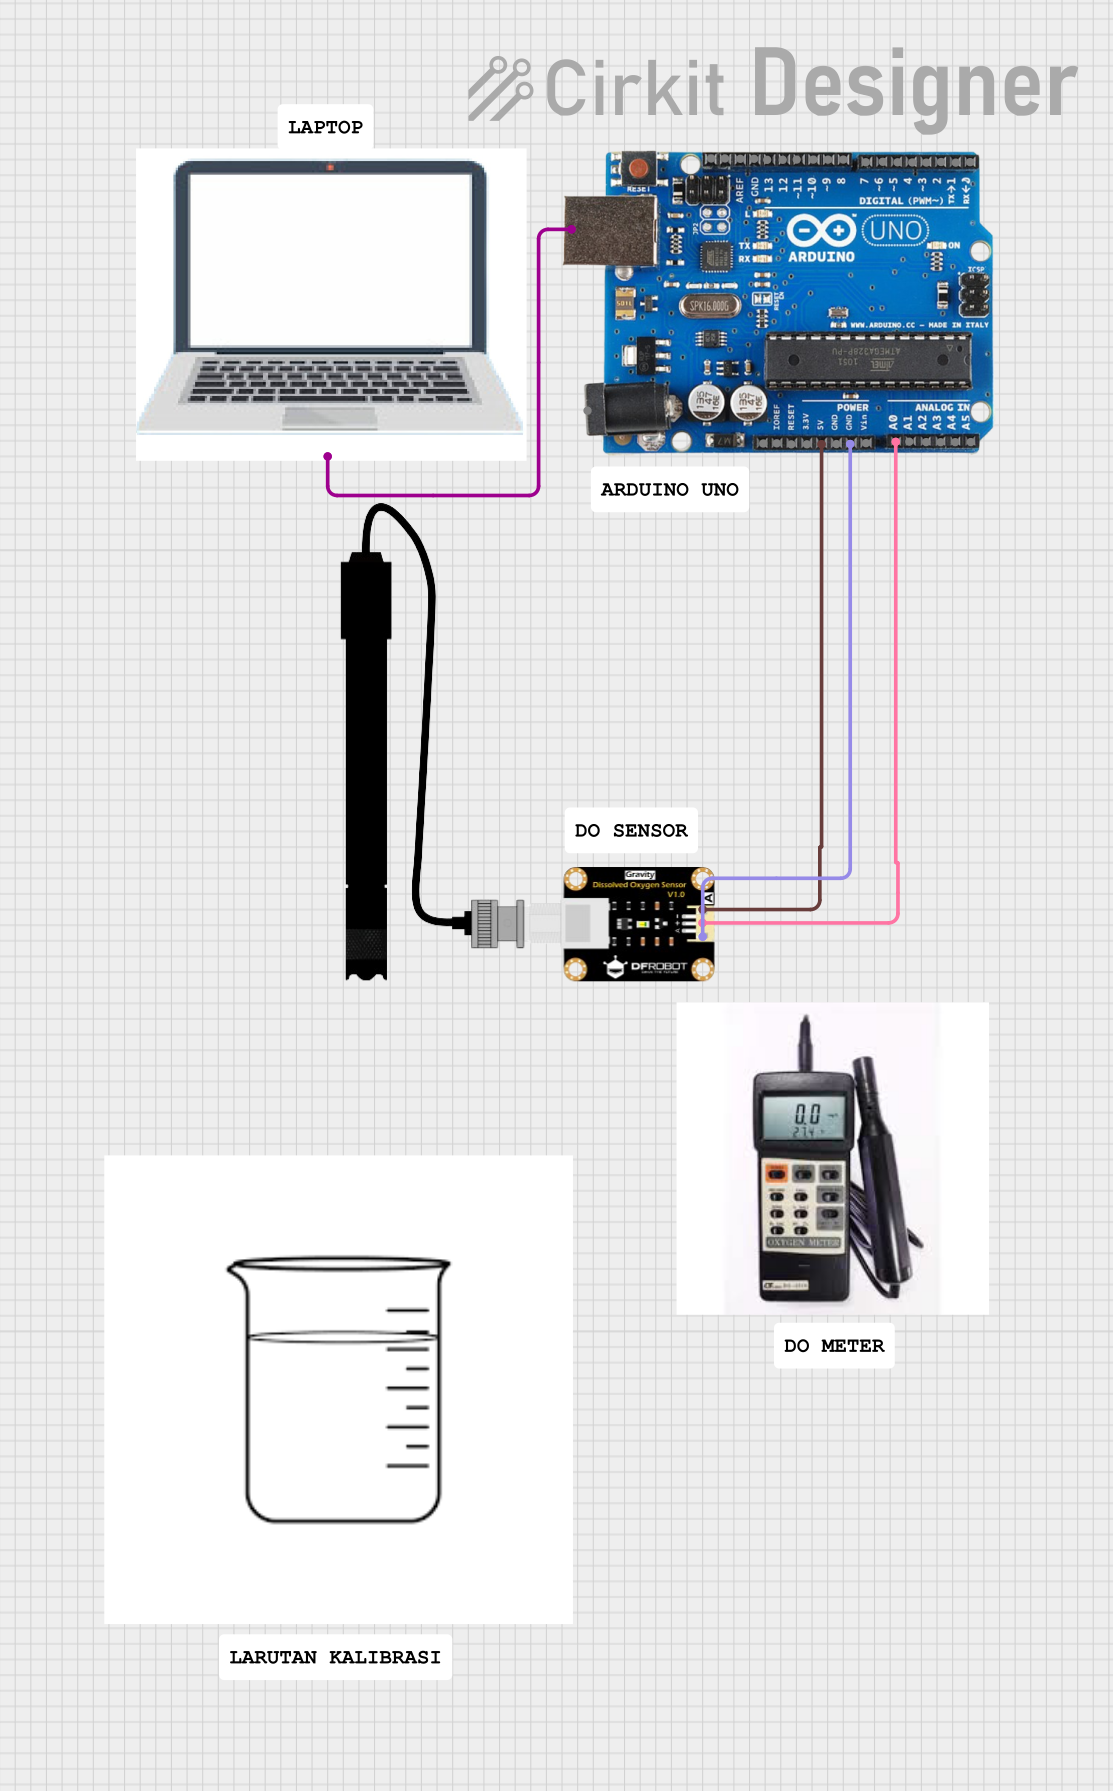
Pin Configuration and Descriptions
The DFRobot DO Sensor module has a 4-pin interface for easy connection to microcontrollers. Below is the pinout description:
| Pin | Name | Description |
|---|---|---|
| 1 | VCC | Power supply input (3.3V–5.5V) |
| 2 | GND | Ground connection |
| 3 | DO (Analog) | Analog output signal proportional to the dissolved oxygen concentration |
| 4 | TEMP | Temperature sensor input for automatic temperature compensation (NTC thermistor) |
Usage Instructions
Connecting the Sensor
- Power Supply: Connect the VCC pin to a 3.3V or 5V power source and the GND pin to the ground of your microcontroller.
- Analog Signal: Connect the DO pin to an analog input pin on your microcontroller (e.g., A0 on Arduino).
- Temperature Compensation: Connect the TEMP pin to the included temperature sensor for accurate readings in varying water temperatures.
Calibration
- Prepare Calibration Solution: Use a zero-oxygen solution (e.g., sodium sulfite solution) and a saturated oxygen solution (e.g., air-saturated water) for calibration.
- Zero Calibration: Submerge the sensor in the zero-oxygen solution and adjust the potentiometer on the module until the output reads 0 mg/L.
- Span Calibration: Submerge the sensor in the saturated oxygen solution and adjust the potentiometer until the output matches the expected value (e.g., 8.26 mg/L at 25°C).
Sample Arduino Code
Below is an example of how to use the DFRobot DO Sensor with an Arduino UNO:
// Include necessary libraries
const int DO_PIN = A0; // Analog pin connected to the DO sensor
const int TEMP_PIN = A1; // Analog pin connected to the temperature sensor

float voltageToDO(float voltage) {
  // Convert the analog voltage to dissolved oxygen concentration
  // Adjust the formula based on calibration data
  return (voltage / 3.0) * 20.0; // Assuming 3.0V corresponds to 20 mg/L
}

void setup() {
  Serial.begin(9600); // Initialize serial communication
  pinMode(DO_PIN, INPUT); // Set DO pin as input
  pinMode(TEMP_PIN, INPUT); // Set TEMP pin as input
}

void loop() {
  int doRaw = analogRead(DO_PIN); // Read raw analog value from DO sensor
  float doVoltage = (doRaw / 1023.0) * 5.0; // Convert raw value to voltage
  float doConcentration = voltageToDO(doVoltage); // Convert voltage to DO concentration

  Serial.print("Dissolved Oxygen: ");
  Serial.print(doConcentration);
  Serial.println(" mg/L");

  delay(1000); // Wait 1 second before the next reading
}
Best Practices
- Always calibrate the sensor before use to ensure accurate readings.
- Rinse the sensor with distilled water after each use to prevent contamination.
- Avoid exposing the sensor to extreme temperatures or corrosive chemicals.
- Use the temperature compensation feature for accurate readings in varying water conditions.
Troubleshooting and FAQs
Common Issues
Inaccurate Readings:
- Ensure the sensor is properly calibrated using both zero and span calibration solutions.
- Check for contamination on the sensor probe and clean it if necessary.
No Output Signal:
- Verify that the sensor is connected to the correct pins on the microcontroller.
- Ensure the power supply voltage is within the specified range (3.3V–5.5V).
Fluctuating Readings:
- Check for electrical noise or interference in the circuit.
- Ensure the temperature sensor is properly connected for compensation.
FAQs
Q: Can this sensor be used in saltwater?
A: Yes, the sensor can be used in saltwater, but calibration should be performed in a similar environment for accurate results.
Q: How often should the sensor be calibrated?
A: Calibration frequency depends on usage, but it is recommended to calibrate before each use or at least once a week for consistent accuracy.
Q: What is the lifespan of the sensor?
A: The sensor's lifespan depends on usage and maintenance. With proper care, it can last for several years.
Q: Can I use this sensor with a Raspberry Pi?
A: Yes, the sensor can be used with a Raspberry Pi, but you will need an ADC (Analog-to-Digital Converter) since the Raspberry Pi does not have built-in analog input pins.