How to Use LED: Examples, Pinouts, and Specs
Introduction
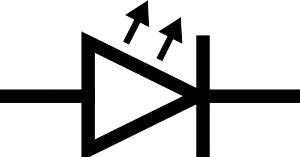
A Light Emitting Diode (LED) is a semiconductor device that emits light when an electric current passes through it. LEDs are widely used in various applications due to their efficiency, longevity, and versatility. Common applications include:
- Indicators: Status lights on electronic devices.
- Displays: Digital clocks, calculators, and large display screens.
- Lighting: Residential, commercial, and automotive lighting solutions.
Explore Projects Built with LED
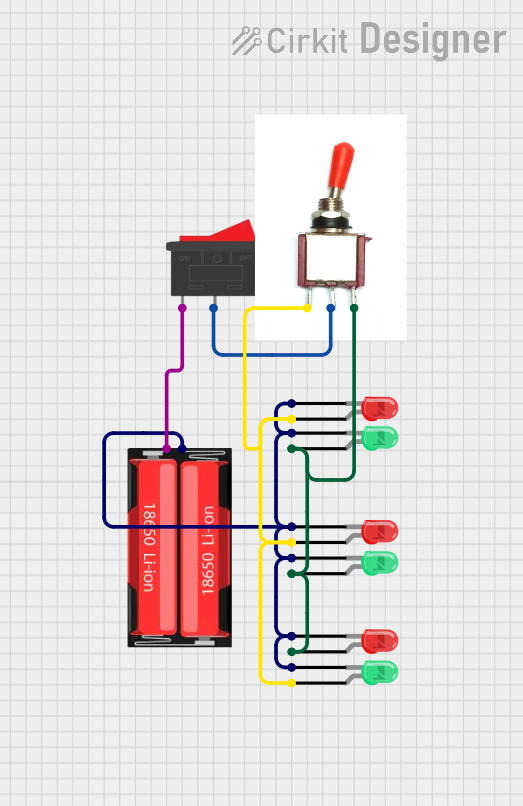
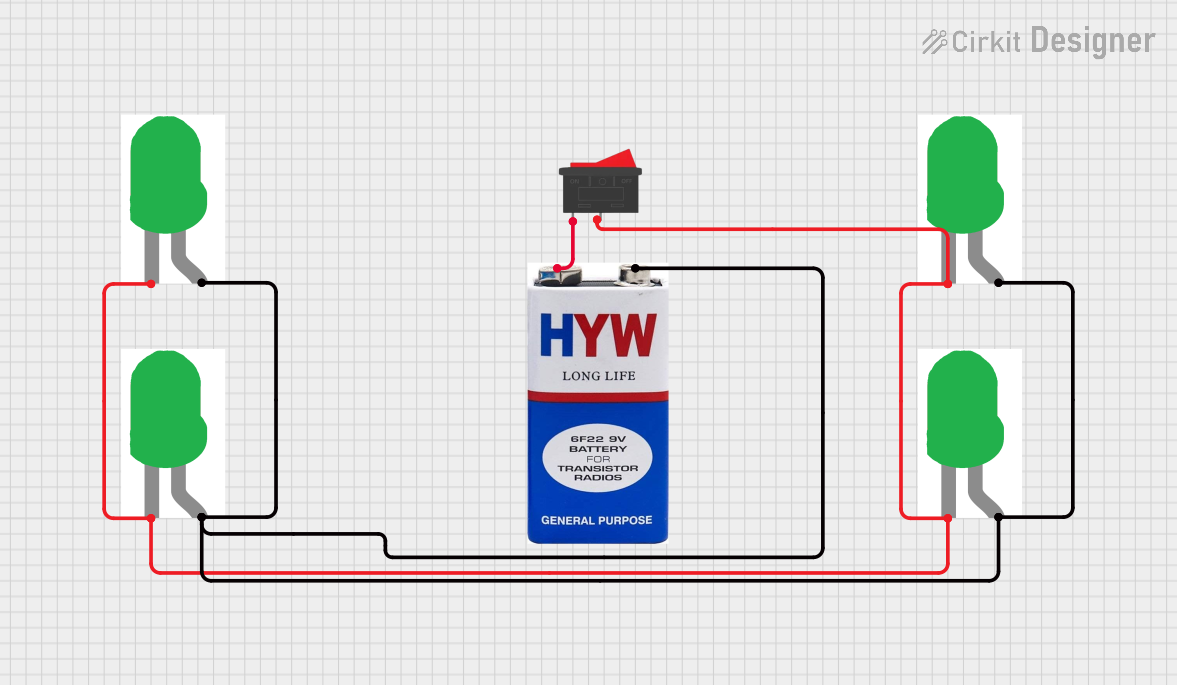

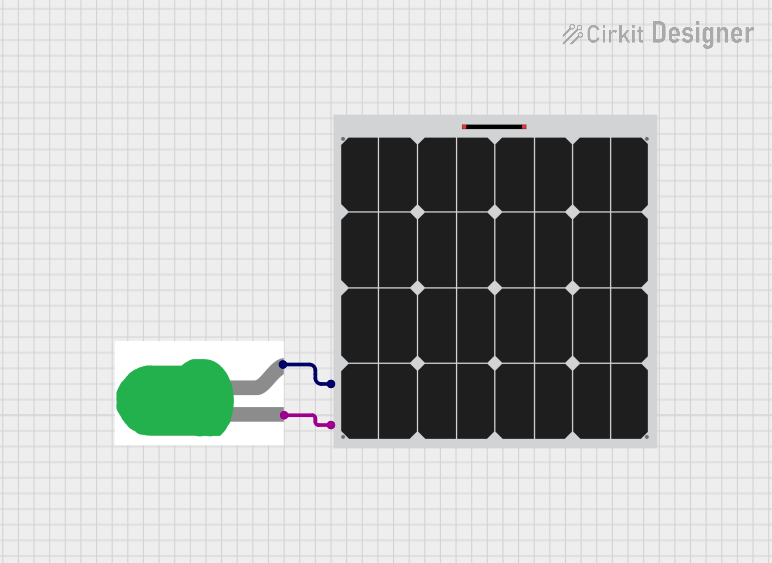
Explore Projects Built with LED
Technical Specifications
Key Technical Details
| Parameter | Value |
|---|---|
| Forward Voltage | Typically 1.8V to 3.3V |
| Forward Current | Typically 10mA to 20mA |
| Power Rating | Typically 20mW to 100mW |
| Wavelength | Varies (e.g., 620-630nm for red) |
| Viewing Angle | Typically 20° to 60° |
| Lifespan | 50,000 to 100,000 hours |
Pin Configuration and Descriptions
| Pin Name | Description |
|---|---|
| Anode | Positive terminal (longer lead) |
| Cathode | Negative terminal (shorter lead) |
Usage Instructions
How to Use the Component in a Circuit
Identify the Anode and Cathode:
- The longer lead is the Anode (positive).
- The shorter lead is the Cathode (negative).
Connect to Power Source:
- Connect the Anode to the positive terminal of the power source.
- Connect the Cathode to the negative terminal of the power source.
Use a Current-Limiting Resistor:
- To prevent damage, use a resistor in series with the LED.
- Calculate the resistor value using Ohm's Law: ( R = \frac{V_{supply} - V_{forward}}{I_{forward}} )
Important Considerations and Best Practices
- Polarity: Ensure correct polarity; reversing the connections can damage the LED.
- Current Limiting: Always use a current-limiting resistor to prevent excessive current.
- Heat Dissipation: For high-power LEDs, consider heat sinks to manage heat dissipation.
- Series and Parallel Configurations: For multiple LEDs, consider series or parallel configurations based on your voltage and current requirements.
Example Circuit with Arduino UNO
// Example code to blink an LED connected to pin 13 of Arduino UNO

// Define the pin number for the LED
const int ledPin = 13;

void setup() {
  // Initialize the digital pin as an output
  pinMode(ledPin, OUTPUT);
}

void loop() {
  // Turn the LED on (HIGH is the voltage level)
  digitalWrite(ledPin, HIGH);
  // Wait for a second
  delay(1000);
  // Turn the LED off by making the voltage LOW
  digitalWrite(ledPin, LOW);
  // Wait for a second
  delay(1000);
}
Troubleshooting and FAQs
Common Issues Users Might Face
LED Not Lighting Up:
- Solution: Check the polarity and ensure the Anode is connected to the positive terminal and the Cathode to the negative terminal.
- Solution: Verify the current-limiting resistor value and connections.
LED Flickering:
- Solution: Ensure stable power supply and proper connections.
- Solution: Check for loose connections or faulty components.
LED Burning Out:
- Solution: Use an appropriate current-limiting resistor.
- Solution: Ensure the power supply voltage does not exceed the LED's rated voltage.
FAQs
Q: Can I connect an LED directly to a power source?
- A: No, always use a current-limiting resistor to prevent damage.
Q: How do I choose the right resistor for my LED?
- A: Use Ohm's Law: ( R = \frac{V_{supply} - V_{forward}}{I_{forward}} ).
Q: Can I use an LED with an Arduino without a resistor?
- A: No, you should always use a resistor to limit the current and protect the LED.
This documentation provides a comprehensive guide to understanding, using, and troubleshooting LEDs in various applications. Whether you are a beginner or an experienced user, these guidelines will help you effectively incorporate LEDs into your projects.