
How to Use Grove 4 Digit Display: Examples, Pinouts, and Specs
 Design with Grove 4 Digit Display in Cirkit Designer
Introduction
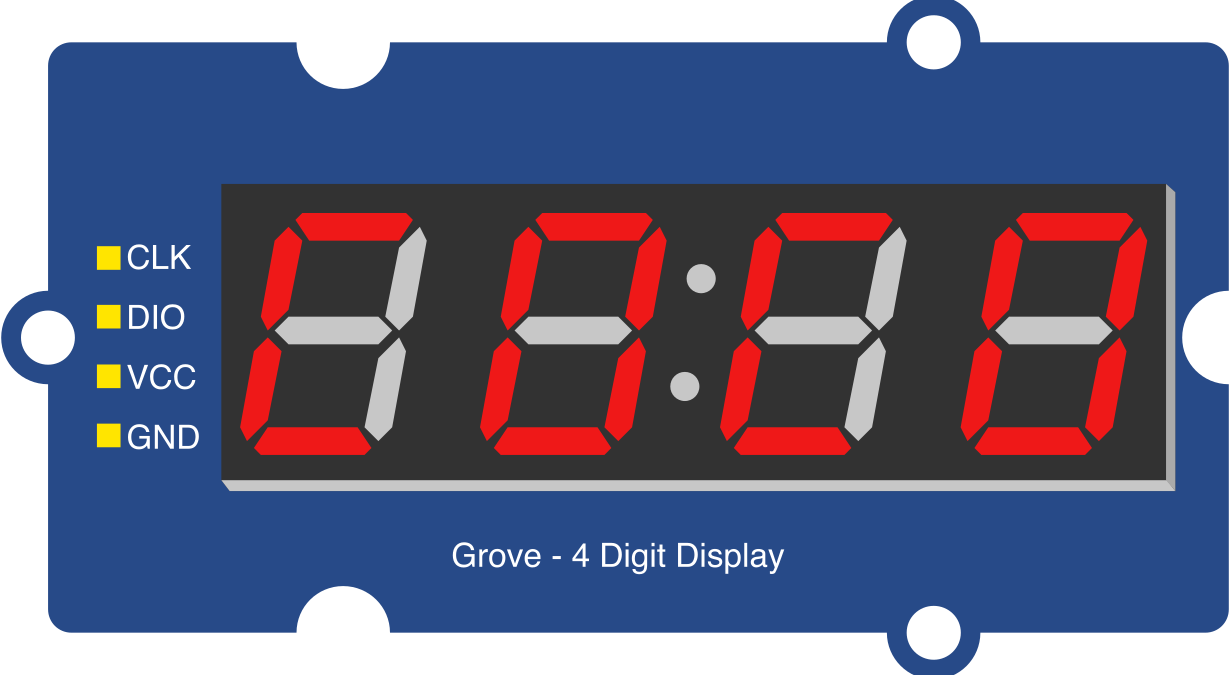
The Grove - 4-Digit Display is a compact and easy-to-use module designed by Seeed Studio. It features four 7-segment digits, making it ideal for projects that require numerical data to be displayed, such as timers, counters, clocks, or sensor readings. The module is based on the TM1637 driver chip, which simplifies communication with microcontrollers by using a two-wire interface.
This display is part of the Grove ecosystem, which ensures easy plug-and-play functionality with compatible development boards like the Arduino UNO, Raspberry Pi, and others.
Explore Projects Built with Grove 4 Digit Display
 Open Project in Cirkit Designer
 Open Project in Cirkit Designer
 Open Project in Cirkit Designer
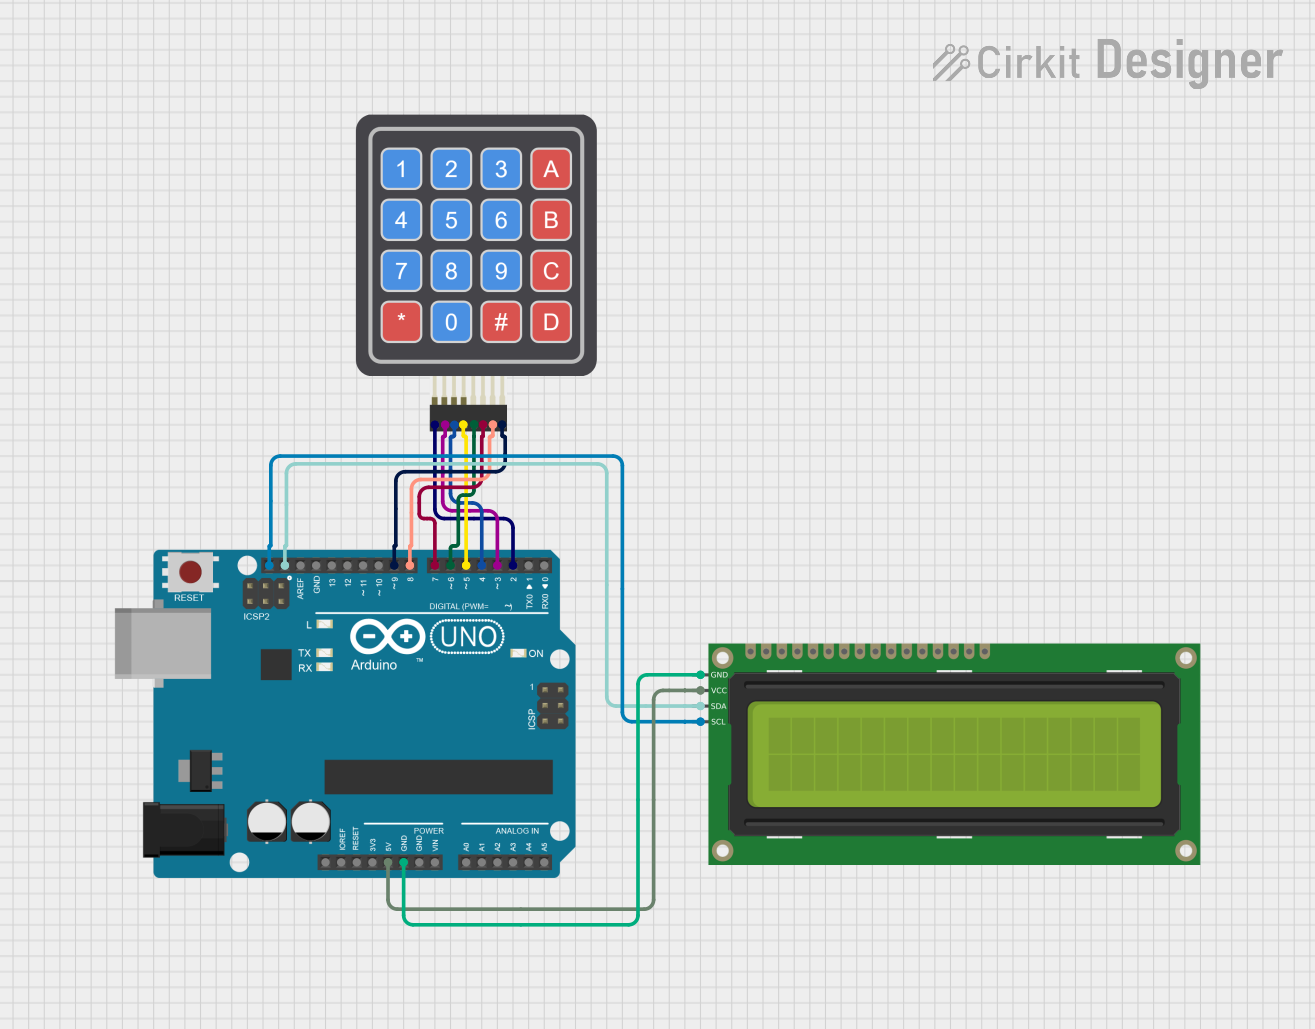 Open Project in Cirkit Designer
Explore Projects Built with Grove 4 Digit Display
Open Project in Cirkit DesignerOpen Project in Cirkit DesignerOpen Project in Cirkit DesignerOpen Project in Cirkit DesignerCommon Applications
- Digital clocks and timers
- Temperature or humidity displays
- Sensor data visualization
- Scoreboards or counters
- DIY electronics projects requiring numerical output
Technical Specifications
Below are the key technical details of the Grove - 4-Digit Display:
| Parameter | Value |
|---|---|
| Operating Voltage | 3.3V - 5V |
| Operating Current | < 30mA |
| Driver IC | TM1637 |
| Communication Protocol | 2-wire (CLK and DIO) |
| Display Type | 4-digit 7-segment LED |
| Brightness Levels | Adjustable (16 levels) |
| Dimensions | 42mm x 24mm x 12mm |
| Connector Type | Grove 4-pin interface |
Pin Configuration
The Grove - 4-Digit Display uses a 4-pin Grove connector. Below is the pinout description:
| Pin | Name | Description |
|---|---|---|
| 1 | VCC | Power supply (3.3V or 5V) |
| 2 | GND | Ground |
| 3 | DIO | Data input/output for communication |
| 4 | CLK | Clock signal for communication |
Usage Instructions
Connecting the Display
- Connect the Grove - 4-Digit Display to a Grove Base Shield or directly to your microcontroller using the Grove cable.
- Ensure the VCC pin is connected to a 3.3V or 5V power source, and the GND pin is connected to ground.
- Connect the DIO and CLK pins to the appropriate digital pins on your microcontroller. For example, on an Arduino UNO:
- DIO → Digital Pin 2
- CLK → Digital Pin 3
Arduino Example Code
Below is an example of how to use the Grove - 4-Digit Display with an Arduino UNO. This code uses the TM1637Display library, which simplifies communication with the display.
#include <TM1637Display.h>

// Define the CLK and DIO pins connected to the display
#define CLK 3  // Clock pin
#define DIO 2  // Data pin

// Initialize the TM1637Display object
TM1637Display display(CLK, DIO);

void setup() {
  // Set the brightness of the display (0 to 7)
  display.setBrightness(5);

  // Display a test pattern (e.g., "1234")
  display.showNumberDec(1234);
}

void loop() {
  // Example: Display a counter that increments every second
  for (int i = 0; i <= 9999; i++) {
    display.showNumberDec(i);  // Display the number
    delay(1000);               // Wait for 1 second
  }
}
Important Considerations
- Power Supply: Ensure the module is powered within its operating voltage range (3.3V - 5V). Exceeding this range may damage the display.
- Pin Connections: Double-check the connections for DIO and CLK to avoid communication errors.
- Brightness Settings: Use the
setBrightness()function to adjust the brightness level as needed. Lower brightness levels can reduce power consumption.
Troubleshooting and FAQs
Common Issues
Display Not Turning On
- Solution: Verify that the VCC and GND pins are properly connected to the power supply. Ensure the voltage is within the specified range (3.3V - 5V).
Incorrect or No Output
- Solution: Check the connections for the DIO and CLK pins. Ensure they are connected to the correct digital pins on the microcontroller.
- Solution: Confirm that the
TM1637Displaylibrary is installed and included in your Arduino IDE.
Flickering or Dim Display
- Solution: Adjust the brightness using the
setBrightness()function. - Solution: Ensure the power supply can provide sufficient current (< 30mA).
- Solution: Adjust the brightness using the
Library Not Found
- Solution: Install the
TM1637Displaylibrary from the Arduino Library Manager. Go to Sketch > Include Library > Manage Libraries, search for "TM1637Display," and install it.
- Solution: Install the
FAQs
Q: Can I use this display with a Raspberry Pi?
A: Yes, the Grove - 4-Digit Display can be used with a Raspberry Pi. You will need to use a library like tm1637 for Python and connect the DIO and CLK pins to GPIO pins on the Raspberry Pi.
Q: How many digits can this display show?
A: The display can show up to four digits, each represented by a 7-segment LED.
Q: Can I display letters on this module?
A: While the display is primarily designed for numbers, some letters (e.g., A, b, C, d, E, F) can be displayed using custom segment configurations.
Q: Is the brightness adjustable?
A: Yes, the brightness can be adjusted programmatically using the setBrightness() function in the TM1637Display library.
Q: Can I chain multiple displays together?
A: No, the Grove - 4-Digit Display does not support chaining multiple modules. Each display requires its own set of DIO and CLK pins.
By following this documentation, you can effectively integrate the Grove - 4-Digit Display into your projects and troubleshoot any issues that arise.