How to Use SIM 800A: Examples, Pinouts, and Specs
Introduction
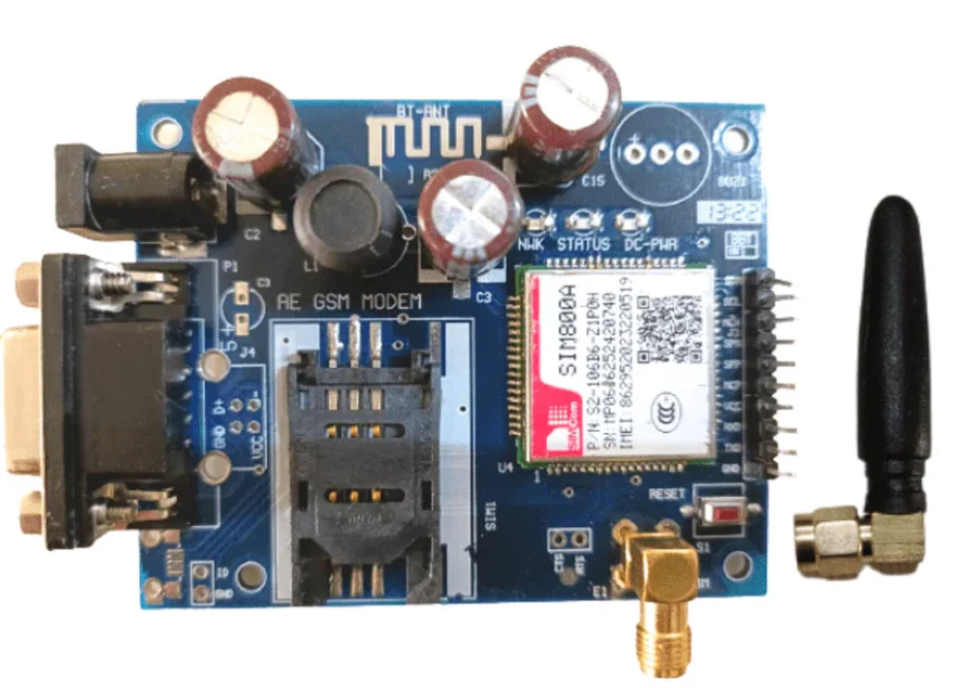
The SIM800A, manufactured by SIMCOM (Part ID: S2-10761-Z1P1K), is a versatile GSM/GPRS module that enables devices to connect to cellular networks for voice, SMS, and data communication. This module is widely used in various applications, including remote monitoring, IoT devices, and mobile communication systems.
Explore Projects Built with SIM 800A

Explore Projects Built with SIM 800A
Common Applications and Use Cases
- Remote Monitoring: Used in systems that require remote data collection and monitoring, such as weather stations and industrial equipment.
- IoT Devices: Ideal for Internet of Things (IoT) applications where devices need to communicate over cellular networks.
- Mobile Communication: Enables voice and SMS communication in mobile devices and embedded systems.
- Vehicle Tracking: Used in GPS tracking systems for vehicles to send location data over the cellular network.
Technical Specifications
Key Technical Details
| Parameter | Value |
|---|---|
| Operating Voltage | 3.4V to 4.4V |
| Operating Current | 1.0A (peak), 20mA (idle) |
| Power Consumption | 1.5W (max) |
| Frequency Bands | GSM 850/900/1800/1900 MHz |
| Data Rates | GPRS: Up to 85.6 kbps (downlink/uplink) |
| Interface | UART, SPI, I2C, GPIO |
| Dimensions | 24mm x 24mm x 3mm |
| Operating Temperature | -40°C to +85°C |
Pin Configuration and Descriptions
| Pin No. | Pin Name | Description |
|---|---|---|
| 1 | VCC | Power supply (3.4V to 4.4V) |
| 2 | GND | Ground |
| 3 | TXD | UART Transmit Data |
| 4 | RXD | UART Receive Data |
| 5 | DTR | Data Terminal Ready |
| 6 | RTS | Request to Send |
| 7 | CTS | Clear to Send |
| 8 | RST | Reset |
| 9 | VRTC | Real-Time Clock Power Supply |
| 10 | NETLIGHT | Network Status Indicator |
| 11 | PWRKEY | Power On/Off |
| 12 | MIC_P | Microphone Positive |
| 13 | MIC_N | Microphone Negative |
| 14 | SPK_P | Speaker Positive |
| 15 | SPK_N | Speaker Negative |
Usage Instructions
How to Use the SIM800A in a Circuit
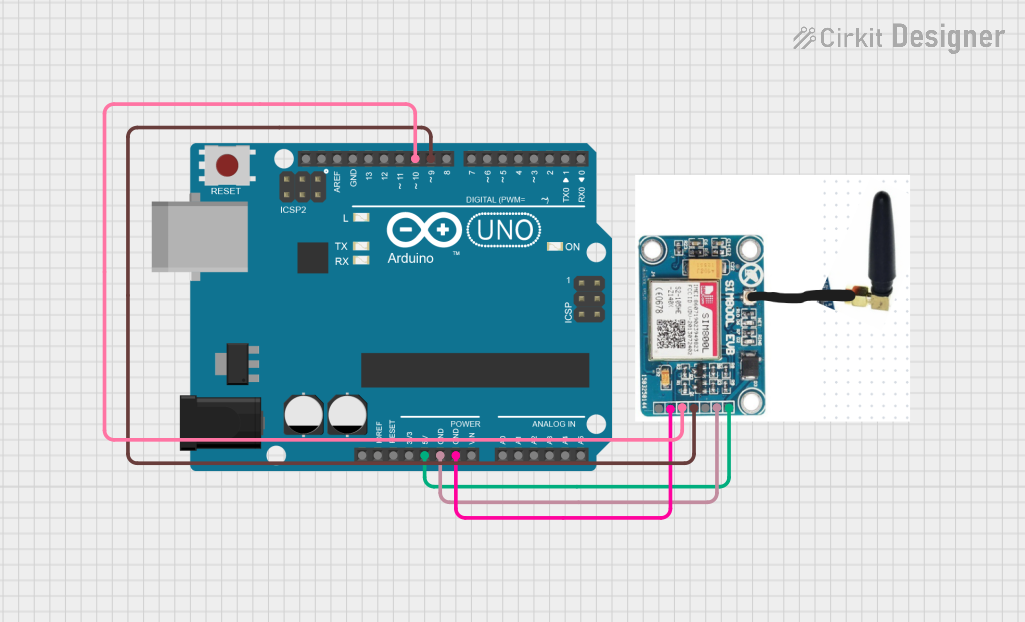
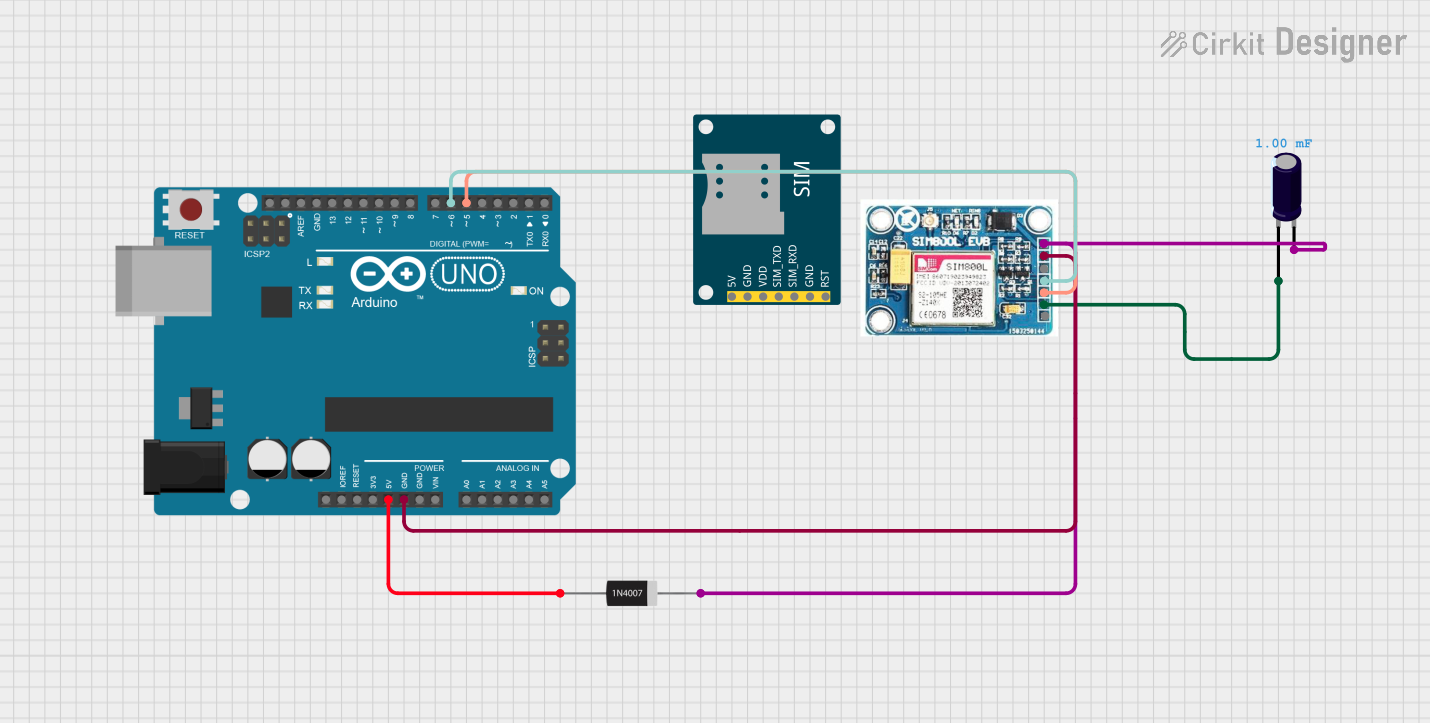
- Power Supply: Connect the VCC pin to a stable power supply within the range of 3.4V to 4.4V. Connect the GND pin to the ground of the power supply.
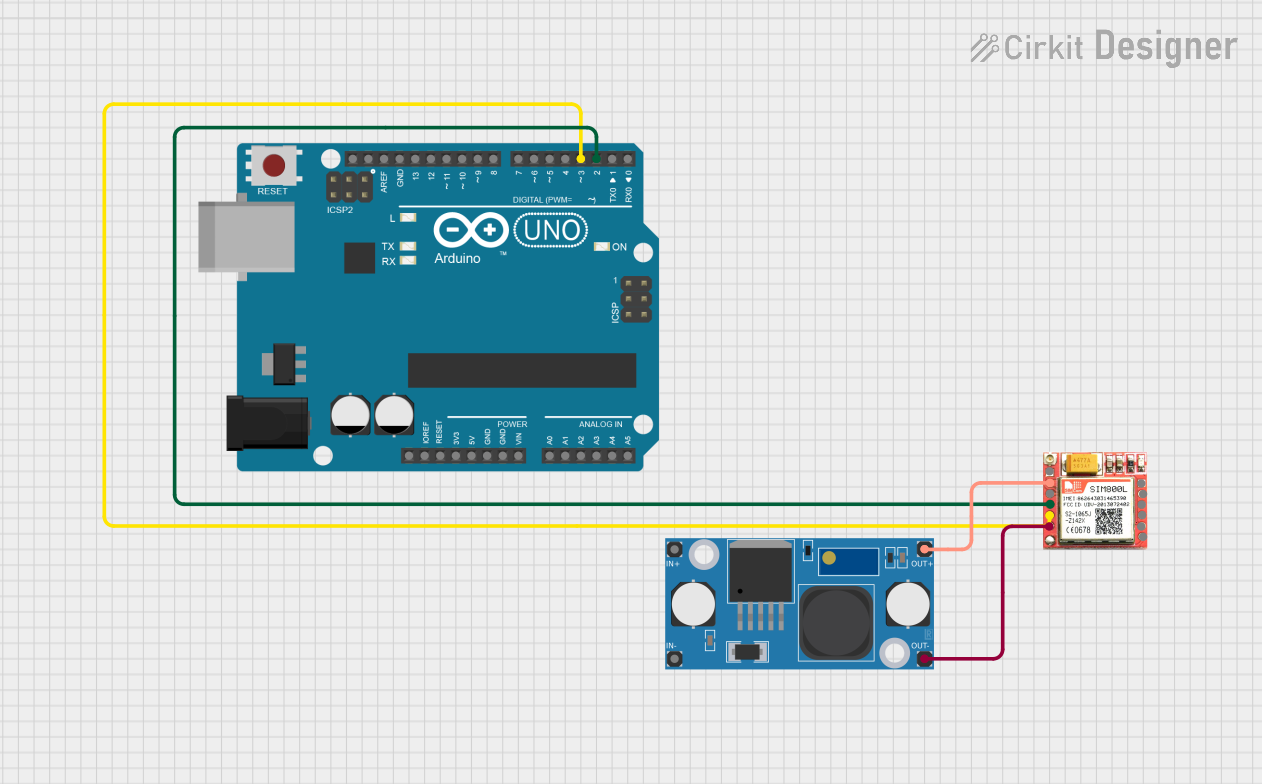
- UART Communication: Connect the TXD pin to the RX pin of your microcontroller (e.g., Arduino UNO) and the RXD pin to the TX pin of the microcontroller.
- Power On: To power on the module, pull the PWRKEY pin low for at least 1 second and then release it.
- Antenna Connection: Connect an appropriate GSM antenna to the antenna connector on the module.
- Network Status: Use the NETLIGHT pin to monitor the network status. The LED connected to this pin will blink to indicate the network status.
Important Considerations and Best Practices
- Power Supply: Ensure that the power supply can provide sufficient current (up to 1.0A peak) to avoid voltage drops that can cause the module to reset.
- Antenna Placement: Place the antenna away from other electronic components to avoid interference and ensure good signal strength.
- UART Communication: Use level shifters if your microcontroller operates at a different voltage level than the SIM800A module.
- Firmware Updates: Keep the module's firmware updated to the latest version to ensure compatibility and performance.
Example Code for Arduino UNO
#include <SoftwareSerial.h>

// Create a software serial port on pins 7 (RX) and 8 (TX)
SoftwareSerial sim800a(7, 8);

void setup() {
  // Start communication with the SIM800A module at 9600 baud rate
  sim800a.begin(9600);
  Serial.begin(9600);

  // Power on the SIM800A module
  pinMode(9, OUTPUT);
  digitalWrite(9, LOW);
  delay(1000);
  digitalWrite(9, HIGH);

  // Wait for the module to initialize
  delay(5000);

  // Send an AT command to check communication
  sim800a.println("AT");
}

void loop() {
  // Read data from the SIM800A module and print it to the Serial Monitor
  if (sim800a.available()) {
    Serial.write(sim800a.read());
  }

  // Read data from the Serial Monitor and send it to the SIM800A module
  if (Serial.available()) {
    sim800a.write(Serial.read());
  }
}
Troubleshooting and FAQs
Common Issues and Solutions
Module Not Powering On:
- Solution: Ensure that the power supply provides sufficient current (up to 1.0A peak). Check the connections to the VCC and GND pins.
No Response to AT Commands:
- Solution: Verify the UART connections (TXD to RX and RXD to TX). Ensure the baud rate is set correctly (9600 by default).
Poor Signal Strength:
- Solution: Check the antenna connection and placement. Ensure the antenna is placed away from other electronic components.
Module Resets Randomly:
- Solution: Ensure a stable power supply. Use capacitors to filter noise and prevent voltage drops.
FAQs
Can the SIM800A module be used with a 5V microcontroller?
- Yes, but you need to use level shifters to match the voltage levels between the microcontroller and the SIM800A module.
How do I update the firmware of the SIM800A module?
- Firmware updates can be done using the UART interface. Refer to the manufacturer's documentation for detailed instructions.
What is the maximum data rate supported by the SIM800A module?
- The SIM800A module supports GPRS data rates up to 85.6 kbps for both downlink and uplink.
Can the SIM800A module be used for voice communication?
- Yes, the SIM800A module supports voice communication. Connect a microphone and speaker to the respective pins (MIC_P, MIC_N, SPK_P, SPK_N).
By following this documentation, users can effectively integrate the SIM800A GSM/GPRS module into their projects, ensuring reliable and efficient cellular communication.