How to Use Loudspeaker: Examples, Pinouts, and Specs
Introduction
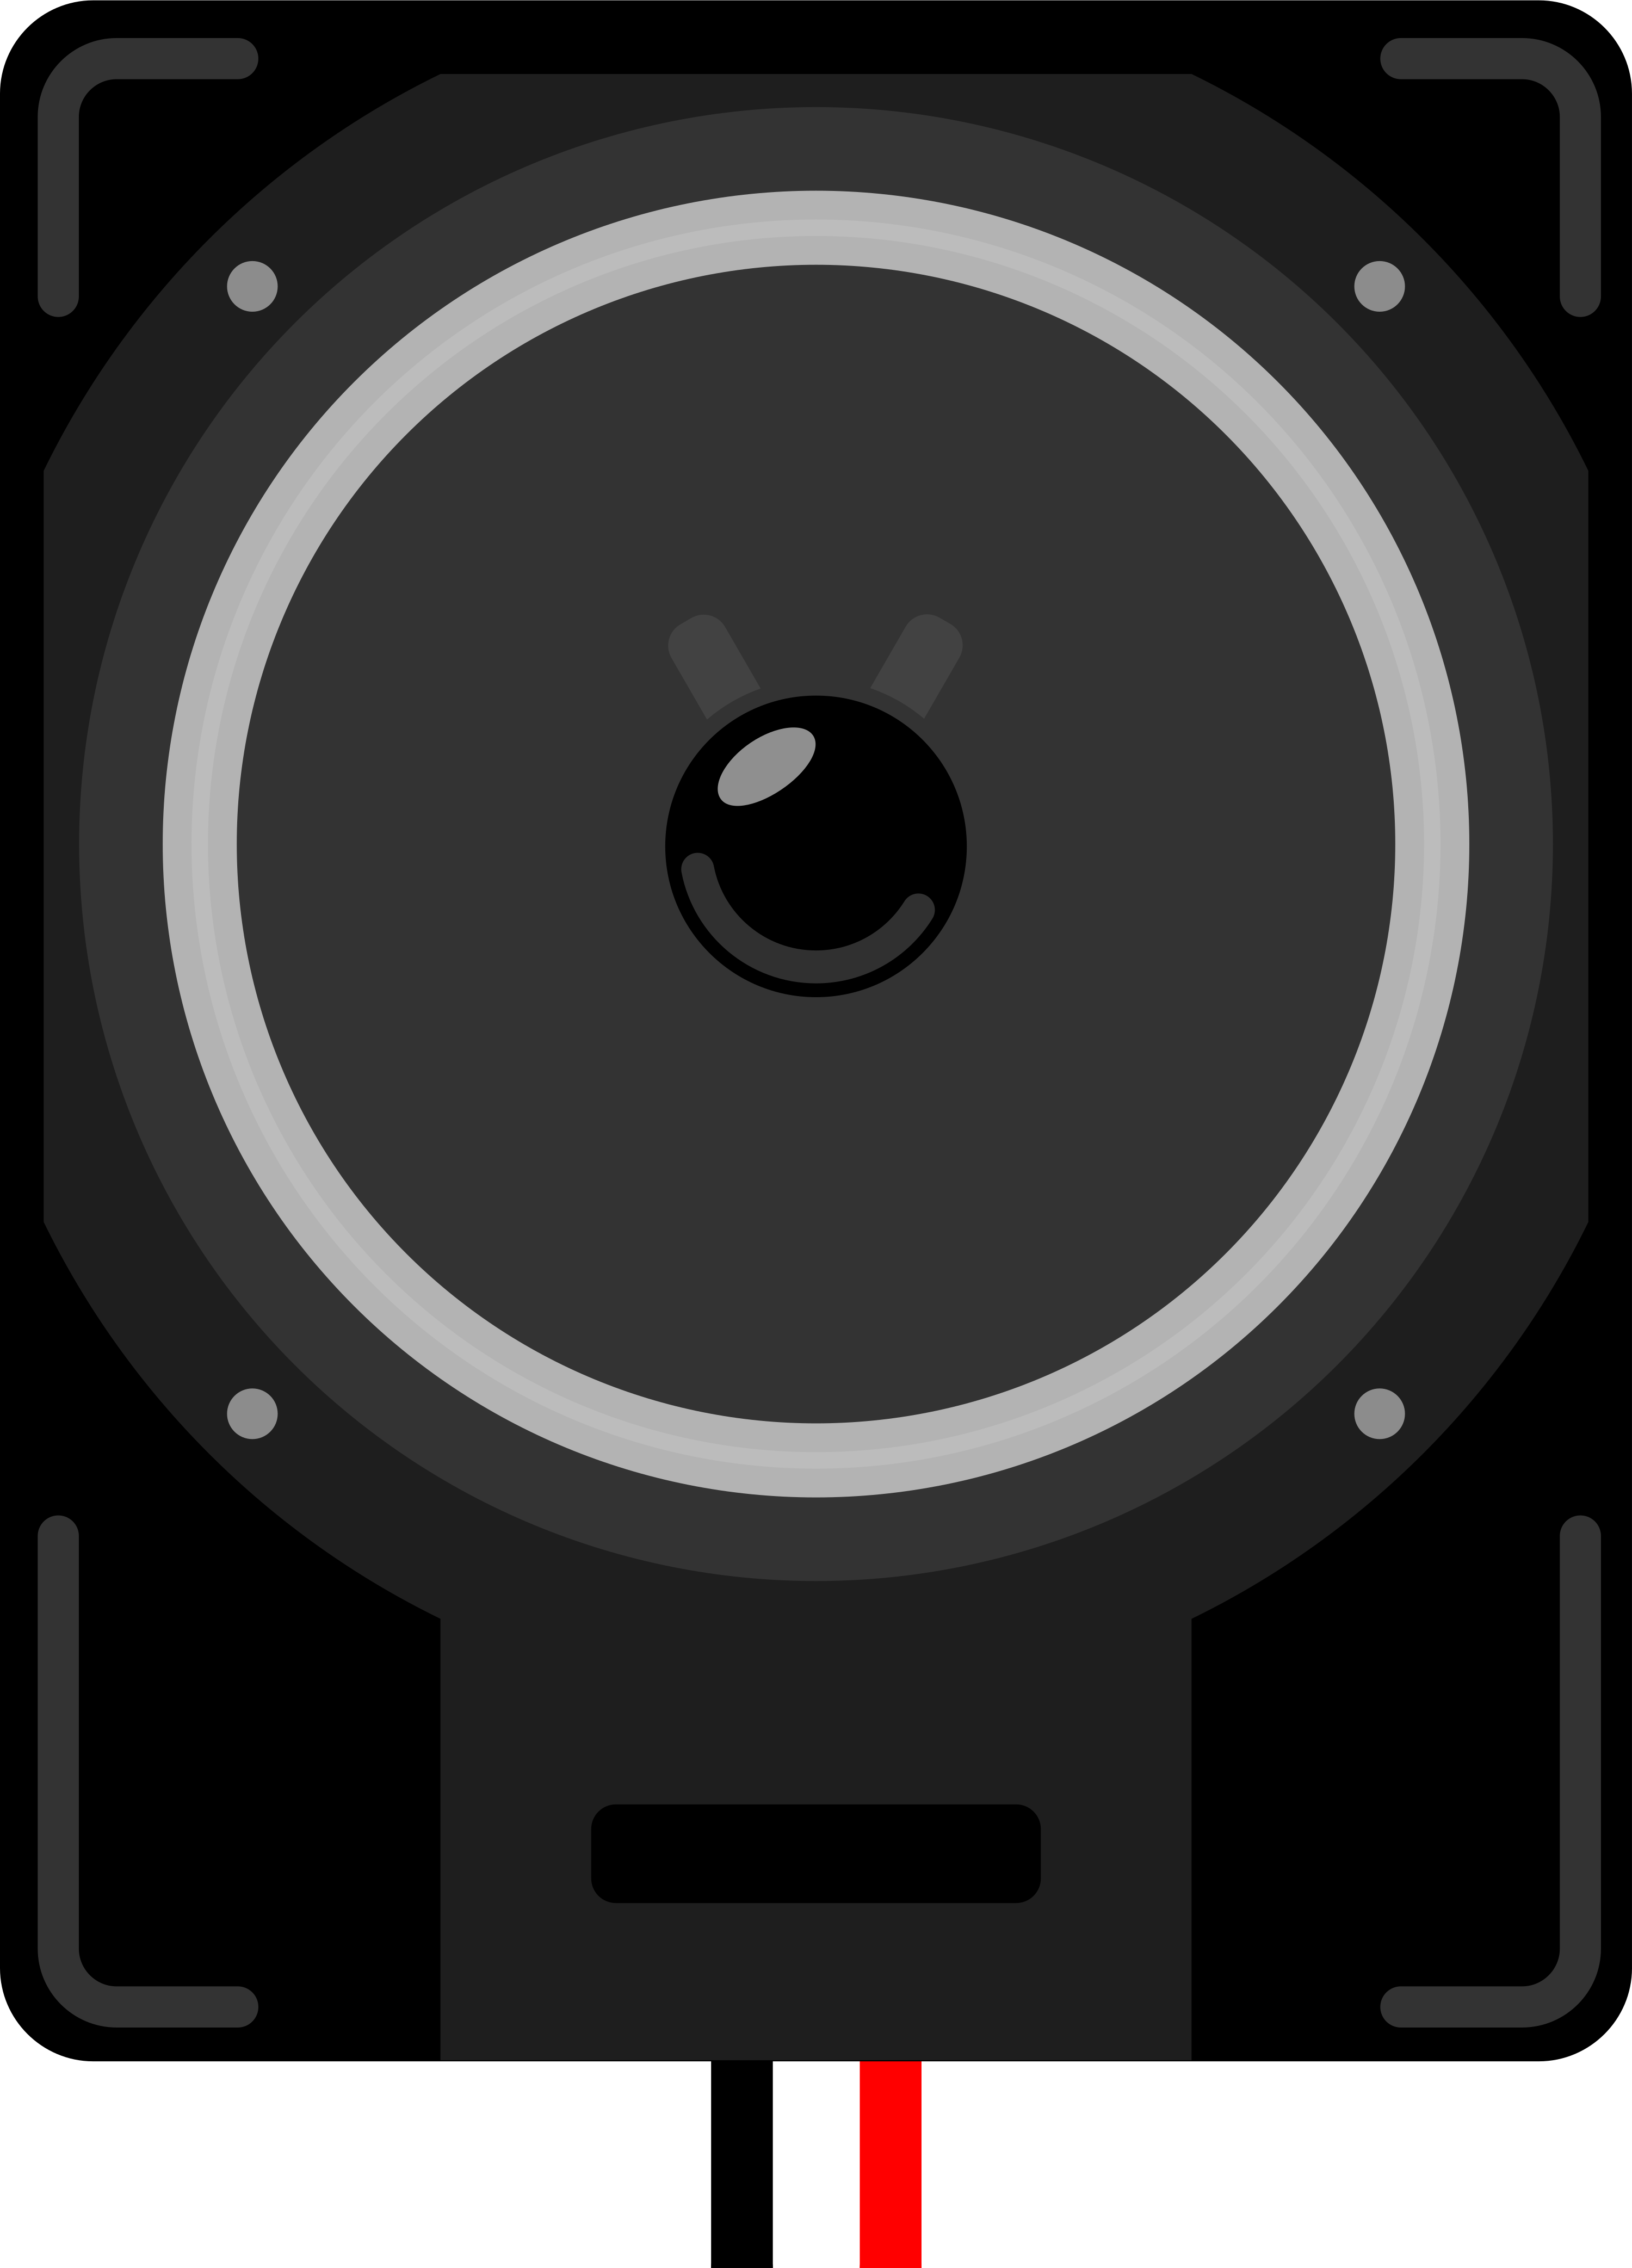
A loudspeaker is an electroacoustic transducer that converts electrical audio signals into corresponding sound waves. The primary components of a loudspeaker include a diaphragm (often referred to as a cone), a voice coil, a permanent magnet, and an enclosure or cabinet. Loudspeakers are ubiquitous in modern technology and are found in devices ranging from simple alarm clocks to complex sound reinforcement systems.
Explore Projects Built with Loudspeaker
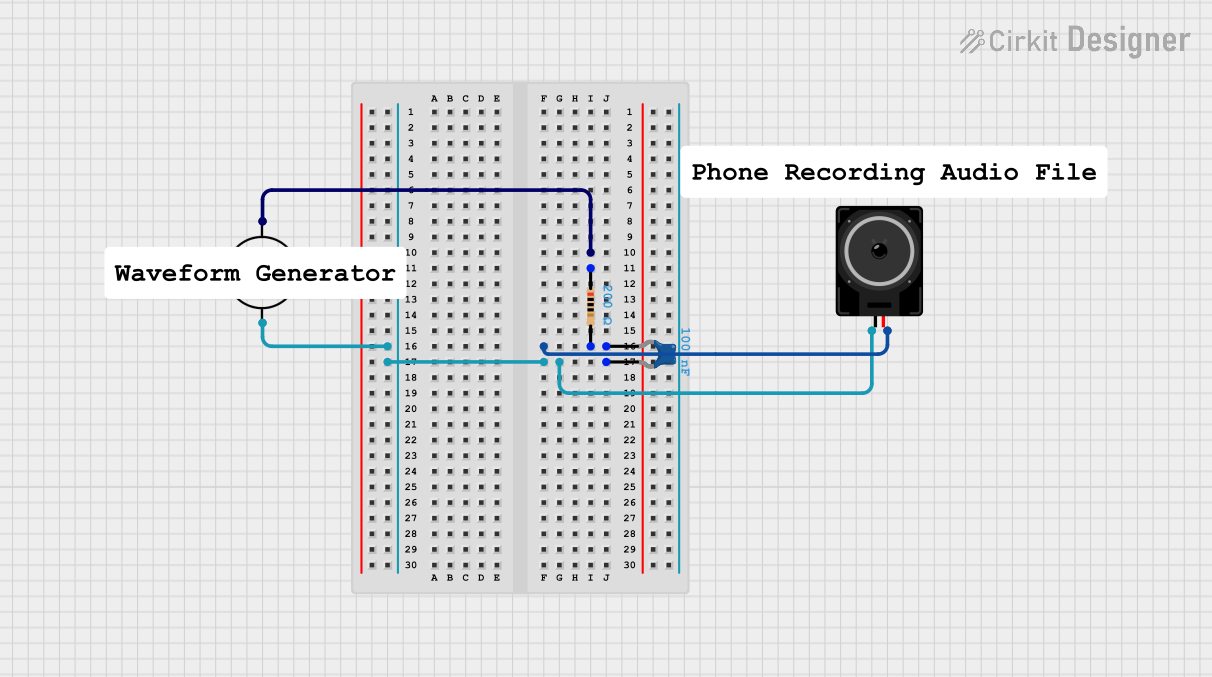
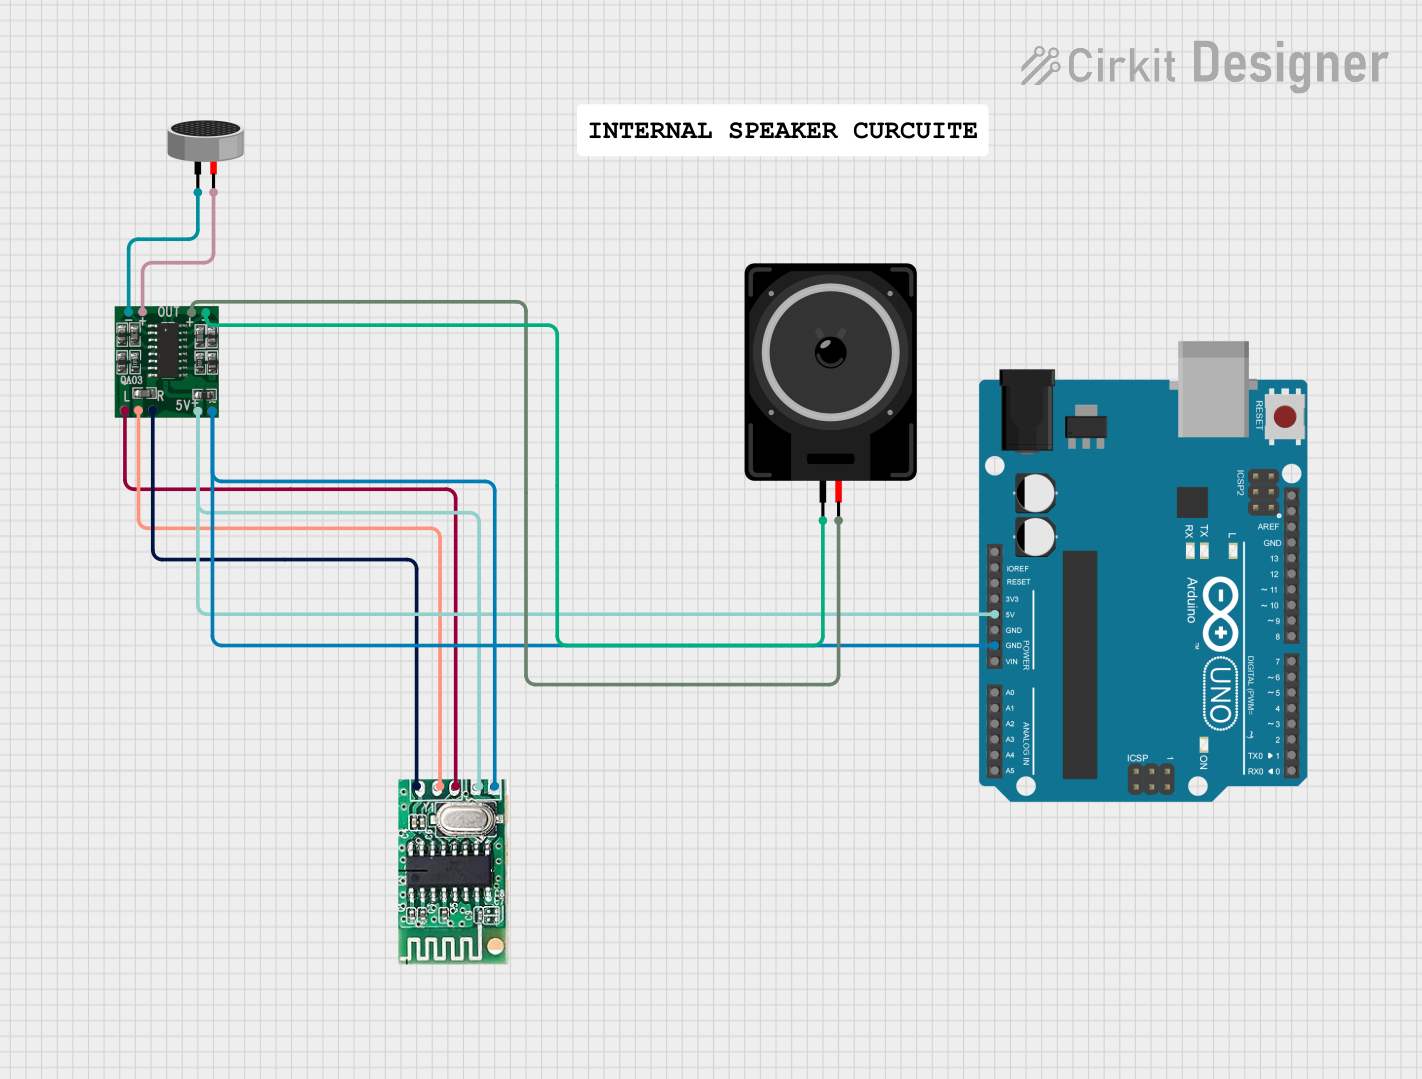

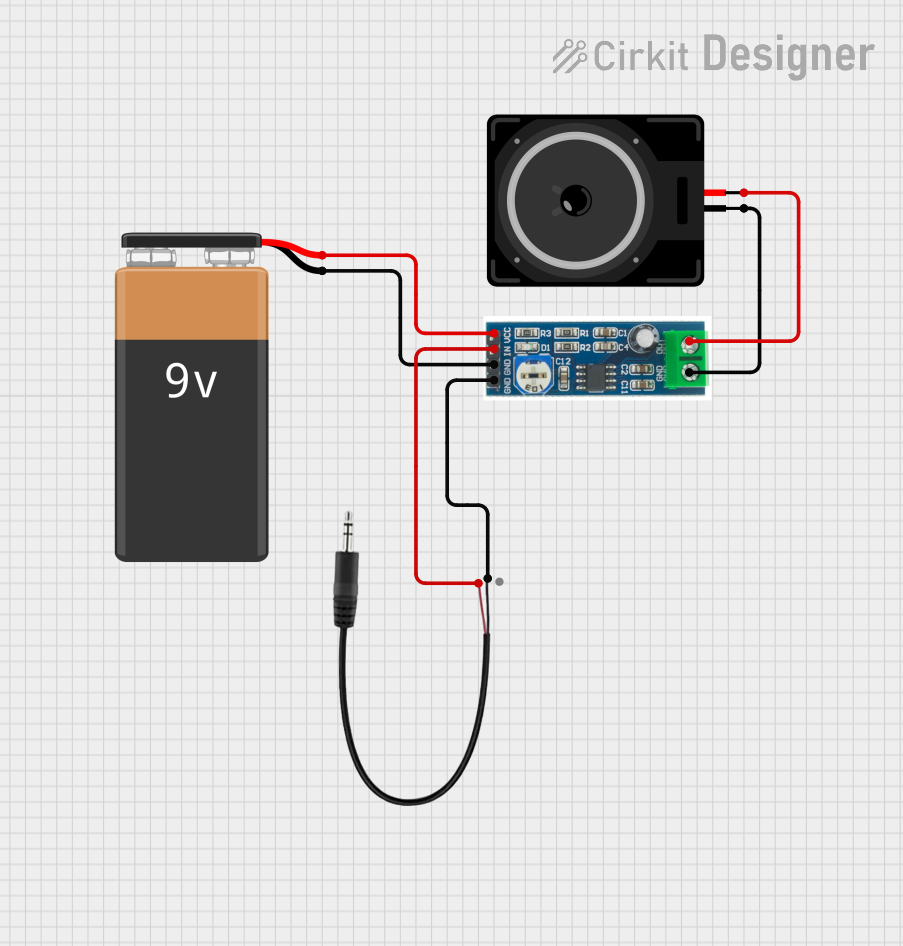
Explore Projects Built with Loudspeaker
Common Applications and Use Cases
- Home and professional audio systems
- Public address systems
- Television and cinema sound systems
- Personal devices such as smartphones and laptops
- Automotive audio systems
Technical Specifications
Key Technical Details
- Impedance: Typically 4, 8, or 16 ohms
- Frequency Response: Varies with design, commonly 20 Hz to 20 kHz
- Sensitivity: Expressed in dB SPL at 1W/1m
- Power Handling: Maximum input power before damage, given in watts
Pin Configuration and Descriptions
| Pin Number | Description | Notes |
|---|---|---|
| 1 | Positive Terminal | Connects to amplifier output (+) |
| 2 | Negative Terminal | Connects to amplifier output (−) |
Usage Instructions
How to Use the Component in a Circuit
- Identify the Terminals: Locate the positive (+) and negative (−) terminals on the loudspeaker.
- Connect to Amplifier: Use appropriate gauge speaker wire to connect the loudspeaker to the amplifier's output terminals, matching the polarity.
- Secure Connections: Ensure that all connections are secure and free from short circuits.
Important Considerations and Best Practices
- Amplifier Matching: Ensure the amplifier's output impedance matches the loudspeaker's impedance rating.
- Power Rating: Do not exceed the loudspeaker's power handling capacity to avoid damage.
- Enclosure: Use an appropriate enclosure to maximize sound quality and protect the loudspeaker components.
- Ventilation: Ensure adequate ventilation around the loudspeaker to prevent overheating.
Troubleshooting and FAQs
Common Issues Users Might Face
- Distortion: Caused by overdriving the loudspeaker or a damaged component.
- No Sound: Check connections, ensure the amplifier is powered and functioning.
- Low Volume: Verify that the amplifier's volume is set correctly and that the loudspeaker's sensitivity matches the application.
Solutions and Tips for Troubleshooting
- Check Connections: Ensure all wires are properly connected and free from damage.
- Test with Another Speaker: If possible, connect another speaker to the amplifier to rule out amplifier issues.
- Inspect for Damage: Look for visible signs of damage to the loudspeaker components.
FAQs
- Q: Can I connect multiple loudspeakers to one amplifier output?
- A: Yes, but ensure the total impedance matches the amplifier's rating.
- Q: How do I improve the sound quality of my loudspeaker?
- A: Use a suitable enclosure, position the speaker correctly, and use high-quality audio sources.
Example Code for Arduino UNO Connection
// Example code to drive a loudspeaker using an Arduino UNO and a simple amplifier circuit

int speakerPin = 9; // PWM pin connected to the amplifier input

void setup() {
  pinMode(speakerPin, OUTPUT);
}

void loop() {
  // Generate a 1kHz tone for 1 second
  tone(speakerPin, 1000, 1000);
  delay(1500); // Wait for 1.5 seconds
}
Note: The above code assumes the use of a simple amplifier circuit connected to the Arduino. The loudspeaker must be connected to the amplifier's output, not directly to the Arduino pin. The tone() function generates a square wave, which may not be ideal for high-quality audio applications. For more complex sound, consider using a dedicated sound library or shield.