How to Use Expansion shield: Examples, Pinouts, and Specs
Introduction
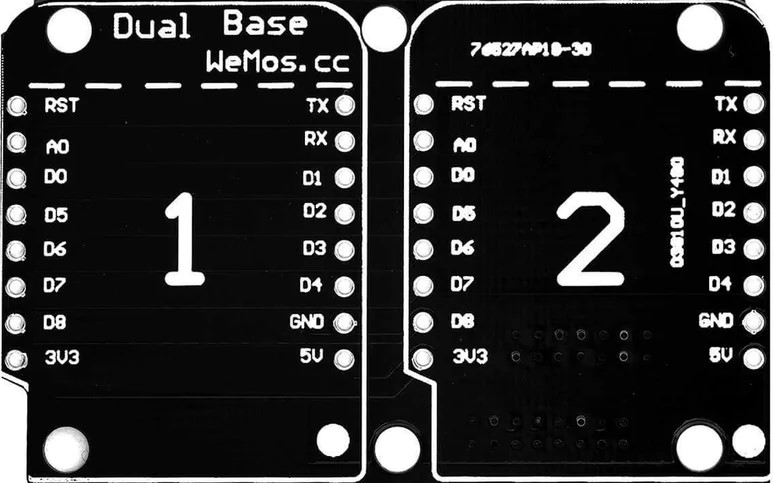
An expansion shield is an add-on board designed to enhance the capabilities of a microcontroller platform by providing additional functionalities. It is commonly used with microcontroller boards like the Arduino UNO or WeMos D1 Mini to easily integrate features such as wireless connectivity, sensor interfaces, and additional input/output (I/O) ports without the need for complex wiring or hardware modifications.
Explore Projects Built with Expansion shield


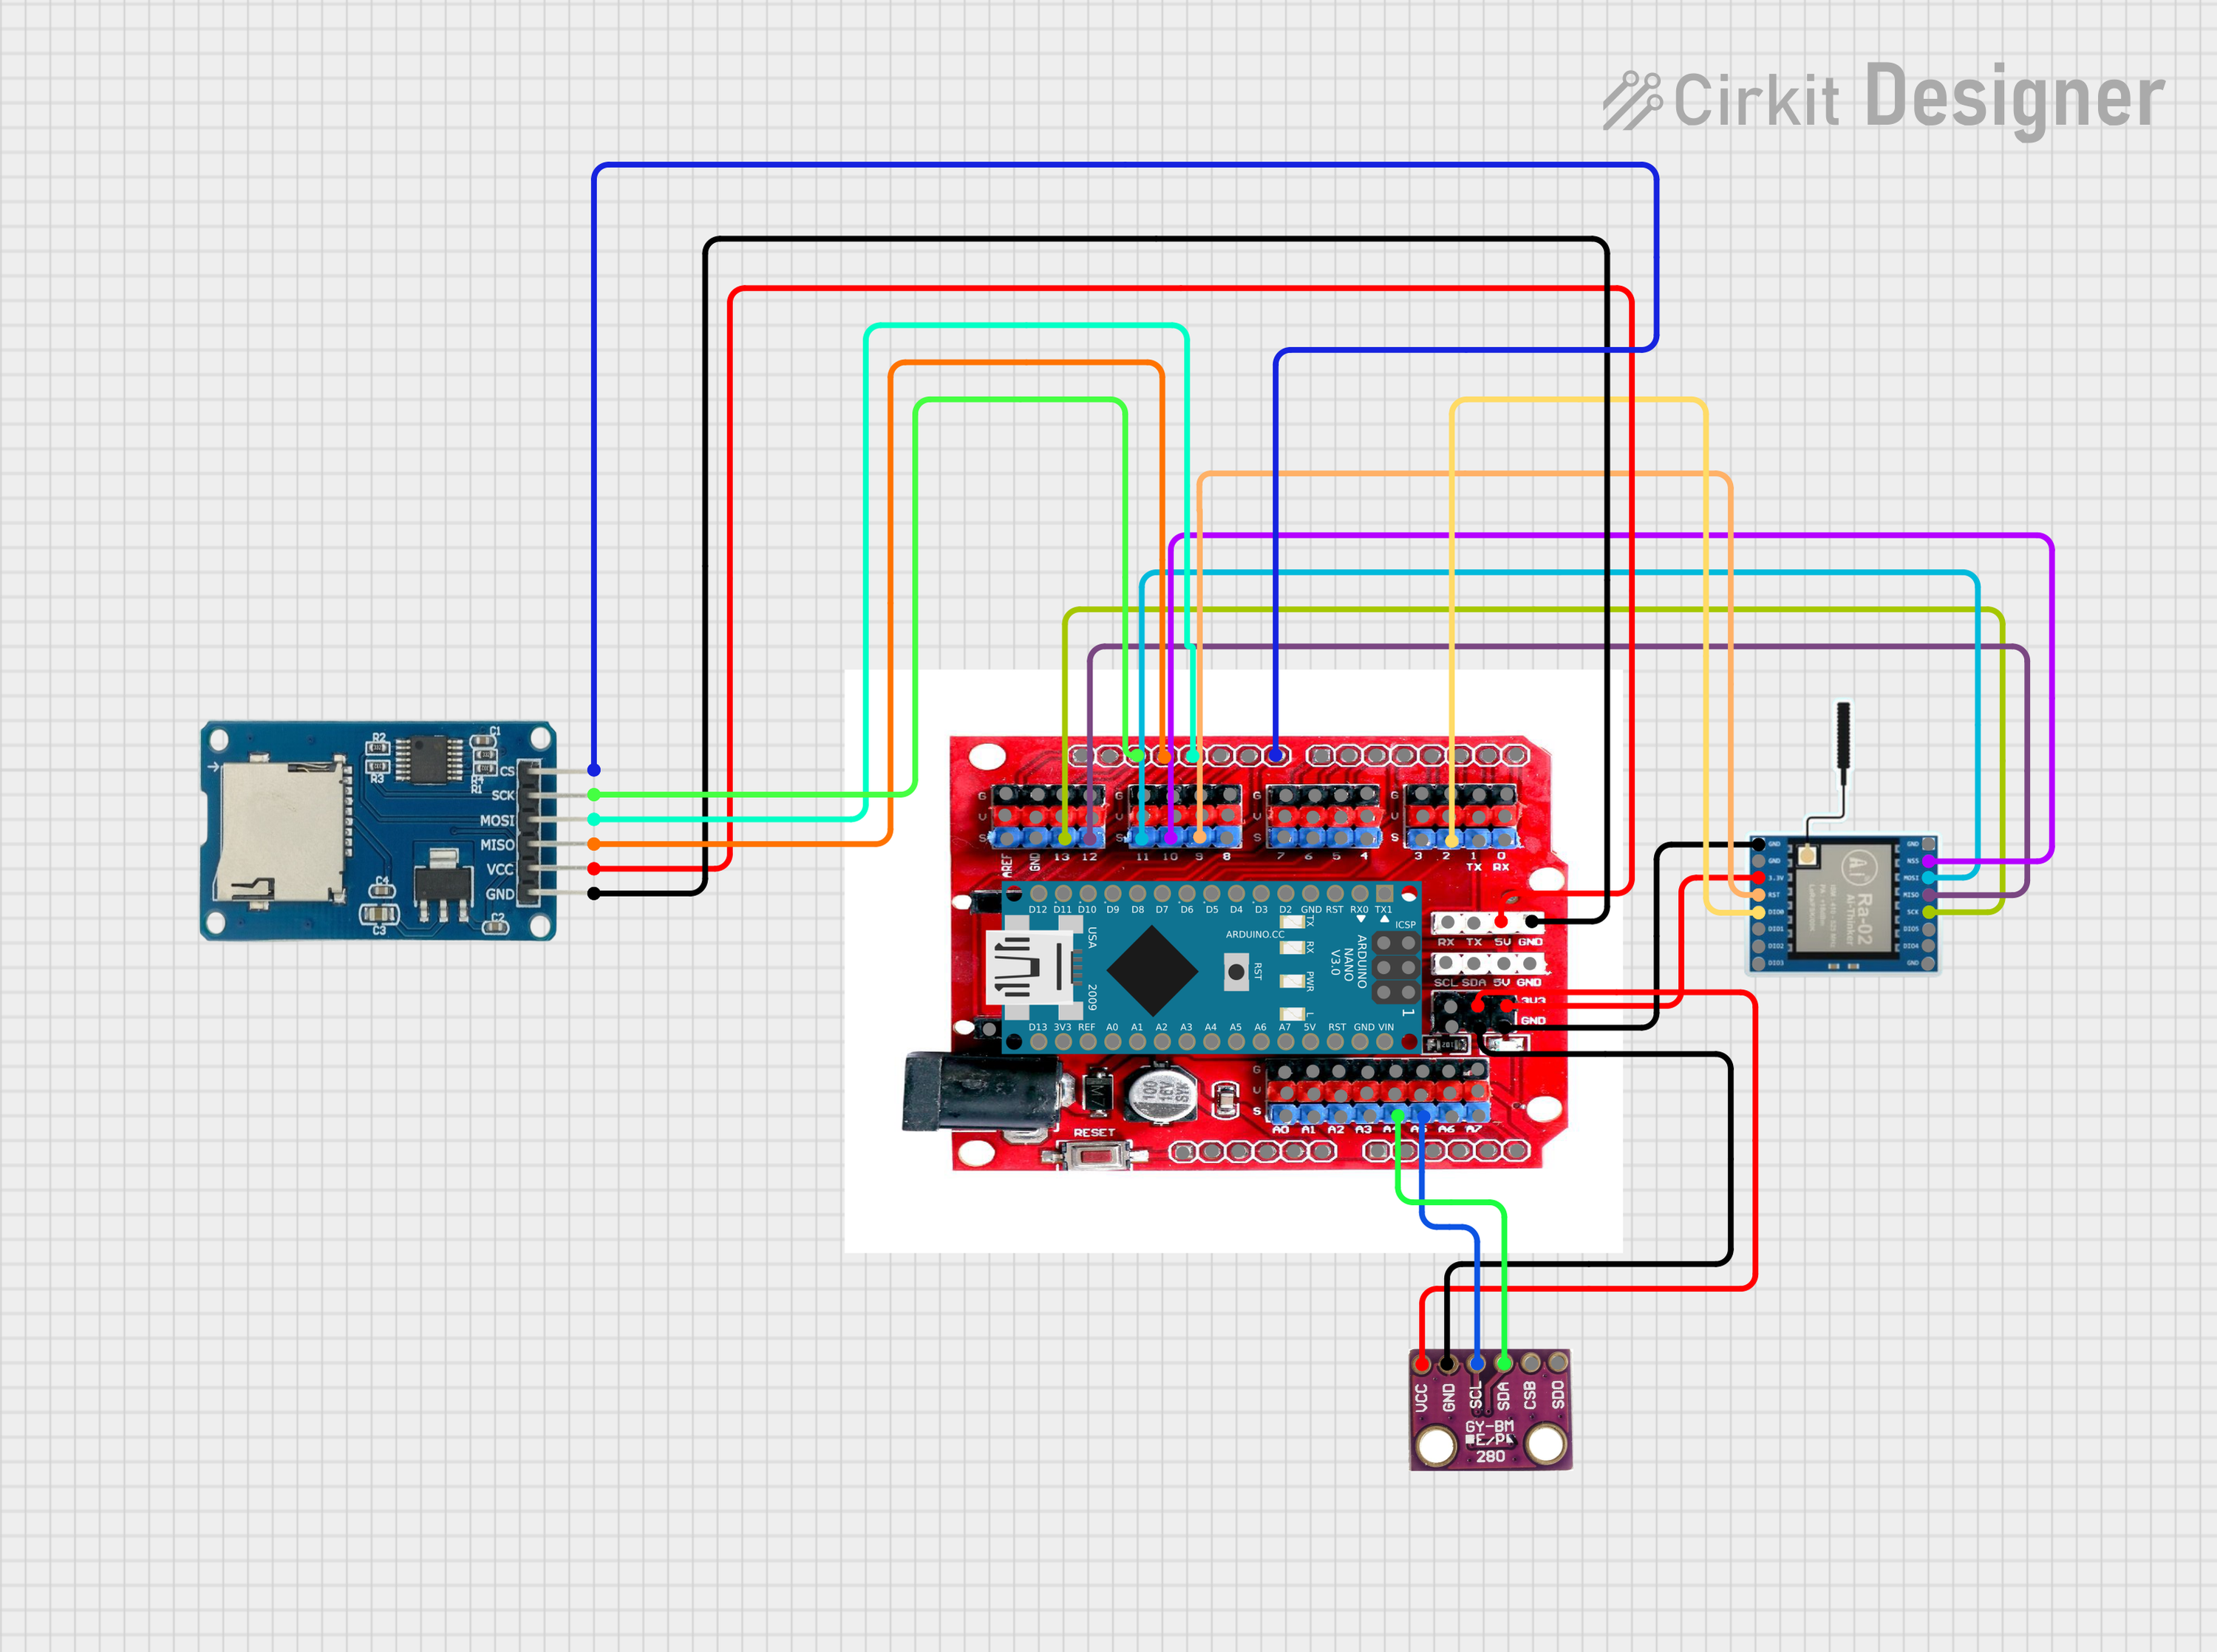
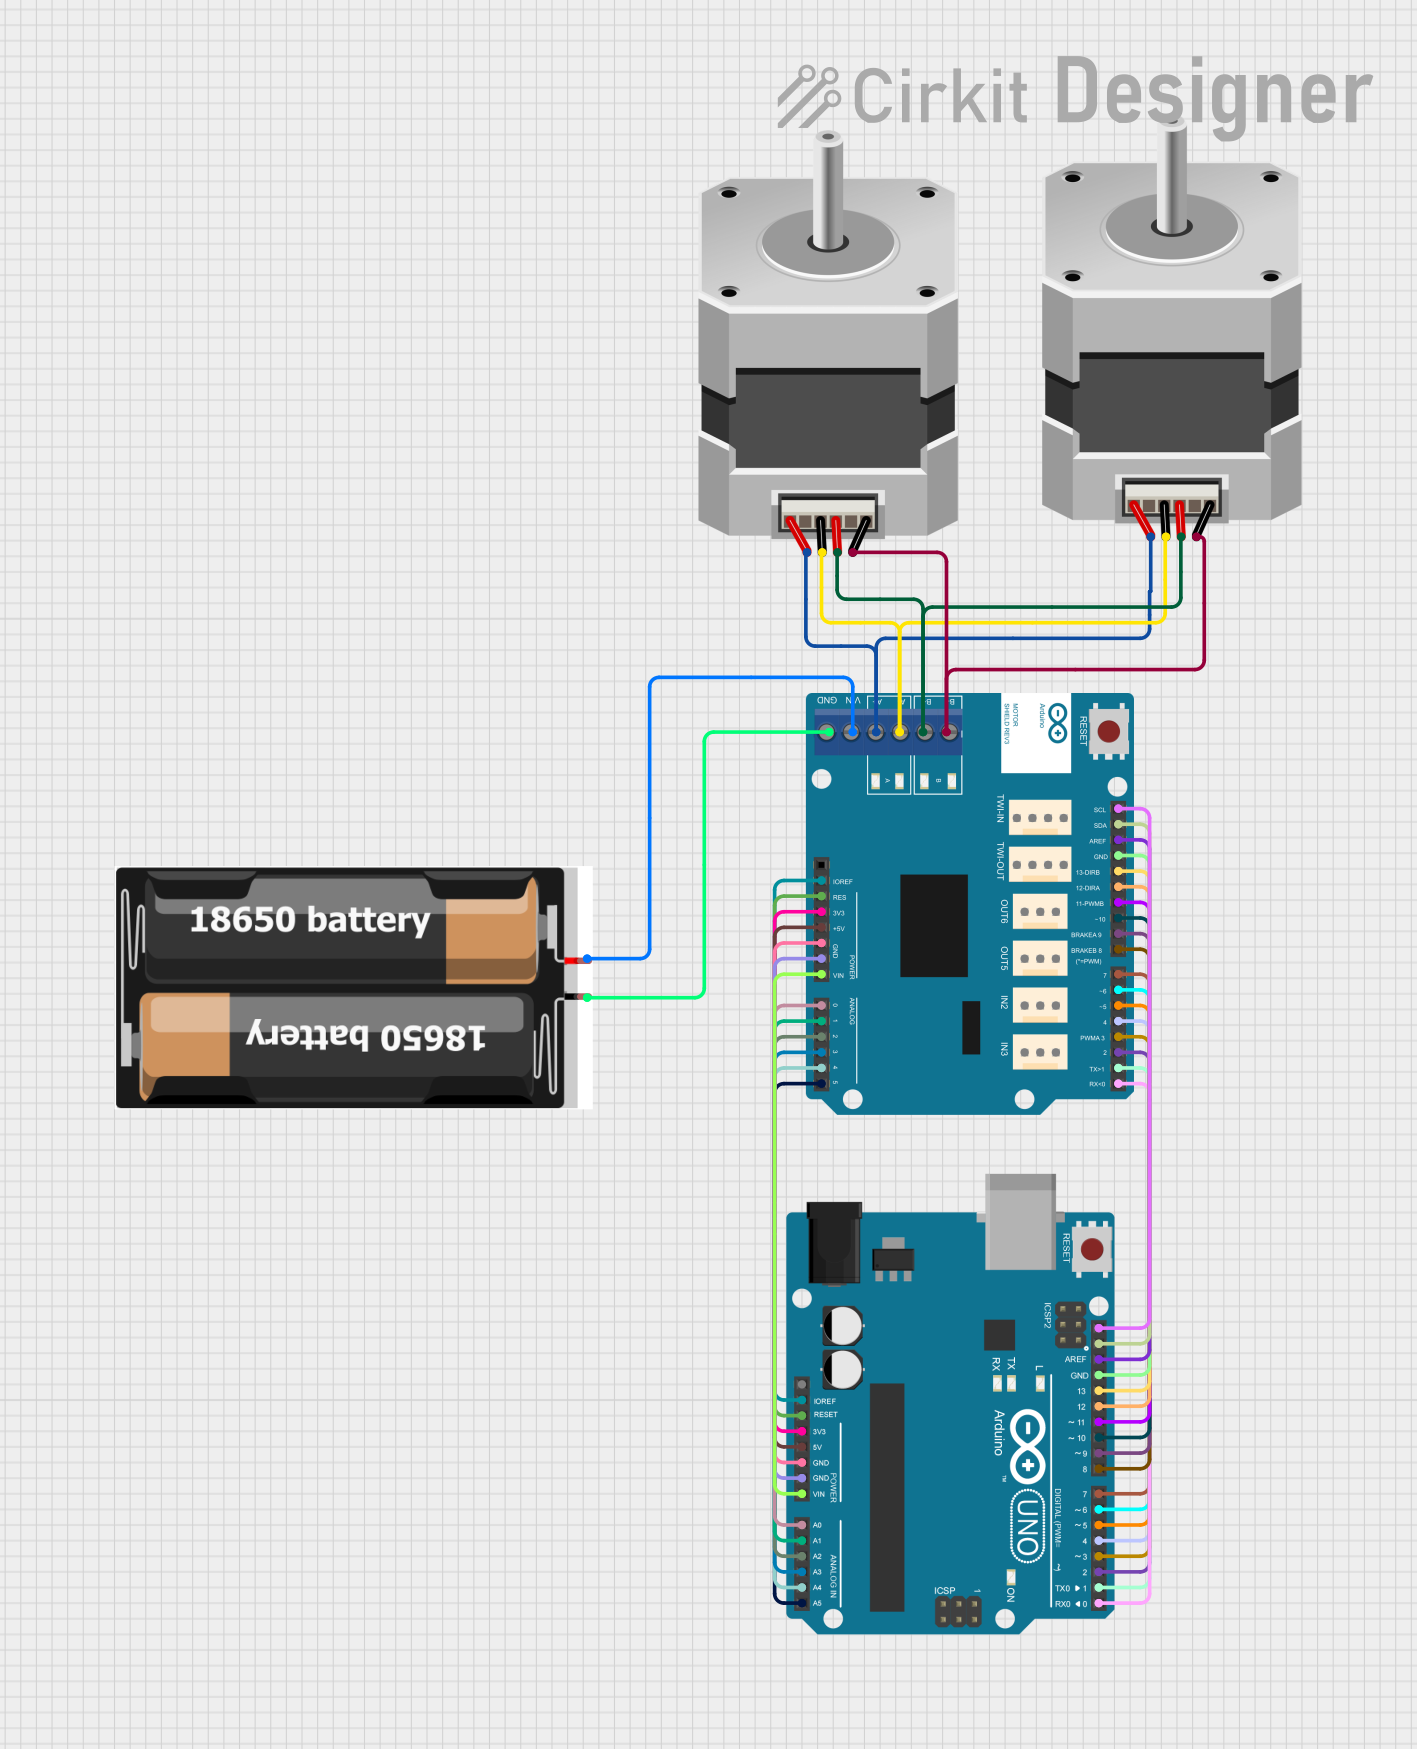
Explore Projects Built with Expansion shield
Common Applications and Use Cases
- Prototyping: Quickly add and test various sensors and modules.
- IoT Projects: Integrate Wi-Fi, Bluetooth, or other connectivity options.
- Robotics: Add motor drivers and control interfaces.
- Home Automation: Interface with relays, lights, and sensors.
Technical Specifications
Key Technical Details
- Operating Voltage: Typically matches the microcontroller board (e.g., 3.3V or 5V).
- Current Ratings: Varies based on the components used with the shield.
- Power Ratings: Dependent on the power supply and the microcontroller board.
Pin Configuration and Descriptions
| Pin Number | Function | Description |
|---|---|---|
| 1 | GND | Ground connection. |
| 2 | VCC | Power supply to the shield (3.3V or 5V). |
| 3 | SDA | I2C data line for communication. |
| 4 | SCL | I2C clock line for synchronization. |
| 5 | A0-A5 | Analog input pins. |
| 6 | D0-D13 | Digital I/O pins, compatible with microcontroller |
| 7 | RX/TX | Serial communication pins. |
| 8 | RST | Reset pin. |
| 9 | 3V3/5V | Voltage output pins (as per microcontroller). |
Note: The actual pin configuration may vary depending on the specific model of the expansion shield.
Usage Instructions
How to Use the Component in a Circuit
- Mounting: Carefully align the expansion shield pins with the headers on the microcontroller board and press down gently to connect.
- Power Supply: Ensure that the power supply to the microcontroller is sufficient for both the board and the shield.
- Connecting Modules: Attach any additional modules or sensors to the appropriate pins on the shield, respecting the voltage and current requirements.
Important Considerations and Best Practices
- Voltage Compatibility: Verify that the shield is compatible with the operating voltage of the microcontroller.
- Pin Usage: Be aware of the pin functions on both the shield and the microcontroller to avoid conflicts.
- Firmware Updates: Some shields may require firmware or library updates for full functionality.
Troubleshooting and FAQs
Common Issues Users Might Face
- Power Issues: Insufficient power supply can cause erratic behavior or failure to operate.
- Pin Conflicts: Incorrect pin assignments can lead to non-functional modules.
- Firmware Compatibility: Outdated firmware can cause compatibility issues with newer modules.
Solutions and Tips for Troubleshooting
- Check Connections: Ensure all pins are properly connected and there are no loose connections.
- Verify Power Supply: Confirm that the power supply is adequate and stable.
- Update Firmware: Keep the microcontroller and shield firmware up-to-date.
FAQs
Q: Can I stack multiple expansion shields on top of each other? A: Yes, as long as the shields are designed to be stackable and there are no pin conflicts.
Q: Do I need to install any drivers or libraries to use the shield? A: Some shields may require specific libraries or drivers to be installed. Check the manufacturer's documentation.
Q: How do I know if an expansion shield is compatible with my microcontroller? A: Check the technical specifications and pin configuration to ensure compatibility.
Example Code for Arduino UNO
// Example code to initialize and use an I2C sensor on an expansion shield

#include <Wire.h> // Include the I2C library

void setup() {
  Wire.begin(); // Initialize the I2C communication
  Serial.begin(9600); // Start serial communication at 9600 baud rate

  // Initialize the sensor (replace with specific sensor initialization code)
  // sensor.begin();
}

void loop() {
  // Read data from the sensor (replace with specific sensor read code)
  // int sensorValue = sensor.read();

  // Print the sensor value to the serial monitor
  // Serial.println(sensorValue);

  delay(1000); // Wait for 1 second before reading the value again
}
Note: Replace the placeholder sensor initialization and read code with the actual code required for your specific sensor.
Remember to consult the documentation for any specific modules or sensors you are using with the expansion shield for additional setup instructions and example code.