
How to Use Adafruit BMP585 Temperature and Pressure Sensor: Examples, Pinouts, and Specs
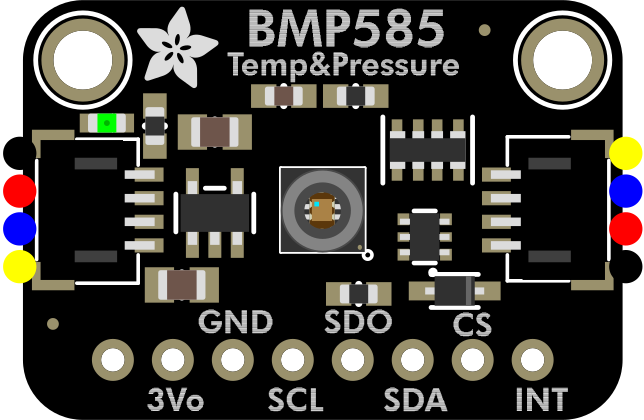
 Design with Adafruit BMP585 Temperature and Pressure Sensor in Cirkit Designer
Introduction
The Adafruit BMP585 (Part ID: 6413) is a high-precision sensor designed to measure temperature and barometric pressure. Manufactured by Adafruit, this sensor is ideal for applications requiring accurate environmental data, such as weather stations, altitude detection, and indoor climate monitoring. The BMP585 supports both I2C and SPI communication interfaces, making it versatile and easy to integrate into a wide range of projects.
Explore Projects Built with Adafruit BMP585 Temperature and Pressure Sensor
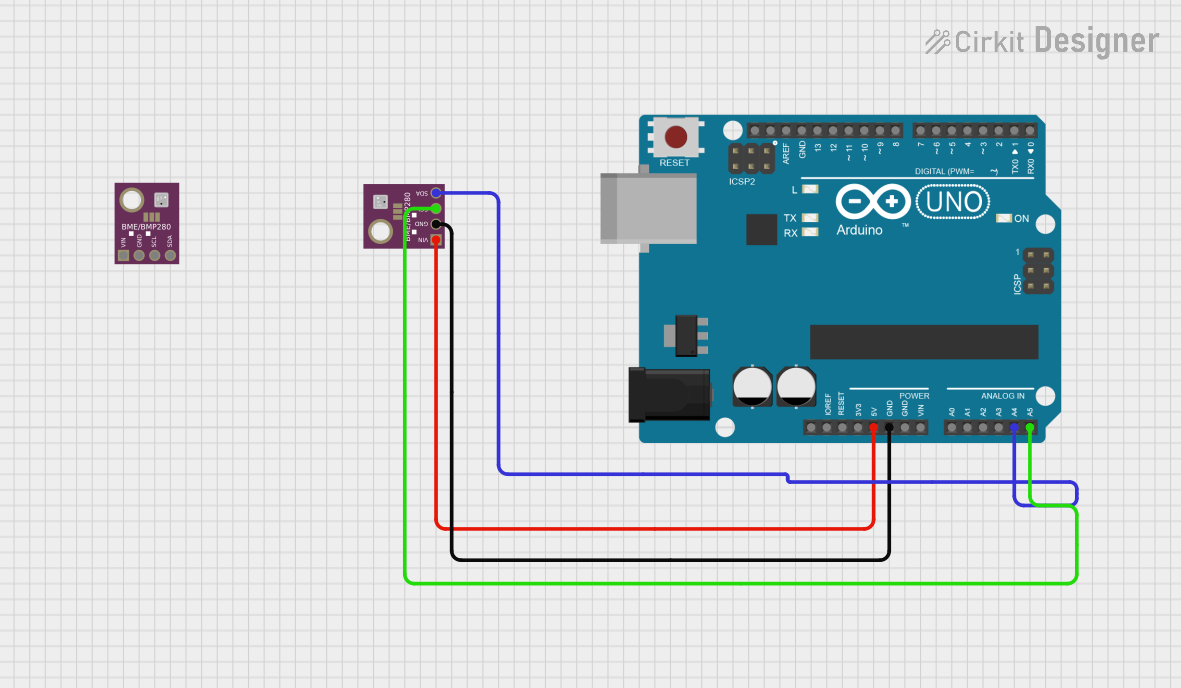 Open Project in Cirkit Designer
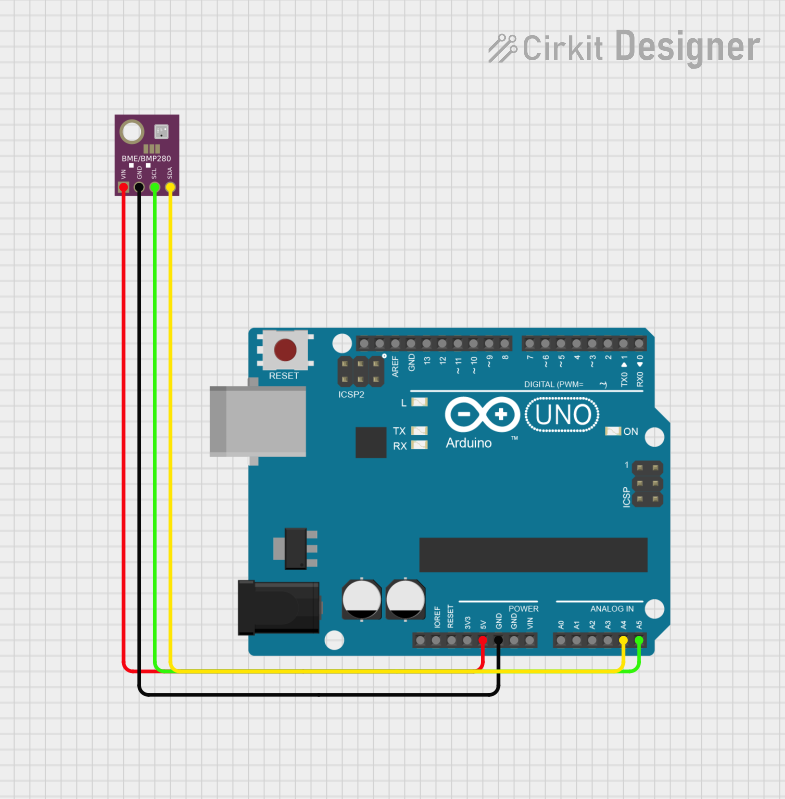 Open Project in Cirkit Designer
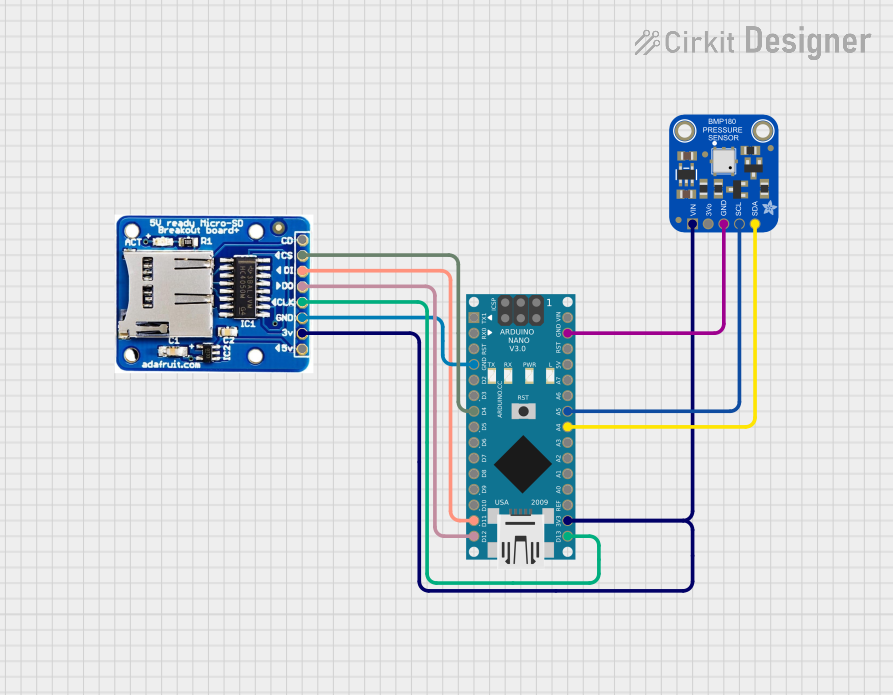 Open Project in Cirkit Designer
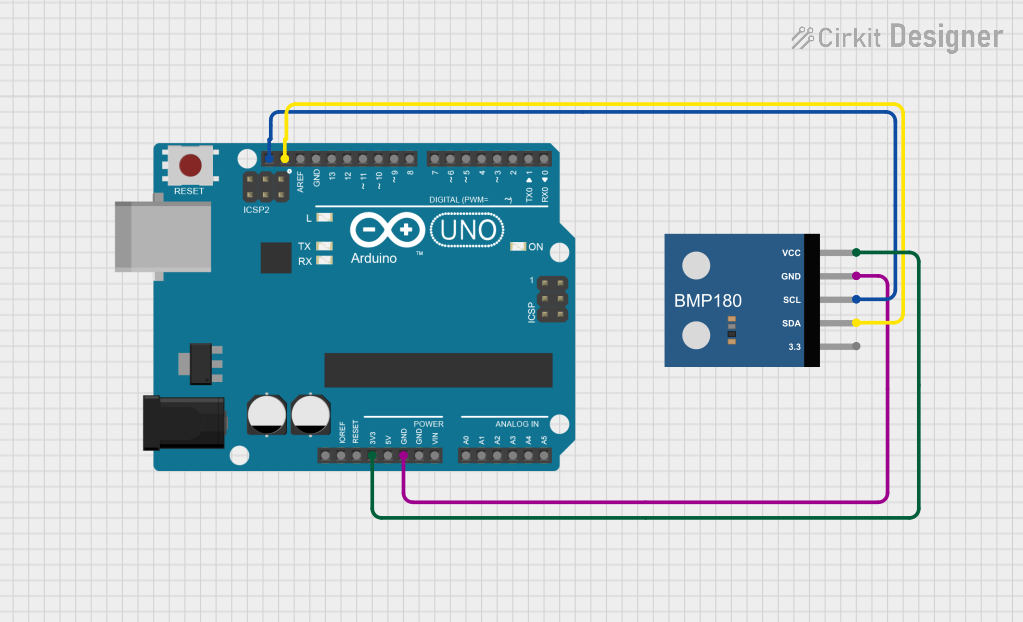 Open Project in Cirkit Designer
Explore Projects Built with Adafruit BMP585 Temperature and Pressure Sensor
Open Project in Cirkit DesignerOpen Project in Cirkit DesignerOpen Project in Cirkit DesignerOpen Project in Cirkit DesignerCommon Applications
- Weather stations for monitoring atmospheric conditions
- Altitude detection in drones and GPS systems
- Indoor climate control systems
- Scientific experiments requiring precise environmental measurements
Technical Specifications
The BMP585 sensor offers robust performance and flexibility. Below are its key technical details:
| Parameter | Value |
|---|---|
| Operating Voltage | 1.7V to 3.6V |
| Communication Interfaces | I2C, SPI |
| Temperature Range | -40°C to +85°C |
| Temperature Accuracy | ±0.5°C |
| Pressure Range | 300 hPa to 1250 hPa |
| Pressure Accuracy | ±0.5 hPa |
| Current Consumption | 1.3 µA (low-power mode) |
| Dimensions | 2.0mm x 2.0mm x 0.75mm |
Pin Configuration
The BMP585 sensor is typically available on a breakout board for easier use. Below is the pinout for the Adafruit BMP585 breakout board:
| Pin | Name | Description |
|---|---|---|
| 1 | VIN | Power input (1.7V to 3.6V). Connect to 3.3V or 5V depending on your microcontroller. |
| 2 | GND | Ground connection. |
| 3 | SCL | I2C clock line. Also used as SPI clock (SCK) in SPI mode. |
| 4 | SDA | I2C data line. Also used as SPI data input (SDI) in SPI mode. |
| 5 | CS | Chip select for SPI communication. Pull low to enable SPI. |
| 6 | SDO | SPI data output (SDO). Can also be used to set I2C address (connect to GND or VIN). |
Usage Instructions
Connecting the BMP585 to an Arduino UNO
The BMP585 can be connected to an Arduino UNO using the I2C interface. Below is a typical wiring setup:
| BMP585 Pin | Arduino UNO Pin |
|---|---|
| VIN | 3.3V |
| GND | GND |
| SCL | A5 (SCL) |
| SDA | A4 (SDA) |
Installing the Required Library
- Open the Arduino IDE.
- Go to Sketch > Include Library > Manage Libraries.
- Search for "Adafruit BMP3XX" in the Library Manager.
- Install the library.
Example Code
The following example demonstrates how to read temperature and pressure data from the BMP585 using I2C:
#include <Wire.h>
#include <Adafruit_Sensor.h>
#include <Adafruit_BMP3XX.h>

// Create an instance of the BMP3XX sensor
Adafruit_BMP3XX bmp;

void setup() {
  Serial.begin(9600);
  while (!Serial); // Wait for Serial Monitor to open

  // Initialize I2C communication
  if (!bmp.begin(0x77)) { // Default I2C address is 0x77
    Serial.println("Could not find a valid BMP585 sensor, check wiring!");
    while (1);
  }

  // Configure the sensor
  bmp.setTemperatureOversampling(BMP3_OVERSAMPLING_8X);
  bmp.setPressureOversampling(BMP3_OVERSAMPLING_4X);
  bmp.setIIRFilterCoeff(BMP3_IIR_FILTER_COEFF_3);
  bmp.setOutputDataRate(BMP3_ODR_50_HZ);
}

void loop() {
  // Check if the sensor is ready to provide data
  if (!bmp.performReading()) {
    Serial.println("Failed to perform reading!");
    return;
  }

  // Print temperature and pressure readings
  Serial.print("Temperature = ");
  Serial.print(bmp.temperature);
  Serial.println(" °C");

  Serial.print("Pressure = ");
  Serial.print(bmp.pressure / 100.0); // Convert Pa to hPa
  Serial.println(" hPa");

  delay(1000); // Wait 1 second before the next reading
}
Important Considerations
- Ensure the VIN pin is connected to a voltage source within the specified range (1.7V to 3.6V).
- Use appropriate pull-up resistors for the I2C lines (SCL and SDA) if not already included on the breakout board.
- Avoid exposing the sensor to extreme temperatures or pressures beyond its rated range.
Troubleshooting and FAQs
Common Issues
Sensor not detected on I2C bus:
- Verify the wiring connections, especially the SCL and SDA lines.
- Ensure the I2C address (default: 0x77) matches the one in your code.
- Check if pull-up resistors are required for your setup.
Incorrect temperature or pressure readings:
- Ensure the sensor is not exposed to rapid temperature changes or vibrations.
- Verify that the sensor is properly configured in the code (e.g., oversampling settings).
SPI communication not working:
- Confirm that the CS pin is correctly connected and pulled low during communication.
- Double-check the SPI clock and data line connections.
FAQs
Q: Can the BMP585 operate at 5V?
A: The BMP585 itself operates at 1.7V to 3.6V. However, the Adafruit breakout board includes a voltage regulator, allowing it to be powered by 5V.
Q: How do I change the I2C address?
A: The I2C address can be changed by connecting the SDO pin to either GND (0x76) or VIN (0x77).
Q: Can I use the BMP585 with a Raspberry Pi?
A: Yes, the BMP585 is compatible with Raspberry Pi. Use the I2C or SPI interface and install the appropriate Python libraries (e.g., Adafruit-Blinka and Adafruit-BMP3XX).
By following this documentation, you can effectively integrate the Adafruit BMP585 sensor into your projects for accurate temperature and pressure measurements.