How to Use finger print sensor : Examples, Pinouts, and Specs
Introduction
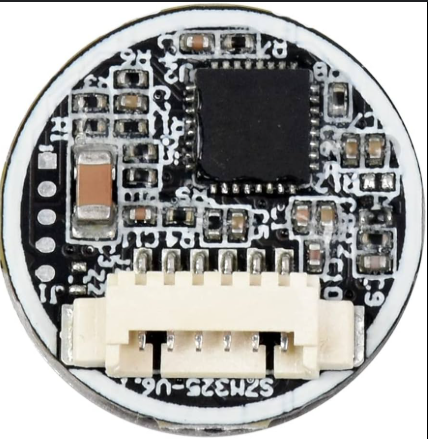
The Waveshare UART Capacitive Fingerprint Sensor (Type D) is a biometric device designed to capture and analyze the unique patterns of a person's fingerprint for identification and authentication purposes. This sensor uses capacitive technology to ensure high accuracy and reliability in fingerprint recognition. It communicates via a UART interface, making it easy to integrate into a wide range of microcontroller-based systems.
Explore Projects Built with finger print sensor


Explore Projects Built with finger print sensor
Common Applications and Use Cases
- Biometric access control systems
- Time and attendance tracking devices
- Secure login systems for embedded devices
- Smart locks and safes
- IoT devices requiring user authentication
Technical Specifications
Below are the key technical details and pin configuration for the Waveshare UART Capacitive Fingerprint Sensor (Type D):
Key Technical Details
| Parameter | Value |
|---|---|
| Supply Voltage | 3.3V to 6V |
| Operating Current | < 120mA |
| Communication Interface | UART (TTL level) |
| Baud Rate | Default: 57600 bps |
| Fingerprint Capacity | 200 fingerprints |
| Image Resolution | 508 DPI |
| Recognition Time | < 1 second |
| False Acceptance Rate | < 0.001% |
| False Rejection Rate | < 1.0% |
| Operating Temperature | -20°C to +60°C |
| Dimensions | 33mm x 20mm x 10mm |
Pin Configuration and Descriptions
| Pin Name | Pin Number | Description |
|---|---|---|
| VCC | 1 | Power supply input (3.3V to 6V) |
| GND | 2 | Ground |
| TX | 3 | UART Transmit (to MCU RX) |
| RX | 4 | UART Receive (to MCU TX) |
Usage Instructions
How to Use the Component in a Circuit
- Power Supply: Connect the VCC pin to a 3.3V to 6V power source and the GND pin to the ground of your circuit.
- UART Communication: Connect the TX pin of the sensor to the RX pin of your microcontroller and the RX pin of the sensor to the TX pin of your microcontroller.
- Initialization: Use the appropriate UART library or commands to initialize communication with the sensor. The default baud rate is 57600 bps.
- Fingerprint Enrollment: Use the sensor's commands to enroll fingerprints. Each fingerprint is stored in the sensor's internal memory.
- Fingerprint Matching: Send a command to capture and match a fingerprint against the stored database.
Important Considerations and Best Practices
- Ensure the sensor is powered within the specified voltage range to avoid damage.
- Avoid placing the sensor in environments with excessive dust, moisture, or direct sunlight, as these can affect performance.
- Clean the sensor surface regularly to maintain accuracy.
- Use a stable power supply to prevent communication errors.
- When connecting to an Arduino or other microcontroller, ensure the UART pins are properly configured.
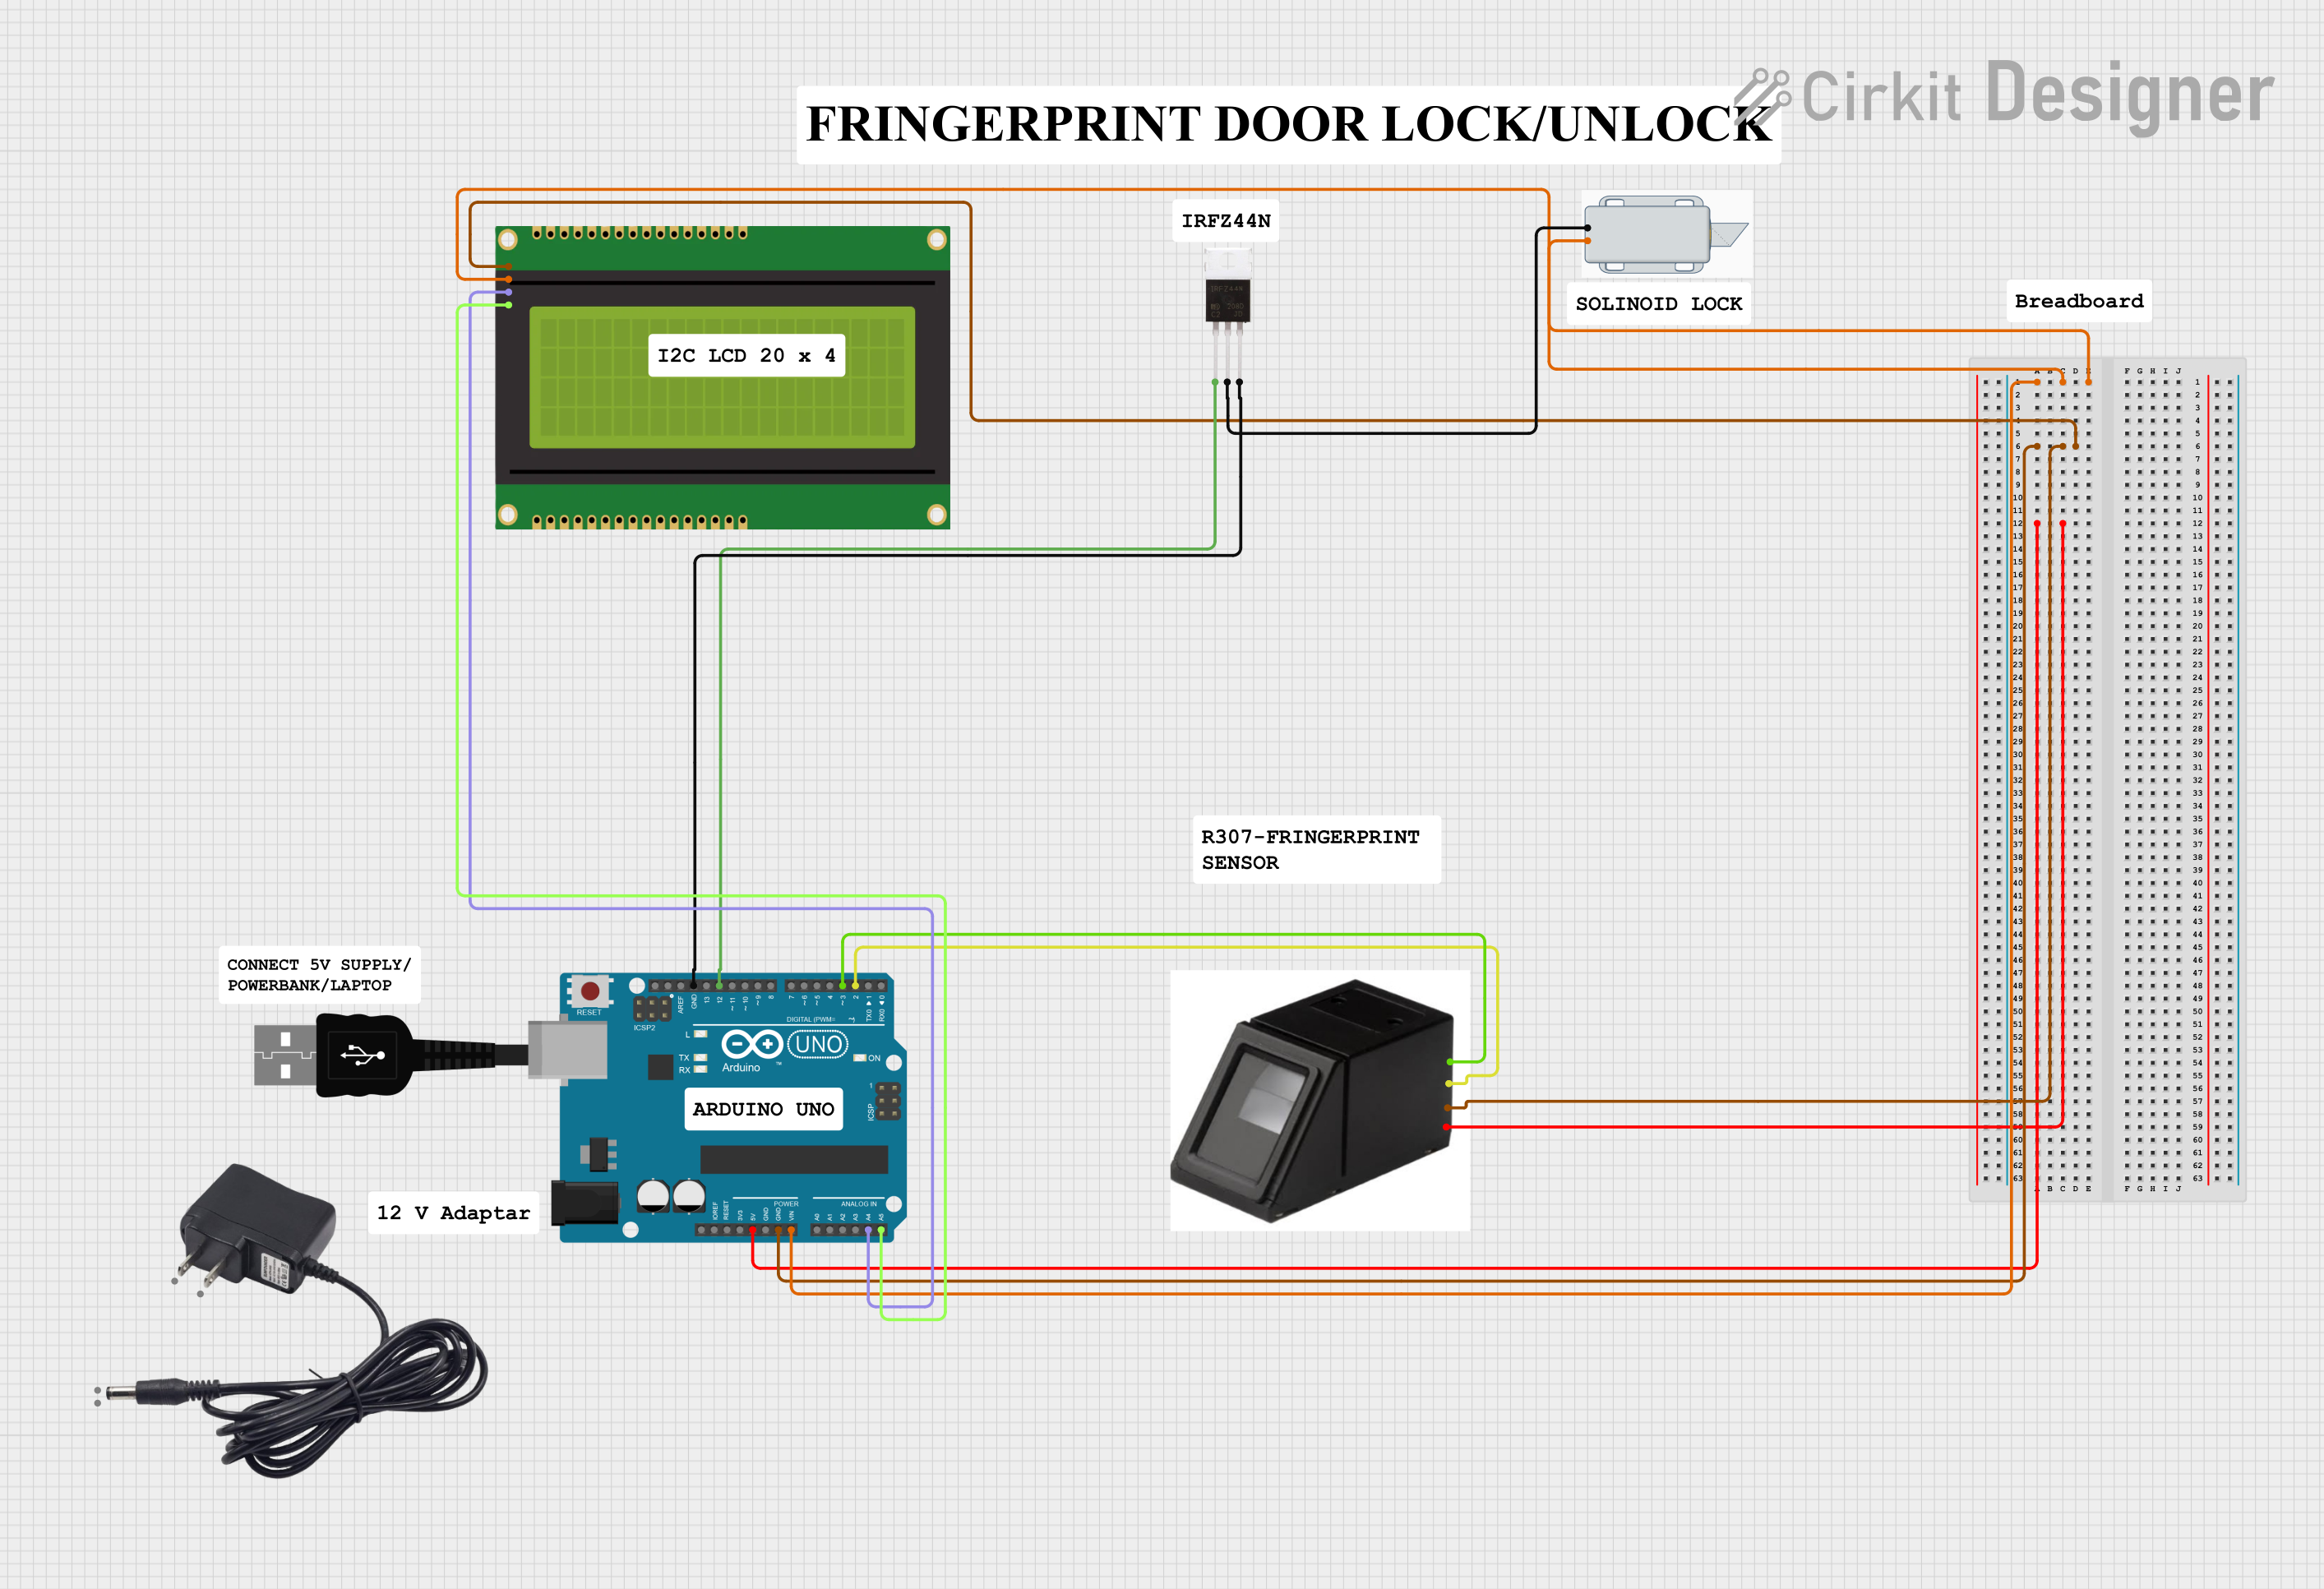
Example: Connecting to an Arduino UNO
Below is an example of how to use the fingerprint sensor with an Arduino UNO:
Circuit Connections
| Fingerprint Sensor Pin | Arduino UNO Pin |
|---|---|
| VCC | 5V |
| GND | GND |
| TX | D2 (via SoftwareSerial) |
| RX | D3 (via SoftwareSerial) |
Arduino Code Example
#include <SoftwareSerial.h>

// Define the pins for SoftwareSerial
SoftwareSerial mySerial(2, 3); // RX, TX

void setup() {
  Serial.begin(9600); // Initialize Serial Monitor
  mySerial.begin(57600); // Initialize fingerprint sensor communication

  Serial.println("Initializing Fingerprint Sensor...");
  delay(1000);

  // Example command to check if the sensor is connected
  mySerial.write(0x55); // Replace with actual command for your sensor
  delay(500);

  if (mySerial.available()) {
    Serial.println("Fingerprint Sensor is ready!");
  } else {
    Serial.println("Failed to initialize the sensor. Check connections.");
  }
}

void loop() {
  // Add fingerprint enrollment or matching logic here
}
Troubleshooting and FAQs
Common Issues and Solutions
Sensor Not Responding
- Cause: Incorrect wiring or baud rate mismatch.
- Solution: Double-check the wiring and ensure the baud rate is set to 57600 bps.
Fingerprint Not Recognized
- Cause: Poor fingerprint placement or dirty sensor surface.
- Solution: Ensure the finger is placed flat on the sensor and clean the sensor surface.
Communication Errors
- Cause: Unstable power supply or noisy UART signals.
- Solution: Use a stable power source and ensure proper UART connections.
Sensor Fails to Initialize
- Cause: Incorrect power supply voltage.
- Solution: Verify that the VCC pin is receiving 3.3V to 6V.
FAQs
Q1: Can the sensor store fingerprints permanently?
A1: Yes, the sensor can store up to 200 fingerprints in its internal memory, which are retained even after power is removed.
Q2: Can I use this sensor with a Raspberry Pi?
A2: Yes, the sensor can be used with a Raspberry Pi via its UART interface. Use the GPIO pins for UART communication.
Q3: How do I reset the sensor's database?
A3: Use the appropriate command from the sensor's datasheet to clear all stored fingerprints.
Q4: What is the maximum cable length for UART communication?
A4: For reliable communication, keep the cable length under 1 meter. Use shielded cables for longer distances.
This documentation provides all the necessary details to get started with the Waveshare UART Capacitive Fingerprint Sensor (Type D). For advanced features, refer to the manufacturer's datasheet.