How to Use verter_screw: Examples, Pinouts, and Specs
Introduction
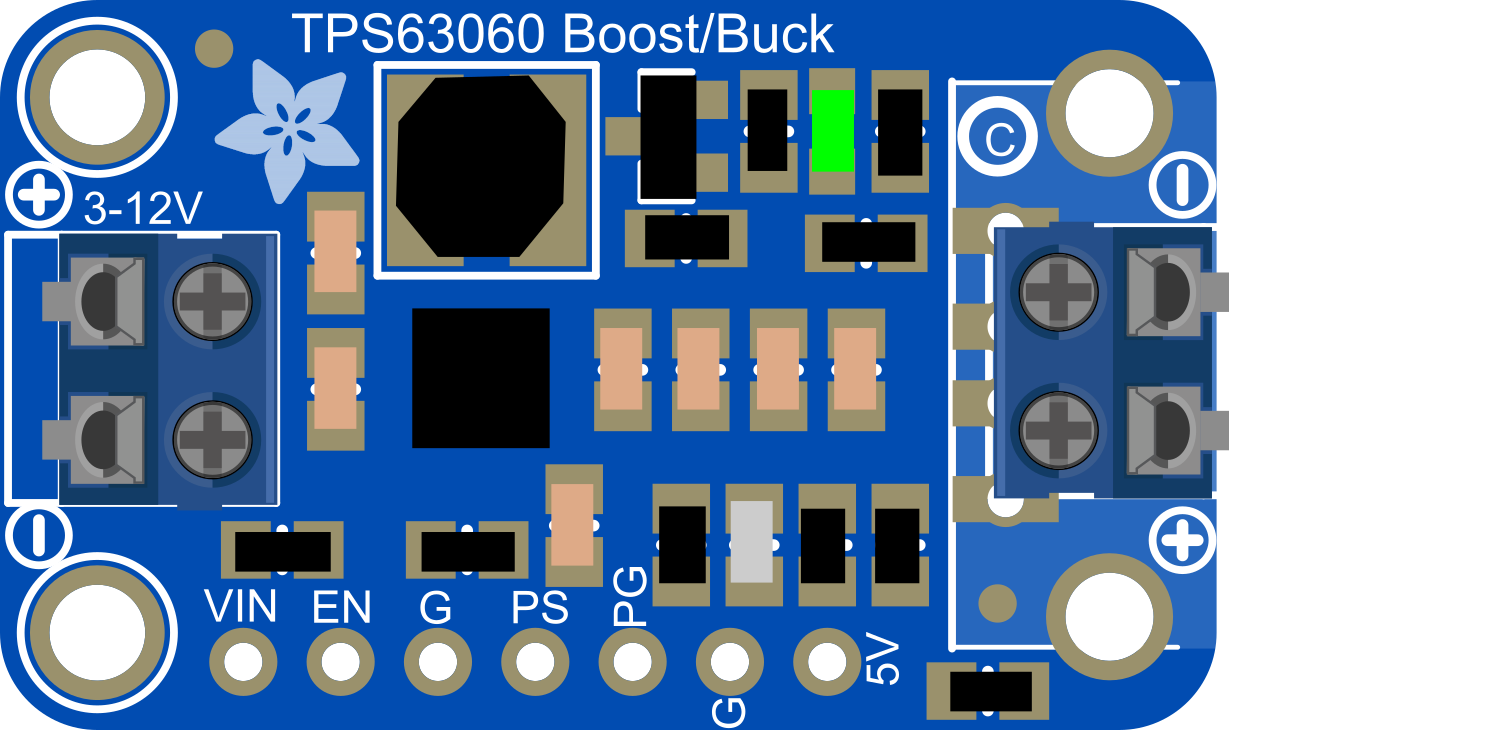
The Verter_Screw is a versatile and robust electronic component designed for securing and connecting wires within a circuit. It is commonly used in a variety of applications, including prototyping, industrial control systems, and consumer electronics. The Verter_Screw ensures a reliable and stable electrical connection, which is essential for the proper functioning of electronic circuits.
Explore Projects Built with verter_screw

Explore Projects Built with verter_screw
Common Applications and Use Cases
- Prototyping on breadboards or perforated circuit boards
- Terminal blocks for power supply connections
- Industrial control panels for machinery and equipment
- Consumer electronics for internal wire management
- Robotics and automation systems for signal and power distribution
Technical Specifications
The Verter_Screw is designed to accommodate a range of wire sizes and types. Below are the key technical specifications and pin configuration details.
Key Technical Details
- Material: High-quality metal alloy for screw, plastic or metal for terminal block
- Wire Gauge Compatibility: Typically 12-24 AWG
- Voltage Rating: Up to 250V (depending on model)
- Current Rating: Up to 10A (depending on model)
- Torque Rating: 0.5 Nm (recommended maximum for tightening)
- Operating Temperature Range: -40°C to 105°C
Pin Configuration and Descriptions
| Pin Number | Description | Notes |
|---|---|---|
| 1 | Wire Insertion Point | Connect the stripped wire end |
| 2 | Screw Tightening Point | Tighten to secure the wire |
| 3 | Terminal Block Connection | Connect to the circuit or panel |
Usage Instructions
How to Use the Verter_Screw in a Circuit
- Wire Preparation: Strip approximately 5-7 mm of insulation from the wire end to be connected.
- Insertion: Insert the stripped wire end into the wire insertion point (Pin 1).
- Securing the Wire: Use a suitable screwdriver to tighten the screw at the screw tightening point (Pin 2). Ensure the wire is held firmly in place.
- Connection to Circuit: Connect the terminal block (Pin 3) to the desired point in your circuit or to another Verter_Screw if daisy-chaining.
Important Considerations and Best Practices
- Do not exceed the recommended torque when tightening the screw to avoid damaging the wire.
- Ensure the wire is fully inserted before tightening to make a good electrical connection.
- Periodically check the tightness of the screw, especially in environments with vibration.
- Use wires within the specified gauge range to prevent loose connections or damage to the wire.
Troubleshooting and FAQs
Common Issues and Solutions
- Loose Connection: If the connection is intermittent, check the tightness of the screw and the integrity of the wire insertion.
- Stripped Screw: If the screw head is stripped, carefully remove it and replace it with a similar size screw.
- Overheating: Ensure the current passing through the wire does not exceed the Verter_Screw's current rating.
FAQs
Q: Can I reuse the Verter_Screw with different wires? A: Yes, the Verter_Screw is designed to be reusable. Ensure the previous wire is completely removed before inserting a new one.
Q: What is the maximum number of wires that can be connected to a single Verter_Screw? A: Typically, one Verter_Screw is designed for a single wire connection. However, multiple wires can be connected if they fit securely and do not exceed the current rating.
Q: Is the Verter_Screw suitable for outdoor applications? A: It depends on the specific model. Some Verter_Screws are rated for outdoor use with additional weatherproofing features.
Example Code for Arduino UNO Connection
// Example code to demonstrate how to connect an LED to an Arduino UNO
// using a Verter_Screw for the ground connection.

void setup() {
  pinMode(13, OUTPUT); // Set the LED pin as an output
}

void loop() {
  digitalWrite(13, HIGH); // Turn on the LED
  delay(1000);            // Wait for 1 second
  digitalWrite(13, LOW);  // Turn off the LED
  delay(1000);            // Wait for 1 second
}

// Note: Connect the anode of the LED to pin 13 on the Arduino.
// Connect the cathode to one end of a resistor (220 ohms recommended).
// Connect the other end of the resistor to the Verter_Screw (Pin 1).
// Secure the wire with the screw (Pin 2).
// Finally, connect the Verter_Screw's terminal block (Pin 3) to the Arduino's GND pin.
Remember to follow the usage instructions for wire preparation and connection to ensure a stable and secure electrical connection when using the Verter_Screw with your Arduino projects.