How to Use LD2410C: Examples, Pinouts, and Specs
Introduction
The LD2410C is a robust rectifier diode designed to convert high voltage alternating current (AC) into direct current (DC). With a voltage rating of 1000V and a continuous forward current rating of 10A, it is an essential component in power supply units, motor controllers, and other electronic circuits where efficient rectification is needed.
Explore Projects Built with LD2410C


Explore Projects Built with LD2410C
Common Applications and Use Cases
- AC to DC power supplies
- Motor control circuits
- Battery charging systems
- Solar power inverters
- High-voltage DC applications
Technical Specifications
Key Technical Details
- Maximum Repetitive Reverse Voltage (Vrrm): 1000V
- Continuous Forward Current (If): 10A
- Forward Surge Current (Ifsm): 150A (8.3ms single half sine-wave superimposed on rated load)
- Maximum Forward Voltage Drop (Vf): 1.1V at 10A
- Operating Junction Temperature (Tj): -65°C to +175°C
- Storage Temperature Range (Tstg): -65°C to +175°C
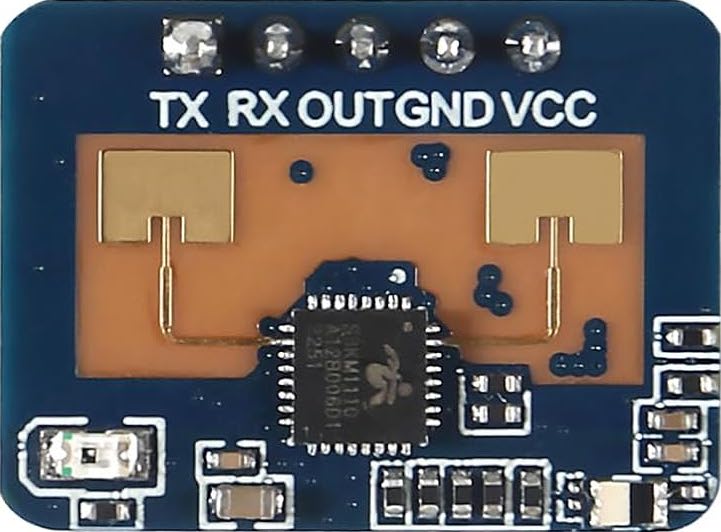
Pin Configuration and Descriptions
| Pin Number | Description |
|---|---|
| 1 | Anode |
| 2 | Cathode (Case) |
Usage Instructions
How to Use the Component in a Circuit
- Orientation: Ensure the diode is oriented correctly with the anode connected to the AC voltage source and the cathode to the load.
- Heat Sinking: Due to the high power handling, a heat sink may be necessary to dissipate heat and maintain the diode's operating temperature.
- Current Rating: Do not exceed the continuous forward current rating of 10A to prevent damage.
- Voltage Rating: Ensure the reverse voltage does not exceed 1000V.
Important Considerations and Best Practices
- Reverse Voltage Protection: Always verify the maximum repetitive reverse voltage rating to prevent breakdown.
- Surge Current: Be aware of the surge current rating, especially during power-up or when expecting large transient currents.
- Thermal Management: Proper thermal management is crucial. Monitor the junction temperature and use appropriate cooling methods.
- Safety: When dealing with high voltages, always follow safety protocols to prevent electric shock or damage to the circuit.
Troubleshooting and FAQs
Common Issues
- Excessive Heat: If the diode is running hot, check the current flow and ensure it is within the rated limit. Also, improve heat sinking.
- Diode Not Conducting: Ensure the diode is correctly oriented and that the voltage across it is sufficient for forward conduction.
- Unexpected Voltage Drops: Check for any signs of diode damage or degradation, which can increase the forward voltage drop.
Solutions and Tips for Troubleshooting
- Heat Issues: Attach a larger heat sink or improve airflow around the diode.
- Conduction Issues: Verify the orientation and the integrity of the diode with a multimeter.
- Voltage Drop: Replace the diode if it shows signs of damage or if the forward voltage drop is consistently higher than the specified maximum.
FAQs
Q: Can I use the LD2410C in a circuit with a forward current less than 10A? A: Yes, the LD2410C can be used in circuits with lower current as long as it does not exceed the maximum rating.
Q: What is the purpose of the heat sink with the LD2410C? A: The heat sink helps to dissipate the heat generated by the diode during operation, preventing overheating and ensuring reliability.
Q: How do I test the LD2410C diode? A: You can test the diode using a multimeter set to the diode test function, checking for forward conduction and ensuring there is no conduction in reverse bias.
Q: Is the LD2410C suitable for high-frequency applications? A: The LD2410C is designed for rectification and may not be suitable for high-frequency applications due to its recovery time. Check the datasheet for specific frequency ratings.
Q: Can the LD2410C be used in parallel or series configurations? A: Yes, diodes can be used in parallel for higher current handling or in series for higher voltage applications, but ensure proper balancing with resistors to evenly distribute the current or voltage.
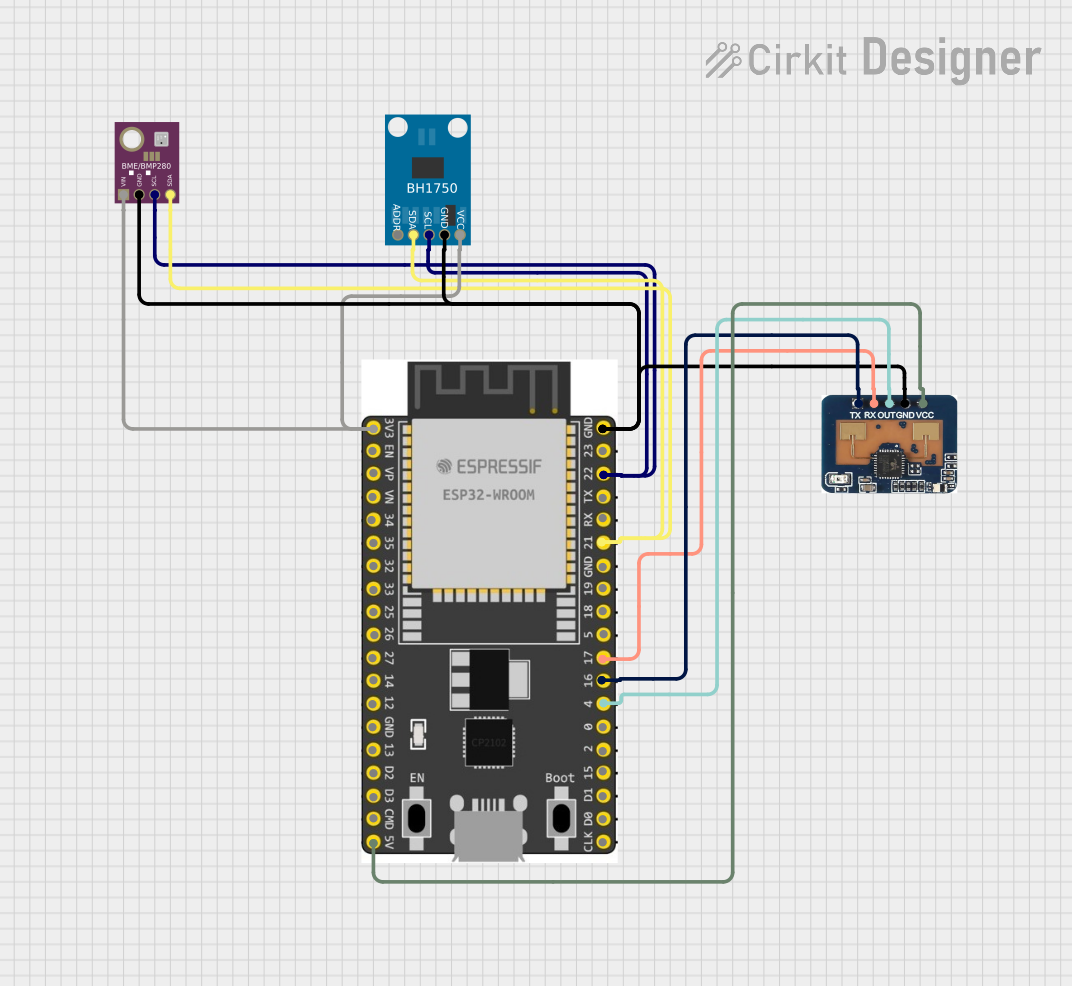
Example Connection with Arduino UNO
The LD2410C is not typically interfaced directly with an Arduino UNO due to its high voltage and current ratings. However, for educational purposes, here's an example of how to use the LD2410C to rectify an AC signal to DC, which can then be stepped down and read by an Arduino analog input.
// Example code to read the rectified voltage from LD2410C using Arduino UNO
int rectifiedVoltagePin = A0; // Connect the rectified and stepped-down voltage here

void setup() {
  Serial.begin(9600);
}

void loop() {
  int sensorValue = analogRead(rectifiedVoltagePin);
  float voltage = sensorValue * (5.0 / 1023.0); // Convert the reading to voltage
  Serial.println(voltage);
  delay(1000);
}
Note: This code assumes that the rectified voltage has been stepped down to a safe level for the Arduino (0-5V) using a voltage divider or similar circuit. The LD2410C itself should be connected to the AC source and the load with appropriate safety measures and heat sinking.
This documentation provides a comprehensive guide to the LD2410C rectifier diode, ensuring users can effectively incorporate it into their electronic projects.