Cirkit Designer
Your all-in-one circuit design IDE
Home /
Component Documentation
How to Use Microwave V2.0: Examples, Pinouts, and Specs
Introduction
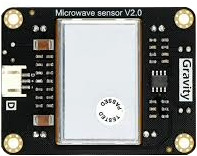
The Microwave V2.0 is a high-frequency electromagnetic wave generator designed for heating and cooking food. Manufactured by Sensor, this component (Part ID: microwave Sensor) offers improved energy efficiency and user-friendly controls, making it an ideal choice for modern kitchen appliances. Its advanced design ensures consistent performance, reduced energy consumption, and enhanced safety features.
Explore Projects Built with Microwave V2.0
Arduino-Based Automatic Cooker with Temperature Control and Servo-Operated Ingredient Dispensers
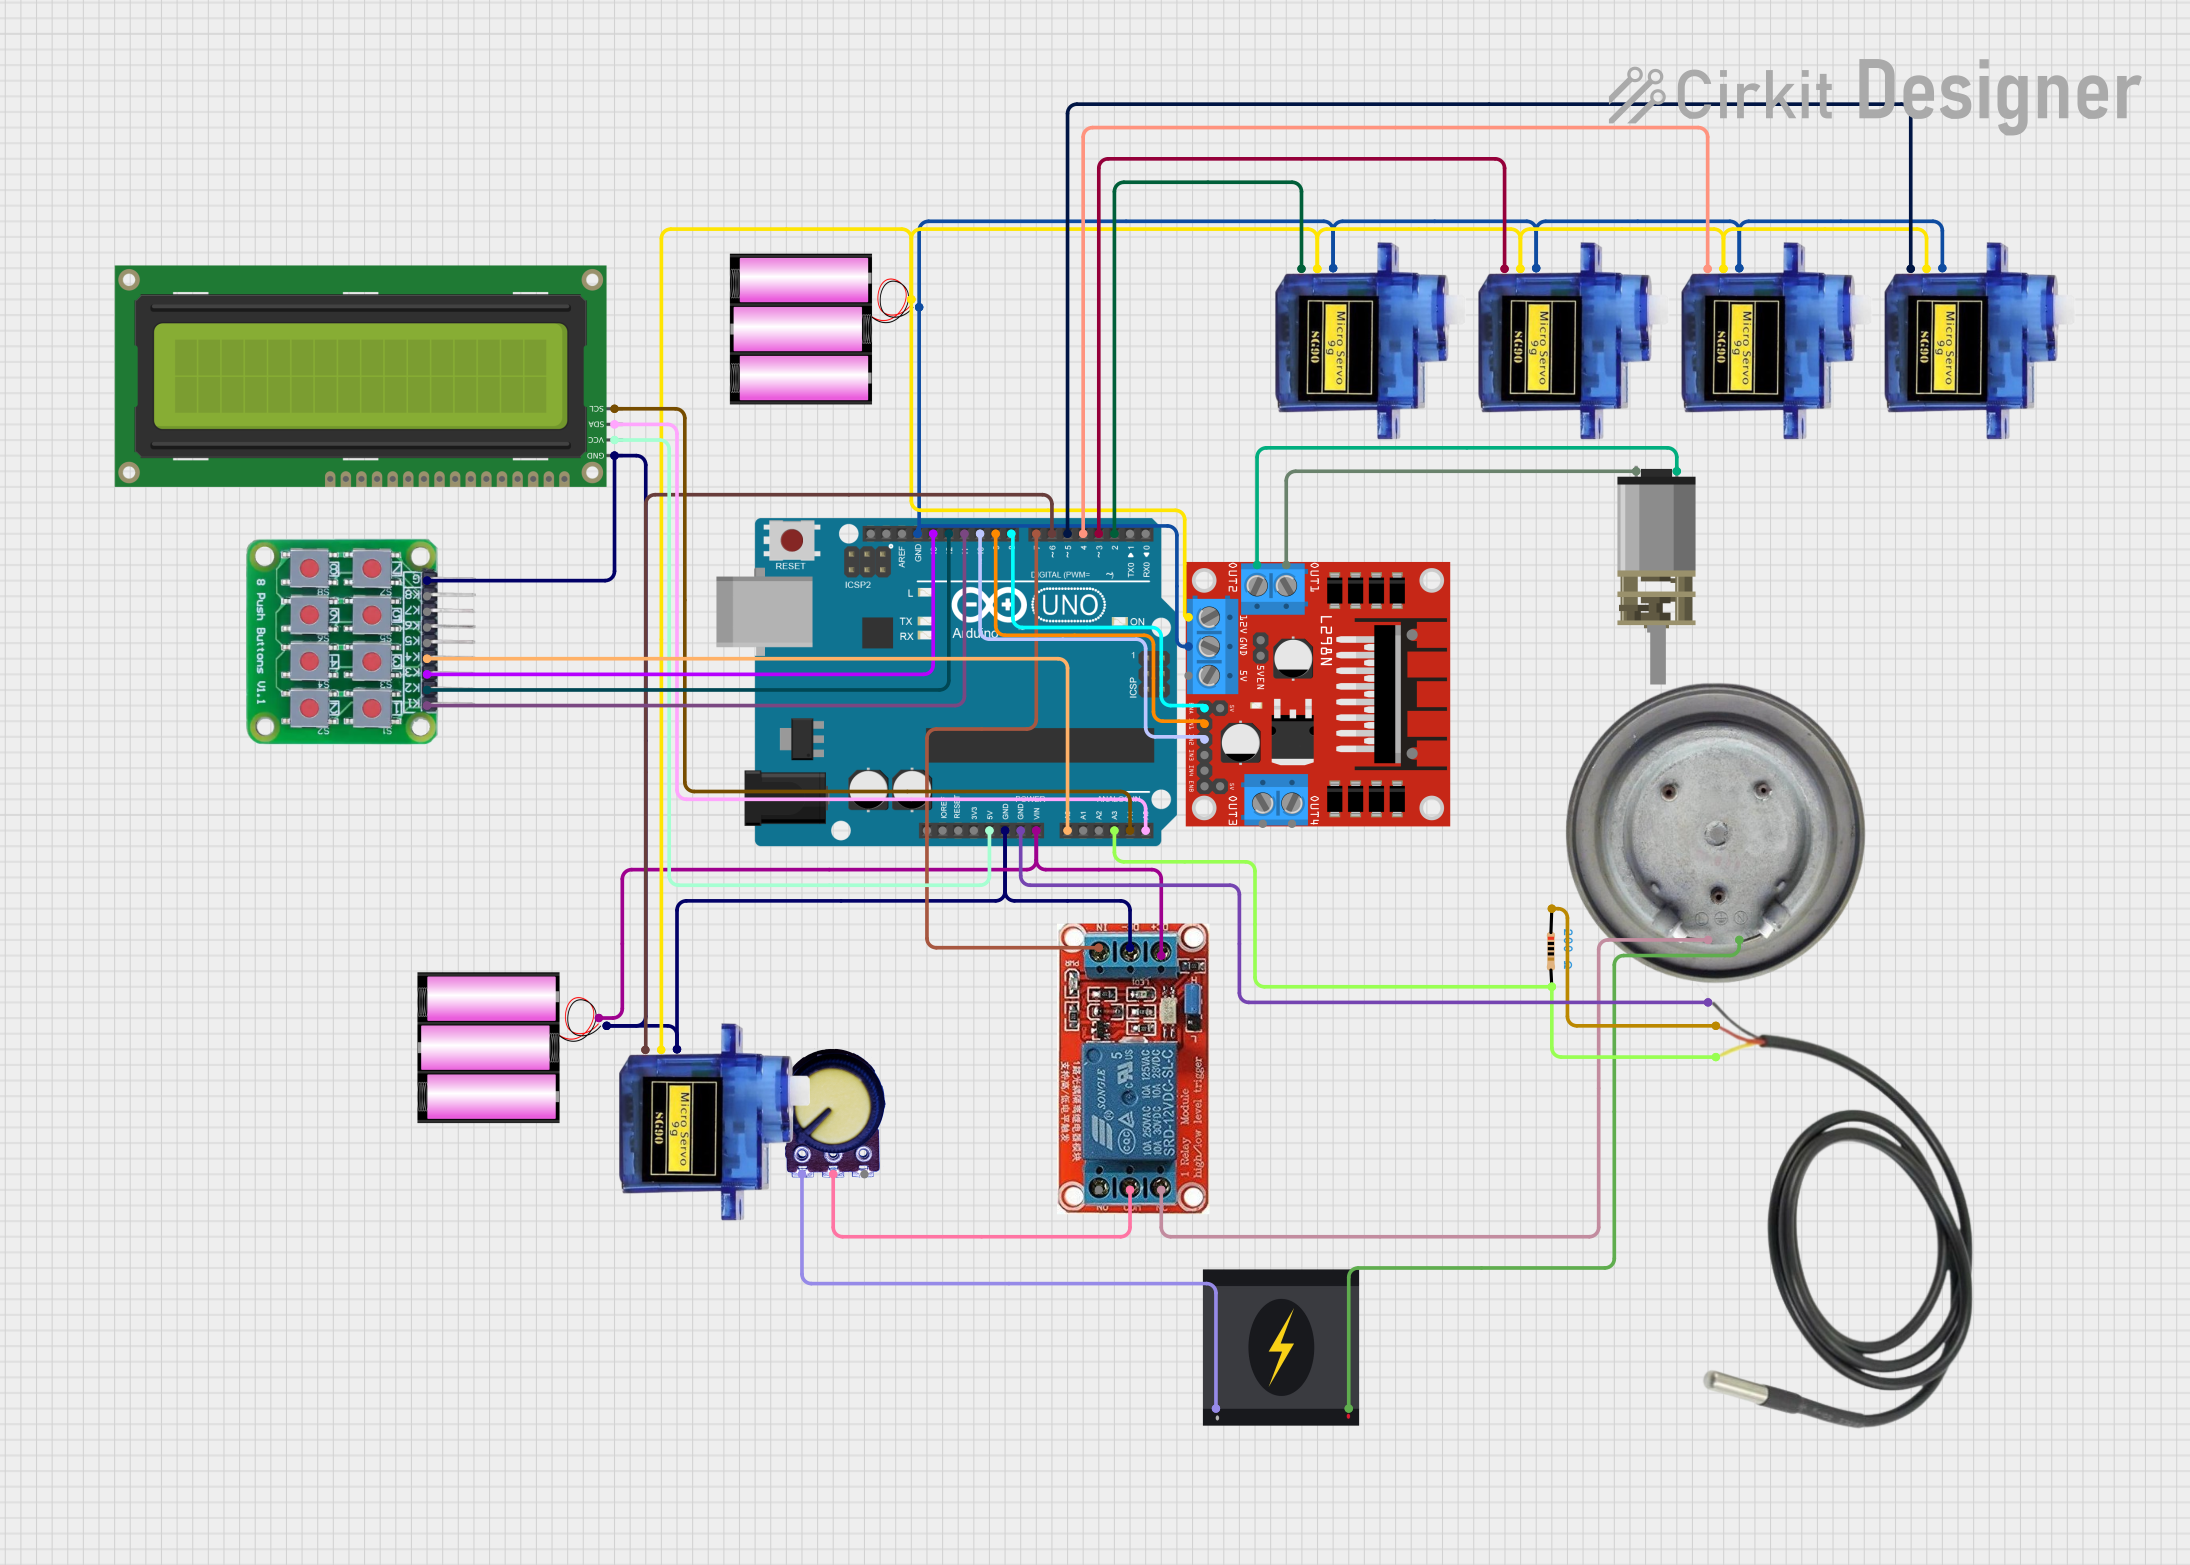
This circuit is an automatic cooker controlled by an Arduino UNO. It features four servo motors to dispense ingredients, a DC motor for stirring, a heater element regulated by a relay and potentiometer, and a temperature sensor to monitor and control the heating process. The cooking process is automated with specific timings for each step, lasting a total of 15 minutes.
Arduino Mega 2560 and ESP32 CAM Based Motion Detection and RFID Security System
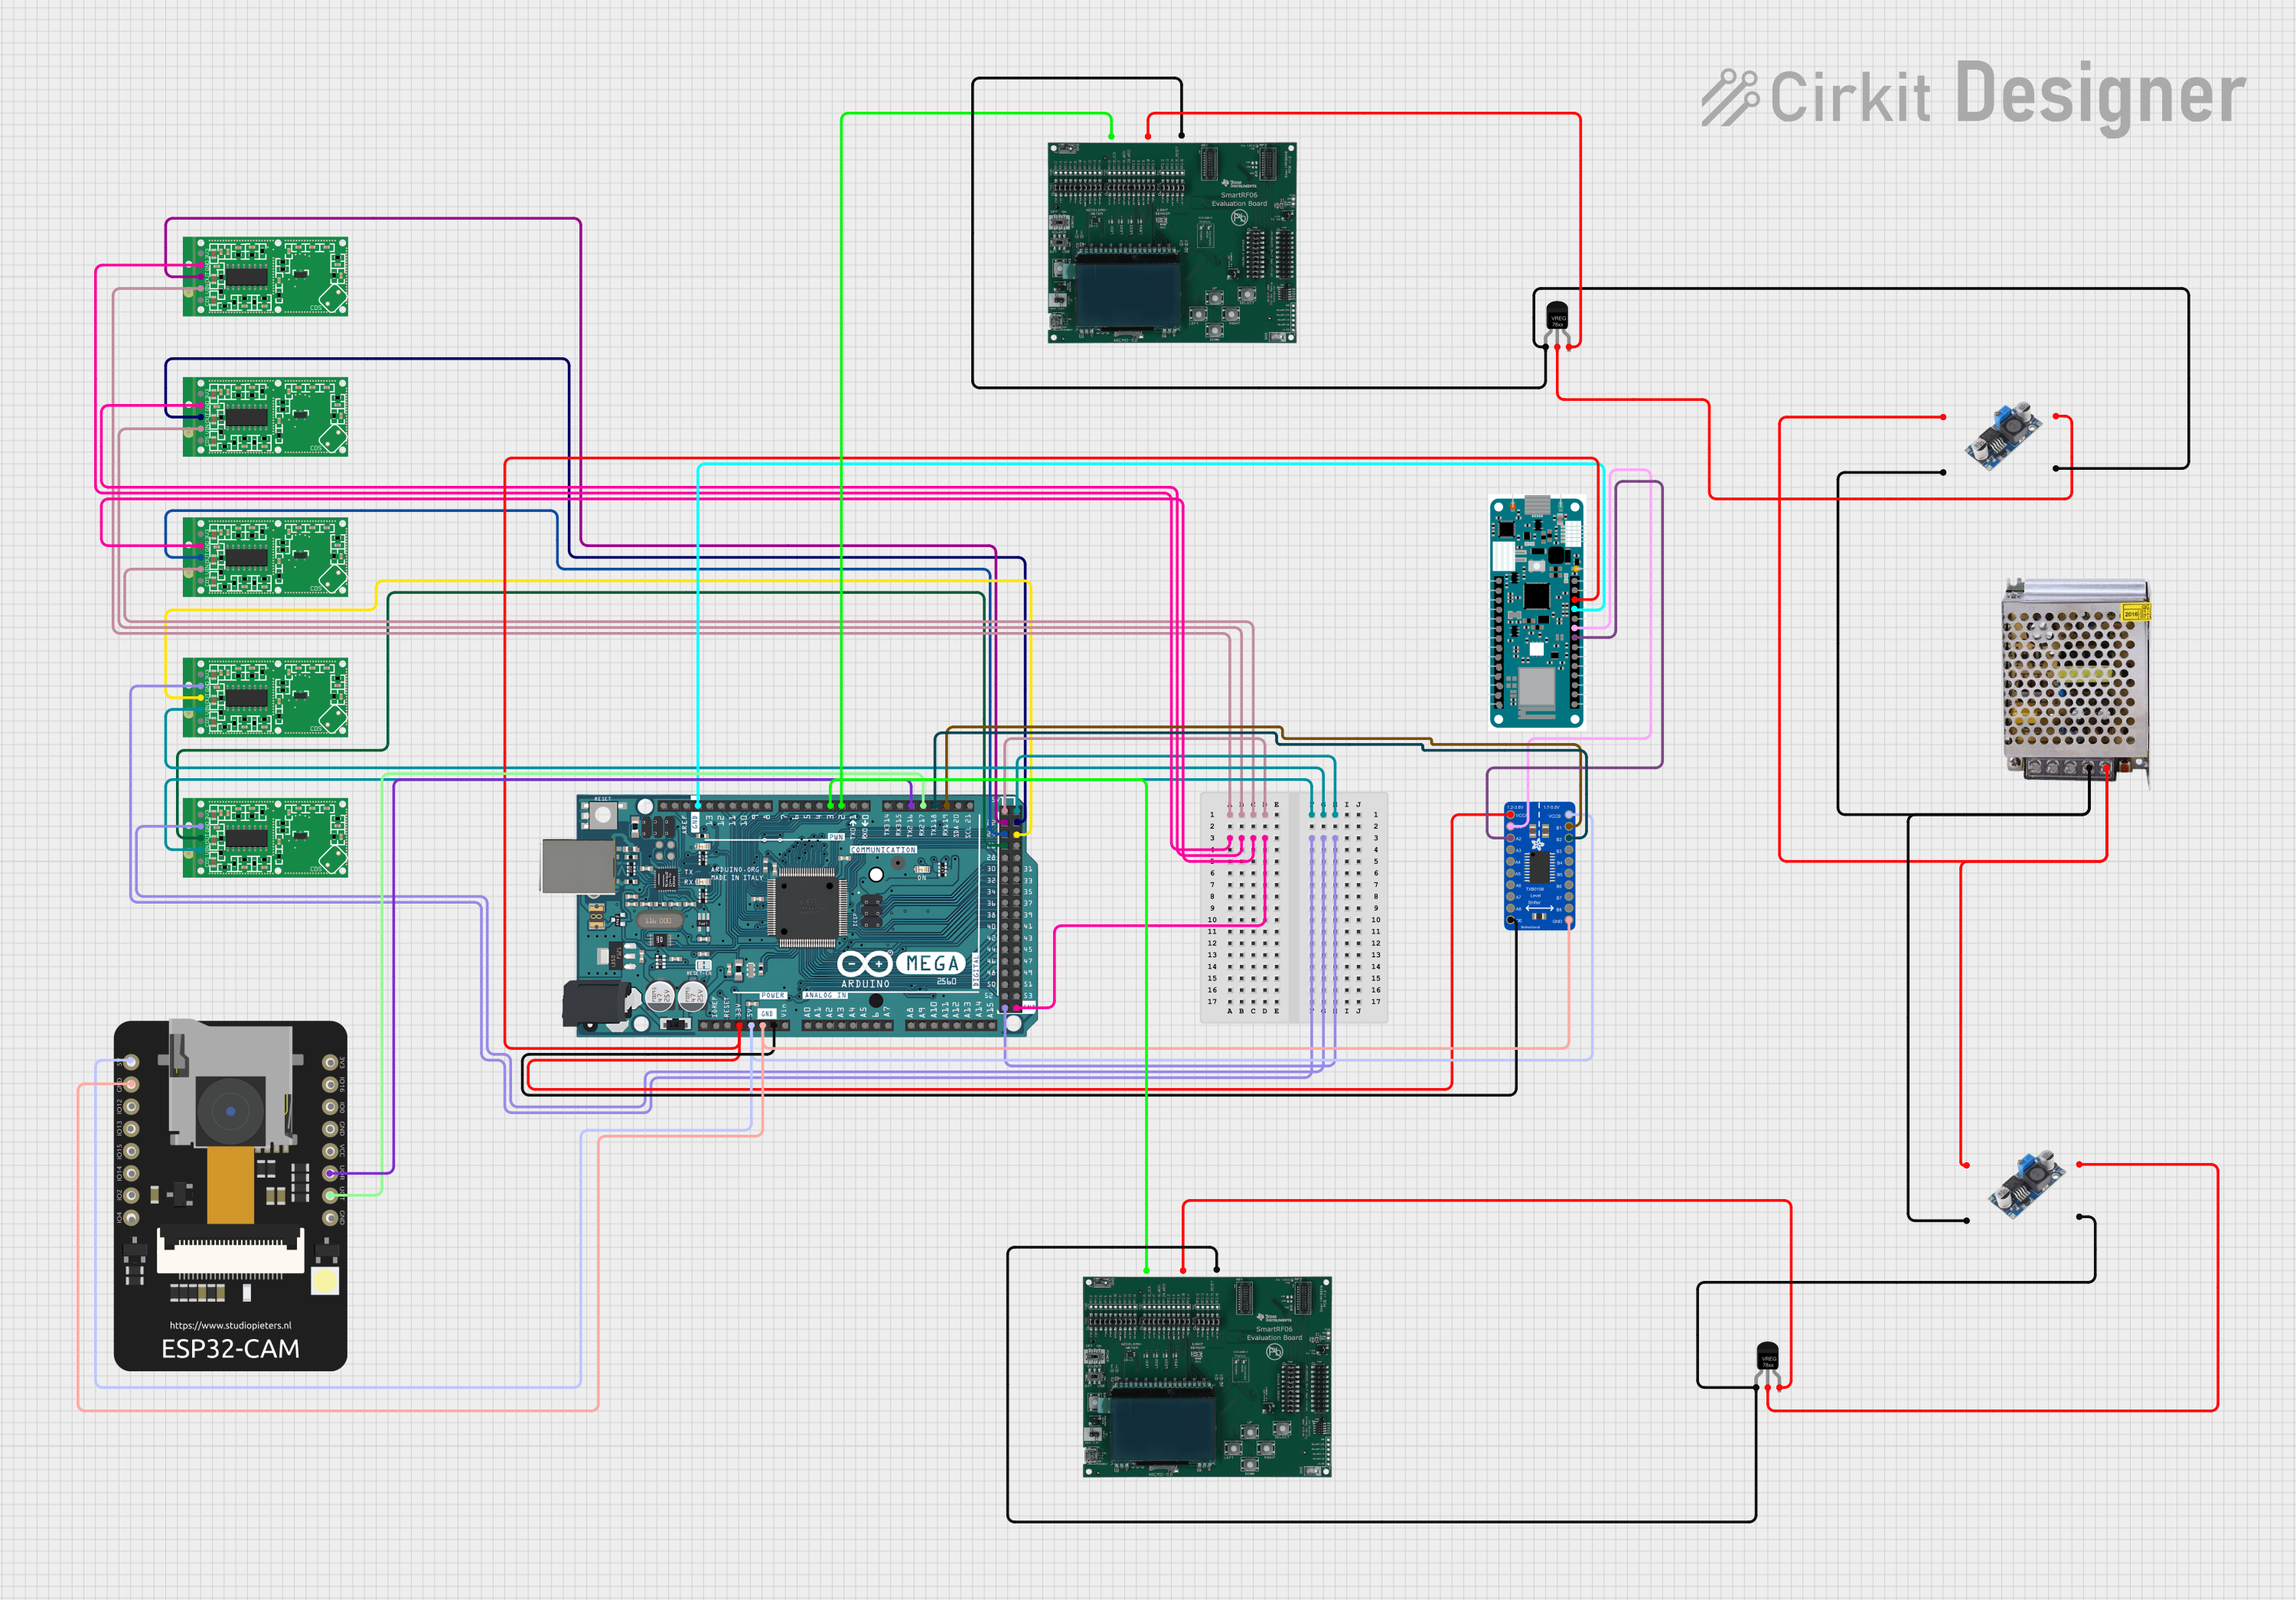
This circuit is designed for a multi-sensor motion detection system with image capture and RFID reading capabilities. It uses an Arduino Mega 2560 as the central processing unit, interfacing with microwave radar motion sensors, an ESP32 CAM, and RFID boards. Power management is handled by voltage regulators and DC-DC converters, and an Arduino MKR WiFi 1010 is included for potential wireless communication.
Raspberry Pi Pico W-Based Smart Home Automation System with Motion Detection and Environmental Monitoring
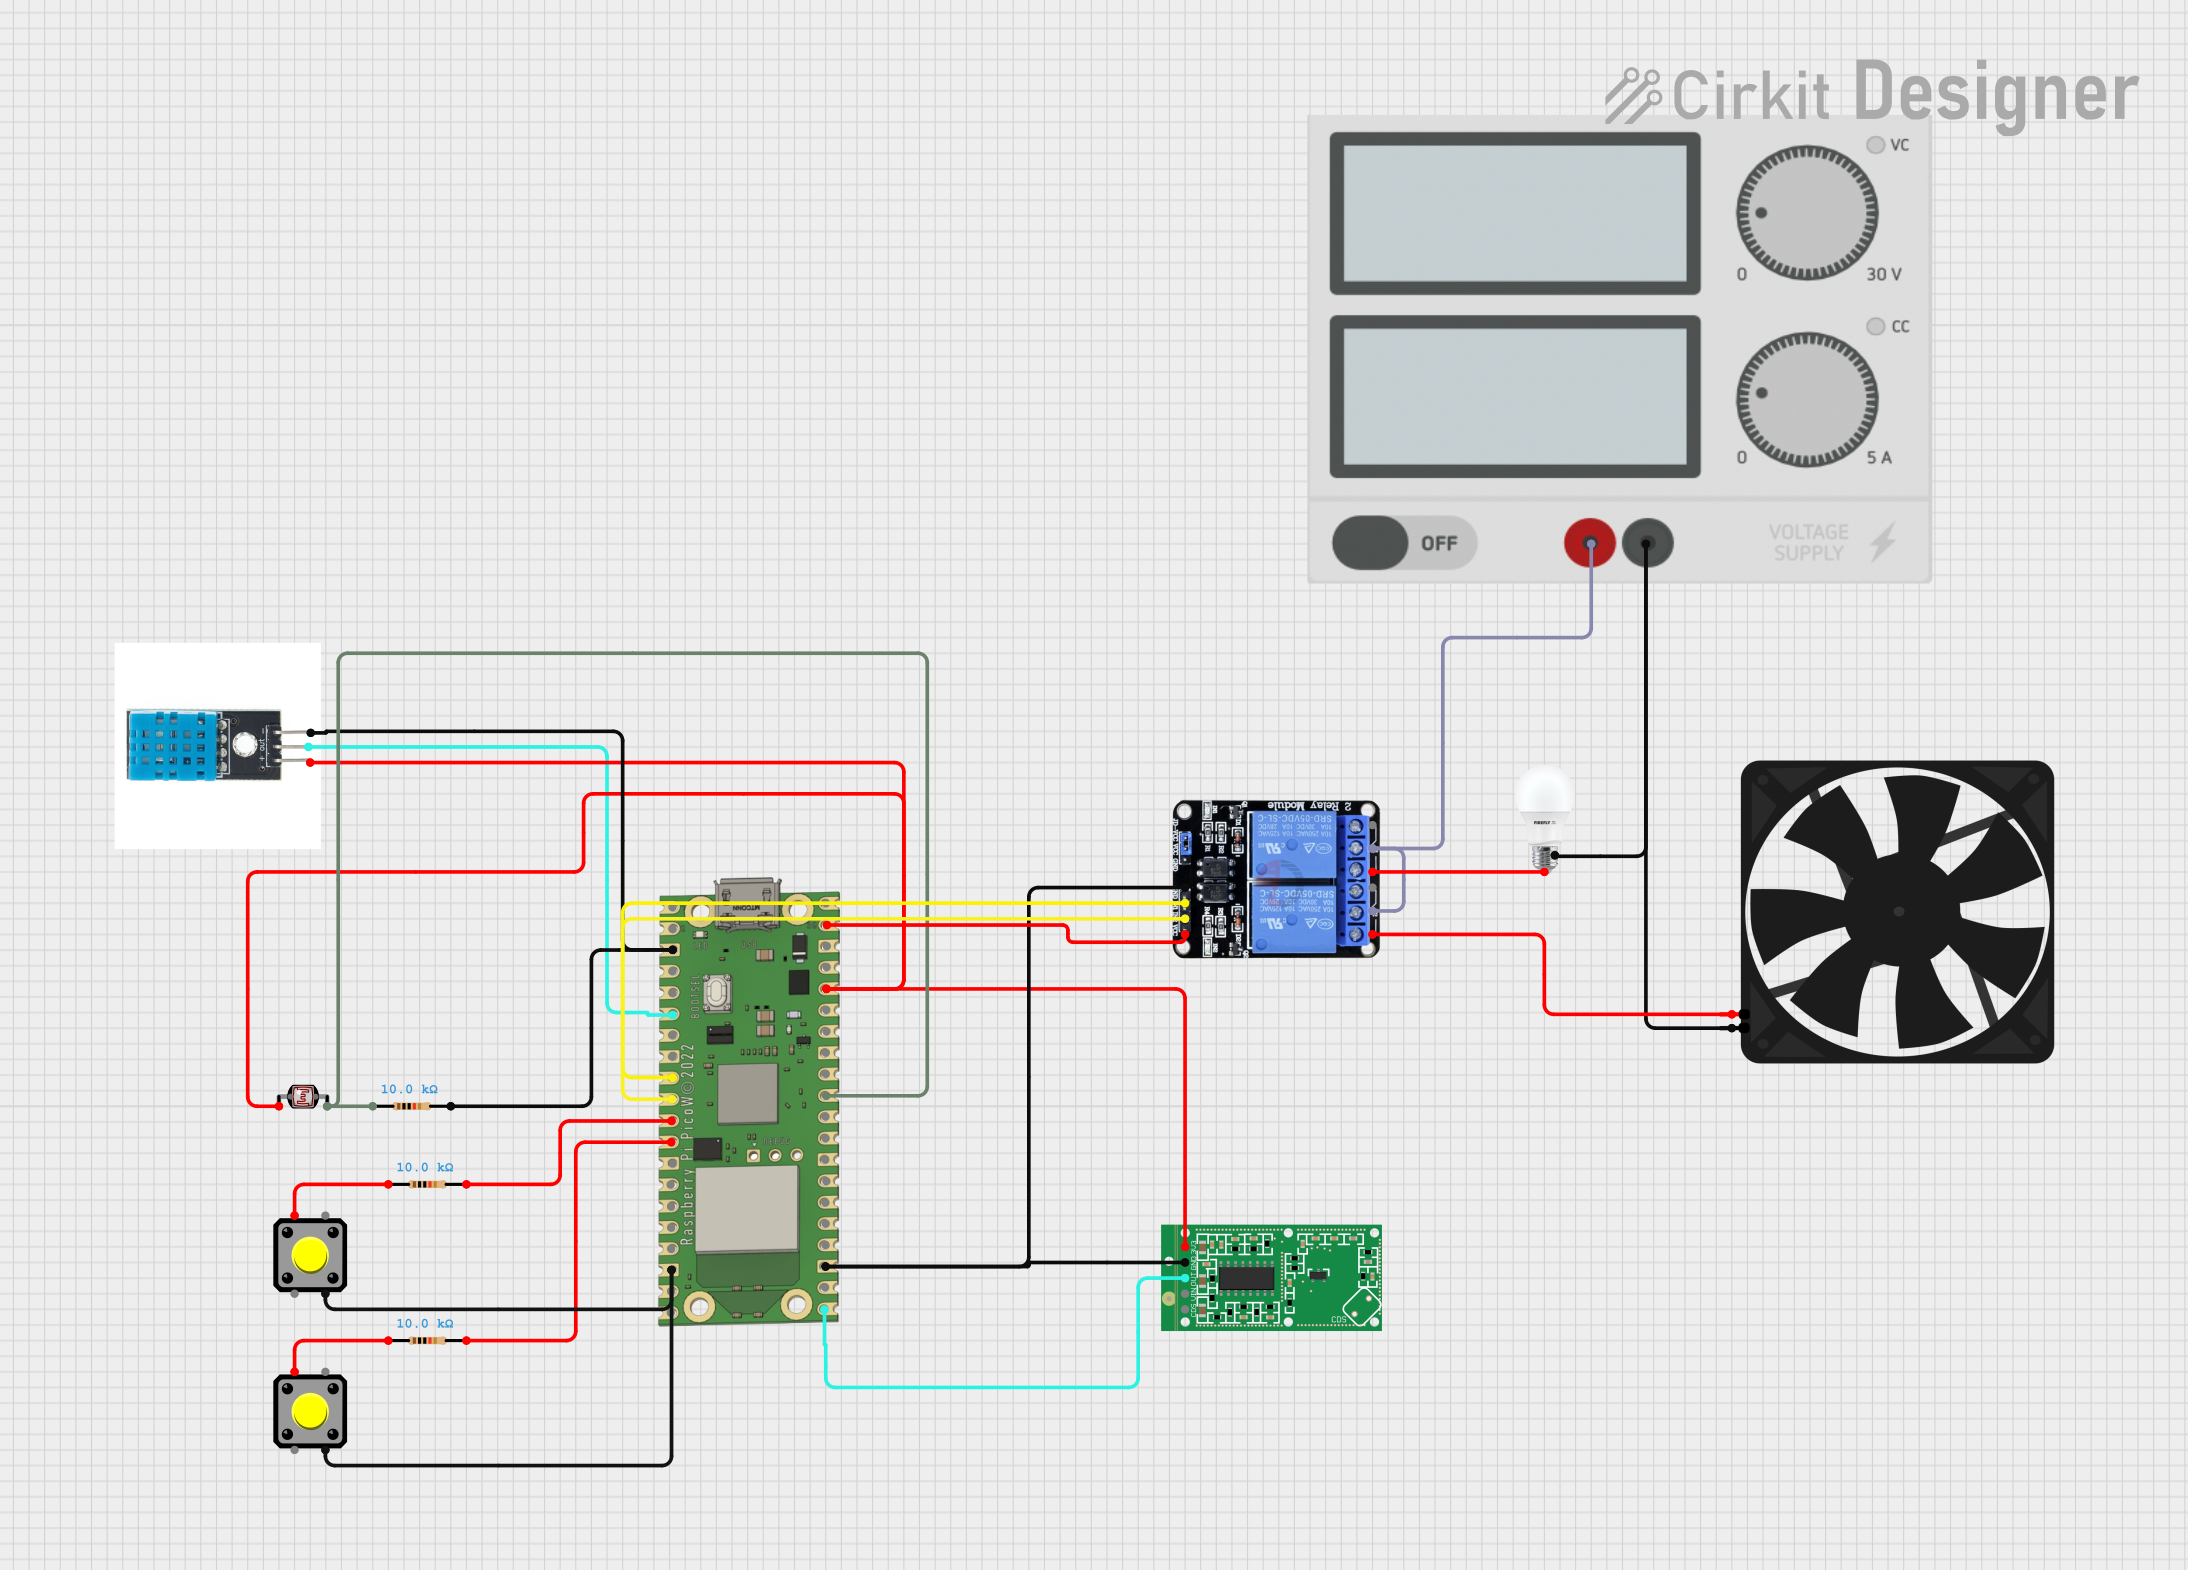
This circuit features a Raspberry Pi Pico W microcontroller connected to various sensors and actuators, including a DHT11 temperature and humidity sensor, an RCWL-0516 microwave radar motion sensor, a photocell (LDR) with a resistor for light detection, and a two-channel relay controlling a bulb and a fan. The microcontroller runs code to monitor environmental conditions and motion, displaying information on an LCD and allowing remote control via MQTT messages over Wi-Fi. It supports both automatic sensor-based operation and remote app control, with pushbuttons to switch between modes.
Arduino-Controlled Soundwave Generator with IR Sensor Activation and LCD Feedback

This circuit features an Arduino UNO R4 WiFi microcontroller programmed to control a 4-channel relay, read from two IR sensors, and adjust a micro servo's position based on the IR sensors' input. It also generates variable frequency sound waves through a speaker using an XR2206 function generator, with the frequency adjusted by a potentiometer. An LCD I2C display is used to show the frequency and IR sensor status, and the sound's volume is controlled by a PAM8403 amplifier.
Explore Projects Built with Microwave V2.0
Arduino-Based Automatic Cooker with Temperature Control and Servo-Operated Ingredient Dispensers
This circuit is an automatic cooker controlled by an Arduino UNO. It features four servo motors to dispense ingredients, a DC motor for stirring, a heater element regulated by a relay and potentiometer, and a temperature sensor to monitor and control the heating process. The cooking process is automated with specific timings for each step, lasting a total of 15 minutes.
Arduino Mega 2560 and ESP32 CAM Based Motion Detection and RFID Security System
This circuit is designed for a multi-sensor motion detection system with image capture and RFID reading capabilities. It uses an Arduino Mega 2560 as the central processing unit, interfacing with microwave radar motion sensors, an ESP32 CAM, and RFID boards. Power management is handled by voltage regulators and DC-DC converters, and an Arduino MKR WiFi 1010 is included for potential wireless communication.
Raspberry Pi Pico W-Based Smart Home Automation System with Motion Detection and Environmental Monitoring
This circuit features a Raspberry Pi Pico W microcontroller connected to various sensors and actuators, including a DHT11 temperature and humidity sensor, an RCWL-0516 microwave radar motion sensor, a photocell (LDR) with a resistor for light detection, and a two-channel relay controlling a bulb and a fan. The microcontroller runs code to monitor environmental conditions and motion, displaying information on an LCD and allowing remote control via MQTT messages over Wi-Fi. It supports both automatic sensor-based operation and remote app control, with pushbuttons to switch between modes.
Arduino-Controlled Soundwave Generator with IR Sensor Activation and LCD Feedback
This circuit features an Arduino UNO R4 WiFi microcontroller programmed to control a 4-channel relay, read from two IR sensors, and adjust a micro servo's position based on the IR sensors' input. It also generates variable frequency sound waves through a speaker using an XR2206 function generator, with the frequency adjusted by a potentiometer. An LCD I2C display is used to show the frequency and IR sensor status, and the sound's volume is controlled by a PAM8403 amplifier.
Common Applications and Use Cases
- Domestic microwave ovens for cooking and reheating food
- Industrial food processing and heating systems
- Laboratory applications requiring controlled heating
- Medical sterilization equipment
- Drying and curing processes in manufacturing
Technical Specifications
Key Technical Details
| Parameter | Value |
|---|---|
| Operating Voltage | 220V AC (±10%) |
| Operating Frequency | 2.45 GHz |
| Power Output | 800W to 1200W (adjustable) |
| Efficiency | ≥ 85% |
| Control Interface | Digital (via microcontroller) |
| Dimensions | 300mm x 200mm x 150mm |
| Weight | 3.5 kg |
| Safety Features | Overheat protection, EMI shielding |
Pin Configuration and Descriptions
| Pin Number | Pin Name | Description |
|---|---|---|
| 1 | AC Input | Connects to the 220V AC power supply. |
| 2 | Ground (GND) | Ground connection for the circuit. |
| 3 | Control Signal | Accepts digital input signals for power and frequency adjustments. |
| 4 | Status Output | Outputs a signal indicating the operational status (e.g., ON/OFF, fault). |
| 5 | Safety Interlock | Ensures the microwave operates only when safety conditions are met. |
Usage Instructions
How to Use the Component in a Circuit
- Power Supply: Connect the AC Input pin (Pin 1) to a 220V AC power source. Ensure proper grounding by connecting Pin 2 to the ground.
- Control Signal: Use a microcontroller (e.g., Arduino UNO) to send digital signals to Pin 3 for controlling the microwave's power output and frequency.
- Safety Interlock: Wire the Safety Interlock pin (Pin 5) to a door switch or other safety mechanism to prevent accidental operation.
- Status Monitoring: Monitor the Status Output pin (Pin 4) to check the operational state of the microwave.
Important Considerations and Best Practices
- Cooling: Ensure adequate ventilation around the component to prevent overheating.
- Shielding: Use proper electromagnetic interference (EMI) shielding to avoid interference with nearby devices.
- Safety: Always connect the Safety Interlock pin to a reliable safety mechanism to prevent accidental exposure to microwave radiation.
- Voltage Stability: Use a voltage stabilizer if the power supply is prone to fluctuations.
- Testing: Test the component in a controlled environment before integrating it into a final product.
Example: Connecting to an Arduino UNO
Below is an example of how to control the Microwave V2.0 using an Arduino UNO:
// Example code to control Microwave V2.0 using Arduino UNO
// Pin 3 of the microwave is connected to Arduino digital pin 9
// Pin 4 of the microwave is connected to Arduino digital pin 8 (status monitoring)

#define CONTROL_PIN 9  // Arduino pin connected to Microwave control signal
#define STATUS_PIN 8   // Arduino pin connected to Microwave status output

void setup() {
  pinMode(CONTROL_PIN, OUTPUT); // Set control pin as output
  pinMode(STATUS_PIN, INPUT);   // Set status pin as input
  Serial.begin(9600);           // Initialize serial communication
}

void loop() {
  // Turn on the microwave
  digitalWrite(CONTROL_PIN, HIGH);
  delay(5000); // Keep the microwave on for 5 seconds

  // Turn off the microwave
  digitalWrite(CONTROL_PIN, LOW);
  delay(2000); // Wait for 2 seconds before checking status

  // Read and print the status of the microwave
  int status = digitalRead(STATUS_PIN);
  if (status == HIGH) {
    Serial.println("Microwave is ON");
  } else {
    Serial.println("Microwave is OFF");
  }
}
Troubleshooting and FAQs
Common Issues and Solutions
| Issue | Possible Cause | Solution |
|---|---|---|
| Microwave does not turn on | No power supply or loose connections | Check the AC input and ensure all connections are secure. |
| Microwave turns off unexpectedly | Overheating or safety interlock engaged | Ensure proper ventilation and check the safety interlock mechanism. |
| Inconsistent heating performance | Faulty control signal or EMI interference | Verify the control signal and ensure proper EMI shielding. |
| Status output not working | Faulty wiring or microcontroller issue | Check the wiring and ensure the microcontroller is functioning properly. |
FAQs
Can the Microwave V2.0 operate on a 110V power supply?
- No, the component is designed for 220V AC input. Use a step-up transformer if needed.
What is the maximum power output of the Microwave V2.0?
- The maximum power output is 1200W, adjustable via the control signal.
Is the Microwave V2.0 safe for home use?
- Yes, it includes safety features such as overheat protection and a safety interlock mechanism.
Can I use the Microwave V2.0 for industrial applications?
- Yes, it is suitable for both domestic and industrial applications, provided the power requirements are met.
How do I ensure proper EMI shielding?
- Use a metal enclosure and grounding techniques to minimize electromagnetic interference.