The MQ-3 gas sensor is a widely used electronic component for detecting alcohol vapors and other gases in the air. It is commonly employed in breathalyzers, gas leak detection systems, and air quality monitoring devices. The MQ-3 circuit image provides a visual representation of how the sensor is connected in a typical application, aiding users in understanding its wiring and integration into a circuit.
Explore Projects Built with mq3_cuircuit_image
Use Cirkit Designer to design, explore, and prototype these projects online. Some projects support real-time simulation. Click "Open Project" to start designing instantly!
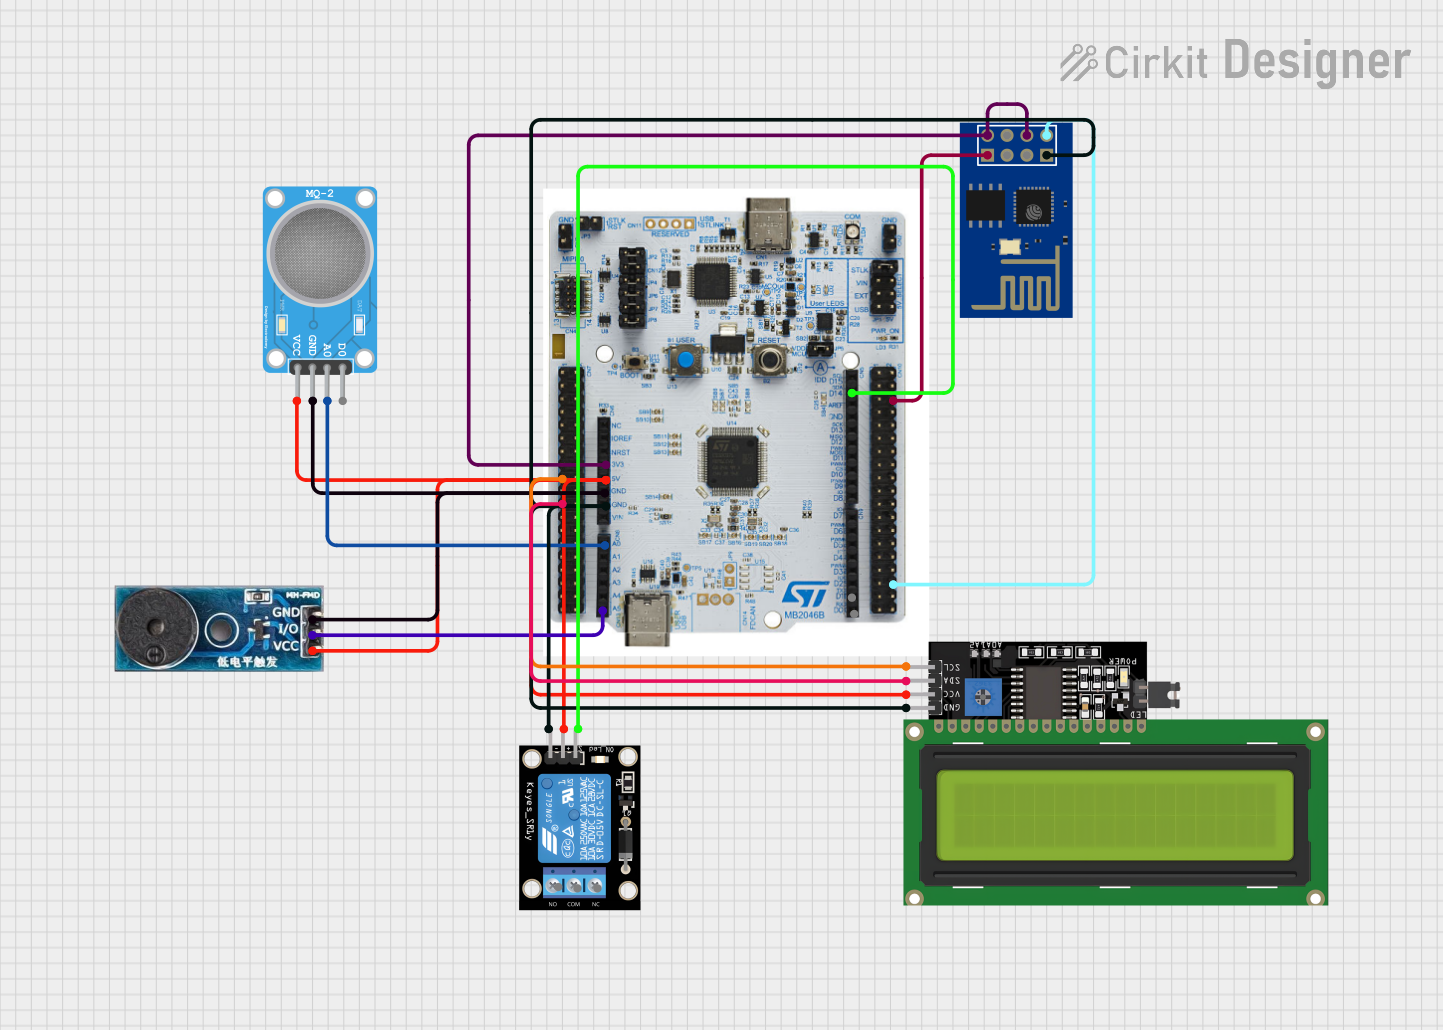
This circuit features a NUCLEO-F303RE microcontroller board interfaced with various modules for sensing, actuation, and communication. It includes an MQ-2 gas sensor for detecting combustible gases, a buzzer for audible alerts, and a relay for controlling high-power devices. Additionally, the circuit uses an ESP8266 WiFi module for wireless connectivity and an I2C LCD display for user interface and data display.
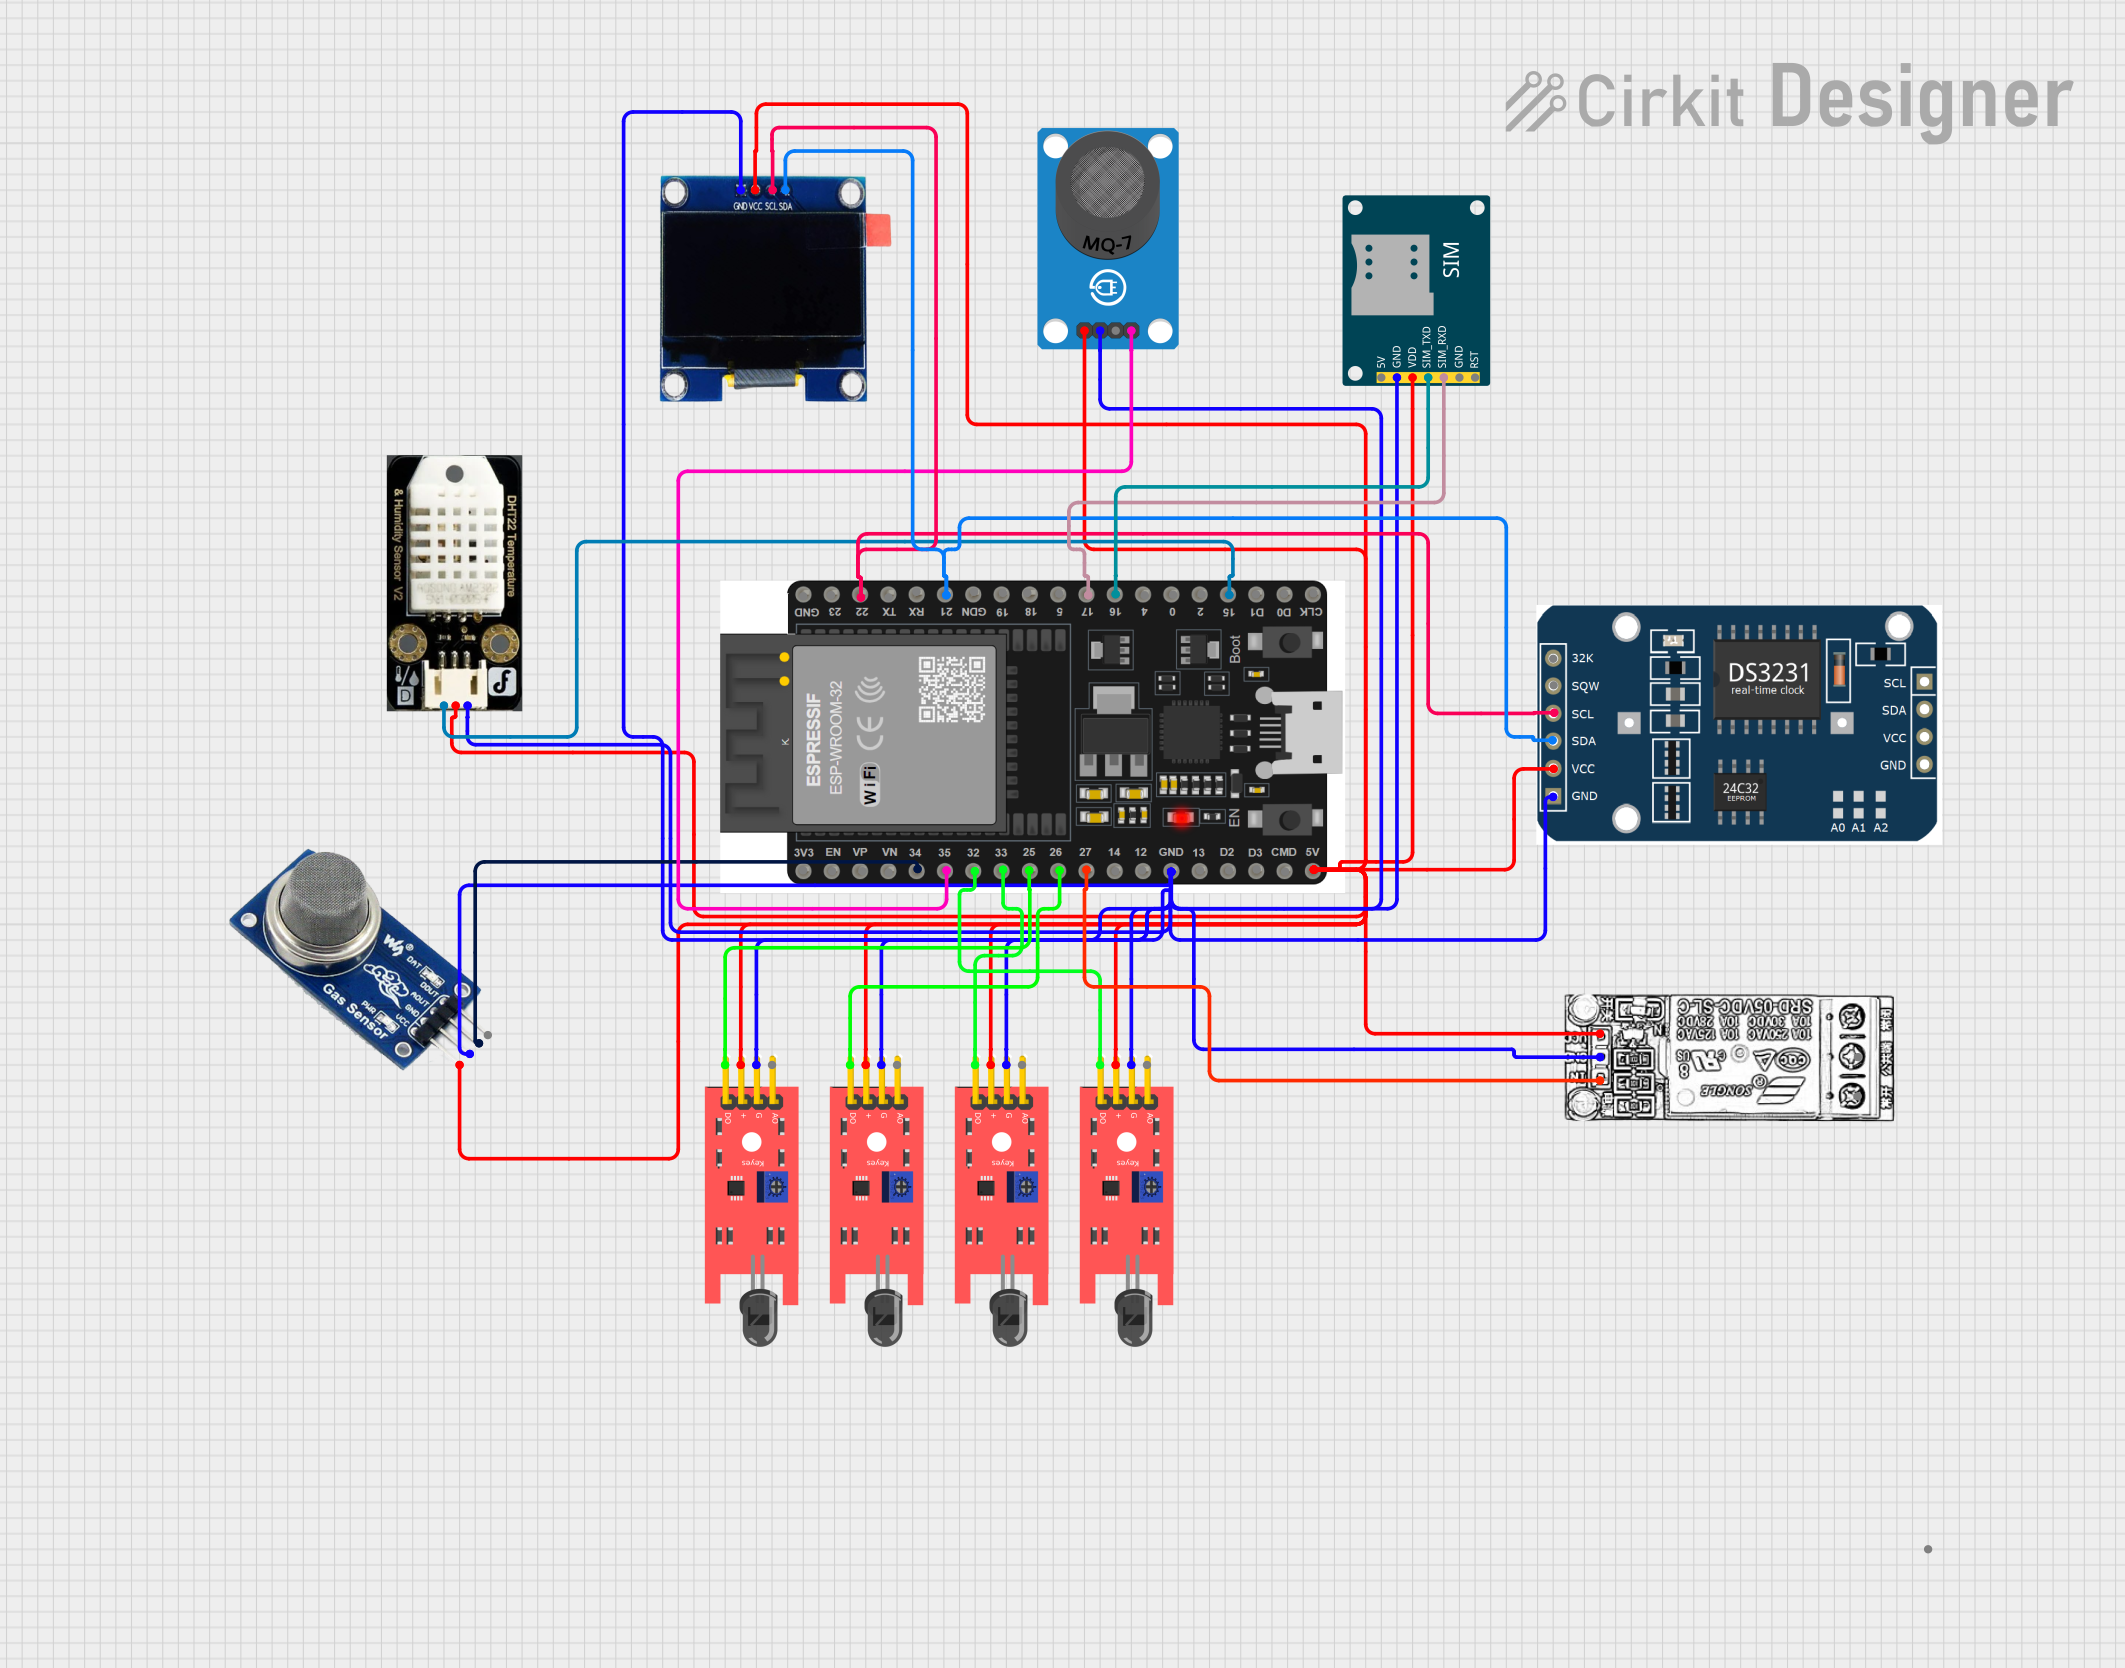
This circuit is a multi-sensor monitoring system using an ESP32 microcontroller. It integrates various sensors including flame sensors, gas sensors (MQ-2 and MQ-7), a temperature and humidity sensor, and an OLED display for real-time data visualization. Additionally, it includes a relay module for controlling external devices and a GSM module for remote communication.
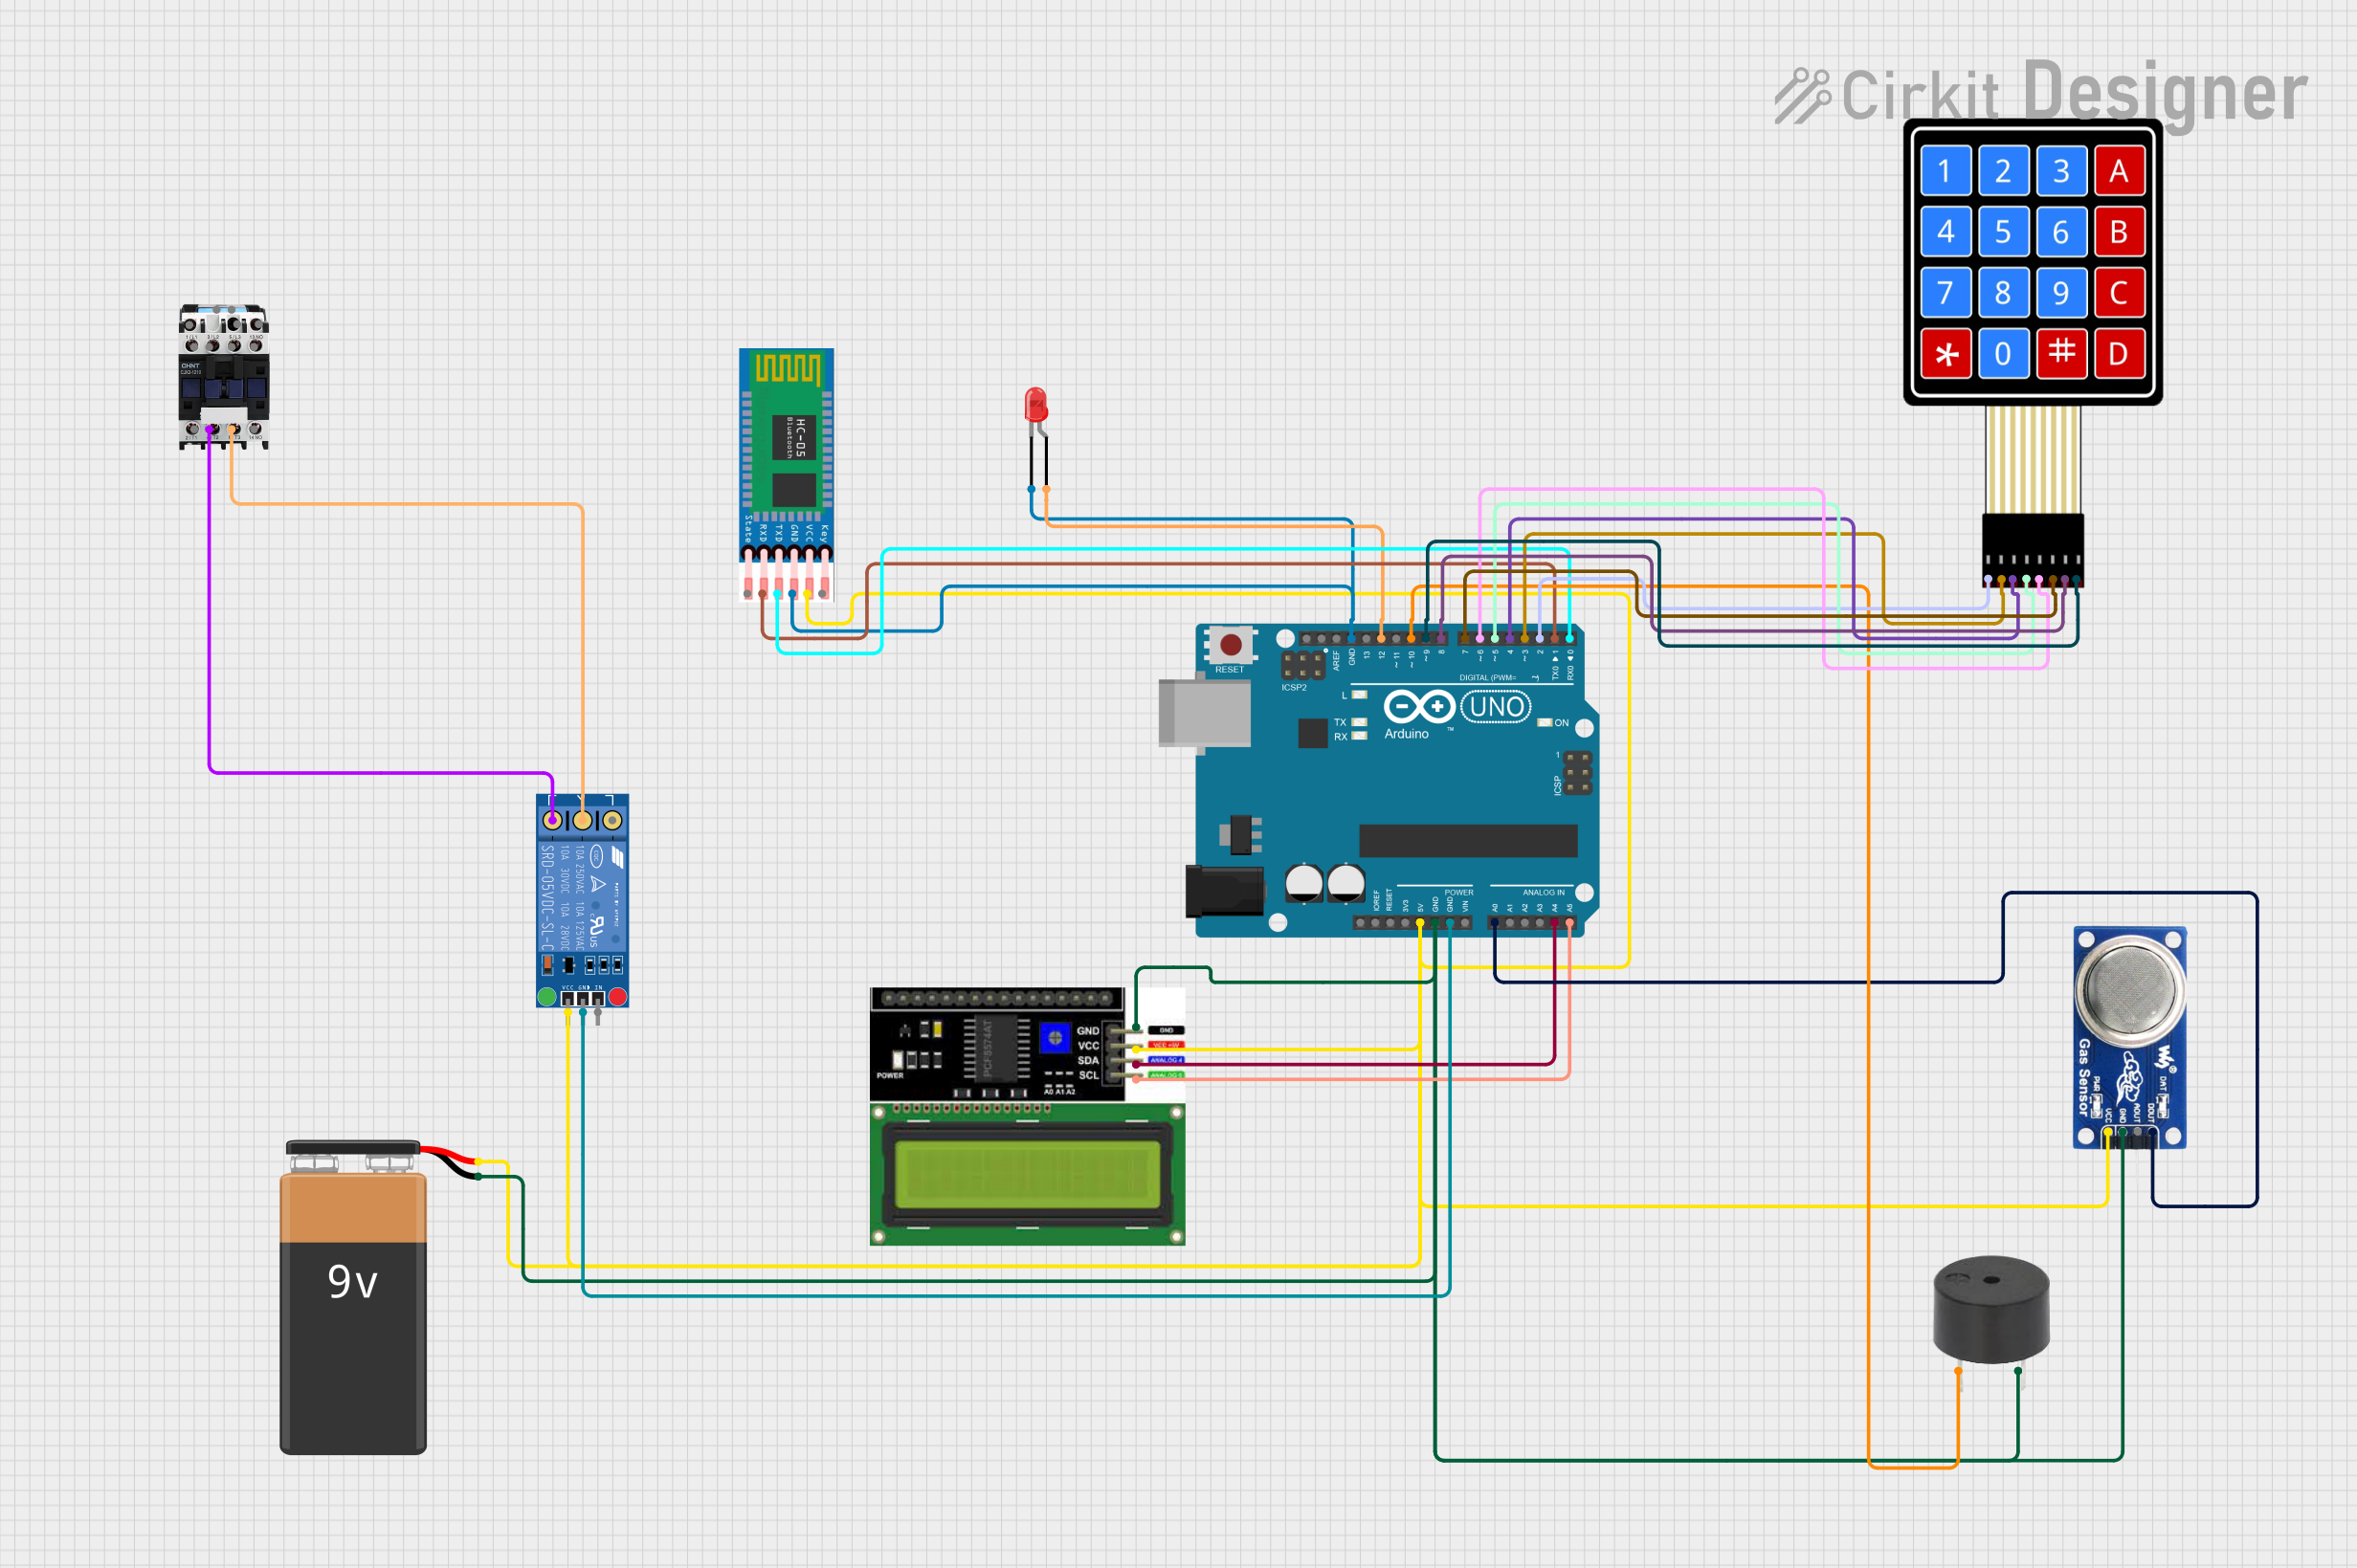
This circuit is designed for a safety monitoring system that detects gas leaks and flames using an MQ6 sensor and controls alerts through an Arduino UNO. It features an LCD I2C display for status messages, a buzzer for audible warnings, and a relay to control power to an external device, possibly as a safety shutoff. The system also includes a Bluetooth module (HC-05) for wireless communication and a 4x4 keypad for user input.
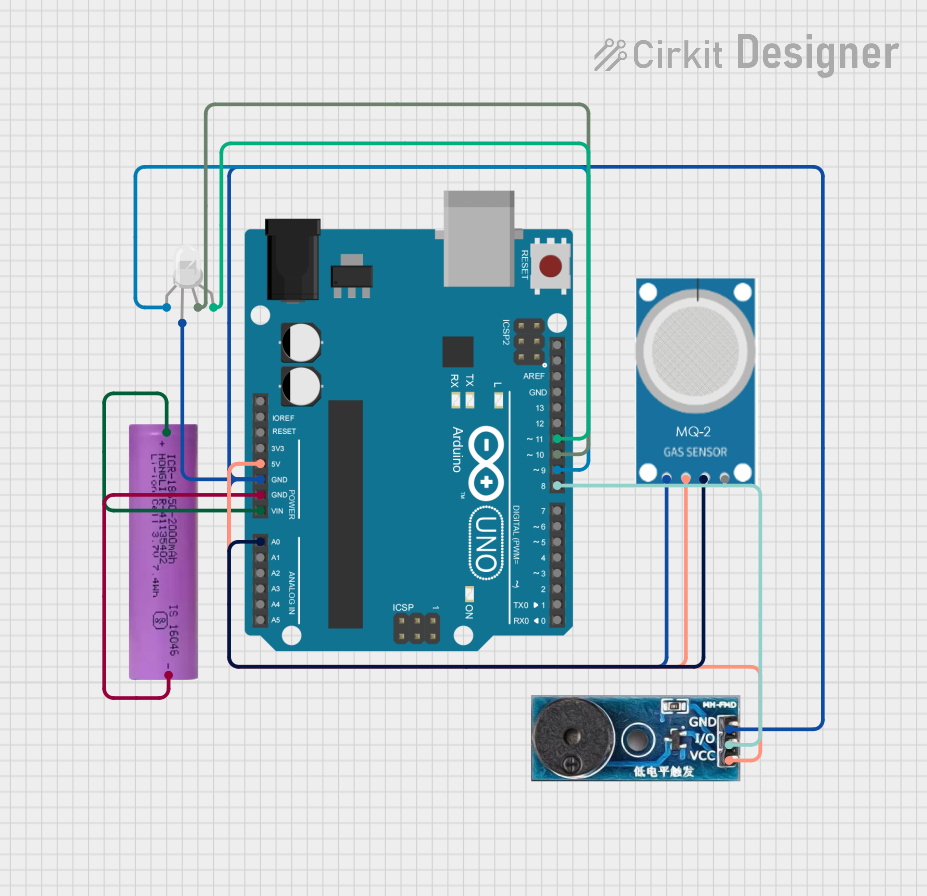
This circuit is a smoke detection system using an MQ-2 smoke sensor, an RGB LED, and a buzzer, all controlled by an Arduino UNO. The system reads smoke levels and triggers the buzzer and changes the LED color to indicate different levels of smoke concentration: green for safe, yellow for moderate, and red for high danger.
The MQ-3 gas sensor operates based on changes in resistance when exposed to alcohol vapors or other gases. Below are the key technical details of the MQ-3 sensor and its circuit:
Key Specifications
Operating Voltage: 5V DC
Load Resistance (RL): Adjustable, typically 4.7kΩ to 10kΩ
Heater Resistance (RH): 31Ω ± 3Ω at room temperature
Preheat Time: ≥24 hours for optimal performance
Gas Detection Range: 0.04 mg/L to 4 mg/L (alcohol concentration)
Output Signal: Analog voltage proportional to gas concentration
Pin Configuration and Descriptions
The MQ-3 sensor has six pins, but only four are typically used in most applications. Below is the pin configuration:
Pin Name
Description
H1
Heater pin 1 (connect to 5V)
H2
Heater pin 2 (connect to GND)
A
Analog output pin (connect to ADC input)
B
Analog output pin (alternative to A)
Note: Pins A and B are interchangeable, but only one is used at a time in a circuit.
Usage Instructions
To use the MQ-3 gas sensor in a circuit, follow these steps:
Power the Sensor: Connect the H1 pin to a 5V power supply and the H2 pin to ground. This powers the internal heater, which is necessary for the sensor to function.
Connect the Output: Use either the A or B pin to connect the sensor's analog output to an ADC (Analog-to-Digital Converter) input on a microcontroller or other processing unit.
Set the Load Resistance: Adjust the load resistance (RL) to calibrate the sensor for the desired sensitivity and range.
Preheat the Sensor: Allow the sensor to preheat for at least 24 hours before taking accurate measurements.
Read the Output: Measure the analog voltage from the output pin. The voltage increases with higher gas concentrations.
Example: Connecting MQ-3 to Arduino UNO
Below is an example of how to connect the MQ-3 sensor to an Arduino UNO and read its output:
Circuit Connections
Connect H1 to the 5V pin on the Arduino.
Connect H2 to the GND pin on the Arduino.
Connect the A pin to the A0 analog input pin on the Arduino.
Connect a 10kΩ resistor between the A pin and ground as the load resistor.
Arduino Code
// MQ-3 Gas Sensor Example Code
// Reads the analog output of the MQ-3 sensor and prints the value to the Serial Monitor

const int sensorPin = A0; // Analog pin connected to MQ-3 output

void setup() {
  Serial.begin(9600); // Initialize serial communication at 9600 baud
  pinMode(sensorPin, INPUT); // Set the sensor pin as input
}

void loop() {
  int sensorValue = analogRead(sensorPin); // Read the analog value from the sensor
  float voltage = sensorValue * (5.0 / 1023.0); // Convert to voltage (0-5V)

  // Print the sensor value and voltage to the Serial Monitor
  Serial.print("Sensor Value: ");
  Serial.print(sensorValue);
  Serial.print(" | Voltage: ");
  Serial.print(voltage);
  Serial.println(" V");

  delay(1000); // Wait 1 second before the next reading
}
Best Practices
Ensure the sensor is placed in a well-ventilated area for accurate readings.
Avoid exposing the sensor to high concentrations of corrosive gases, as this may damage it.
Use a stable 5V power supply to prevent fluctuations in the sensor's output.
Troubleshooting and FAQs
Common Issues
No Output Signal:
Cause: The sensor may not be properly powered.
Solution: Check the connections to the H1 and H2 pins and ensure a stable 5V supply.
Inaccurate Readings:
Cause: Insufficient preheating time or incorrect load resistance.
Solution: Allow the sensor to preheat for at least 24 hours and verify the RL value.
Fluctuating Output:
Cause: Electrical noise or unstable power supply.
Solution: Use decoupling capacitors near the sensor and ensure a clean power source.
FAQs
Q: Can the MQ-3 detect gases other than alcohol? A: Yes, the MQ-3 can detect other gases, but it is most sensitive to alcohol vapors.
Q: How do I calibrate the sensor? A: Calibration involves adjusting the load resistance (RL) and comparing the sensor's output to known gas concentrations.
Q: Is the sensor waterproof? A: No, the MQ-3 sensor is not waterproof and should be protected from moisture.
By following this documentation, users can effectively integrate the MQ-3 gas sensor into their projects and troubleshoot common issues.


 Open Project in Cirkit Designer