
How to Use NUCLEO-L476RG: Examples, Pinouts, and Specs
 Design with NUCLEO-L476RG in Cirkit Designer
Introduction
The NUCLEO-L476RG is a development board manufactured by STMicroelectronics (Part ID: NUL476RG$AU1). It is based on the STM32L476RG microcontroller, which features an ARM Cortex-M4 core with FPU (Floating Point Unit). This board is designed for low-power applications and is equipped with a wide range of interfaces, making it ideal for prototyping and development in IoT, wearable devices, and energy-efficient embedded systems.
Explore Projects Built with NUCLEO-L476RG
 Open Project in Cirkit Designer
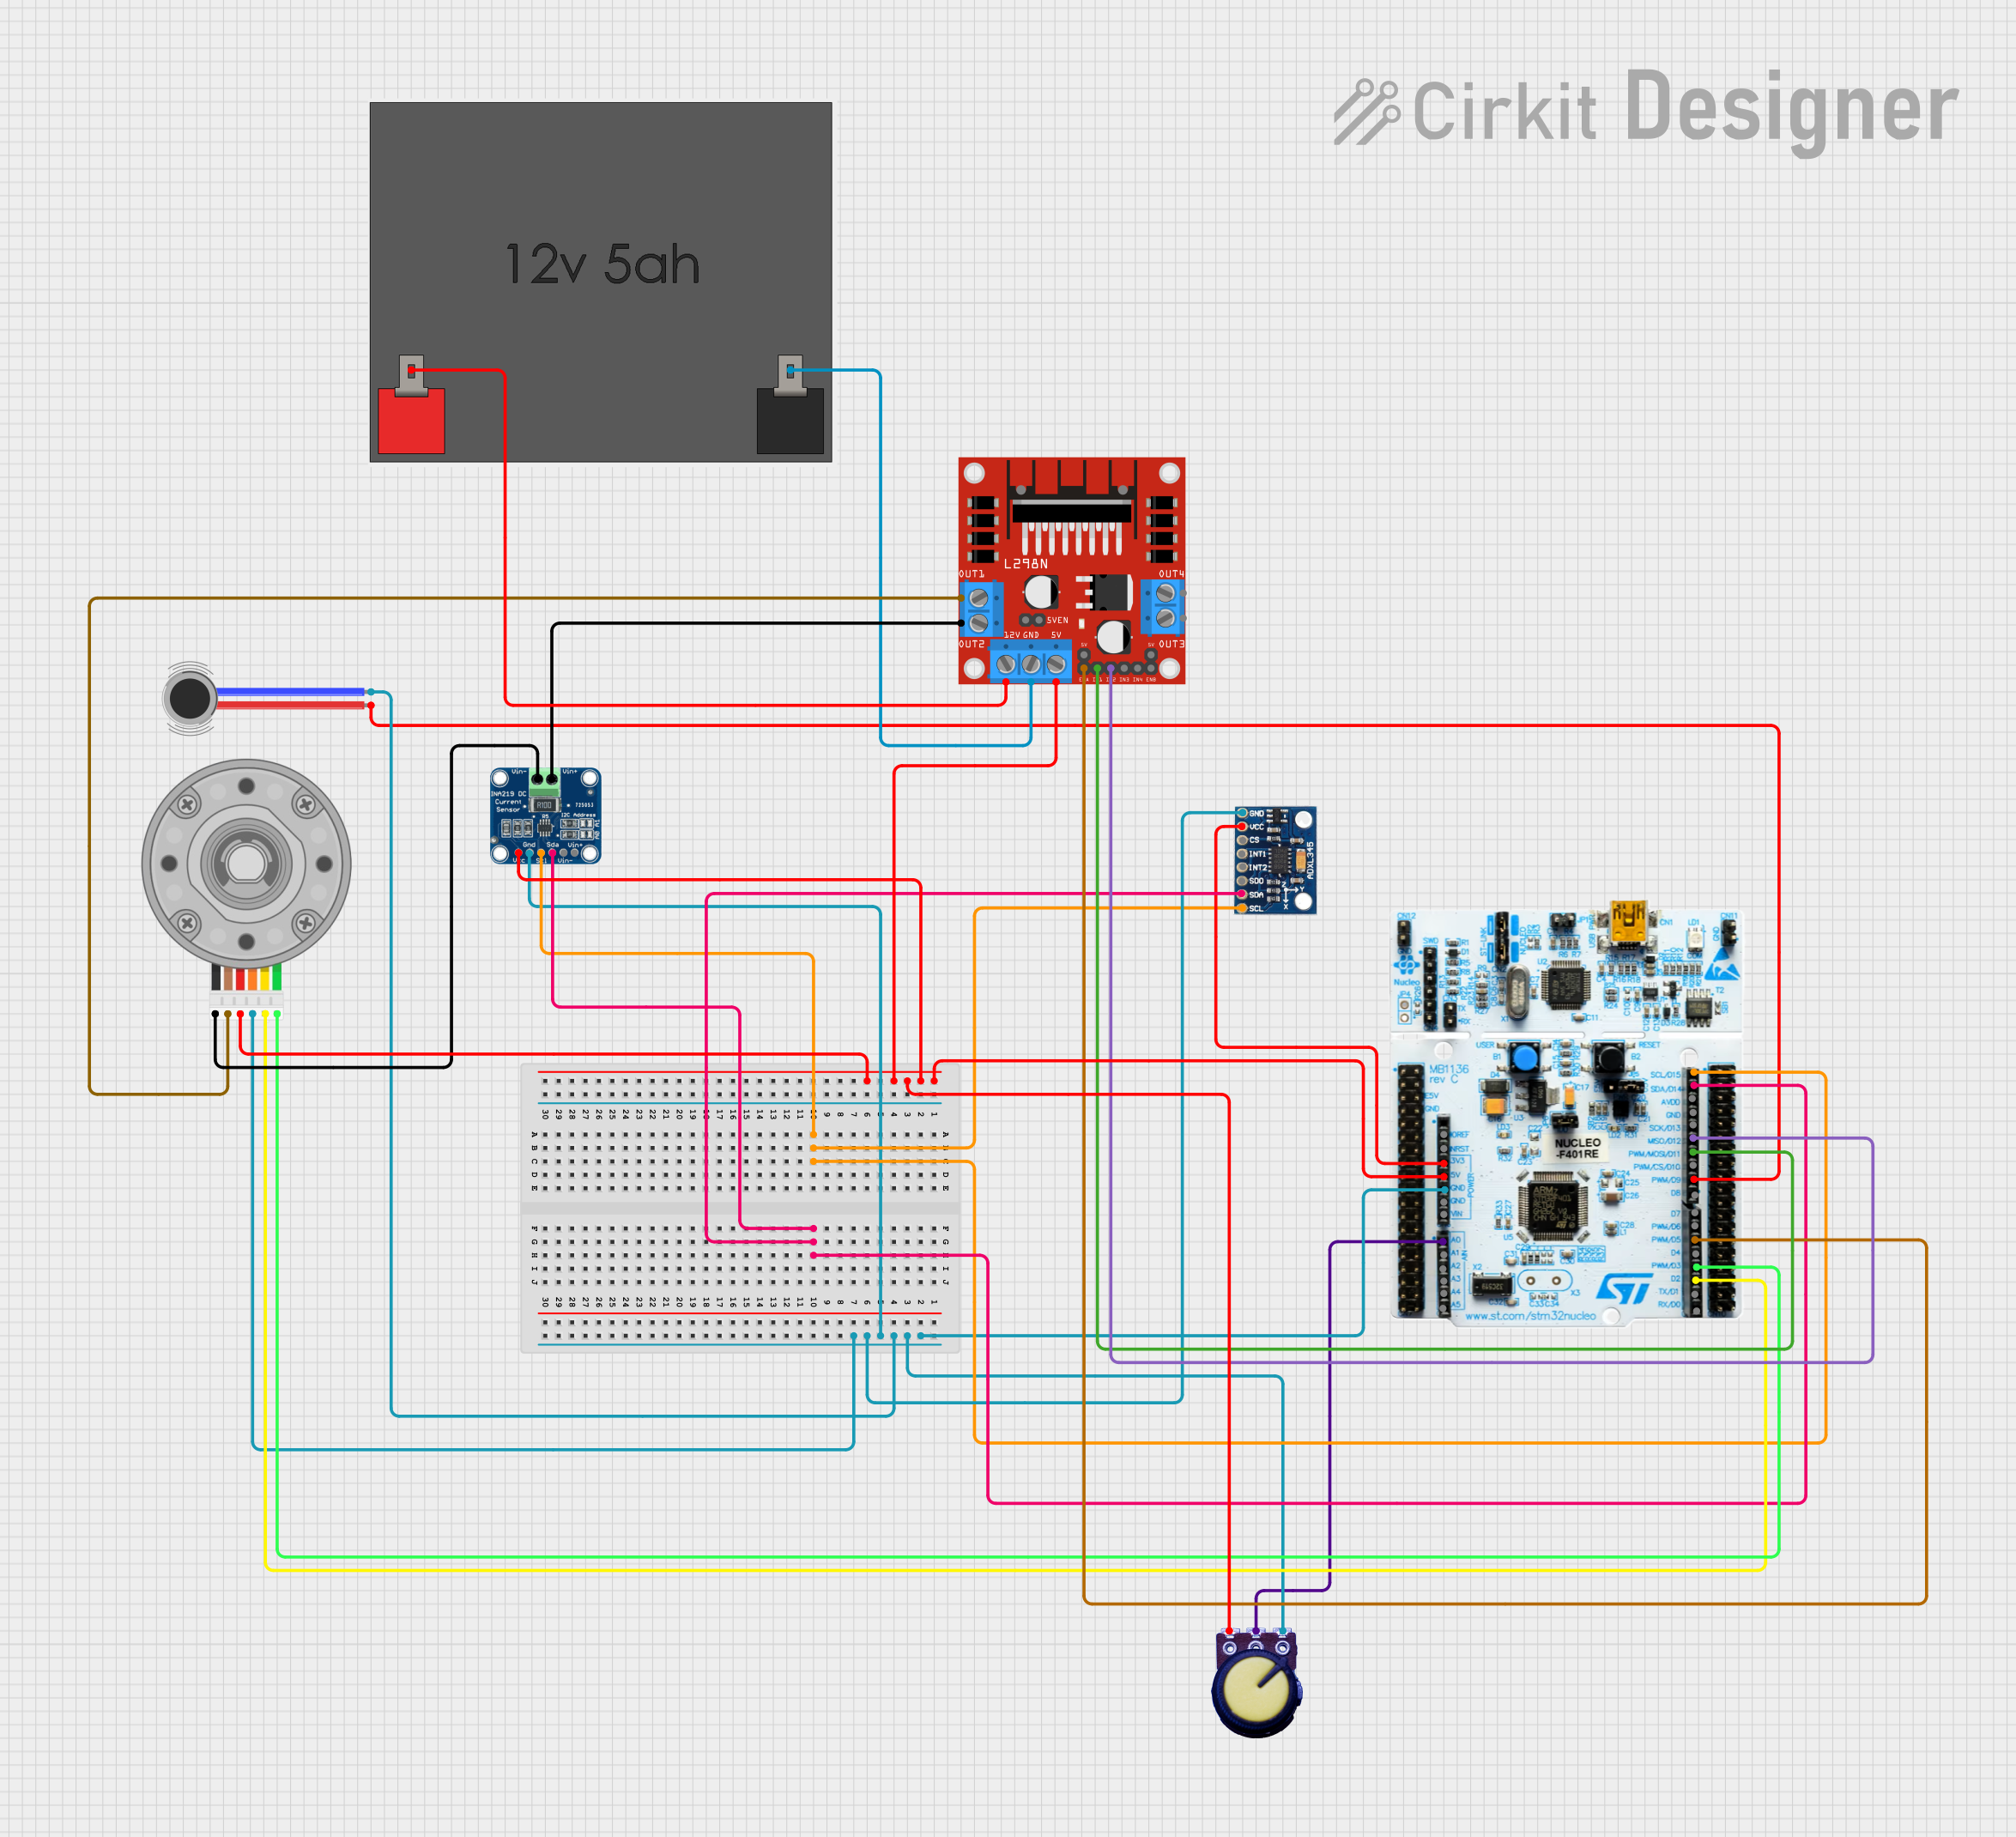 Open Project in Cirkit Designer
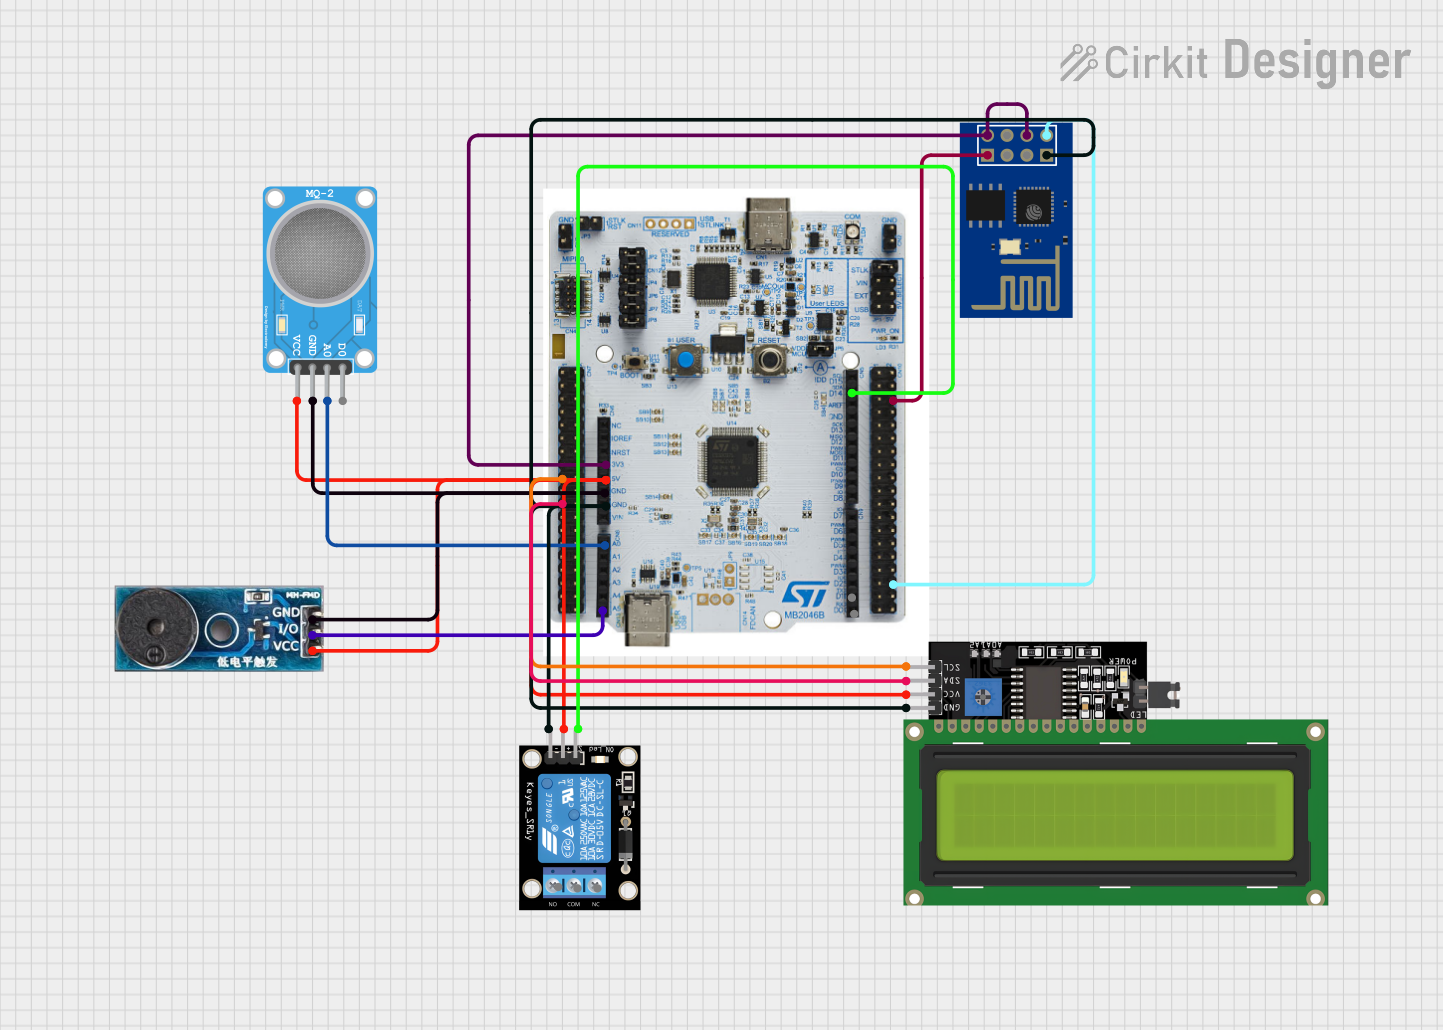 Open Project in Cirkit Designer
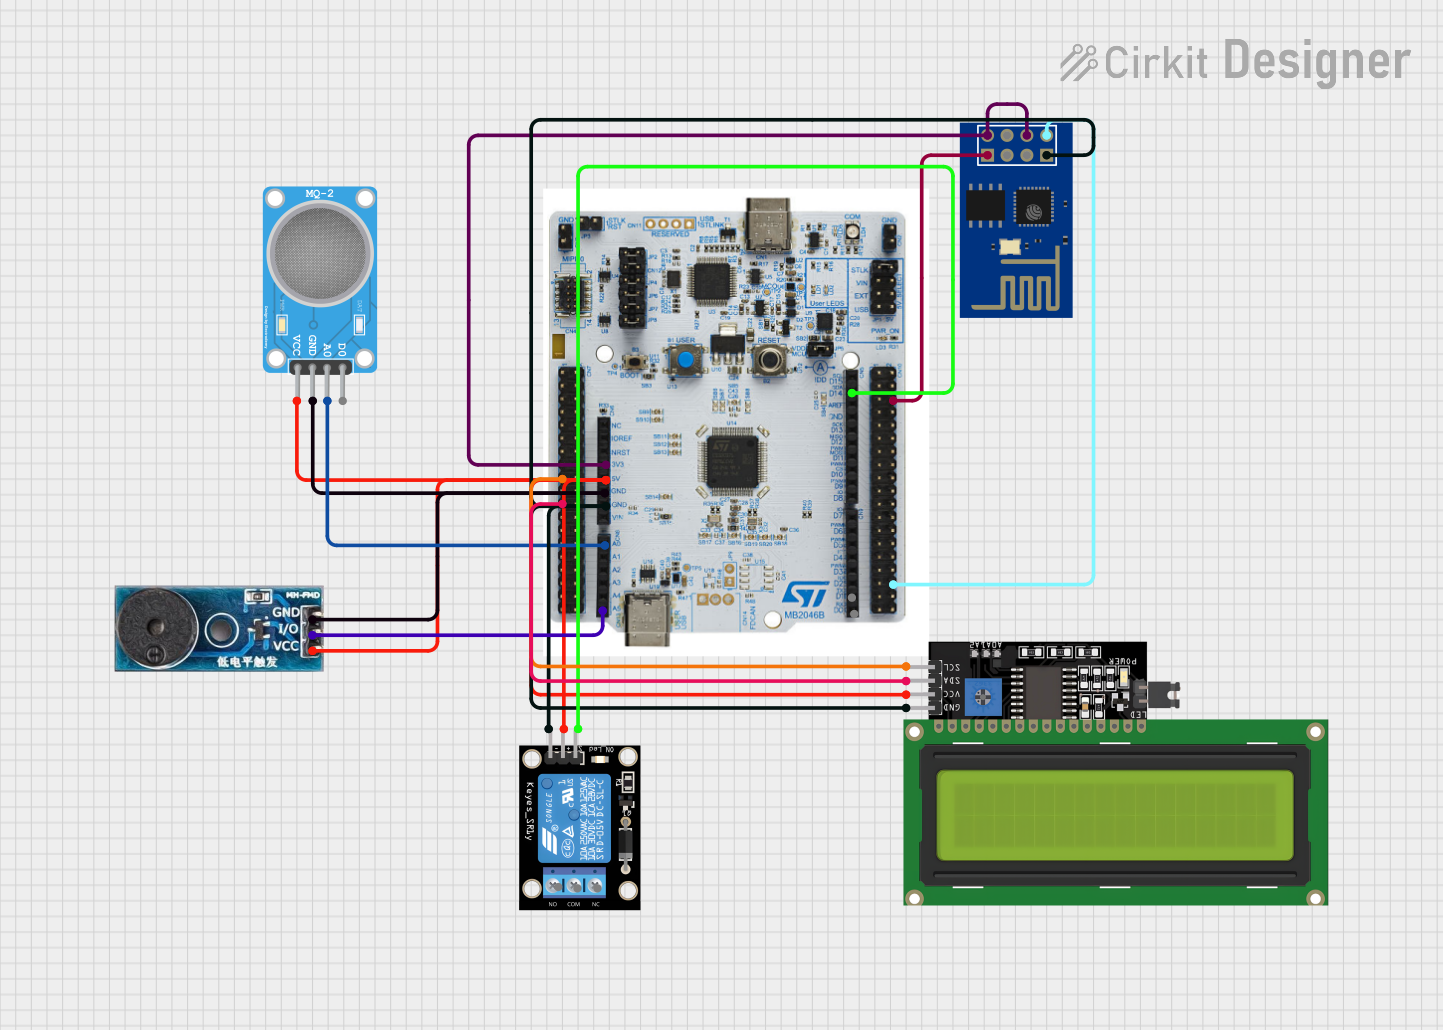 Open Project in Cirkit Designer
Explore Projects Built with NUCLEO-L476RG
Open Project in Cirkit DesignerOpen Project in Cirkit DesignerOpen Project in Cirkit DesignerOpen Project in Cirkit DesignerCommon Applications
- IoT (Internet of Things) devices
- Wearable technology
- Low-power data acquisition systems
- Prototyping for industrial and consumer electronics
- Educational and research projects
Technical Specifications
Key Technical Details
| Parameter | Specification |
|---|---|
| Microcontroller | STM32L476RG (ARM Cortex-M4, 80 MHz, FPU, 32-bit) |
| Flash Memory | 1 MB |
| SRAM | 128 KB |
| Operating Voltage | 3.3 V (onboard regulator supports 5 V input via USB or external power supply) |
| Power Supply Options | USB (5 V), External VIN (7-12 V), or 3.3 V direct input |
| Interfaces | USART, SPI, I2C, CAN, ADC, DAC, PWM, GPIO |
| Debugging | ST-LINK/V2-1 onboard debugger/programmer |
| Connectivity | Arduino Uno V3 compatibility, ST morpho headers |
| Dimensions | 68.6 mm x 53.3 mm |
| Operating Temperature Range | -40°C to +85°C |
Pin Configuration and Descriptions
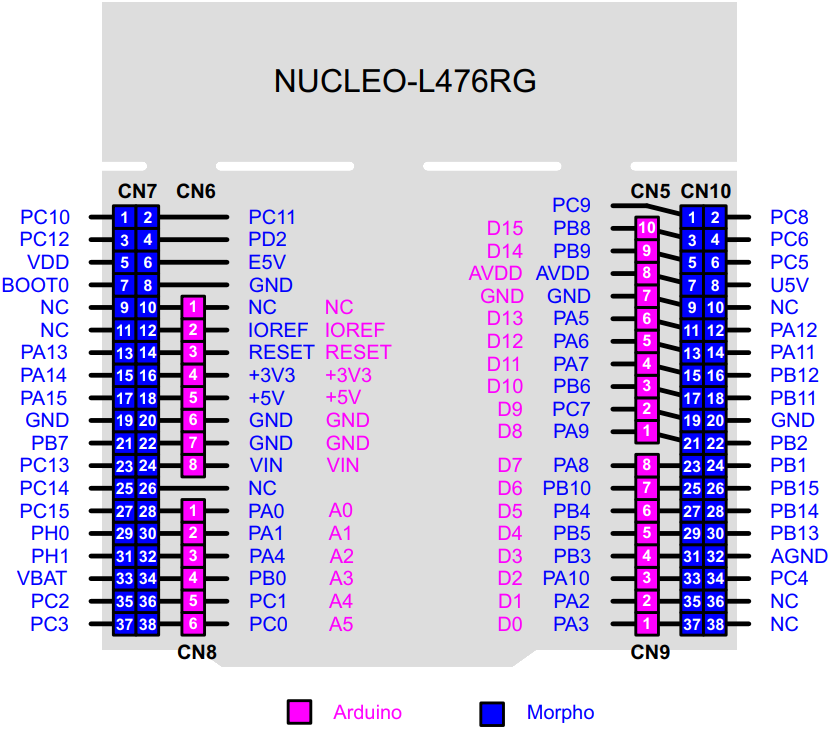
The NUCLEO-L476RG features two main pin headers: Arduino Uno V3-compatible headers and ST morpho headers. Below is a summary of the pin configuration:
Arduino Uno V3-Compatible Header
| Pin Name | Functionality | Notes |
|---|---|---|
| A0-A5 | Analog Inputs | 12-bit ADC channels |
| D0-D1 | UART (RX/TX) | Serial communication |
| D2-D13 | Digital I/O | Configurable as GPIO, PWM, or interrupts |
| 3.3V | Power Output | 3.3 V regulated output |
| 5V | Power Output | 5 V regulated output |
| GND | Ground | Common ground |
| VIN | External Power Input | 7-12 V input |
| RESET | Reset Pin | Resets the microcontroller |
ST Morpho Header
| Pin Name | Functionality | Notes |
|---|---|---|
| PAx, PBx, PCx, etc. | GPIO, ADC, DAC, I2C, SPI, UART | Direct access to STM32L476RG pins |
| VDD | Power Supply | 3.3 V |
| GND | Ground | Common ground |
| NRST | Reset Pin | Resets the microcontroller |
Usage Instructions
How to Use the NUCLEO-L476RG in a Circuit
Powering the Board:
- Connect the board to your computer via a micro-USB cable for power and programming.
- Alternatively, supply power through the VIN pin (7-12 V) or directly to the 3.3 V pin.
Programming the Board:
- Use the onboard ST-LINK/V2-1 debugger/programmer to upload code.
- Compatible with popular IDEs such as STM32CubeIDE, Keil MDK, and IAR Embedded Workbench.
- Drag-and-drop programming is supported via the USB mass storage interface.
Connecting Peripherals:
- Use the Arduino Uno V3-compatible headers for shields and external modules.
- Use the ST morpho headers for direct access to all microcontroller pins.
Running the Code:
- After uploading the code, the board will automatically reset and execute the program.
- Use the onboard LEDs (LD1, LD2, LD3) for debugging or status indication.
Important Considerations and Best Practices
- Ensure the power supply voltage does not exceed the recommended range to avoid damage.
- Use decoupling capacitors when connecting external components to reduce noise.
- Avoid connecting high-current loads directly to GPIO pins; use transistors or relays instead.
- For low-power applications, configure the microcontroller to enter sleep or standby modes when idle.
Example Code for Arduino IDE
The NUCLEO-L476RG can be programmed using the Arduino IDE. Below is an example code to blink the onboard LED (LD2, connected to pin D13):
// Blink example for NUCLEO-L476RG
// This code toggles the onboard LED (LD2) every second.

void setup() {
  pinMode(LED_BUILTIN, OUTPUT); // Set the onboard LED pin as an output
}

void loop() {
  digitalWrite(LED_BUILTIN, HIGH); // Turn the LED on
  delay(1000);                     // Wait for 1 second
  digitalWrite(LED_BUILTIN, LOW);  // Turn the LED off
  delay(1000);                     // Wait for 1 second
}
Troubleshooting and FAQs
Common Issues and Solutions
Board Not Detected by Computer:
- Ensure the USB cable is functional and supports data transfer.
- Check if the ST-LINK driver is installed on your computer.
- Try connecting to a different USB port or restarting your computer.
Code Upload Fails:
- Verify that the correct board and port are selected in your IDE.
- Ensure no other application is using the ST-LINK interface.
- Press the reset button on the board before uploading the code.
Peripherals Not Working:
- Double-check the wiring and connections.
- Ensure the correct pins are configured in your code.
- Use a multimeter to verify power and signal levels.
Board Overheating:
- Check for short circuits or excessive current draw from connected peripherals.
- Ensure the input voltage is within the recommended range.
FAQs
Q: Can I use the NUCLEO-L476RG with 5 V logic devices?
A: Yes, the board is 5 V tolerant on most GPIO pins, but always check the datasheet for specific pin limitations.
Q: Is the NUCLEO-L476RG compatible with Arduino libraries?
A: Yes, many Arduino libraries are compatible, but some may require minor modifications for STM32.
Q: How do I enable low-power modes?
A: Use the STM32 HAL or LL libraries to configure the microcontroller for sleep or standby modes. Refer to the STM32L4 reference manual for detailed instructions.
Q: Can I debug my code using the onboard ST-LINK?
A: Yes, the ST-LINK/V2-1 supports debugging via SWD (Serial Wire Debug) and is compatible with most IDEs.
This concludes the documentation for the NUCLEO-L476RG development board. For further details, refer to the official datasheet and user manual provided by STMicroelectronics.