How to Use Heating Coil: Examples, Pinouts, and Specs
Introduction
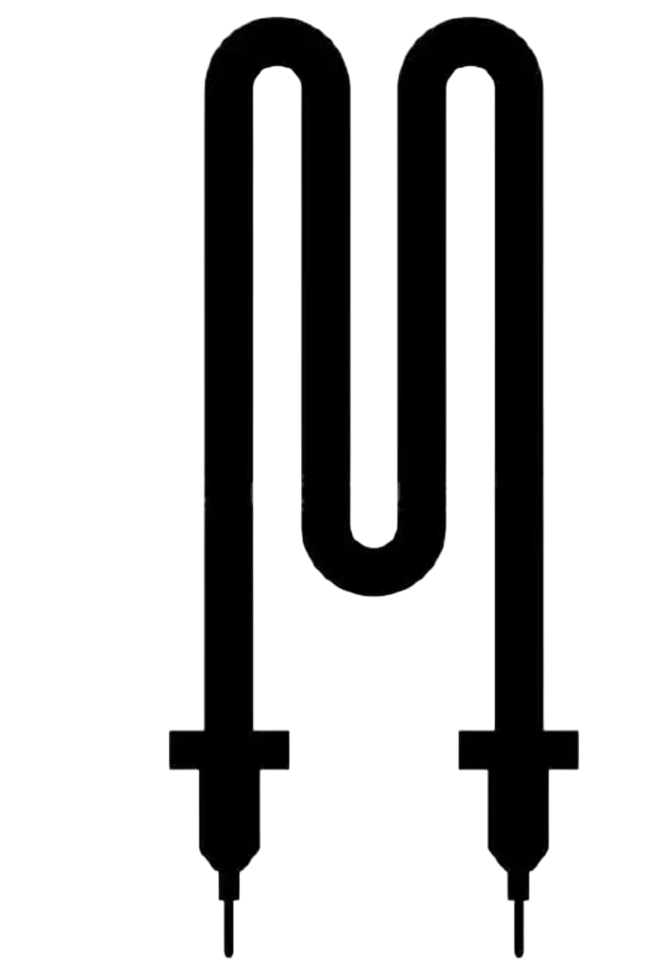
A heating coil, manufactured by Dani Xavier (Part ID: 6969), is a resistive wire or element designed to convert electrical energy into heat through the process of Joule heating. When an electric current passes through the coil, the resistance of the material generates heat, making it an essential component in a wide range of heating applications.
Explore Projects Built with Heating Coil


Explore Projects Built with Heating Coil
Common Applications and Use Cases
- Electric heaters (e.g., space heaters, water heaters)
- Industrial heating systems
- Electric ovens and toasters
- Soldering irons
- Heat guns and thermal processing equipment
Technical Specifications
Key Technical Details
| Parameter | Specification |
|---|---|
| Manufacturer | Dani Xavier |
| Part ID | 6969 |
| Operating Voltage Range | 12V - 240V AC/DC |
| Power Rating | 50W - 2000W (depending on model) |
| Resistance Range | 5Ω - 100Ω |
| Maximum Operating Temp | 1200°C |
| Material | Nichrome (Nickel-Chromium Alloy) |
| Dimensions | Varies by model (e.g., 10cm - 50cm length) |
Pin Configuration and Descriptions
Heating coils typically have two terminals for electrical connections. These terminals are not polarized, meaning they can be connected in either orientation.
| Pin Number | Description |
|---|---|
| 1 | Input terminal for electrical power |
| 2 | Output terminal for electrical power |
Usage Instructions
How to Use the Heating Coil in a Circuit
Determine the Power Requirements: Calculate the required voltage and current for your application based on the coil's resistance and power rating. Use Ohm's Law:
[ P = V^2 / R \quad \text{or} \quad P = I^2 \cdot R ] where (P) is power, (V) is voltage, (I) is current, and (R) is resistance.Connect the Terminals: Attach the two terminals of the heating coil to the power source. Ensure the connections are secure and insulated to prevent short circuits.
Use a Heat-Resistant Mount: Install the coil on a heat-resistant surface or mount to avoid damage to surrounding components.
Control the Temperature: Use a thermostat, PWM controller, or temperature sensor to regulate the coil's temperature and prevent overheating.
Safety Precautions: Always include a fuse or circuit breaker in your design to protect against overcurrent conditions.
Important Considerations and Best Practices
- Avoid Overvoltage: Exceeding the coil's voltage rating can cause overheating and damage.
- Ensure Proper Ventilation: Allow adequate airflow around the coil to dissipate heat effectively.
- Use Insulated Wires: Connect the coil using high-temperature insulated wires to prevent melting or short circuits.
- Monitor Temperature: Use a thermal cutoff switch or temperature sensor to prevent the coil from exceeding its maximum operating temperature.
Example: Controlling a Heating Coil with Arduino UNO
Below is an example of using an Arduino UNO to control a heating coil with a relay module:
// Arduino code to control a heating coil using a relay module
// Ensure the relay module is rated for the coil's voltage and current

const int relayPin = 7; // Pin connected to the relay module
const int tempSensorPin = A0; // Pin connected to a temperature sensor (e.g., LM35)
const int maxTemp = 100; // Maximum temperature in Celsius

void setup() {
  pinMode(relayPin, OUTPUT); // Set relay pin as output
  digitalWrite(relayPin, LOW); // Ensure relay is off initially
  Serial.begin(9600); // Initialize serial communication
}

void loop() {
  int sensorValue = analogRead(tempSensorPin); // Read temperature sensor value
  float voltage = sensorValue * (5.0 / 1023.0); // Convert to voltage
  float temperature = voltage * 100.0; // Convert voltage to temperature (LM35)

  Serial.print("Temperature: ");
  Serial.print(temperature);
  Serial.println(" °C");

  if (temperature < maxTemp) {
    digitalWrite(relayPin, HIGH); // Turn on the heating coil
  } else {
    digitalWrite(relayPin, LOW); // Turn off the heating coil
  }

  delay(1000); // Wait for 1 second before the next reading
}
Troubleshooting and FAQs
Common Issues and Solutions
| Issue | Possible Cause | Solution |
|---|---|---|
| Coil does not heat up | Loose or incorrect connections | Check and secure all connections |
| Coil overheats or burns out | Exceeded voltage or power rating | Verify voltage and current requirements |
| Uneven heating | Damaged or worn-out coil material | Replace the heating coil |
| Circuit breaker trips frequently | Overcurrent or short circuit | Use a properly rated fuse or circuit breaker |
| Coil emits smoke or unusual smell | Insulation or material degradation | Turn off power and inspect the coil |
FAQs
Can I use a heating coil with a DC power source?
Yes, heating coils can work with both AC and DC power sources, provided the voltage and current ratings are within the specified range.How do I calculate the resistance of the coil?
Use a multimeter to measure the resistance directly or calculate it using the formula:
[ R = V^2 / P ]What materials are compatible with heating coils?
Heating coils are typically made of Nichrome, which is durable and heat-resistant. Ensure the mounting and surrounding materials are also heat-resistant.Can I control the coil's temperature manually?
Yes, you can use a variable resistor or a thermostat to manually adjust the temperature.
By following this documentation, you can safely and effectively use the Dani Xavier Heating Coil (Part ID: 6969) in your projects.