Introduction
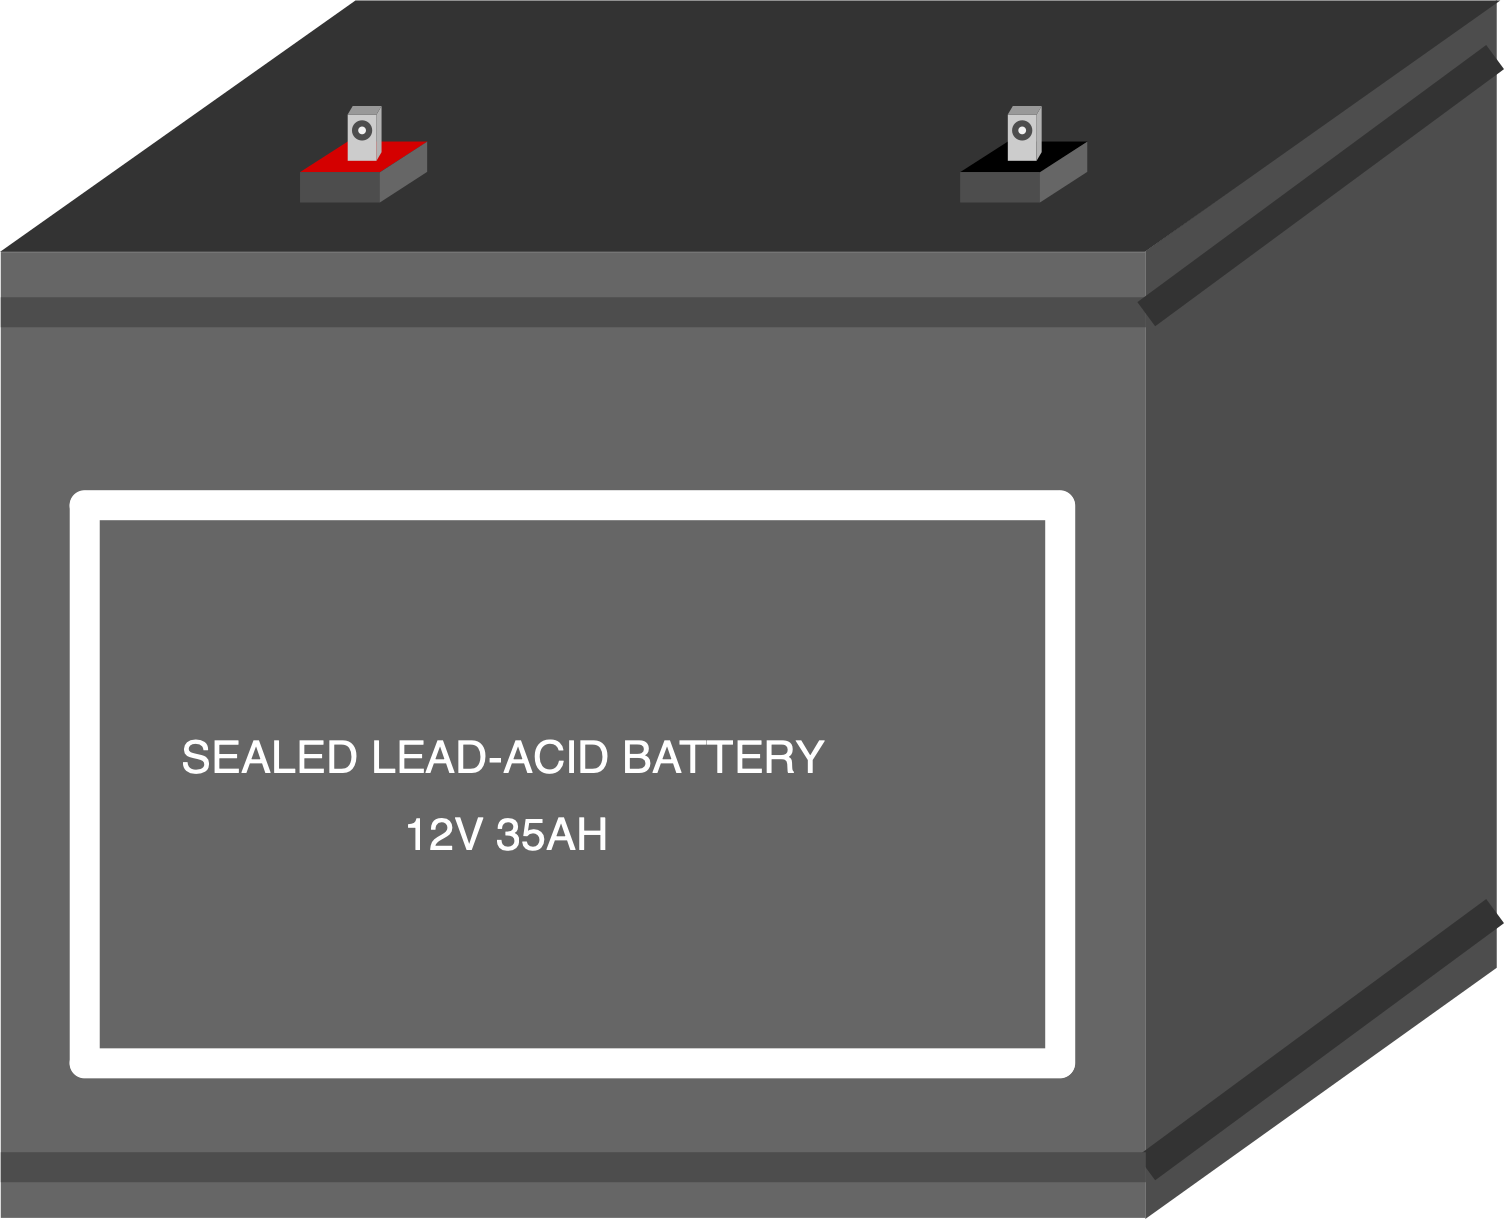
The 12V mini battery is a compact power source that provides a 12-volt electrical potential difference. It is commonly used in a variety of applications such as powering small electronic projects, hobbyist creations like DIY electronics, remote controls, portable devices, and in some cases, as a backup power source.
Common Applications and Use Cases
- DIY electronics and hobby projects
- Remote controls for cars, drones, and toys
- Portable lighting solutions
- Backup power for small devices
- Small-scale robotics
Technical Specifications
Key Technical Details
Pin Configuration and Descriptions
Since a 12V mini battery typically comes with only two terminals, the pin configuration is straightforward:
Usage Instructions
How to Use the Component in a Circuit
Identify the Polarity: Determine the positive and negative terminals of the battery. The positive terminal is usually marked with a plus (+) sign.
Connect to Circuit: Connect the positive terminal to the positive power rail of your circuit and the negative terminal to the ground rail.
Load Considerations: Ensure that the total load connected to the battery does not exceed its maximum discharge current rating.
Voltage Regulation: If your circuit requires a regulated voltage lower than 12V, use a voltage regulator to prevent damage to sensitive components.
Battery Holders: Use an appropriate battery holder or connector to ensure a secure and reliable connection.
Important Considerations and Best Practices
Battery Chemistry: Be aware of the battery's chemistry as it affects the charging method and safety precautions.
Charging: Use a charger compatible with the battery's chemistry and follow the manufacturer's charging guidelines.
Storage: Store the battery in a cool, dry place and avoid exposing it to extreme temperatures.
Disposal: Dispose of the battery according to local regulations, as improper disposal can be harmful to the environment.
Safety: Do not short-circuit, puncture, or expose the battery to fire as it may cause it to leak, overheat, or explode.
Troubleshooting and FAQs
Common Issues Users Might Face
Battery Not Charging: Ensure the charger is compatible and functioning. Check the battery terminals for corrosion or damage.
Reduced Battery Life: Over time, batteries degrade. If the battery life is significantly reduced, it may be time to replace it.
No Power Output: Verify that the battery is properly charged and that the connections are secure and correct.
Solutions and Tips for Troubleshooting
Charging Issues: Try a different charger or check the power source. Inspect the battery for any visible signs of damage.
Power Issues: Test the battery with a multimeter to ensure it is holding a charge. Check the circuit for any loose connections or short circuits.
FAQs
Q: Can I recharge a 12V mini battery?
A: It depends on the battery chemistry. Rechargeable batteries like Li-ion or NiMH can be recharged, while others like alkaline are single-use.
Q: How long will the battery last in my project?
A: Battery life depends on the capacity of the battery and the current draw of your project. Calculate the expected life by dividing the battery capacity by the current draw (in hours).
Q: Is it safe to leave the battery connected to a circuit when not in use?
A: It is generally safe, but to prevent gradual discharge, it is recommended to disconnect the battery when the device is not in use for extended periods.
Q: How do I properly dispose of a 12V mini battery?
A: Take the battery to a local recycling center or a retail store that offers battery recycling services. Do not dispose of batteries in household waste.
Q: Can I use a 12V mini battery with an Arduino UNO?
A: Yes, but you will need a voltage regulator to bring the voltage down to 5V, which is the operating voltage for an Arduino UNO.
Example Code for Arduino UNO
// Example code to read battery voltage using Arduino UNO
int batteryPin = A0; // Analog pin connected to battery voltage divider

void setup() {
  Serial.begin(9600);
}

void loop() {
  int sensorValue = analogRead(batteryPin); // Read the analog value
  float voltage = sensorValue * (12.0 / 1023.0); // Convert to battery voltage
  Serial.print("Battery Voltage: ");
  Serial.println(voltage);
  delay(1000); // Wait for 1 second before reading again
}
Note: The above code assumes the use of a voltage divider to step down the 12V to a safe level that can be read by the Arduino's analog input. Always ensure that the input voltage does not exceed the maximum voltage rating of the Arduino's analog pins (5V for most models).

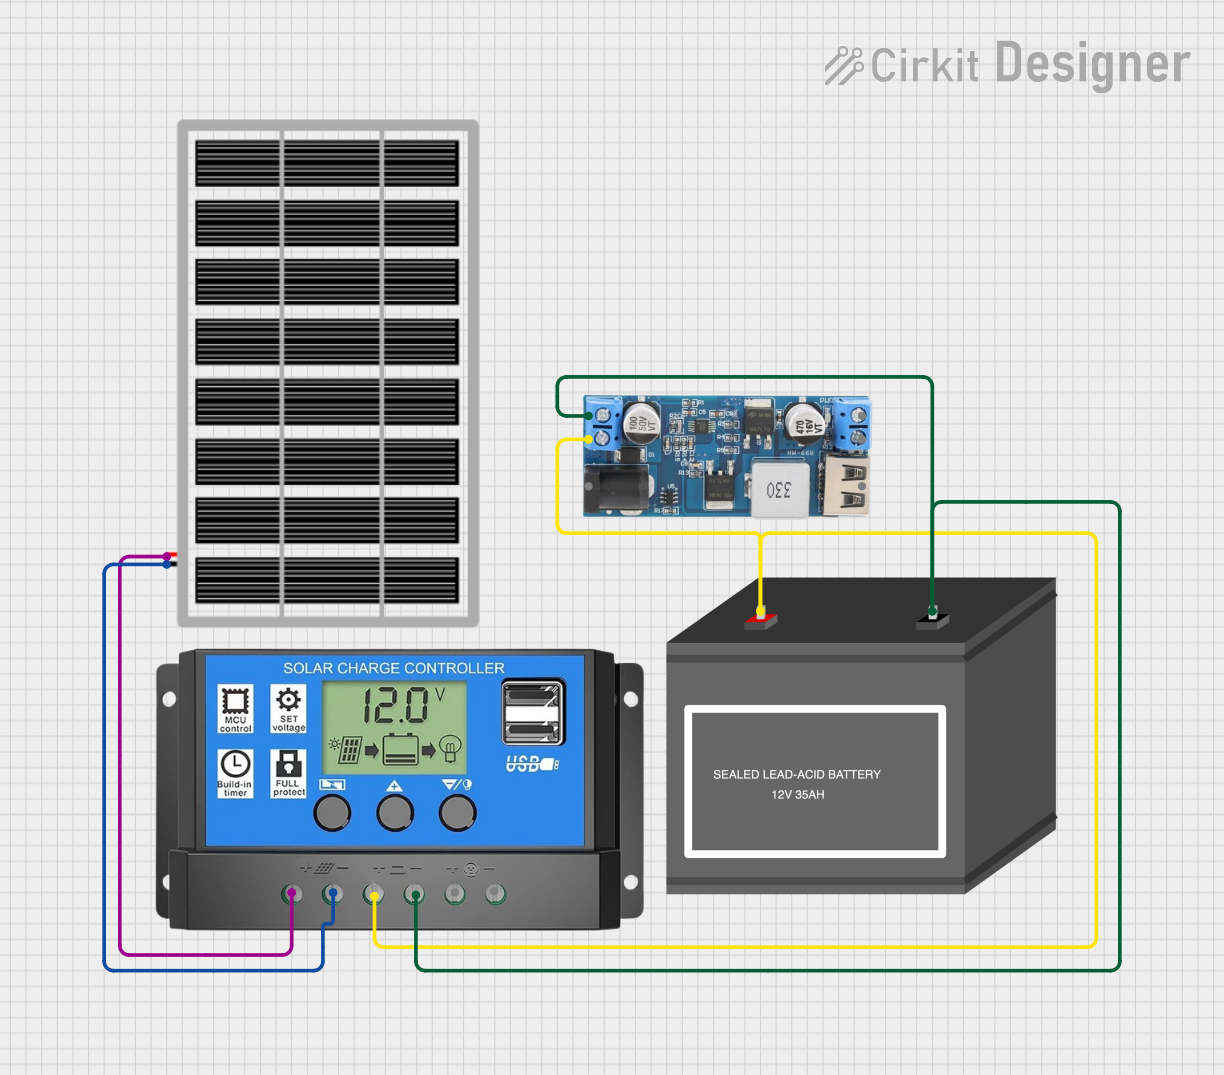
 Open Project in Cirkit Designer