Cirkit Designer Logo
Cirkit Designer
Your all-in-one circuit design IDE
Home / 
Component Documentation

How to Use UV-C LED: Examples, Pinouts, and Specs

Image of UV-C LED
Cirkit Designer LogoDesign with UV-C LED in Cirkit Designer

Introduction

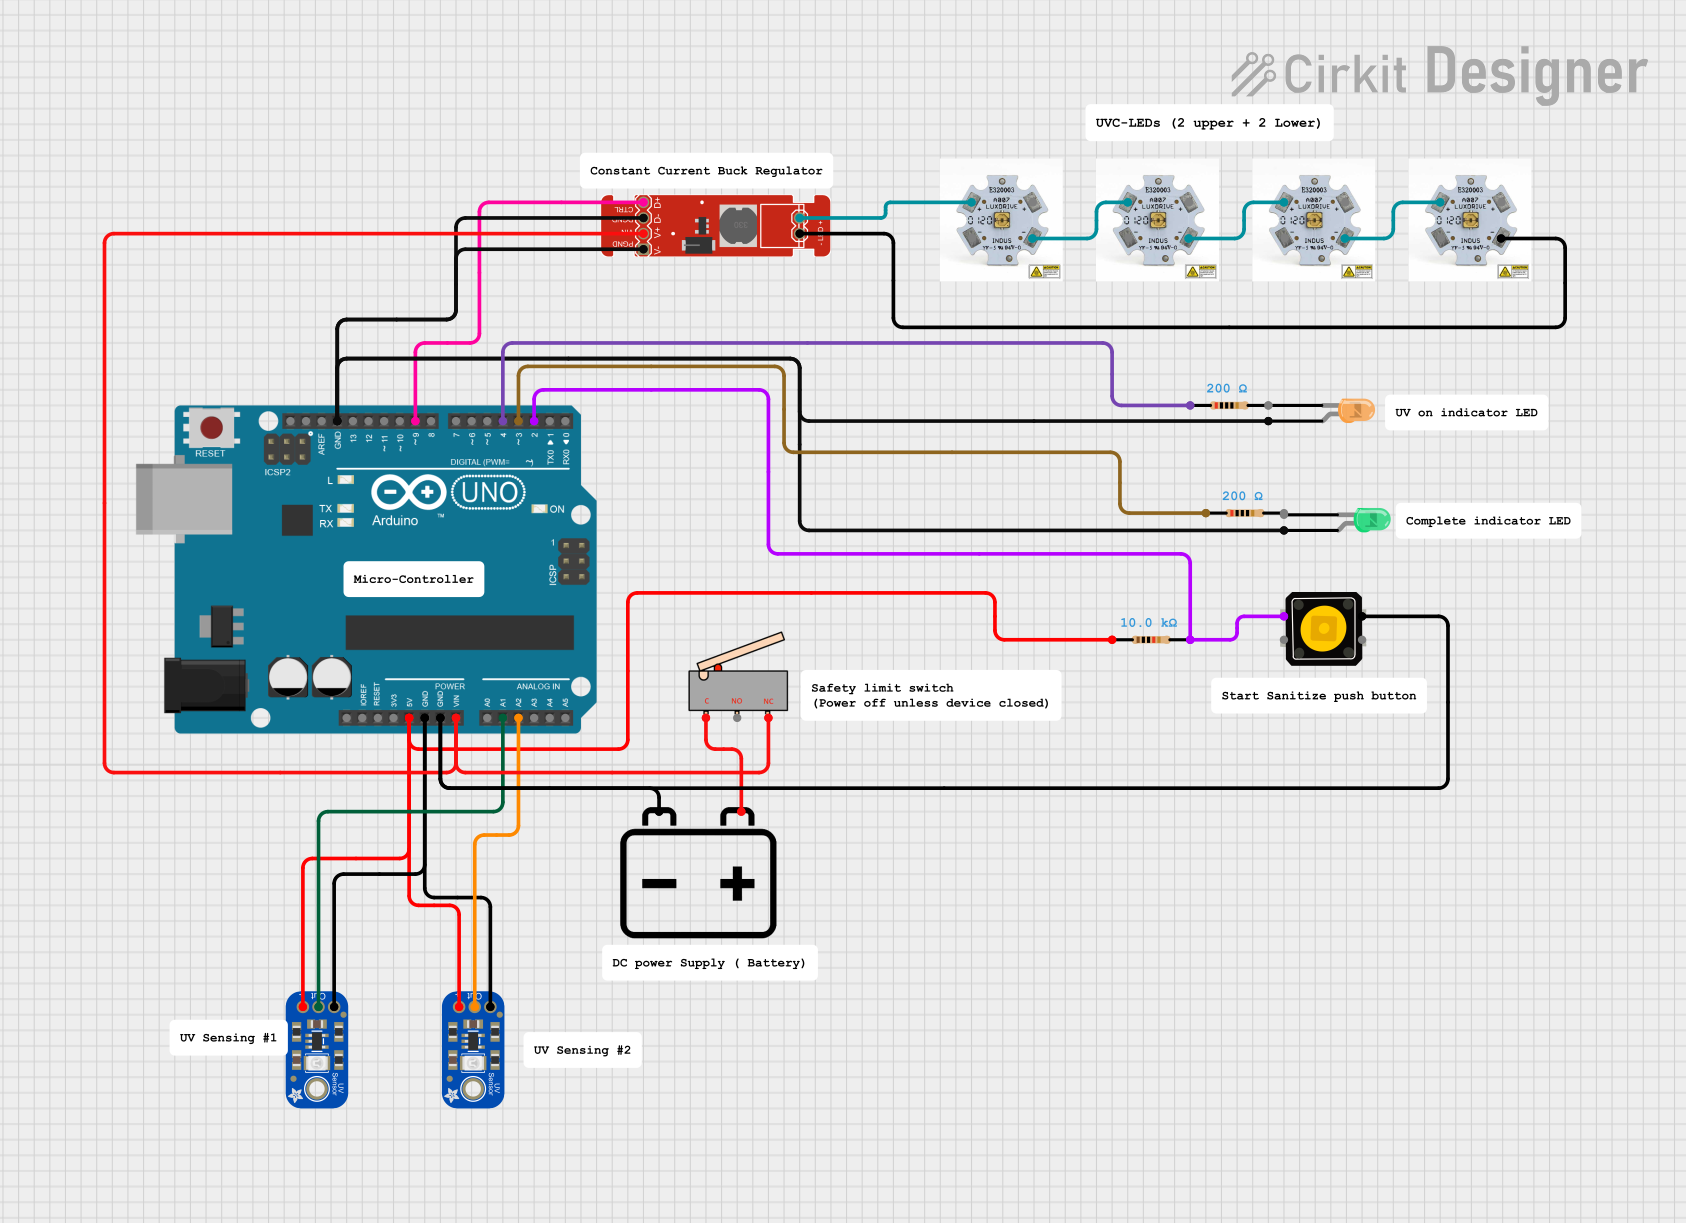
A UV-C LED is a light-emitting diode that produces ultraviolet light in the C spectrum (UV-C). This type of UV light, with wavelengths ranging from 100 to 280 nanometers, is known for its germicidal properties, making it highly effective for disinfection and sterilization applications. UV-C LEDs are used in a variety of settings, including water purification, surface disinfection, and air sanitization.

Explore Projects Built with UV-C LED

Use Cirkit Designer to design, explore, and prototype these projects online. Some projects support real-time simulation. Click "Open Project" to start designing instantly!
Arduino-Controlled UV LED Sterilization System with Dual UV Sensors
Image of SAN-CATH: A project utilizing UV-C LED in a practical application
This circuit uses an Arduino UNO to control a set of UV-C LEDs via a FemtoBuck LED driver, based on input from two UV light sensors. The UV LEDs are activated by a push button and remain on until the sensors detect a desired UV level, at which point the LEDs are turned off and a green indicator LED is lit.
Cirkit Designer LogoOpen Project in Cirkit Designer
Wi-Fi Enabled UV Monitoring System with OLED Display
Image of UV_DETECTOR_BREADBOARD: A project utilizing UV-C LED in a practical application
This circuit features a PicoW microcontroller interfacing with a 0.96" OLED display, an ML8511 UV sensor, and a blue LED. The PicoW reads UV sensor data and can display information on the OLED while controlling the LED for visual feedback.
Cirkit Designer LogoOpen Project in Cirkit Designer
Wi-Fi Enabled RGB and Red LED Controller with Light Sensing
Image of OnAirV0: A project utilizing UV-C LED in a practical application
This circuit features a Wemos D1 Mini microcontroller that likely controls an RGB LED and a red indicator LED, reads from a photocell (LDR), and interfaces with an octocoupler for electrical isolation. The circuit is USB-powered and is designed for light sensing and LED control applications.
Cirkit Designer LogoOpen Project in Cirkit Designer
Wi-Fi Enabled Motion-Activated Lighting System with Radar Sensor
Image of CAPSTONE: A project utilizing UV-C LED in a practical application
This circuit is designed to control an AC LED bulb using a 220V power source, with an infrared motion sensor and an MMWave radar sensor providing input signals. The two-channel relay is used to switch the LED bulb on and off based on the sensor inputs, while the ESP8266 microcontroller is likely programmed to process the sensor data and control the relay. A converter is included to interface between the sensors, microcontroller, and the relay, ensuring proper voltage levels.
Cirkit Designer LogoOpen Project in Cirkit Designer

Explore Projects Built with UV-C LED

Use Cirkit Designer to design, explore, and prototype these projects online. Some projects support real-time simulation. Click "Open Project" to start designing instantly!
Image of SAN-CATH: A project utilizing UV-C LED in a practical application
Arduino-Controlled UV LED Sterilization System with Dual UV Sensors
This circuit uses an Arduino UNO to control a set of UV-C LEDs via a FemtoBuck LED driver, based on input from two UV light sensors. The UV LEDs are activated by a push button and remain on until the sensors detect a desired UV level, at which point the LEDs are turned off and a green indicator LED is lit.
Cirkit Designer LogoOpen Project in Cirkit Designer
Image of UV_DETECTOR_BREADBOARD: A project utilizing UV-C LED in a practical application
Wi-Fi Enabled UV Monitoring System with OLED Display
This circuit features a PicoW microcontroller interfacing with a 0.96" OLED display, an ML8511 UV sensor, and a blue LED. The PicoW reads UV sensor data and can display information on the OLED while controlling the LED for visual feedback.
Cirkit Designer LogoOpen Project in Cirkit Designer
Image of OnAirV0: A project utilizing UV-C LED in a practical application
Wi-Fi Enabled RGB and Red LED Controller with Light Sensing
This circuit features a Wemos D1 Mini microcontroller that likely controls an RGB LED and a red indicator LED, reads from a photocell (LDR), and interfaces with an octocoupler for electrical isolation. The circuit is USB-powered and is designed for light sensing and LED control applications.
Cirkit Designer LogoOpen Project in Cirkit Designer
Image of CAPSTONE: A project utilizing UV-C LED in a practical application
Wi-Fi Enabled Motion-Activated Lighting System with Radar Sensor
This circuit is designed to control an AC LED bulb using a 220V power source, with an infrared motion sensor and an MMWave radar sensor providing input signals. The two-channel relay is used to switch the LED bulb on and off based on the sensor inputs, while the ESP8266 microcontroller is likely programmed to process the sensor data and control the relay. A converter is included to interface between the sensors, microcontroller, and the relay, ensuring proper voltage levels.
Cirkit Designer LogoOpen Project in Cirkit Designer

Technical Specifications

Key Technical Details

Parameter Value Description
Wavelength Typically 260-280 nm The range of UV-C light emitted
Forward Voltage (Vf) 5-7 V Voltage required for the LED to operate
Forward Current (If) 20-350 mA Optimal current for LED operation
Power Output 1-5 mW Radiant power emitted by the LED
Viewing Angle 60-120 degrees The spread of light from the LED
Lifespan Up to 10,000 hours Expected operational life

Pin Configuration and Descriptions

Pin Number Name Description
1 Anode (+) Connects to the positive supply voltage
2 Cathode (-) Connects to the ground (0V)

Usage Instructions

Incorporating UV-C LED into a Circuit

  1. Power Supply: Ensure that the power supply matches the forward voltage and current requirements of the UV-C LED. Overdriving the LED can result in overheating and reduced lifespan.

  2. Current Limiting: Always use a current-limiting resistor or a constant current driver to prevent damage to the LED. The value of the resistor can be calculated using Ohm's law: R = (V_supply - Vf) / If.

  3. Heat Management: UV-C LEDs can generate significant heat. It is crucial to provide adequate heat sinking to maintain the LED's performance and longevity.

  4. Safety Precautions: UV-C light can be harmful to eyes and skin. Always use appropriate shielding and never look directly at the UV-C LED when it is powered on.

Best Practices

  • Use the UV-C LED in well-ventilated areas to avoid the buildup of ozone, which can be produced by UV-C light.
  • Ensure that the LED is mounted securely and that the electrical connections are stable.
  • Test the circuit without the UV-C LED first to confirm that the voltage and current are within the specified range.

Example Arduino UNO Code

// Define the UV-C LED control pin
const int uvLedPin = 9; // Connect UV-C LED to pin 9 with appropriate resistor

void setup() {
  pinMode(uvLedPin, OUTPUT); // Set the UV-C LED pin as an output
}

void loop() {
  digitalWrite(uvLedPin, HIGH); // Turn on the UV-C LED
  delay(10000); // Keep the LED on for 10 seconds
  digitalWrite(uvLedPin, LOW); // Turn off the UV-C LED
  delay(20000); // Keep the LED off for 20 seconds
}

Note: The above code assumes the use of a current-limiting resistor in series with the UV-C LED connected to pin 9 of the Arduino UNO.

Troubleshooting and FAQs

Common Issues

  • LED Not Emitting Light: Check the power supply and connections. Ensure the current-limiting resistor is correctly calculated and installed.
  • LED Overheating: Verify that the current is within the specified range and that adequate heat sinking is provided.
  • Shortened Lifespan: Overdriving the LED or operating it without proper heat sinking can reduce its lifespan.

Solutions and Tips

  • If the LED is not working, recheck the circuit connections and measure the supply voltage and current.
  • Use thermal adhesive or a heat sink to improve heat dissipation.
  • Always handle the UV-C LED with care to avoid damage to the diode or the circuit.

FAQs

Q: Can I use multiple UV-C LEDs in a single circuit?
A: Yes, but ensure each LED has its own current-limiting resistor and that the power supply can handle the total current draw.

Q: How do I know if the UV-C LED is working if I can't look at it?
A: Use a UV-C sensitive card or sensor to detect the presence of UV-C light without directly exposing yourself to it.

Q: Is it safe to use UV-C LEDs at home?
A: While UV-C LEDs can be used safely, precautions must be taken to avoid direct exposure to skin and eyes. Always use proper shielding and follow safety guidelines.