How to Use ERM Vibro Motor from iPhone 5S: Examples, Pinouts, and Specs
Introduction
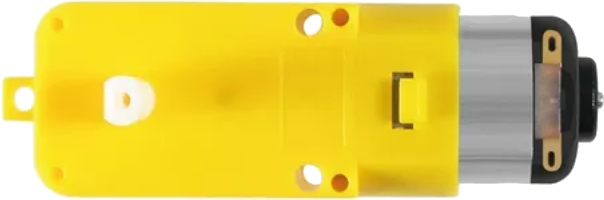
The ERM (Eccentric Rotating Mass) Vibro Motor from the iPhone 5S is a compact electromagnetic motor designed to generate vibrations. It achieves this by spinning an off-center weight, creating a tactile haptic feedback sensation. This motor is commonly used in mobile devices to provide notifications, alerts, and user interface feedback. Its small size and efficient operation make it ideal for portable electronics.
Explore Projects Built with ERM Vibro Motor from iPhone 5S
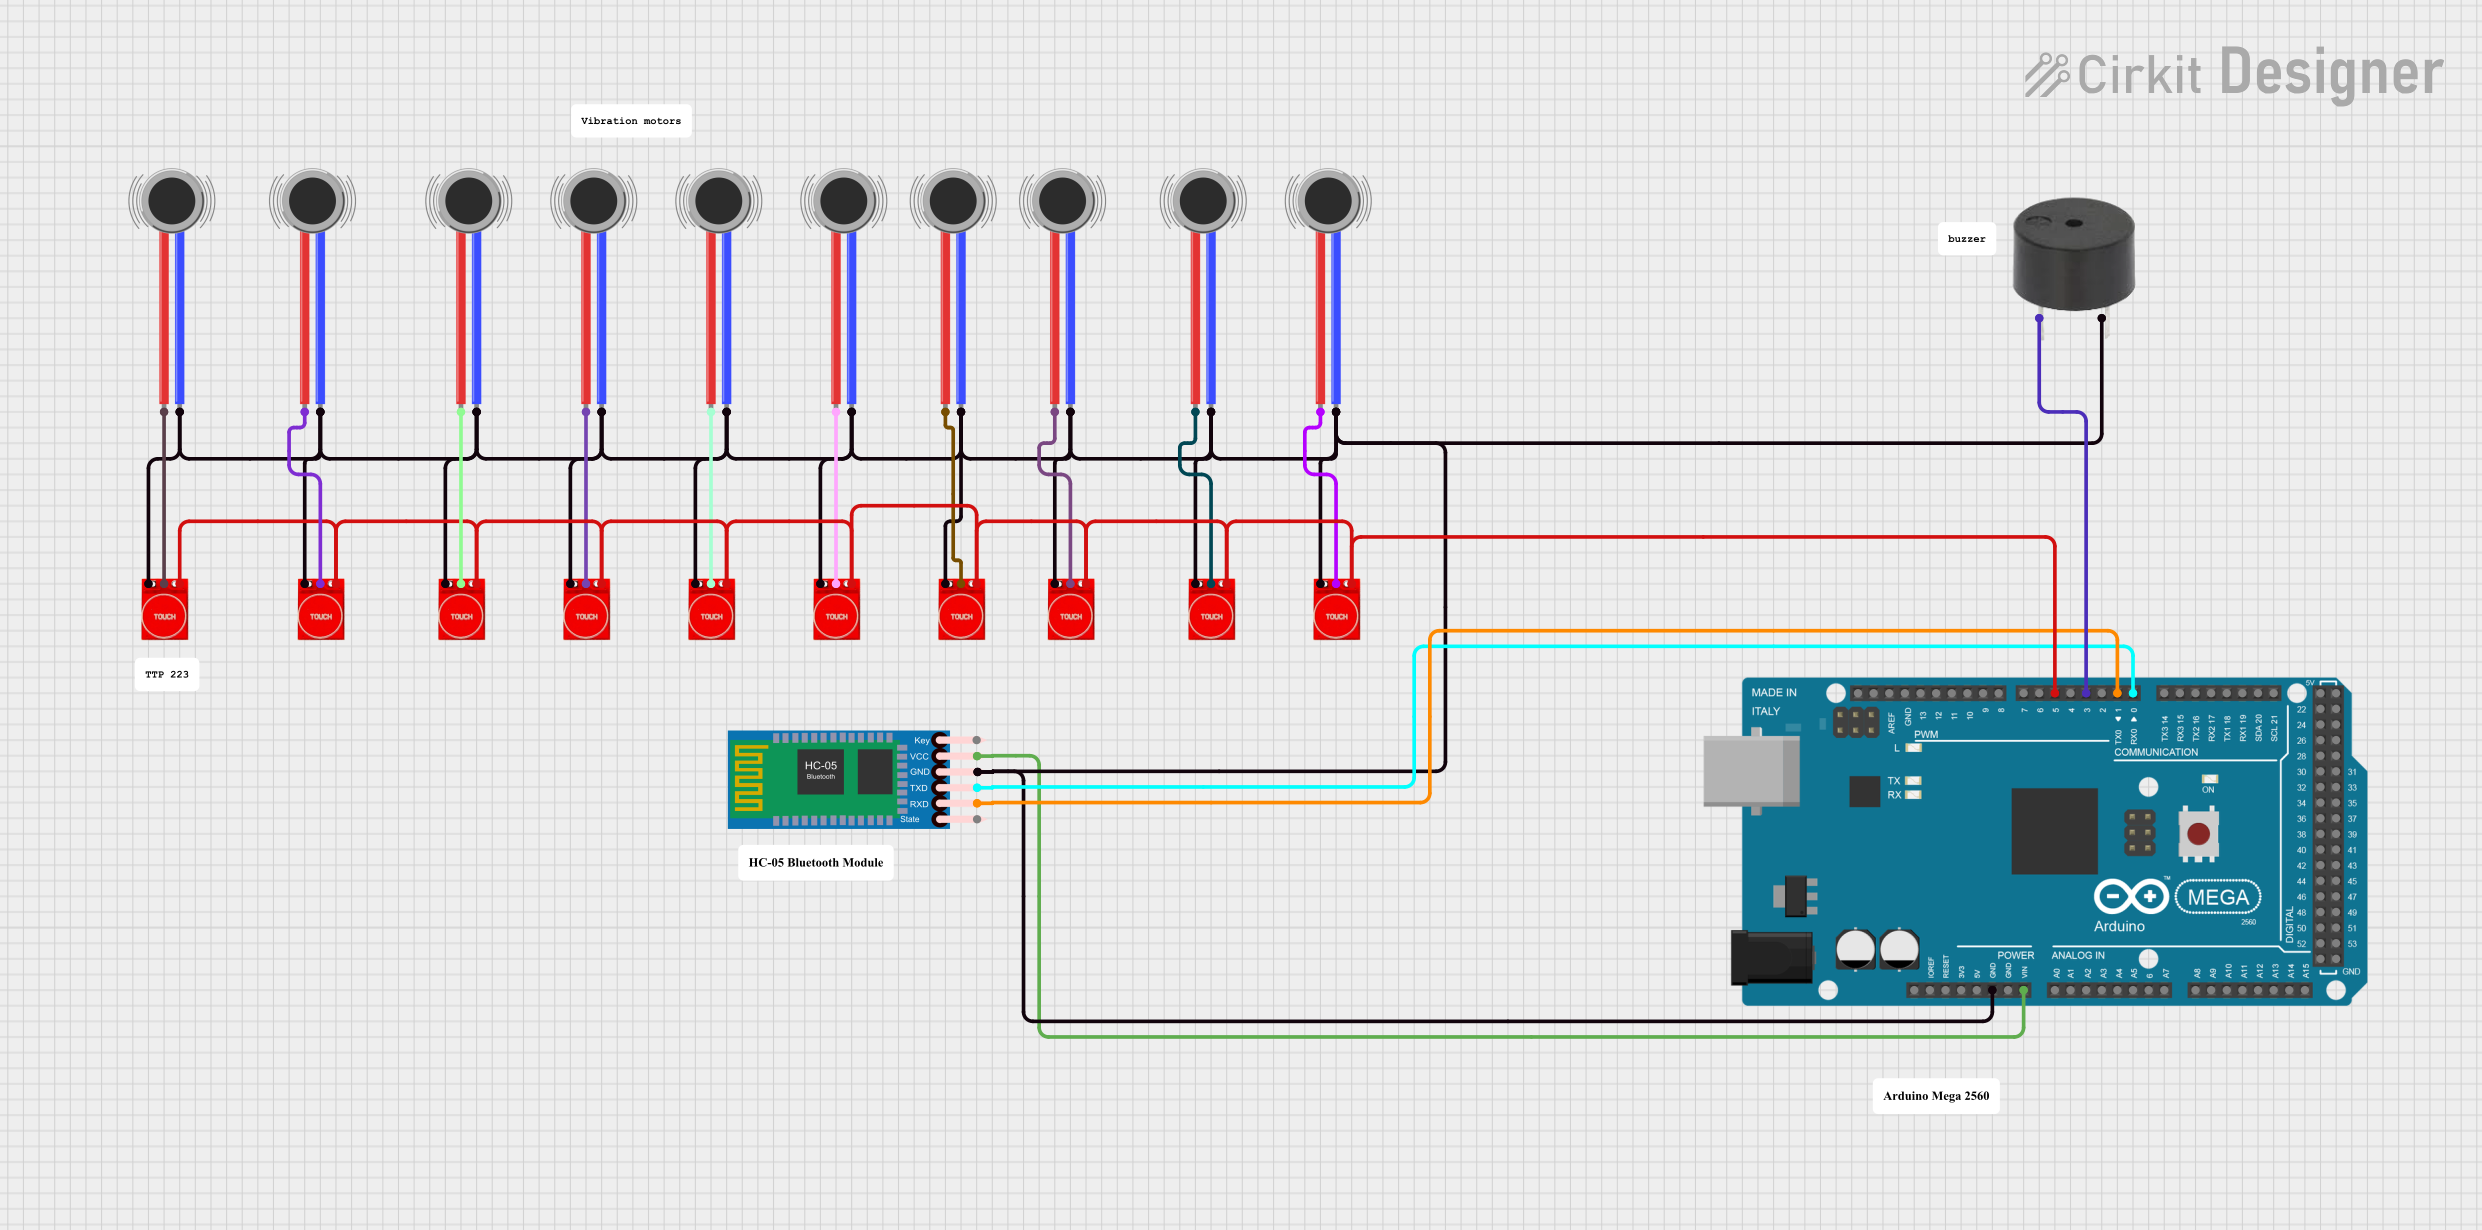
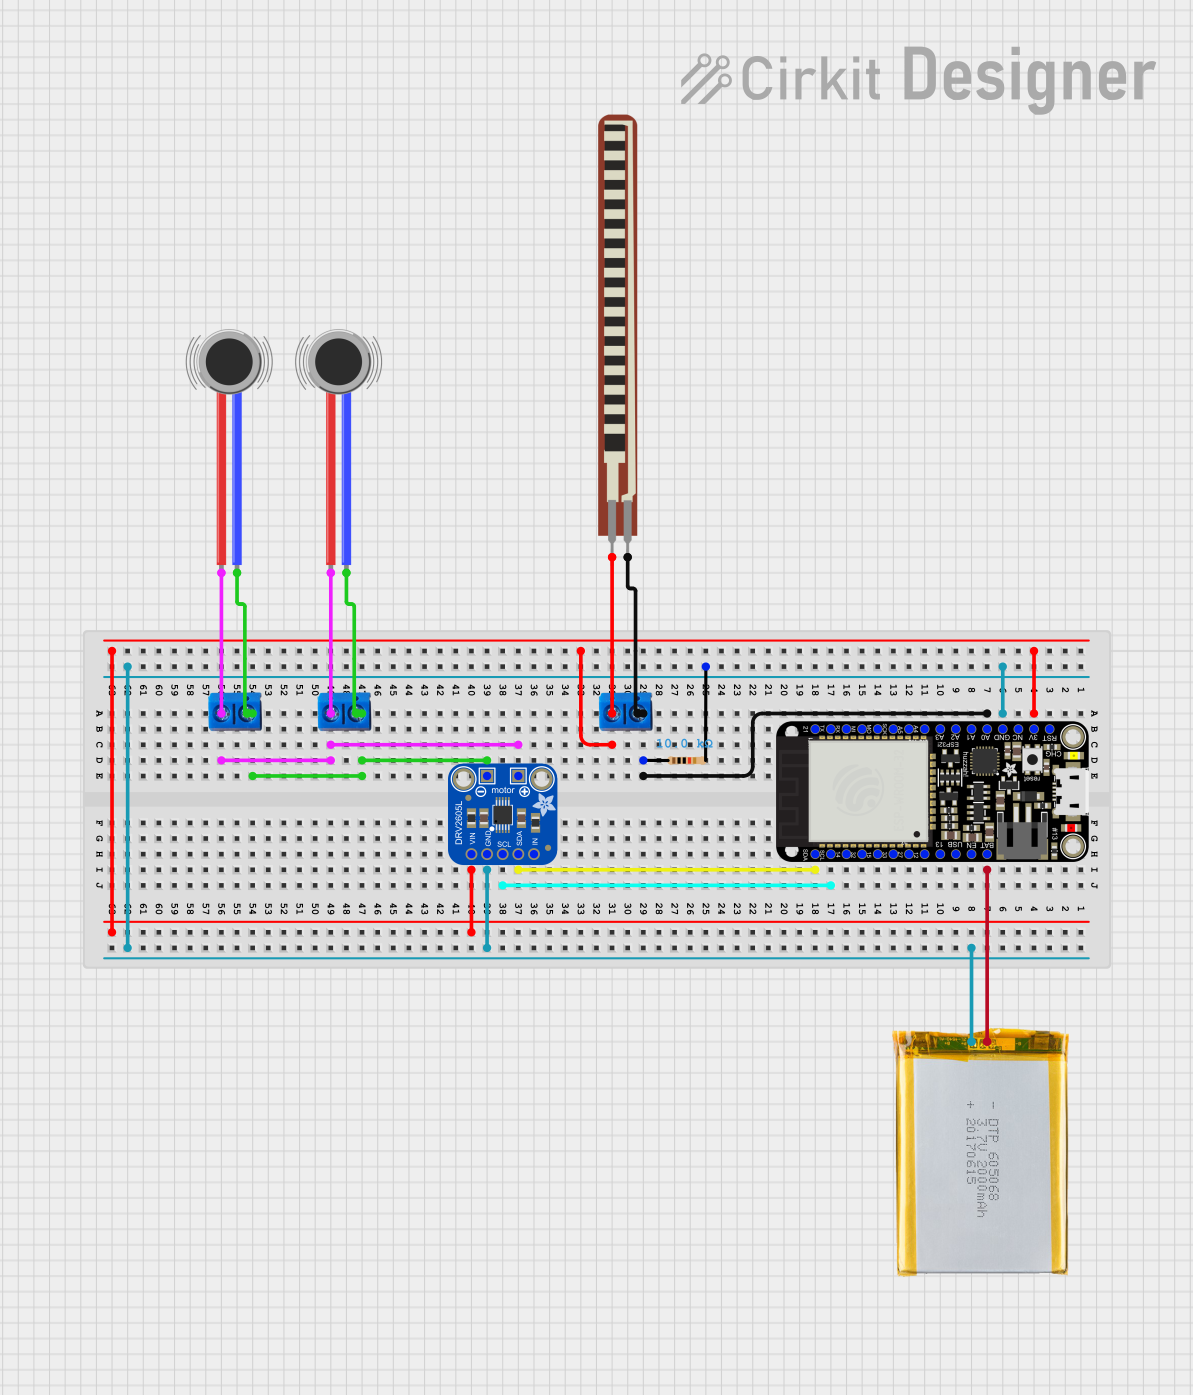

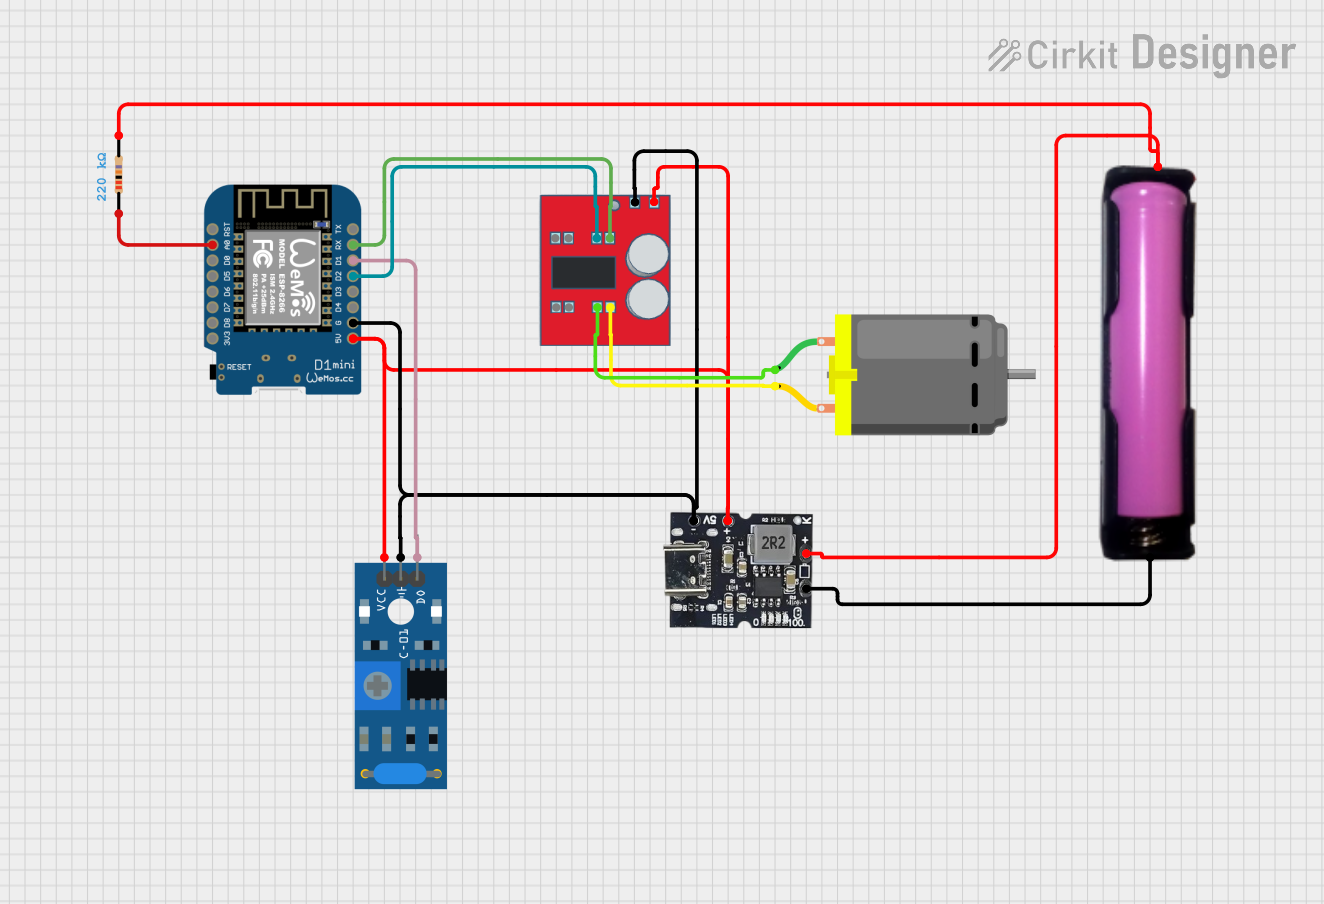
Explore Projects Built with ERM Vibro Motor from iPhone 5S
Common Applications and Use Cases
- Haptic feedback in smartphones and tablets
- Wearable devices like smartwatches and fitness trackers
- Gaming controllers for vibration effects
- Custom electronics projects requiring tactile feedback
- Alert systems in medical or industrial devices
Technical Specifications
Below are the key technical details of the ERM Vibro Motor from the iPhone 5S:
| Parameter | Value |
|---|---|
| Motor Type | Eccentric Rotating Mass (ERM) |
| Operating Voltage | 2.5V to 3.5V DC |
| Nominal Voltage | 3.0V DC |
| Rated Current | ~90mA at 3.0V |
| Starting Voltage | ~2.0V DC |
| Vibration Frequency | ~150 Hz at 3.0V |
| Dimensions | ~10mm x 3mm x 2.5mm |
| Weight | ~1.2 grams |
| Operating Temperature | -20°C to +60°C |
Pin Configuration and Descriptions
The ERM Vibro Motor typically has two connection points (pins or wires):
| Pin | Description |
|---|---|
| Pin 1 | Positive terminal (V+) |
| Pin 2 | Negative terminal (GND) |
Note: The motor does not have polarity protection, so ensure correct wiring to avoid damage.
Usage Instructions
How to Use the Component in a Circuit
- Power Supply: Connect the motor to a DC power source within the operating voltage range (2.5V to 3.5V). A 3.0V supply is recommended for optimal performance.
- Control: Use a transistor or MOSFET to control the motor via a microcontroller (e.g., Arduino). This allows you to turn the motor on/off or modulate its speed using PWM (Pulse Width Modulation).
- Connections:
- Connect Pin 1 (V+) to the positive terminal of the power supply or the collector/drain of the transistor.
- Connect Pin 2 (GND) to the ground of the power supply.
Important Considerations and Best Practices
- Current Limiting: Ensure the power supply can provide sufficient current (~90mA). If using a microcontroller, do not connect the motor directly to its GPIO pins, as they cannot handle the required current.
- PWM Control: To adjust vibration intensity, use PWM signals. A frequency of 100-200 Hz is typically sufficient.
- Mounting: Secure the motor firmly to prevent unwanted movement or noise during operation.
- Heat Management: Avoid prolonged operation at maximum voltage to prevent overheating.
Example: Connecting to an Arduino UNO
Below is an example of how to control the ERM Vibro Motor using an Arduino UNO and a transistor:
Circuit Diagram
- Components Needed:
- ERM Vibro Motor
- NPN Transistor (e.g., 2N2222)
- 1 kΩ Resistor
- External 3V Power Supply
- Arduino UNO
Code Example
// Arduino code to control the ERM Vibro Motor using PWM
// Connect the motor to a transistor circuit controlled by pin 9

const int motorPin = 9; // PWM pin connected to the transistor base

void setup() {
  pinMode(motorPin, OUTPUT); // Set motorPin as an output
}

void loop() {
  // Turn the motor on at full speed
  analogWrite(motorPin, 255); // 255 = 100% duty cycle
  delay(1000); // Run motor for 1 second

  // Turn the motor off
  analogWrite(motorPin, 0); // 0 = 0% duty cycle
  delay(1000); // Wait for 1 second

  // Gradually increase vibration intensity
  for (int speed = 0; speed <= 255; speed += 5) {
    analogWrite(motorPin, speed); // Increase PWM duty cycle
    delay(50); // Small delay for smooth ramp-up
  }

  // Gradually decrease vibration intensity
  for (int speed = 255; speed >= 0; speed -= 5) {
    analogWrite(motorPin, speed); // Decrease PWM duty cycle
    delay(50); // Small delay for smooth ramp-down
  }
}
Note: Ensure the external power supply shares a common ground with the Arduino.
Troubleshooting and FAQs
Common Issues and Solutions
Motor Does Not Vibrate:
- Cause: Insufficient voltage or incorrect wiring.
- Solution: Verify the power supply voltage is within the operating range (2.5V to 3.5V). Check the wiring for proper connections.
Motor Vibrates Weakly:
- Cause: Low supply voltage or insufficient current.
- Solution: Ensure the power supply can deliver at least 90mA. Check for voltage drops in the circuit.
Motor Overheats:
- Cause: Prolonged operation at maximum voltage.
- Solution: Reduce the operating voltage or use PWM to limit the duty cycle.
Noisy Operation:
- Cause: Loose mounting or misalignment.
- Solution: Secure the motor firmly to the device or circuit board.
FAQs
Q1: Can I connect the motor directly to an Arduino pin?
A1: No, the motor requires more current than an Arduino GPIO pin can provide. Use a transistor or MOSFET to control the motor.
Q2: How can I adjust the vibration intensity?
A2: Use PWM to modulate the motor's speed. A higher duty cycle results in stronger vibrations.
Q3: Is the motor polarity-sensitive?
A3: Yes, ensure the positive and negative terminals are connected correctly to avoid damage.
Q4: Can I use this motor with a 5V power supply?
A4: No, operating the motor above 3.5V may damage it. Use a voltage regulator or step-down converter to provide 3.0V.
By following this documentation, you can effectively integrate the ERM Vibro Motor from the iPhone 5S into your projects for reliable haptic feedback.