Cirkit Designer Logo
Cirkit Designer
Your all-in-one circuit design IDE
Home / 
Component Documentation

How to Use Adafruit Blue 15x7 CharliePlex FeatherWing: Examples, Pinouts, and Specs

Image of Adafruit Blue 15x7 CharliePlex FeatherWing
Cirkit Designer LogoDesign with Adafruit Blue 15x7 CharliePlex FeatherWing in Cirkit Designer

Introduction

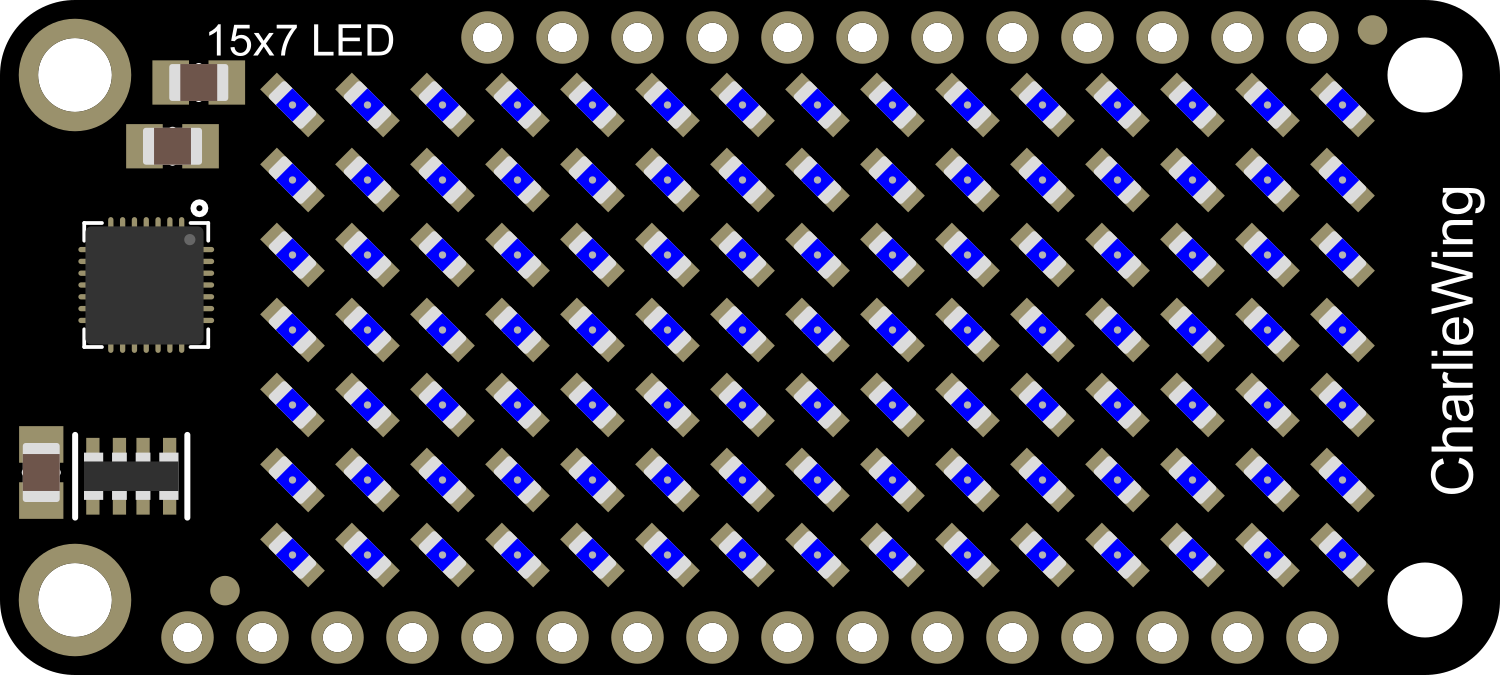
The Adafruit Blue 15x7 CharliePlex FeatherWing is an LED matrix display panel that provides a simple way to add a vibrant visual display to your projects. It features a grid of 105 blue LEDs arranged in a 15x7 pattern. This component is designed to be used with the Feather series of development boards from Adafruit, which are compact, easy to use, and versatile for a wide range of applications.

Explore Projects Built with Adafruit Blue 15x7 CharliePlex FeatherWing

Use Cirkit Designer to design, explore, and prototype these projects online. Some projects support real-time simulation. Click "Open Project" to start designing instantly!
Touch-Sensitive Interface with Adafruit MPR121 and Feather 32u4 Bluefruit
Image of MPR121: A project utilizing Adafruit Blue 15x7 CharliePlex FeatherWing in a practical application
This circuit integrates an Adafruit MPR121 capacitive touch sensor with an Adafruit Feather 32u4 Bluefruit microcontroller. The MPR121 is powered by the Feather and communicates via I2C (SCL and SDA) to detect touch inputs, which can be processed or transmitted wirelessly by the Feather.
Cirkit Designer LogoOpen Project in Cirkit Designer
Adafruit Feather 32u4 Bluefruit with MPR121 Capacitive Touch Sensor Interface
Image of ALi WTSE: A project utilizing Adafruit Blue 15x7 CharliePlex FeatherWing in a practical application
This circuit integrates an Adafruit MPR121 capacitive touch sensor with an Adafruit Feather 32u4 Bluefruit microcontroller. The MPR121 is powered by the 3.3V supply from the Feather and communicates with the microcontroller via I2C, with SCL connected to pin 3 and SDA connected to pin 2 of the Feather. This setup allows the Feather to detect touch inputs from the MPR121 for further processing or wireless communication.
Cirkit Designer LogoOpen Project in Cirkit Designer
ESP32-Based Vibration Feedback System with Quad Alphanumeric Display and ADXL343 Accelerometer
Image of EC444 - Quest 3: A project utilizing Adafruit Blue 15x7 CharliePlex FeatherWing in a practical application
This circuit features an Adafruit HUZZAH32 ESP32 Feather board as the central microcontroller, which is connected to an Adafruit Quad AlphaNumeric Featherwing display and an Adafruit ADXL343 accelerometer via I2C communication (SCL and SDA lines). The ESP32 controls a vibration motor connected to one of its GPIO pins (A5_IO4) and shares a common power supply (3.3V) and ground (GND) with the other components. The purpose of this circuit is likely to read acceleration data, display information on the alphanumeric display, and provide haptic feedback through the vibration motor.
Cirkit Designer LogoOpen Project in Cirkit Designer
Arduino UNO and OLED FeatherWing Display: Battery-Powered Hello World Project
Image of ARDUINO_SSD1306: A project utilizing Adafruit Blue 15x7 CharliePlex FeatherWing in a practical application
This circuit consists of an Arduino UNO connected to an Adafruit OLED FeatherWing display via I2C communication (SDA and SCL lines). The Arduino is powered through a Vcc source and provides 3.3V and GND connections to the OLED display. The Arduino runs a program to display 'Hello, World!' on the OLED screen.
Cirkit Designer LogoOpen Project in Cirkit Designer

Explore Projects Built with Adafruit Blue 15x7 CharliePlex FeatherWing

Use Cirkit Designer to design, explore, and prototype these projects online. Some projects support real-time simulation. Click "Open Project" to start designing instantly!
Image of MPR121: A project utilizing Adafruit Blue 15x7 CharliePlex FeatherWing in a practical application
Touch-Sensitive Interface with Adafruit MPR121 and Feather 32u4 Bluefruit
This circuit integrates an Adafruit MPR121 capacitive touch sensor with an Adafruit Feather 32u4 Bluefruit microcontroller. The MPR121 is powered by the Feather and communicates via I2C (SCL and SDA) to detect touch inputs, which can be processed or transmitted wirelessly by the Feather.
Cirkit Designer LogoOpen Project in Cirkit Designer
Image of ALi WTSE: A project utilizing Adafruit Blue 15x7 CharliePlex FeatherWing in a practical application
Adafruit Feather 32u4 Bluefruit with MPR121 Capacitive Touch Sensor Interface
This circuit integrates an Adafruit MPR121 capacitive touch sensor with an Adafruit Feather 32u4 Bluefruit microcontroller. The MPR121 is powered by the 3.3V supply from the Feather and communicates with the microcontroller via I2C, with SCL connected to pin 3 and SDA connected to pin 2 of the Feather. This setup allows the Feather to detect touch inputs from the MPR121 for further processing or wireless communication.
Cirkit Designer LogoOpen Project in Cirkit Designer
Image of EC444 - Quest 3: A project utilizing Adafruit Blue 15x7 CharliePlex FeatherWing in a practical application
ESP32-Based Vibration Feedback System with Quad Alphanumeric Display and ADXL343 Accelerometer
This circuit features an Adafruit HUZZAH32 ESP32 Feather board as the central microcontroller, which is connected to an Adafruit Quad AlphaNumeric Featherwing display and an Adafruit ADXL343 accelerometer via I2C communication (SCL and SDA lines). The ESP32 controls a vibration motor connected to one of its GPIO pins (A5_IO4) and shares a common power supply (3.3V) and ground (GND) with the other components. The purpose of this circuit is likely to read acceleration data, display information on the alphanumeric display, and provide haptic feedback through the vibration motor.
Cirkit Designer LogoOpen Project in Cirkit Designer
Image of ARDUINO_SSD1306: A project utilizing Adafruit Blue 15x7 CharliePlex FeatherWing in a practical application
Arduino UNO and OLED FeatherWing Display: Battery-Powered Hello World Project
This circuit consists of an Arduino UNO connected to an Adafruit OLED FeatherWing display via I2C communication (SDA and SCL lines). The Arduino is powered through a Vcc source and provides 3.3V and GND connections to the OLED display. The Arduino runs a program to display 'Hello, World!' on the OLED screen.
Cirkit Designer LogoOpen Project in Cirkit Designer

Common Applications and Use Cases

  • Displaying text messages
  • Creating animations and patterns
  • Building wearable electronics with visual feedback
  • Adding visual indicators for IoT devices
  • Prototyping user interfaces for embedded systems

Technical Specifications

Key Technical Details

  • LED Color: Blue
  • Matrix Size: 15x7 (105 LEDs)
  • Operating Voltage: 3.3V to 5V DC
  • Communication Interface: I2C
  • I2C Addresses: 0x70 (default), selectable with solder jumpers
  • Dimensions: 51mm x 23mm x 2.5mm

Pin Configuration and Descriptions

Pin Description
GND Ground connection
VIN Power supply input (3.3V to 5V DC)
SDA I2C data line
SCL I2C clock line
ADDR I2C address selection (solder jumper)
RST Reset pin (optional use)

Usage Instructions

How to Use the Component in a Circuit

  1. Power Connections: Connect the VIN pin to the 3.3V or 5V output on your Feather board and GND to ground.
  2. I2C Connections: Connect the SDA and SCL pins to the corresponding I2C pins on your Feather board.
  3. Address Selection: If using multiple CharliePlex FeatherWings, change the I2C address using the ADDR solder jumpers.
  4. Mounting: The CharliePlex FeatherWing can be directly attached to the headers on a Feather board.

Important Considerations and Best Practices

  • Ensure that the power supply voltage matches the requirements of the Feather board.
  • When using multiple CharliePlex FeatherWings, make sure each has a unique I2C address.
  • Avoid exposing the LED matrix to mechanical stress or excessive heat.
  • Use the provided library from Adafruit for easy programming and control of the LED matrix.

Example Code for Arduino UNO

#include <Wire.h>
#include <Adafruit_IS31FL3731.h>

// Create the LED matrix object
Adafruit_IS31FL3731 matrix = Adafruit_IS31FL3731();

void setup() {
  Wire.begin(); // Start I2C
  if (!matrix.begin()) { // Initialize the CharliePlex matrix
    Serial.println("IS31FL3731 not found");
    while (1);
  }
  Serial.begin(9600);
  Serial.println("IS31FL3731 found!");
}

void loop() {
  matrix.setBrightness(127); // Set the brightness to a medium value
  matrix.fillScreen(0); // Clear the matrix
  for (uint8_t i=0; i<15; i++) {
    matrix.drawPixel(i, i, 50); // Draw a diagonal line
    matrix.writeDisplay(); // Update the display
    delay(100);
  }
}

Note: The above code is for demonstration purposes and assumes the use of an Arduino UNO with an I2C interface. Make sure to install the Adafruit_IS31FL3731 library before uploading the code to your board.

Troubleshooting and FAQs

Common Issues Users Might Face

  • LEDs Not Lighting Up: Check the power connections and ensure the Feather board is powered on.
  • Dim or Flickering LEDs: Verify the brightness setting in your code and check for a stable power supply.
  • I2C Communication Errors: Ensure that the SDA and SCL connections are secure and that the correct I2C address is being used.

Solutions and Tips for Troubleshooting

  • Double-check all connections and solder joints for any loose connections or shorts.
  • Use the Serial.print statements to debug and verify that the matrix is initialized correctly.
  • If using multiple CharliePlex FeatherWings, confirm that each has a unique I2C address.

FAQs

Q: Can I use the CharliePlex FeatherWing with other microcontrollers besides the Feather series? A: Yes, as long as the microcontroller supports I2C communication and operates within the voltage range of the CharliePlex FeatherWing.

Q: How do I change the I2C address? A: The I2C address can be changed by soldering the ADDR jumpers on the back of the board to connect different combinations of the address pins to ground.

Q: Can I control individual LEDs? A: Yes, the library provided by Adafruit allows you to control each LED individually.

Q: Is it possible to daisy-chain multiple CharliePlex FeatherWings? A: Yes, you can daisy-chain multiple units as long as each one has a unique I2C address.