How to Use Peristaltic Pump: Examples, Pinouts, and Specs
Introduction
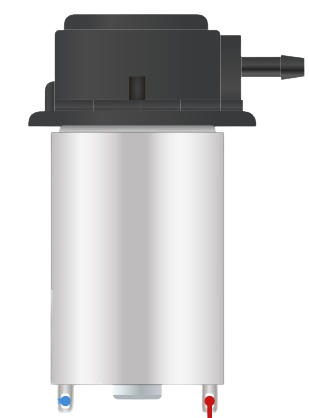
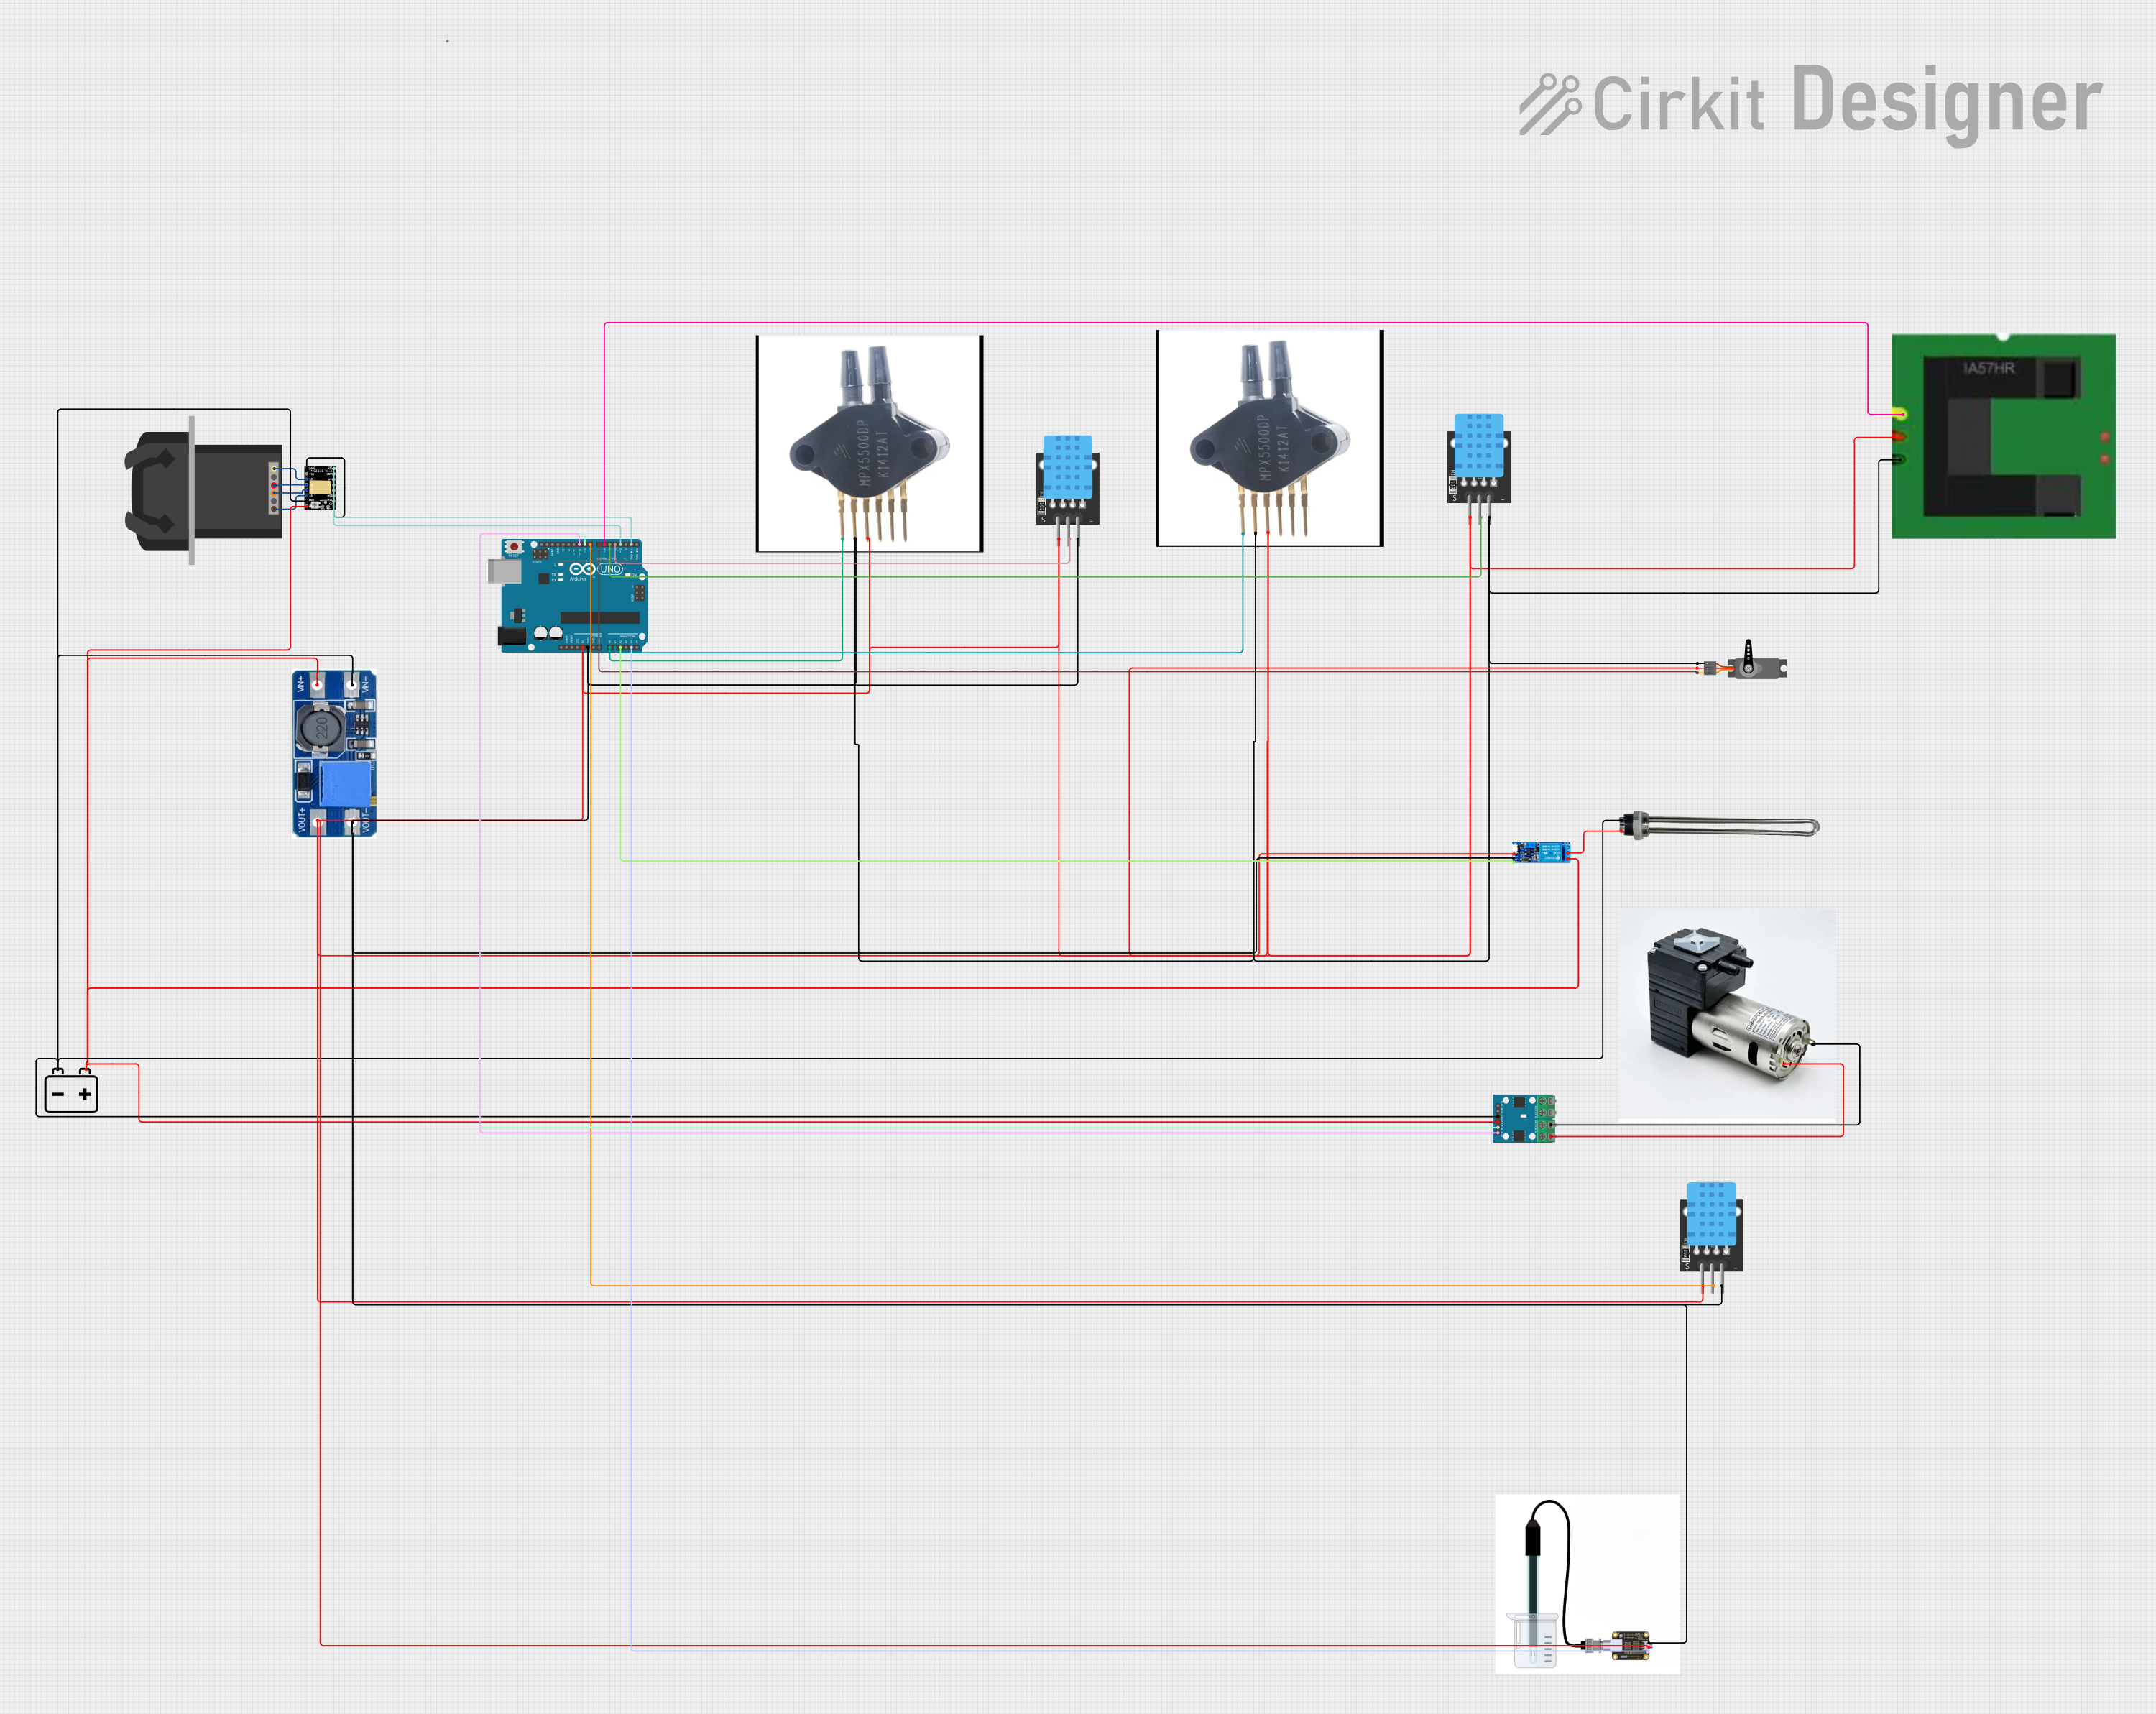
A peristaltic pump is a versatile and reliable component used in various applications where contamination-free pumping is required. It operates on the principle of positive displacement, using rollers or shoes to compress and release a flexible tube, creating a vacuum that draws fluid through the tube. This design ensures that the fluid only contacts the inside of the tubing, preventing cross-contamination and making the pump ideal for handling sensitive, sterile, or aggressive fluids.
Explore Projects Built with Peristaltic Pump
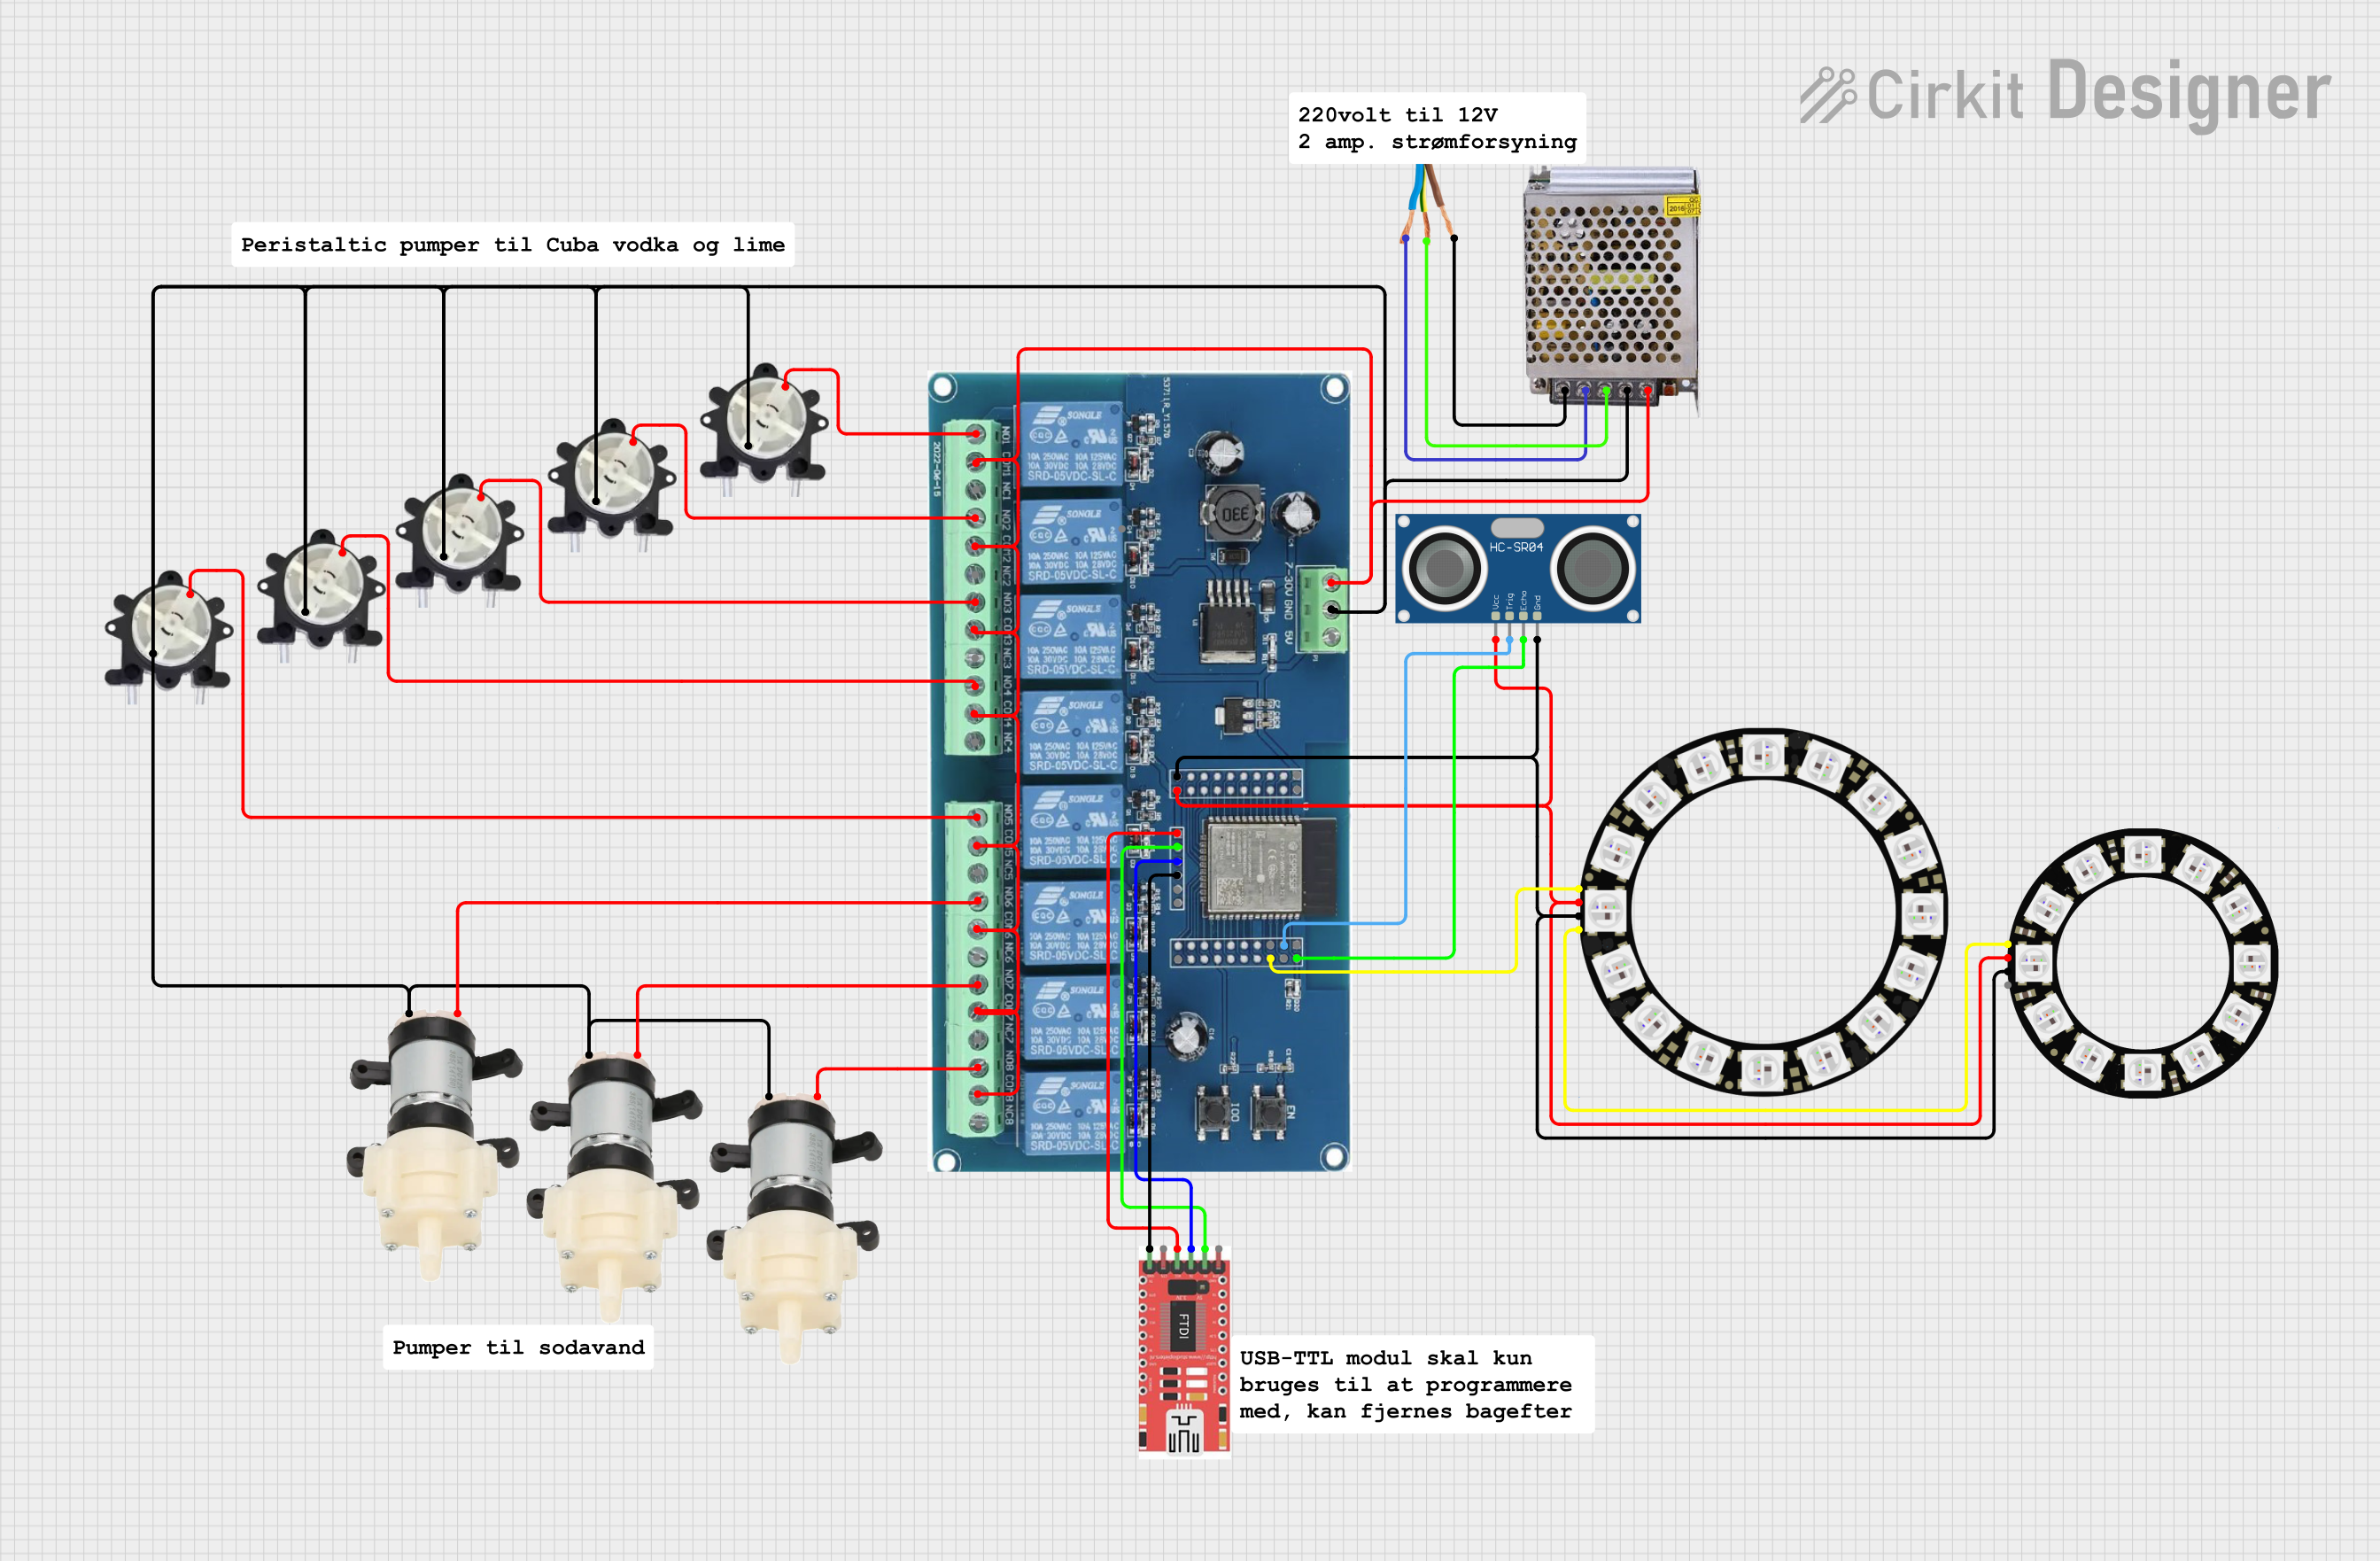
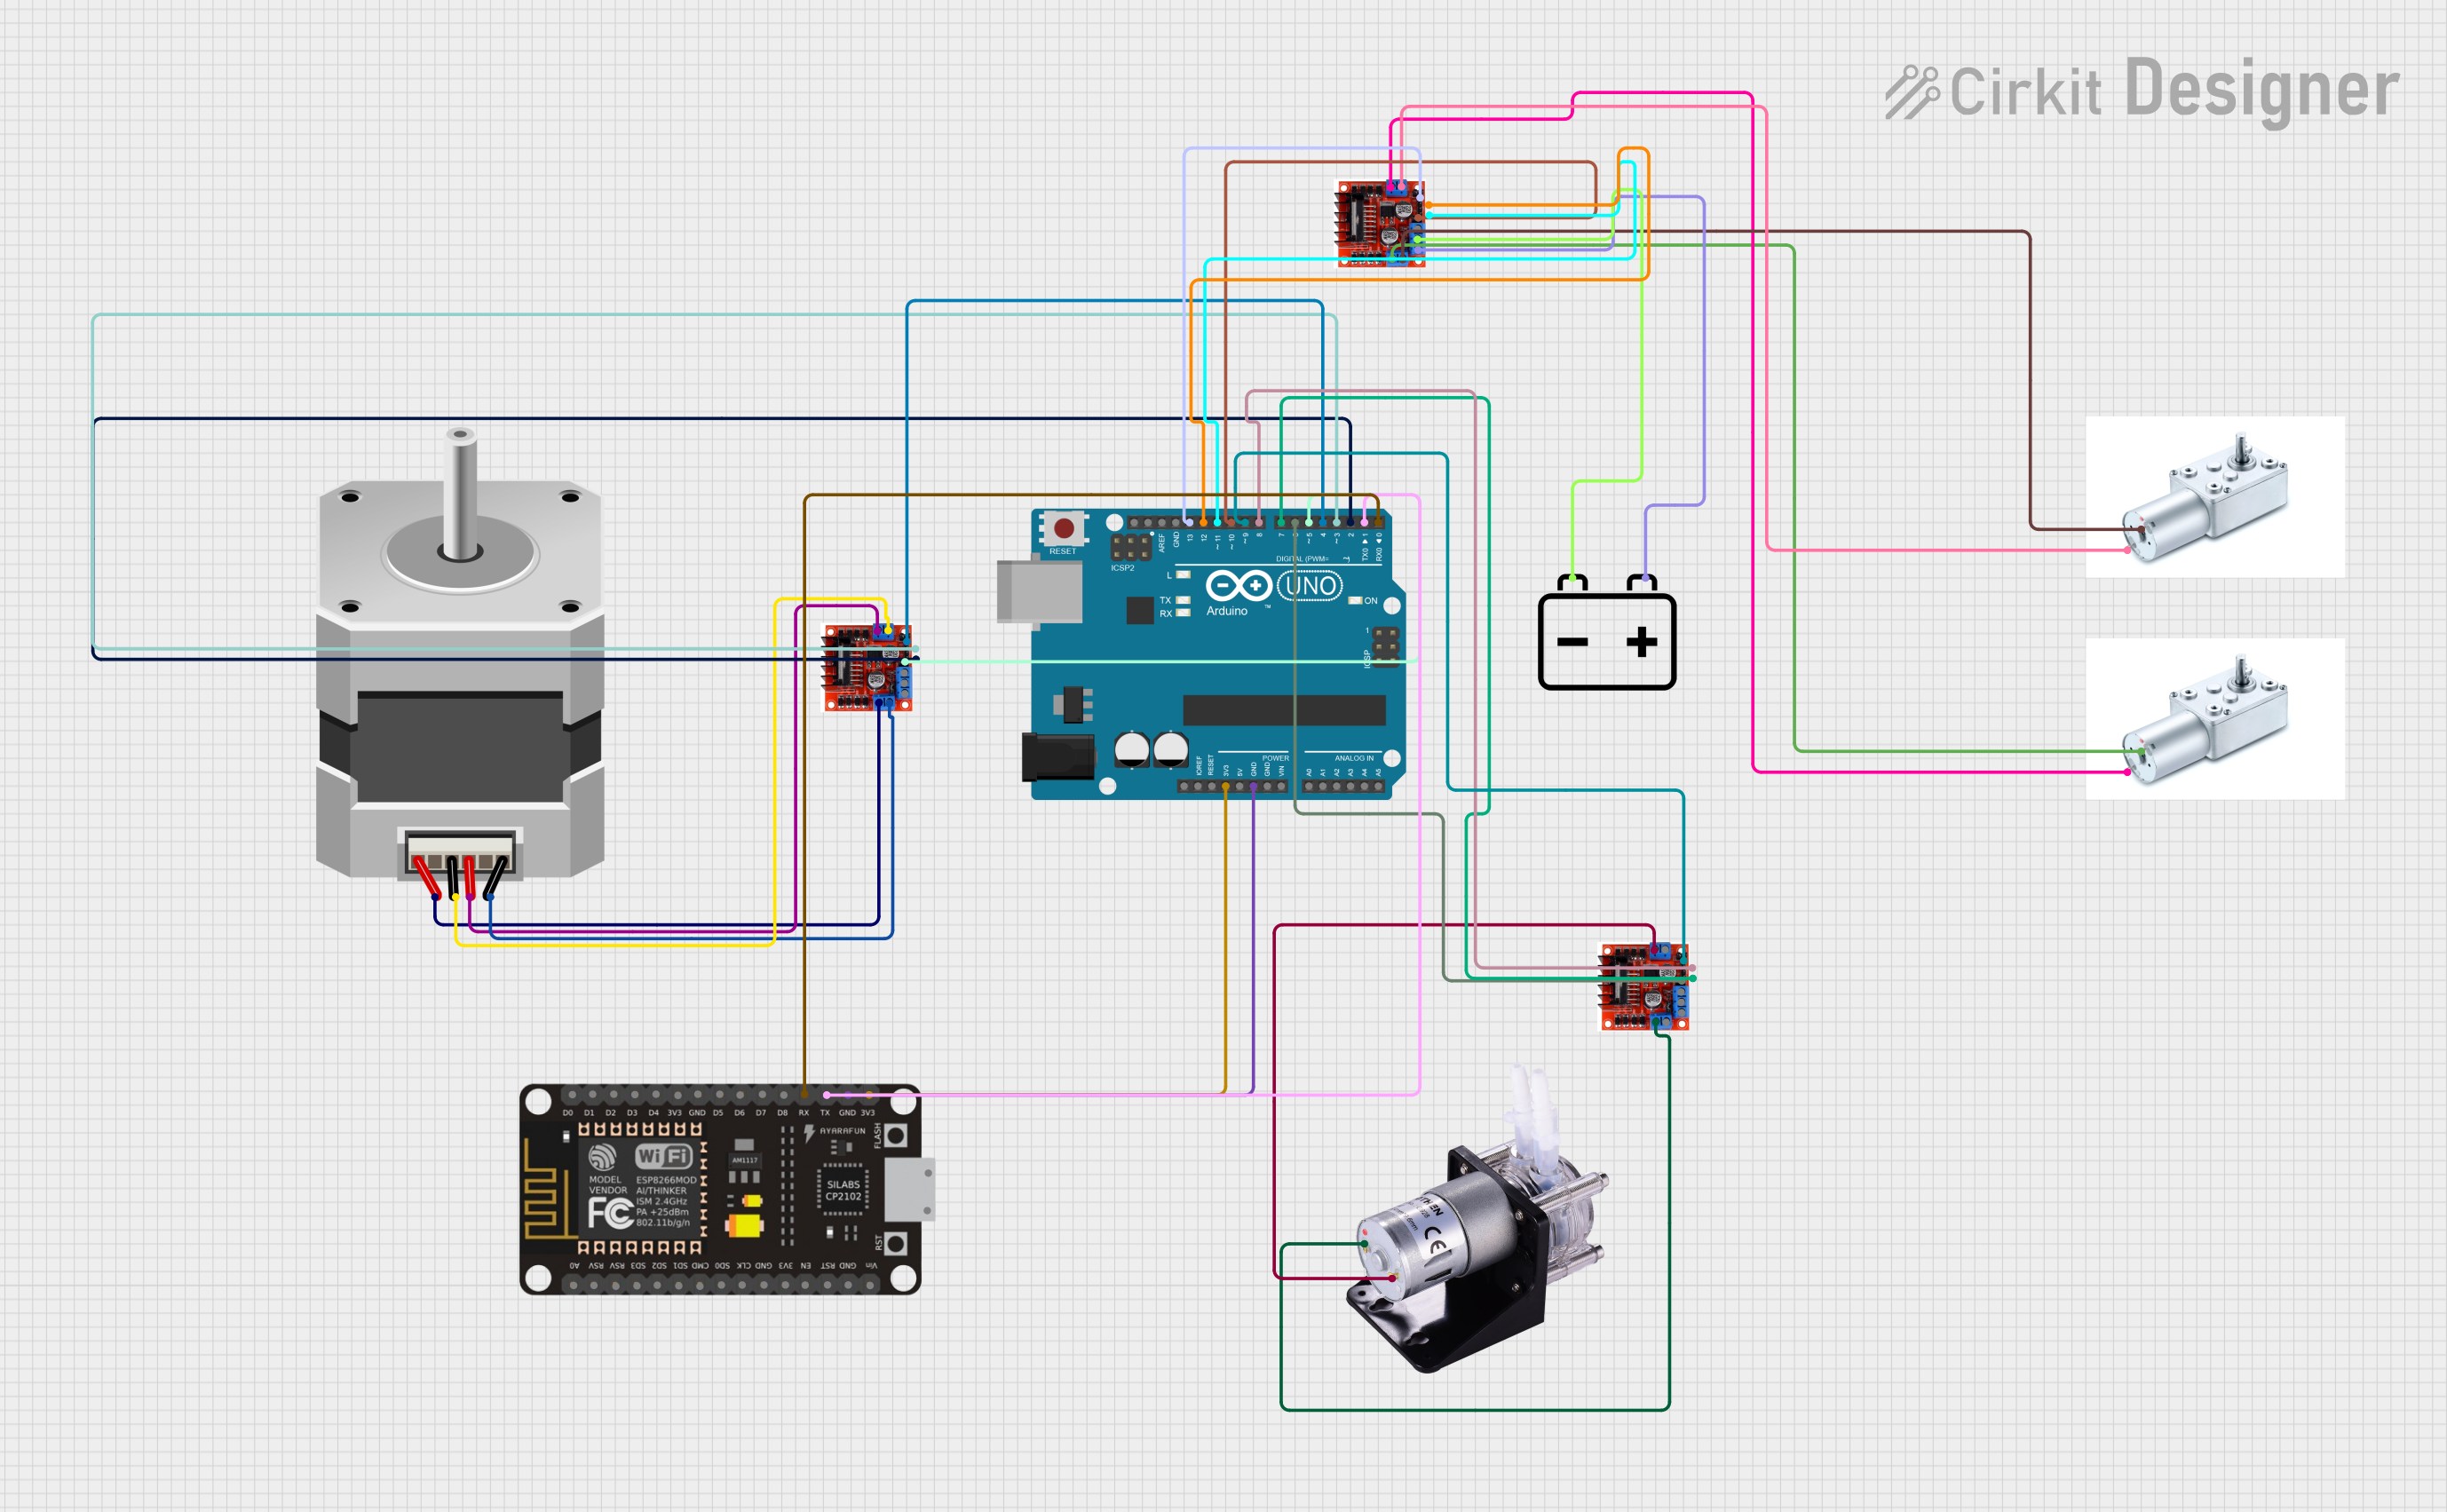
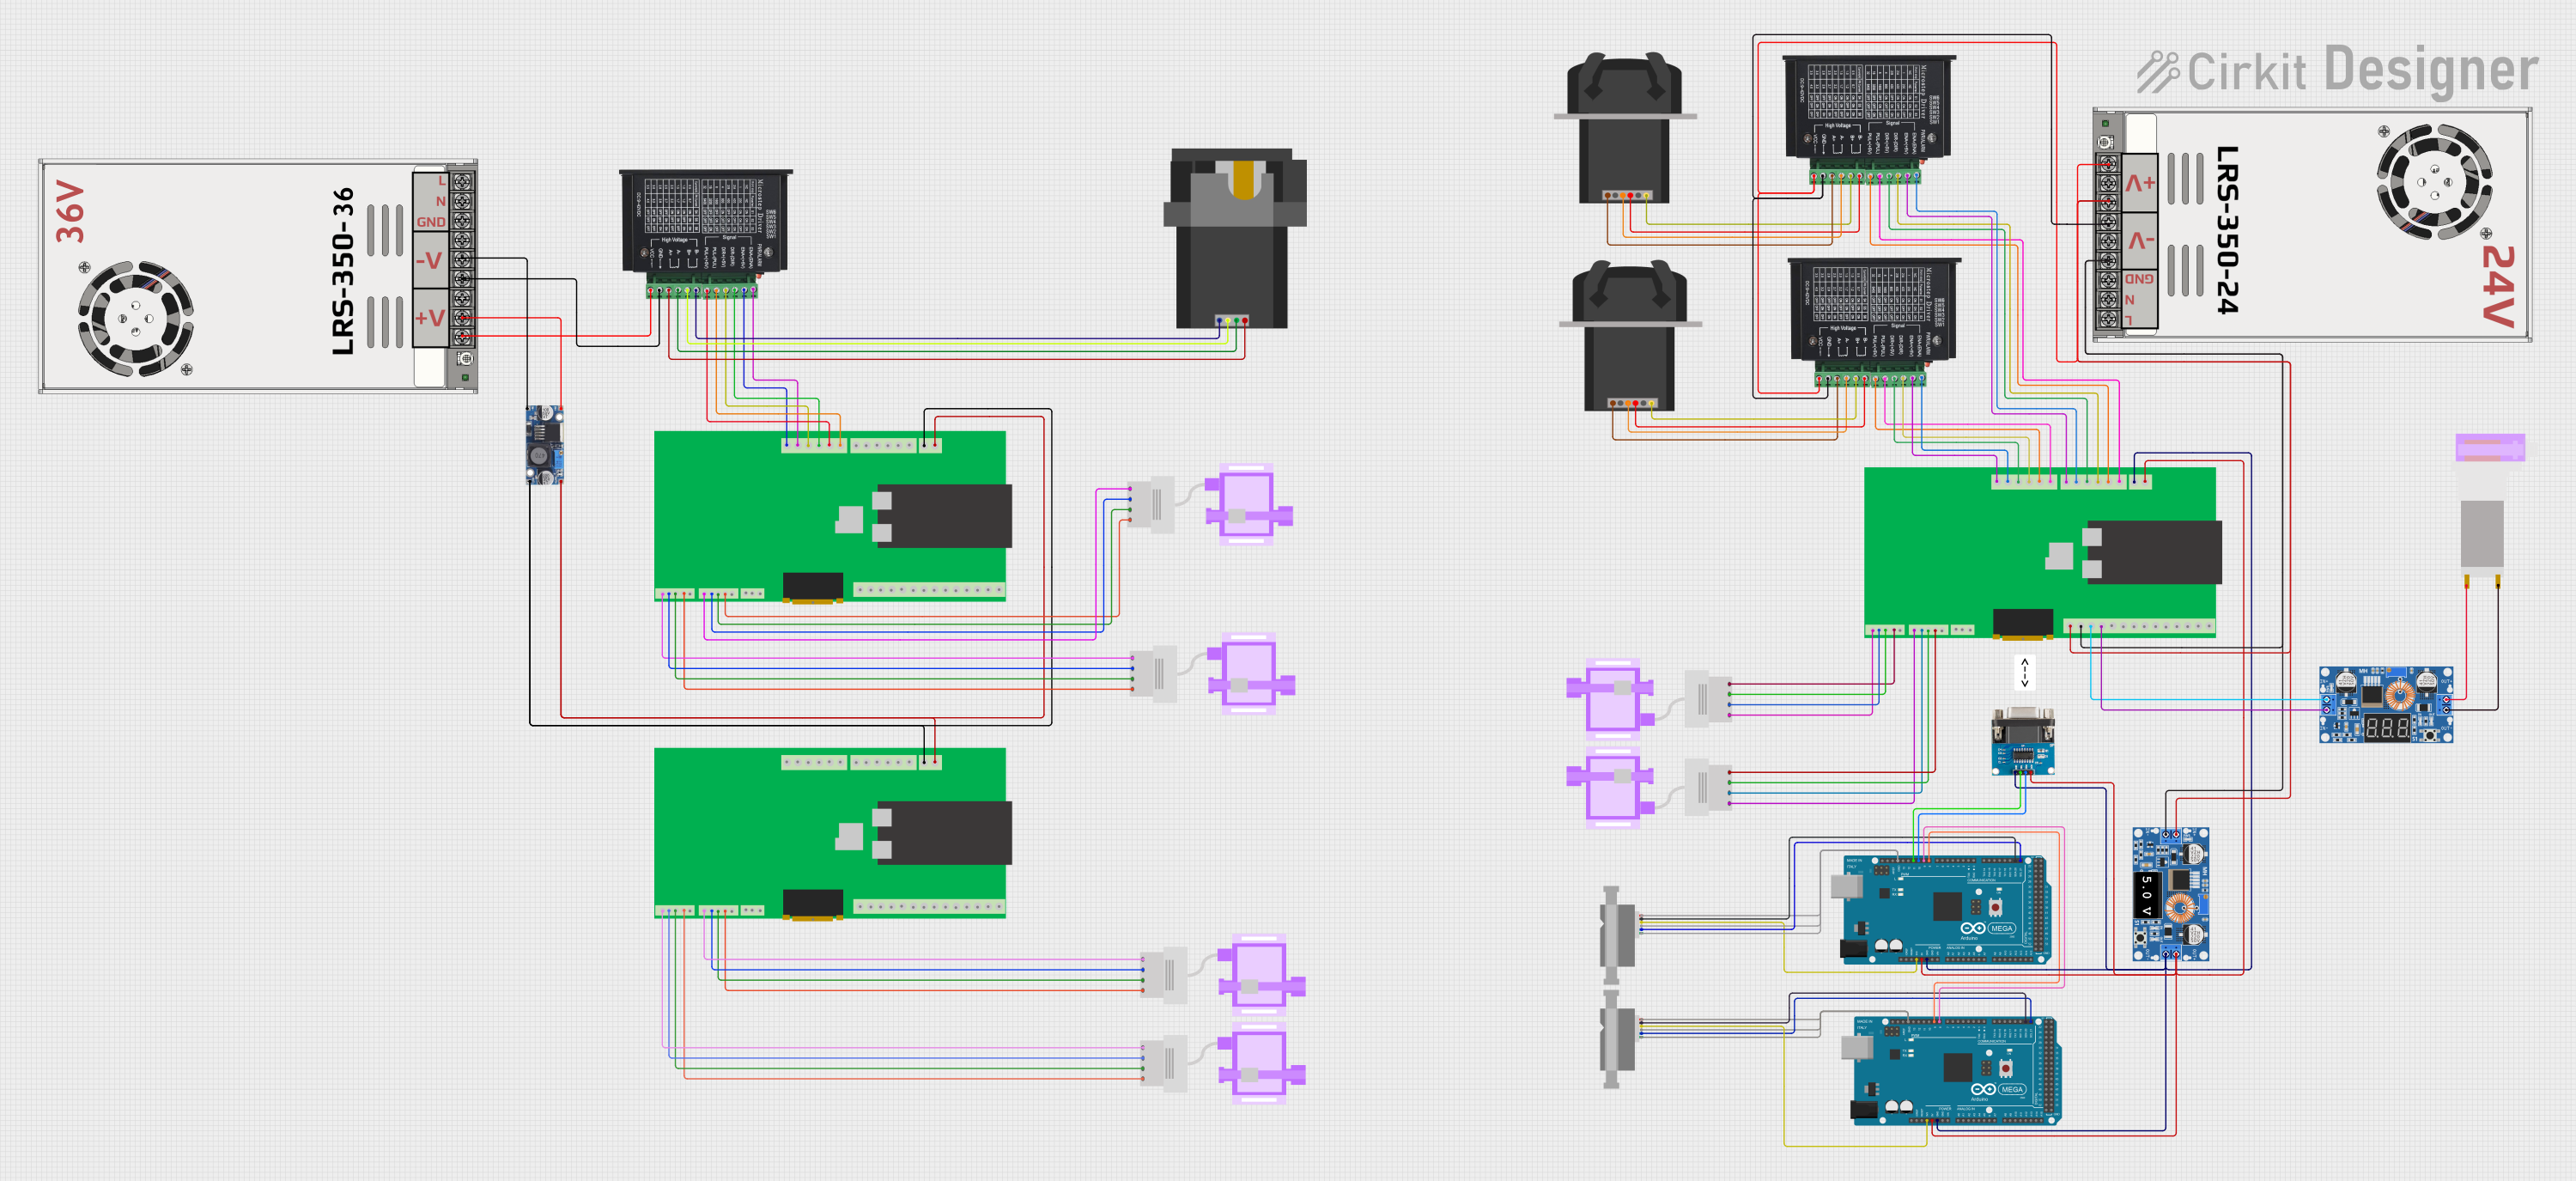
Explore Projects Built with Peristaltic Pump
Common Applications and Use Cases
- Medical devices (e.g., IV fluid administration)
- Laboratory equipment (e.g., automated sample handling)
- Chemical dosing and processing
- Food and beverage production
- Aquarium and hydroponics systems
Technical Specifications
Key Technical Details
- Voltage: Typically 12V or 24V DC
- Current: Varies depending on pump size and speed
- Power Ratings: Varies; check manufacturer's datasheet
- Flow Rate: Range from mL/min to L/min, depending on pump size
- Operating Environment: Temperature and chemical compatibility based on tubing material
Pin Configuration and Descriptions
| Pin Number | Description | Notes |
|---|---|---|
| 1 | V+ (Power Supply) | Connect to positive voltage |
| 2 | GND (Ground) | Connect to system ground |
| 3 | PWM (Speed Control) | Optional for speed regulation |
| 4 | DIR (Direction) | Optional for direction control |
Usage Instructions
How to Use the Component in a Circuit
- Power Connections: Connect the V+ and GND pins to a suitable power supply, ensuring that the voltage matches the pump's requirements.
- Speed Control (Optional): If speed control is desired, connect the PWM pin to a PWM-capable output on a microcontroller.
- Direction Control (Optional): To control the direction of the pump, connect the DIR pin to a digital output on a microcontroller.
Important Considerations and Best Practices
- Tubing Selection: Choose tubing that is compatible with the fluid being pumped and the operating environment.
- Power Supply: Ensure that the power supply can handle the current requirements of the pump at the desired operating speed.
- Priming: Before first use, prime the pump by running it with fluid until all air is expelled from the tubing.
- Mounting: Secure the pump to prevent vibrations and ensure consistent operation.
Example Arduino UNO Code
// Define the control pins
const int pwmPin = 3; // Connect to the PWM pin on the pump
const int dirPin = 4; // Connect to the DIR pin on the pump

void setup() {
  pinMode(pwmPin, OUTPUT);
  pinMode(dirPin, OUTPUT);
  // Start the pump at 50% speed in the forward direction
  analogWrite(pwmPin, 128); // PWM value for 50% speed (0-255)
  digitalWrite(dirPin, HIGH); // Set direction to forward
}

void loop() {
  // Pump control logic goes here
}
Troubleshooting and FAQs
Common Issues Users Might Face
- Pump Not Operating: Ensure power supply is correctly connected and providing the right voltage.
- Low Flow Rate: Check for blockages or air bubbles in the tubing. Ensure the tubing is properly seated in the pump.
- Inconsistent Flow: Verify that the pump is securely mounted and that the power supply is stable.
Solutions and Tips for Troubleshooting
- Priming the Pump: If air is trapped in the system, run the pump with fluid to prime it.
- Power Supply Issues: Use a multimeter to check the voltage and current supplied to the pump.
- Tubing Wear: Regularly inspect and replace tubing to prevent leaks and maintain performance.
FAQs
Q: Can the pump run dry? A: Running the pump dry can shorten its lifespan. Always ensure there is fluid in the tubing.
Q: How do I clean the pump? A: Clean the pump by running a suitable cleaning solution through the tubing, following the manufacturer's guidelines.
Q: What is the maximum fluid temperature the pump can handle? A: The maximum fluid temperature depends on the tubing material. Refer to the tubing specifications for temperature limits.