How to Use SparkFun Soil Moisture Sensor: Examples, Pinouts, and Specs
Introduction
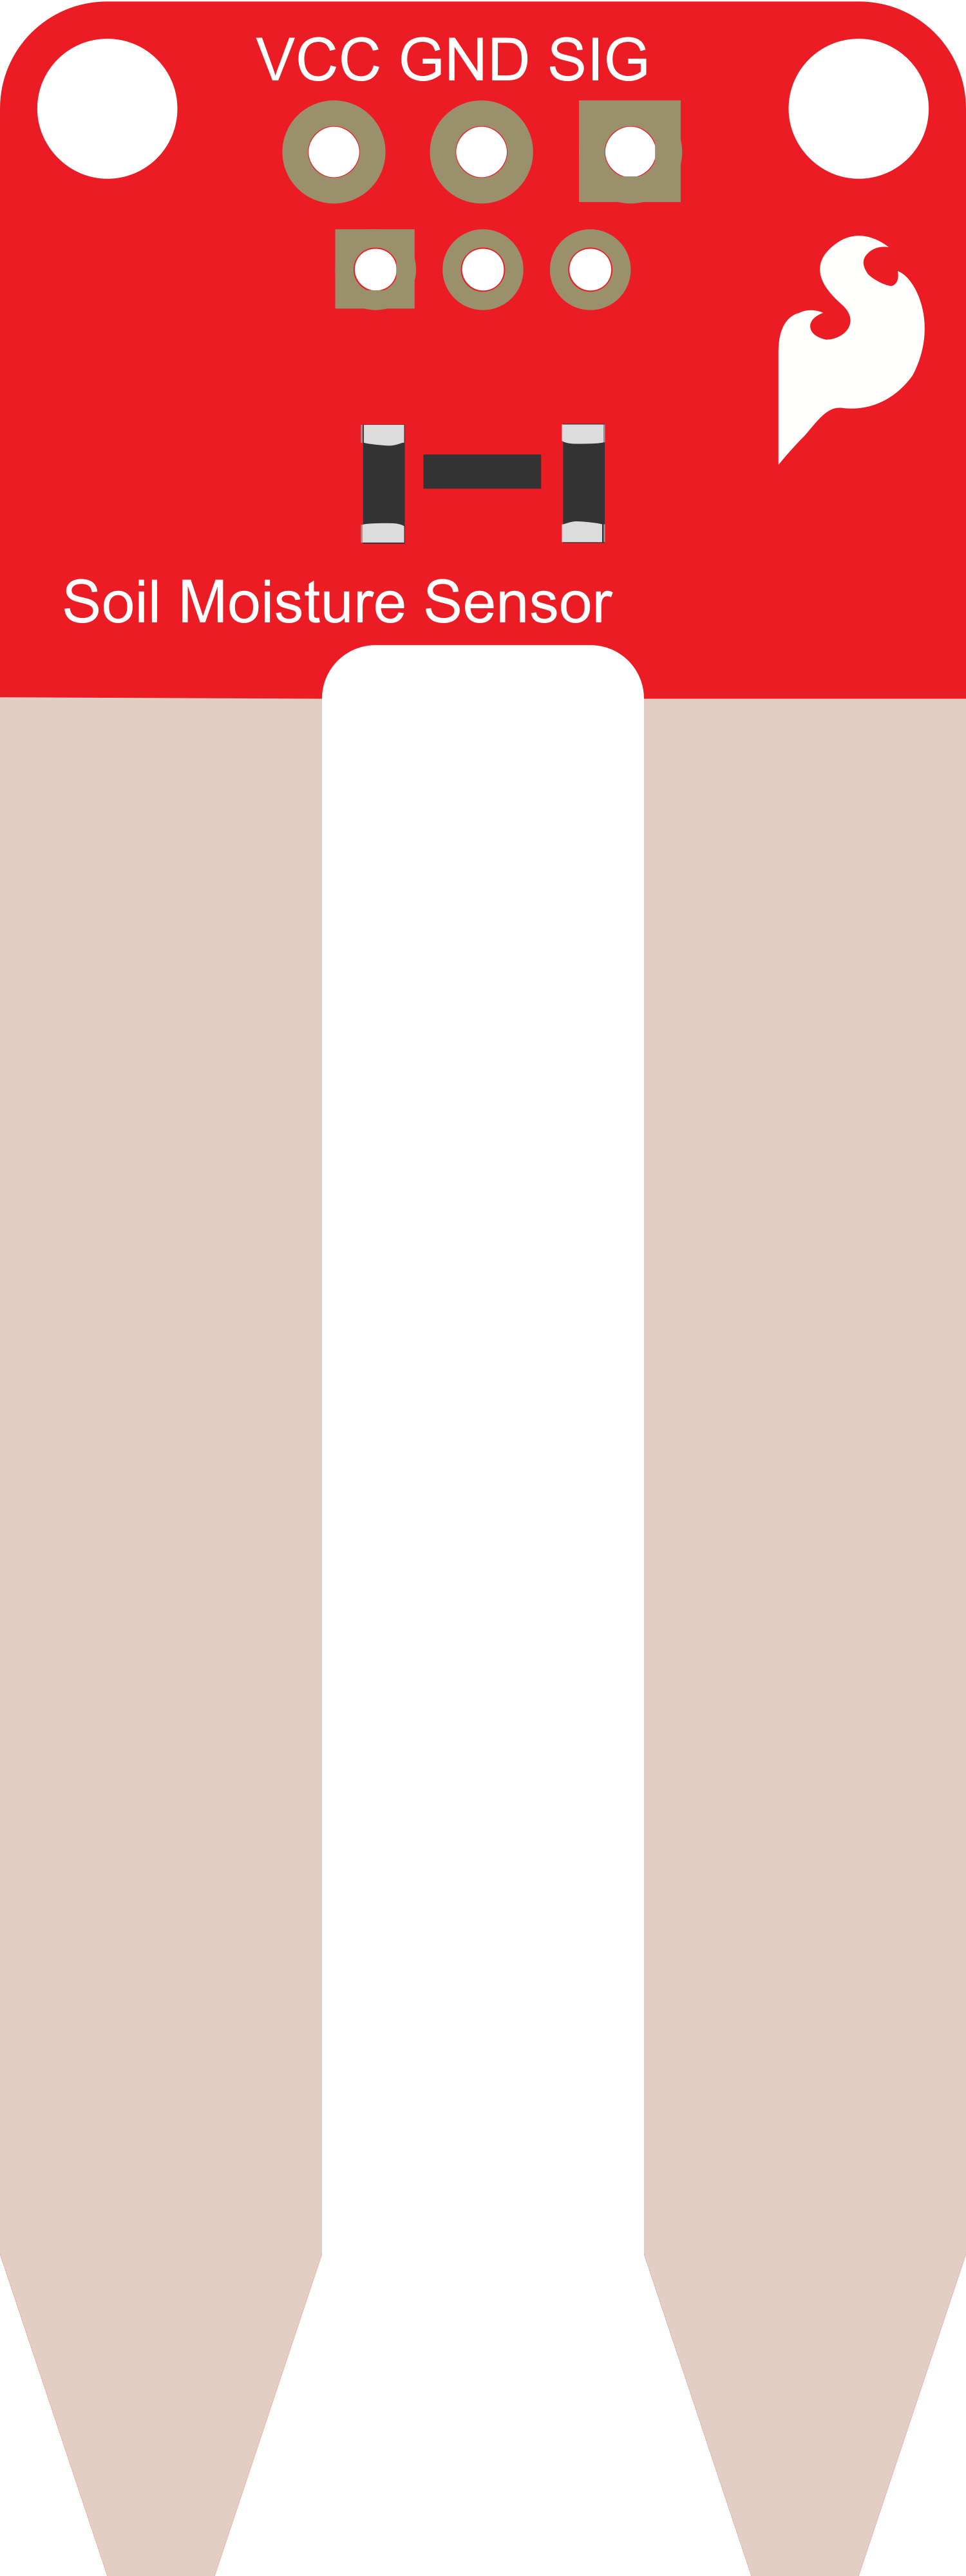
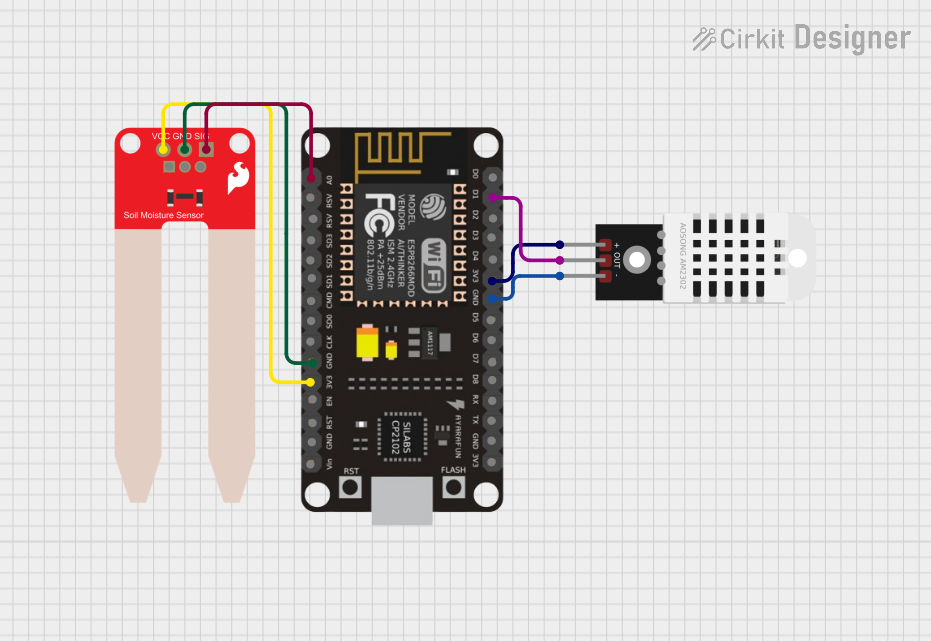
The SparkFun Soil Moisture Sensor is an easy-to-use device designed to measure the moisture content in soil, which is an essential parameter for gardening and agricultural applications. By detecting the moisture level, this sensor helps in determining when plants require watering, ensuring optimal plant growth and health.
Explore Projects Built with SparkFun Soil Moisture Sensor
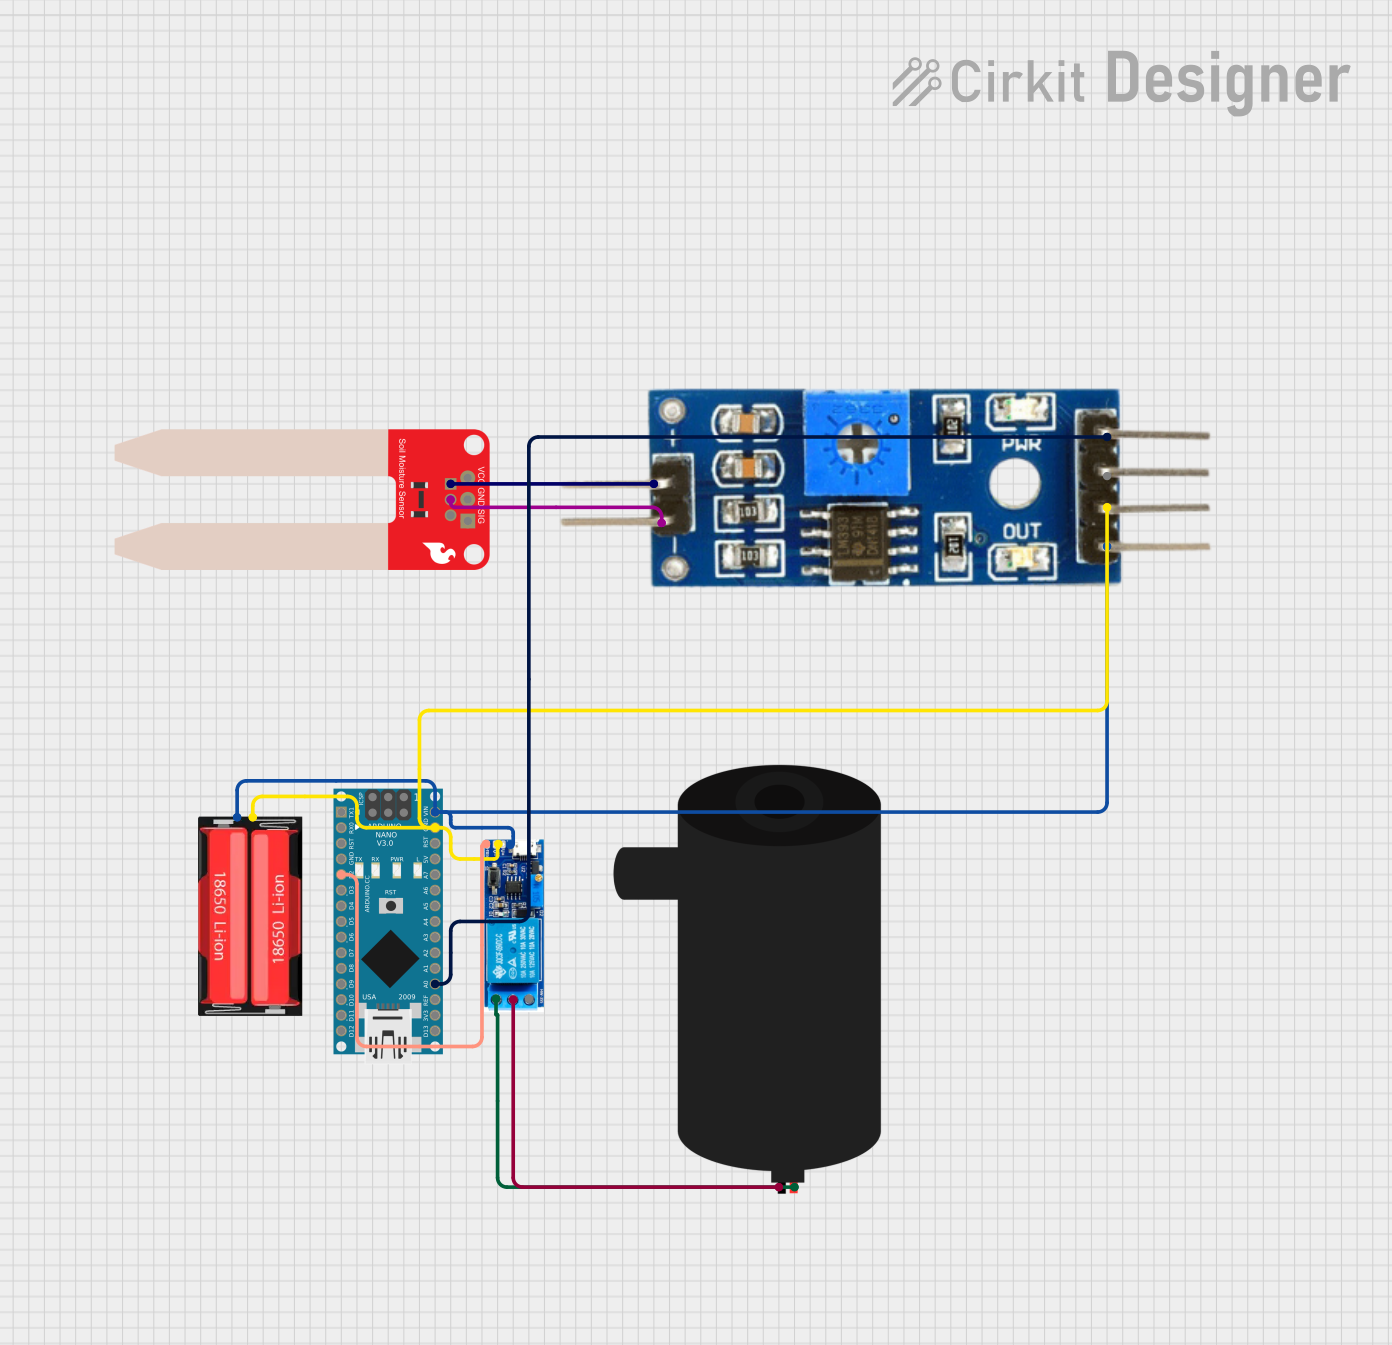
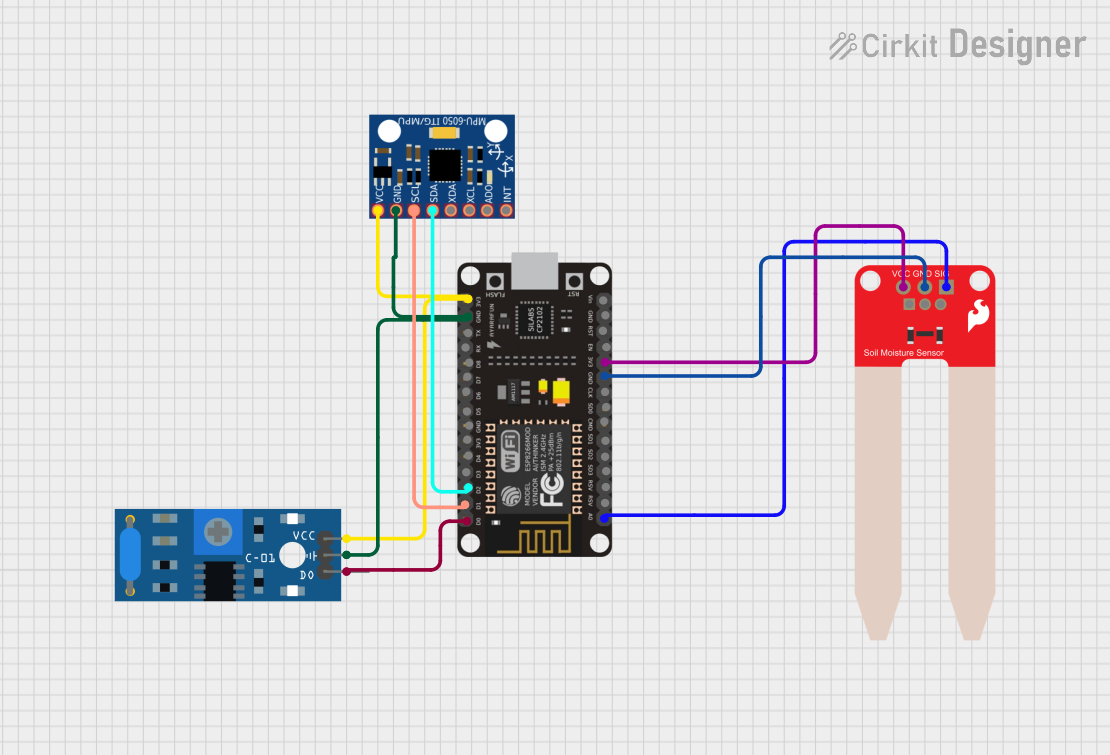
Explore Projects Built with SparkFun Soil Moisture Sensor
Common Applications and Use Cases:
- Home gardening and indoor plant care
- Agricultural irrigation systems
- Landscape management
- Environmental monitoring
Technical Specifications
Key Technical Details:
- Operating Voltage: 3.3V to 5V
- Current Consumption: 5mA (typical)
- Analog Output Voltage: 0V to 3.0V (in water)
- Digital Output Voltage: 0V or VCC (threshold adjustable)
- Interface: Analog and Digital
- Dimensions: 20mm x 60mm
Pin Configuration and Descriptions:
| Pin Number | Name | Description |
|---|---|---|
| 1 | VCC | Power supply (3.3V to 5V) |
| 2 | GND | Ground connection |
| 3 | D0 | Digital output (active low) |
| 4 | A0 | Analog output |
Usage Instructions
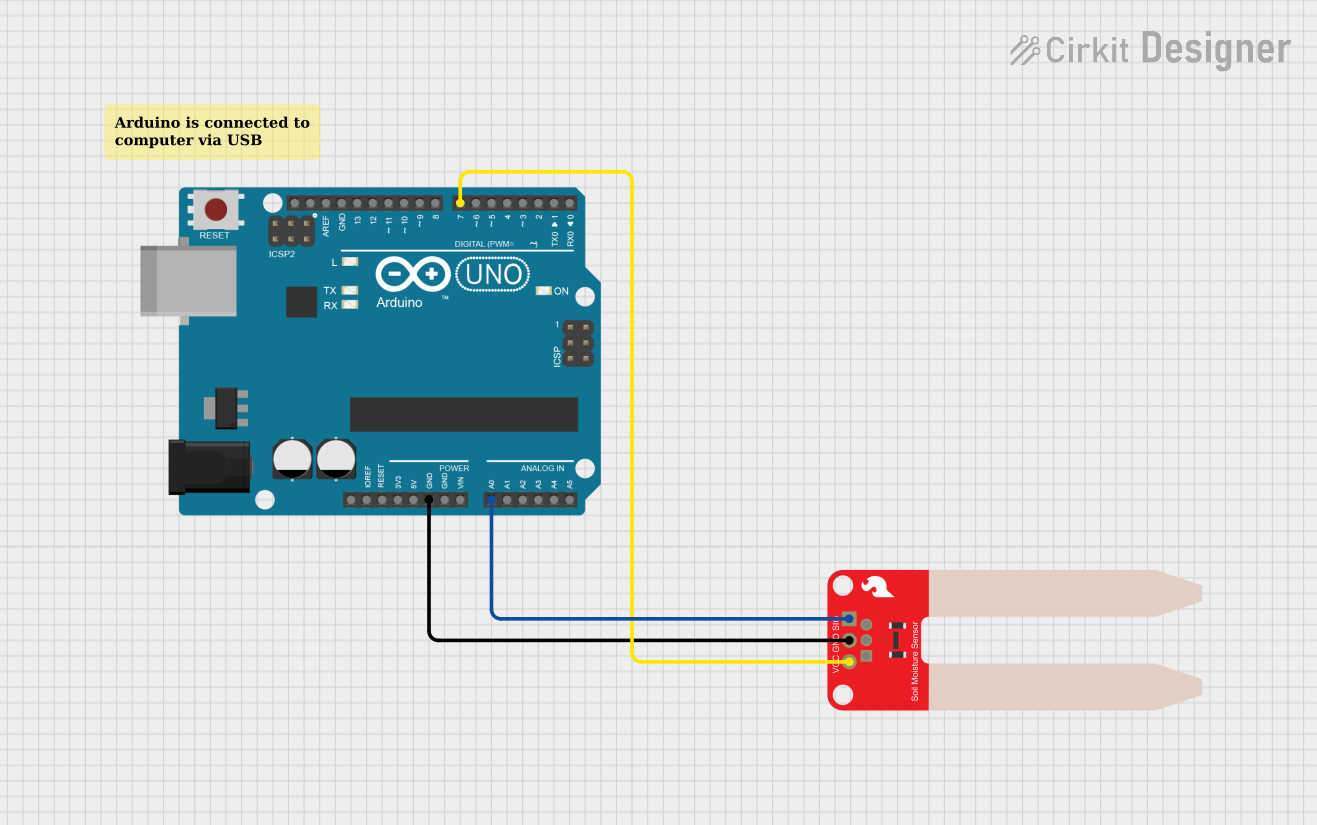
How to Use the Component in a Circuit:
- Powering the Sensor: Connect the VCC pin to a 3.3V or 5V power supply and the GND pin to the ground.
- Reading the Sensor: Connect the A0 pin to an analog input on your microcontroller to read the moisture level as an analog value.
- Using Digital Output: Optionally, connect the D0 pin to a digital input on your microcontroller if you want to use the sensor's built-in threshold feature.
Important Considerations and Best Practices:
- Avoid submerging the sensor completely in water or wetting the onboard electronics.
- Calibrate the sensor by checking the analog output in both air (dry) and water (wet) to understand the range of values.
- Use a pull-up resistor if you experience unreliable readings from the digital output.
- Protect the sensor from corrosion for long-term use by avoiding prolonged exposure to moisture.
Example Code for Arduino UNO
// SparkFun Soil Moisture Sensor Example for Arduino UNO

const int MOISTURE_SENSOR_PIN = A0; // Analog output from the sensor
const int MOISTURE_LEVEL_THRESHOLD = 300; // Set the threshold value

void setup() {
  Serial.begin(9600); // Start serial communication at 9600 baud
}

void loop() {
  int sensorValue = analogRead(MOISTURE_SENSOR_PIN); // Read the analog value
  Serial.print("Moisture Level: ");
  Serial.println(sensorValue); // Print the moisture level to the Serial Monitor

  // Check if the moisture level is below the threshold
  if (sensorValue < MOISTURE_LEVEL_THRESHOLD) {
    // If the soil is dry, take appropriate action (e.g., activate a water pump)
    Serial.println("Soil is dry - time to water the plants!");
  } else {
    // If the soil is moist, no action is needed
    Serial.println("Soil is moist - no watering needed.");
  }

  delay(1000); // Wait for a second before reading again
}
Troubleshooting and FAQs
Common Issues Users Might Face:
- Inconsistent Readings: Ensure that the sensor is properly inserted into the soil and that there is no debris affecting the sensor's ability to measure moisture.
- Sensor Corrosion: Over time, the sensor probes may corrode due to prolonged exposure to moisture. To mitigate this, limit the time the sensor is powered on and in contact with moisture.
Solutions and Tips for Troubleshooting:
- Calibration: Regularly calibrate your sensor by comparing readings in known conditions (dry and wet soil).
- Clean Contacts: Clean the sensor's probes with a soft brush to remove any soil or residue that may interfere with accurate readings.
- Check Connections: Verify that all connections to the sensor are secure and that there are no broken wires or loose pins.
FAQs:
Q: Can the sensor be left in the soil permanently? A: While the sensor can be left in the soil for extended periods, it is recommended to remove it when not in use to prevent corrosion.
Q: How do I adjust the digital output threshold? A: The digital output threshold is typically adjusted via a potentiometer on the sensor board. Turn the potentiometer until the digital output switches at the desired moisture level.
Q: Is the sensor waterproof? A: The sensor's probes are water-resistant, but the electronics are not waterproof. Care should be taken to avoid getting the top part of the sensor wet.
Q: What is the best way to insert the sensor into the soil? A: Insert the sensor vertically into the soil, ensuring that the probes are fully in contact with the soil but not forcing it into hard soil, which could damage the probes.