How to Use ATOM Echo Smart Speaker Development Kit: Examples, Pinouts, and Specs
Introduction
The ATOM Echo Smart Speaker Development Kit by M5STACK is a compact and versatile development platform designed for creating applications and prototypes for smart speaker systems. It features built-in voice recognition, audio playback capabilities, and seamless integration with smart home devices. This kit is ideal for developers looking to explore IoT (Internet of Things) applications, voice-controlled systems, and audio-based projects.
Explore Projects Built with ATOM Echo Smart Speaker Development Kit

Explore Projects Built with ATOM Echo Smart Speaker Development Kit
Common Applications and Use Cases
- Smart home automation and control
- Voice-controlled IoT devices
- Audio playback and streaming
- Prototyping voice recognition systems
- Educational projects in speech and audio processing
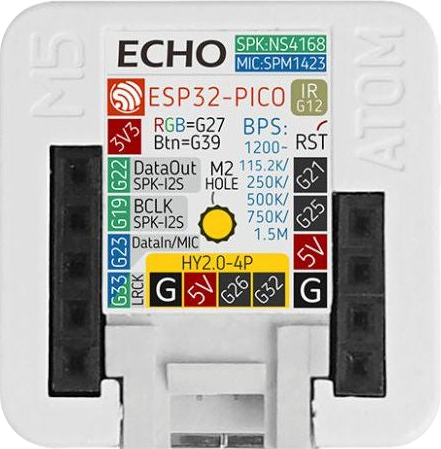
Technical Specifications
Below are the key technical details of the ATOM Echo Smart Speaker Development Kit:
| Specification | Details |
|---|---|
| Manufacturer | M5STACK |
| Part ID | ATOM Echo Smart Speaker Development Kit |
| Processor | ESP32-PICO-D4 (dual-core Xtensa 32-bit LX6 microprocessor) |
| Wireless Connectivity | Wi-Fi 802.11 b/g/n, Bluetooth 4.2 |
| Audio Codec | Built-in I2S digital audio codec |
| Microphone | MEMS omnidirectional microphone |
| Speaker | 1W speaker for audio playback |
| Power Supply | 5V via USB Type-C |
| Dimensions | 24mm x 24mm x 17mm |
| Operating Temperature | -10°C to 55°C |
| Programming Interface | USB Type-C, UART, or OTA (Over-the-Air) |
| Supported Platforms | Arduino, MicroPython, ESP-IDF |
Pin Configuration and Descriptions
The ATOM Echo features a Grove-compatible interface and GPIO pins for external connections. Below is the pinout description:
| Pin | Name | Description |
|---|---|---|
| 1 | GND | Ground connection |
| 2 | 5V | 5V power input/output |
| 3 | GPIO21 | General-purpose I/O pin (default I2C SDA) |
| 4 | GPIO22 | General-purpose I/O pin (default I2C SCL) |
| 5 | RXD | UART receive pin |
| 6 | TXD | UART transmit pin |
Usage Instructions
How to Use the Component in a Circuit
Powering the Device:
Connect the ATOM Echo to a 5V power source using the USB Type-C port. Alternatively, you can power it through the Grove interface if connected to a compatible base unit.Programming the Device:
- Install the necessary drivers for the ESP32 microcontroller on your computer.
- Use the Arduino IDE, MicroPython, or ESP-IDF to write and upload code to the device.
- Select the appropriate board (e.g., "M5Stack-ATOM") in your development environment.
Connecting Peripherals:
- Use the Grove interface to connect external sensors or actuators.
- Utilize the GPIO pins for additional input/output functionality.
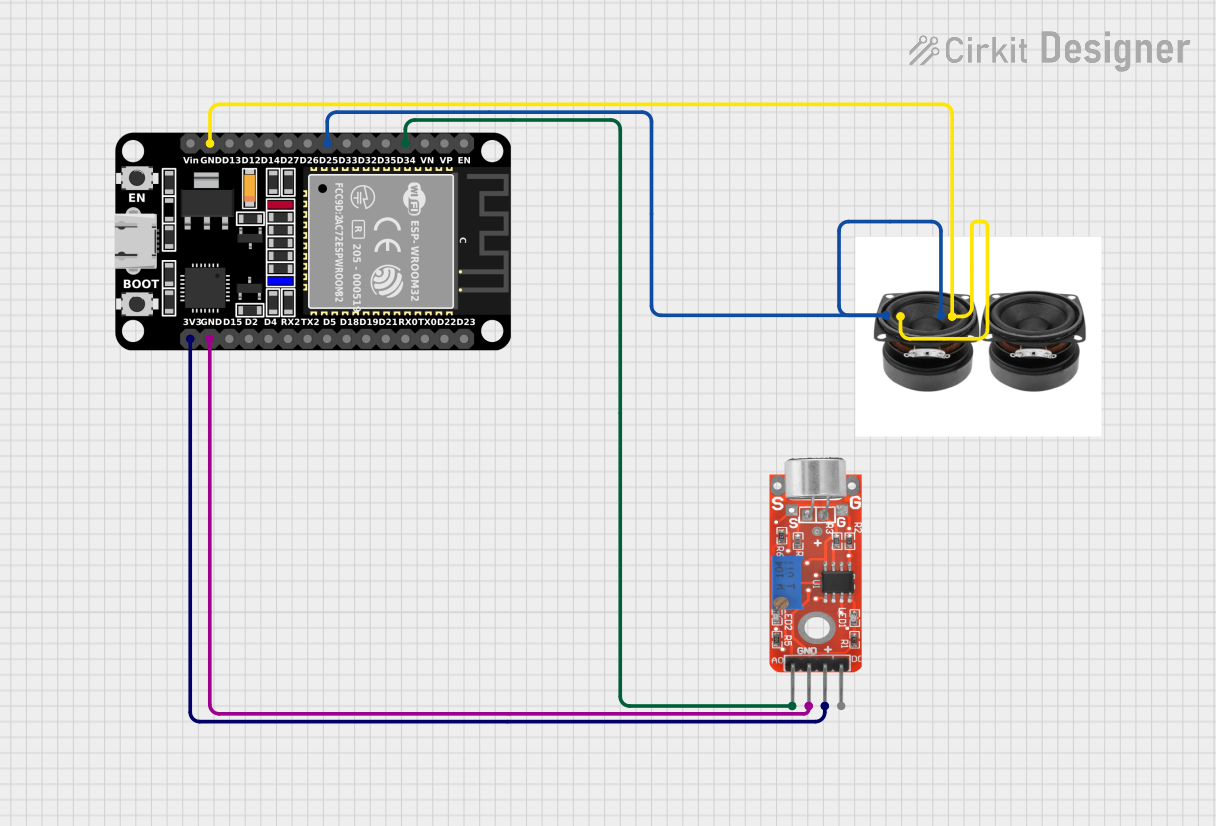
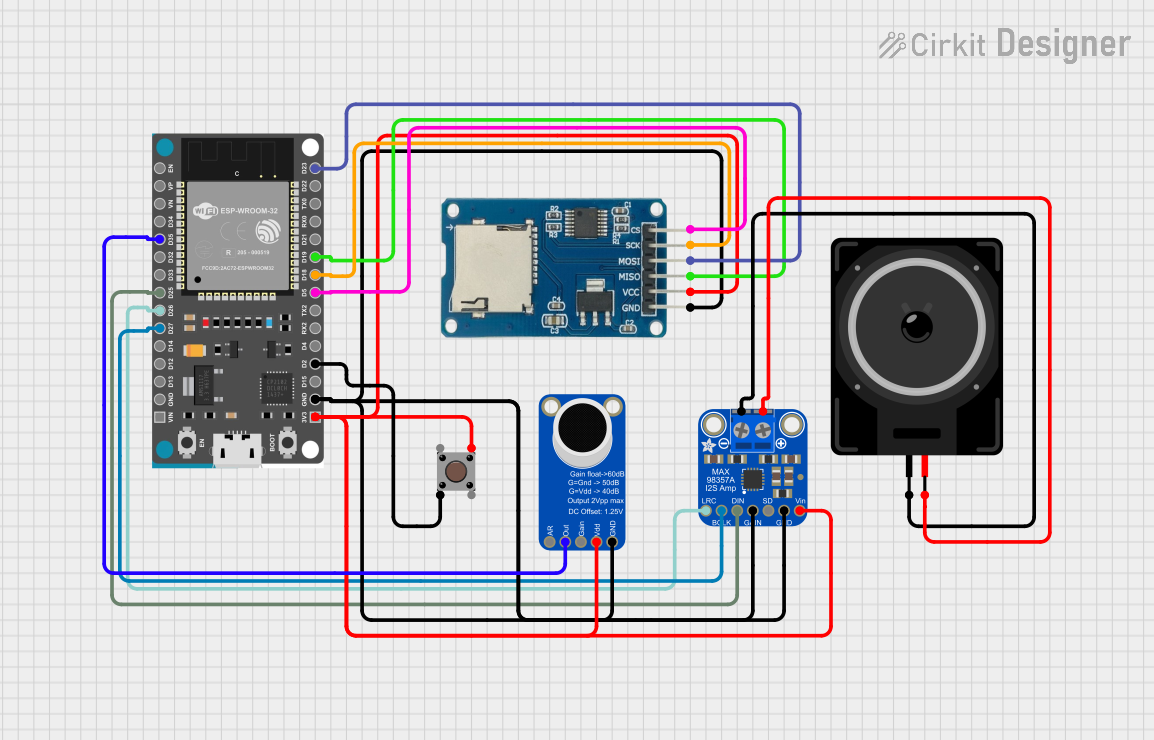
Audio Playback:
- The built-in speaker supports audio playback via I2S. You can use libraries like
ESP32-audioI2Sto play audio files.
- The built-in speaker supports audio playback via I2S. You can use libraries like
Voice Recognition:
- The MEMS microphone enables voice input. Use compatible libraries or APIs to implement voice recognition features.
Important Considerations and Best Practices
- Power Supply: Ensure a stable 5V power source to avoid unexpected resets or malfunctions.
- Heat Management: Operate the device within the specified temperature range (-10°C to 55°C) to prevent overheating.
- Firmware Updates: Regularly update the firmware to access the latest features and bug fixes.
- Audio Quality: For optimal audio performance, avoid placing the device in noisy environments.
Example Code for Arduino UNO Integration
Below is an example of how to use the ATOM Echo with an Arduino UNO to send and receive data via UART:
// Example: Communicating with ATOM Echo via UART
// Ensure the ATOM Echo is connected to the Arduino's TX and RX pins

#include <SoftwareSerial.h>

// Define RX and TX pins for SoftwareSerial
SoftwareSerial atomSerial(10, 11); // RX = Pin 10, TX = Pin 11

void setup() {
  // Initialize serial communication
  Serial.begin(9600); // For debugging via Serial Monitor
  atomSerial.begin(115200); // Communication with ATOM Echo

  Serial.println("Starting communication with ATOM Echo...");
}

void loop() {
  // Send a message to ATOM Echo
  atomSerial.println("Hello, ATOM Echo!");

  // Check if ATOM Echo has sent any data
  if (atomSerial.available()) {
    String receivedData = atomSerial.readString();
    Serial.print("Received from ATOM Echo: ");
    Serial.println(receivedData);
  }

  delay(1000); // Wait for 1 second
}
Notes:
- Replace
10and11with the appropriate pins if using different connections. - Ensure the baud rate matches the ATOM Echo's default UART settings.
Troubleshooting and FAQs
Common Issues and Solutions
Device Not Detected by Computer:
- Ensure the USB Type-C cable is properly connected.
- Install the correct USB drivers for the ESP32 microcontroller.
No Audio Output:
- Verify that the audio file format is supported.
- Check the I2S configuration in your code.
Voice Recognition Not Working:
- Ensure the microphone is not obstructed.
- Test in a quieter environment to reduce background noise.
Device Overheating:
- Confirm that the device is operating within the specified temperature range.
- Avoid placing the device in direct sunlight or near heat sources.
FAQs
Q: Can I use the ATOM Echo with a Raspberry Pi?
A: Yes, the ATOM Echo can communicate with a Raspberry Pi via UART or I2C. Ensure proper voltage level shifting if required.
Q: What programming languages are supported?
A: The ATOM Echo supports Arduino, MicroPython, and ESP-IDF for programming.
Q: Can I connect external speakers to the ATOM Echo?
A: No, the ATOM Echo is designed with a built-in 1W speaker and does not support external speaker connections.
Q: How do I reset the device?
A: Press and hold the reset button on the device for a few seconds to perform a hardware reset.
This concludes the documentation for the ATOM Echo Smart Speaker Development Kit. For further assistance, refer to the official M5STACK documentation or community forums.