Cirkit Designer Logo
Cirkit Designer
Your all-in-one circuit design IDE
Home / 
Component Documentation

How to Use Adafruit 20mm Coin Cell Breakout Board : Examples, Pinouts, and Specs

Image of Adafruit 20mm Coin Cell Breakout Board
Cirkit Designer LogoDesign with Adafruit 20mm Coin Cell Breakout Board in Cirkit Designer

Introduction

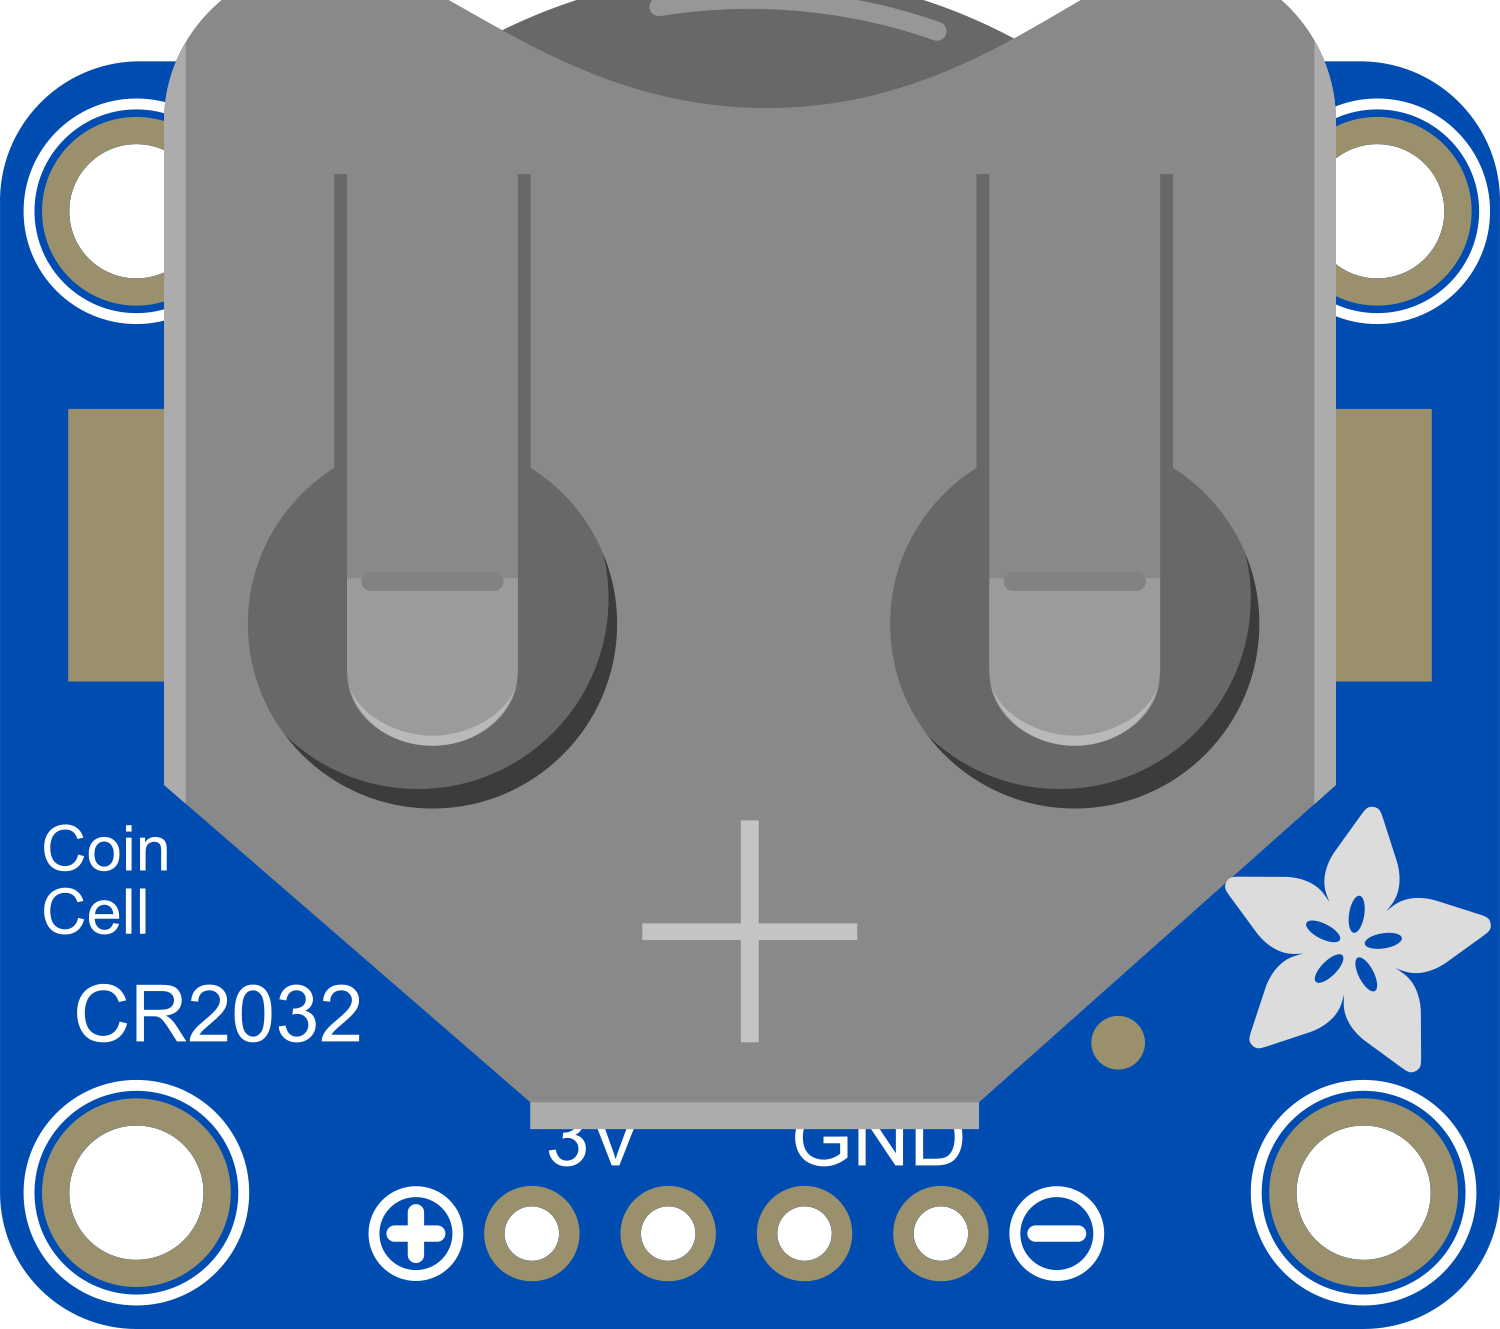
The Adafruit 20mm Coin Cell Breakout Board is a small, convenient holder for 20mm coin cell batteries, such as the CR2032. It provides an easy way to incorporate a small power source into your electronics projects. This breakout board is particularly useful for low-power applications, wearable electronics, and small portable devices.

Explore Projects Built with Adafruit 20mm Coin Cell Breakout Board

Use Cirkit Designer to design, explore, and prototype these projects online. Some projects support real-time simulation. Click "Open Project" to start designing instantly!
Battery-Powered Smart Light with Proximity Sensor and OLED Display using Adafruit QT Py RP2040
Image of lab: A project utilizing Adafruit 20mm Coin Cell Breakout Board  in a practical application
This circuit is a portable, battery-powered system featuring an Adafruit QT Py RP2040 microcontroller that interfaces with an OLED display, a proximity sensor, an accelerometer, and an RGB LED strip. The system is powered by a lithium-ion battery with a step-up boost converter to provide 5V for the LED strip, and it includes a toggle switch for power control. The microcontroller communicates with the sensors and display via I2C.
Cirkit Designer LogoOpen Project in Cirkit Designer
Battery-Powered Sensor Hub with Adafruit QT Py RP2040 and OLED Display
Image of 512: A project utilizing Adafruit 20mm Coin Cell Breakout Board  in a practical application
This circuit features an Adafruit QT Py RP2040 microcontroller interfacing with an MPU-6050 accelerometer, an Adafruit APDS-9960 sensor, and a 0.96" OLED display via I2C communication. It is powered by a 3.7V LiPo battery and includes a green LED with a current-limiting resistor connected to an analog pin of the microcontroller.
Cirkit Designer LogoOpen Project in Cirkit Designer
Battery-Powered Smart Sensor Hub with Adafruit QT Py RP2040
Image of wearable final: A project utilizing Adafruit 20mm Coin Cell Breakout Board  in a practical application
This circuit features an Adafruit QT Py RP2040 microcontroller interfaced with an APDS9960 proximity sensor, an MPU6050 accelerometer and gyroscope, and an OLED display via I2C communication. It also includes a buzzer controlled by the microcontroller and is powered by a 3.7V LiPo battery with a toggle switch for power control.
Cirkit Designer LogoOpen Project in Cirkit Designer
Arduino 101-Based Interactive Voice-Controlled System with Load Sensing and LCD Feedback
Image of Nutri-Scale Circuit diagram: A project utilizing Adafruit 20mm Coin Cell Breakout Board  in a practical application
This circuit features an Arduino 101 microcontroller as the central processing unit, interfaced with a variety of peripherals. It includes an LCM1602 IIC LCD for display, a membrane matrix keypad for user input, a SparkFun Load Cell Amplifier (HX711) for weight measurement, and a voice recognition module for audio-based commands. The circuit is powered by a 9V battery connected through a 2.1mm barrel jack, with power distribution to the Arduino and other components.
Cirkit Designer LogoOpen Project in Cirkit Designer

Explore Projects Built with Adafruit 20mm Coin Cell Breakout Board

Use Cirkit Designer to design, explore, and prototype these projects online. Some projects support real-time simulation. Click "Open Project" to start designing instantly!
Image of lab: A project utilizing Adafruit 20mm Coin Cell Breakout Board  in a practical application
Battery-Powered Smart Light with Proximity Sensor and OLED Display using Adafruit QT Py RP2040
This circuit is a portable, battery-powered system featuring an Adafruit QT Py RP2040 microcontroller that interfaces with an OLED display, a proximity sensor, an accelerometer, and an RGB LED strip. The system is powered by a lithium-ion battery with a step-up boost converter to provide 5V for the LED strip, and it includes a toggle switch for power control. The microcontroller communicates with the sensors and display via I2C.
Cirkit Designer LogoOpen Project in Cirkit Designer
Image of 512: A project utilizing Adafruit 20mm Coin Cell Breakout Board  in a practical application
Battery-Powered Sensor Hub with Adafruit QT Py RP2040 and OLED Display
This circuit features an Adafruit QT Py RP2040 microcontroller interfacing with an MPU-6050 accelerometer, an Adafruit APDS-9960 sensor, and a 0.96" OLED display via I2C communication. It is powered by a 3.7V LiPo battery and includes a green LED with a current-limiting resistor connected to an analog pin of the microcontroller.
Cirkit Designer LogoOpen Project in Cirkit Designer
Image of wearable final: A project utilizing Adafruit 20mm Coin Cell Breakout Board  in a practical application
Battery-Powered Smart Sensor Hub with Adafruit QT Py RP2040
This circuit features an Adafruit QT Py RP2040 microcontroller interfaced with an APDS9960 proximity sensor, an MPU6050 accelerometer and gyroscope, and an OLED display via I2C communication. It also includes a buzzer controlled by the microcontroller and is powered by a 3.7V LiPo battery with a toggle switch for power control.
Cirkit Designer LogoOpen Project in Cirkit Designer
Image of Nutri-Scale Circuit diagram: A project utilizing Adafruit 20mm Coin Cell Breakout Board  in a practical application
Arduino 101-Based Interactive Voice-Controlled System with Load Sensing and LCD Feedback
This circuit features an Arduino 101 microcontroller as the central processing unit, interfaced with a variety of peripherals. It includes an LCM1602 IIC LCD for display, a membrane matrix keypad for user input, a SparkFun Load Cell Amplifier (HX711) for weight measurement, and a voice recognition module for audio-based commands. The circuit is powered by a 9V battery connected through a 2.1mm barrel jack, with power distribution to the Arduino and other components.
Cirkit Designer LogoOpen Project in Cirkit Designer

Common Applications and Use Cases

  • Wearable electronics
  • Small gadgets and toys
  • Real-time clocks (RTCs)
  • Backup power for memory chips
  • Small microcontroller projects

Technical Specifications

Key Technical Details

  • Battery Compatibility: 20mm coin cell batteries (e.g., CR2032)
  • Operating Voltage: Typically 3V (depending on the battery used)
  • Maximum Current: Dependent on the battery specifications
  • Operating Temperature: -20°C to +85°C
  • Dimensions: 23mm x 12mm x 2mm / 0.9" x 0.5" x 0.08"
  • Weight: 1.4g

Pin Configuration and Descriptions

Pin Name Description
BAT+ Positive terminal connected to the battery
BAT- Negative terminal connected to the battery

Usage Instructions

How to Use the Component in a Circuit

  1. Inserting the Battery:

    • Open the battery holder by gently prying the clip.
    • Place the 20mm coin cell battery with the positive side facing up.
    • Close the clip to secure the battery in place.
  2. Connecting to a Circuit:

    • Solder wires or connect alligator clips to the BAT+ and BAT- pins.
    • Connect the BAT+ to the VCC or power input of your circuit.
    • Connect the BAT- to the ground (GND) of your circuit.

Important Considerations and Best Practices

  • Ensure the battery is inserted correctly with the positive side facing up.
  • Do not apply force when closing the battery holder clip to avoid damaging the board.
  • Check the battery voltage and current capabilities to ensure they match your circuit requirements.
  • Avoid short-circuiting the battery terminals as it may lead to battery damage or depletion.
  • When soldering, be quick and precise to prevent heat damage to the board and battery.

Troubleshooting and FAQs

Common Issues Users Might Face

  • Battery not providing power: Ensure the battery is properly inserted and the holder clip is securely closed.
  • Intermittent power: Check for loose connections or cold solder joints at the BAT+ and BAT- pins.
  • Short battery life: Confirm that the battery is fresh and that there are no short circuits or excessive current draws in your circuit.

Solutions and Tips for Troubleshooting

  • Double-check the orientation of the battery.
  • Inspect solder joints and re-solder if necessary.
  • Measure the battery voltage with a multimeter to ensure it is within the expected range.
  • If the battery drains quickly, review your circuit's power consumption and consider power-saving techniques.

FAQs

Q: Can I recharge the coin cell battery using this breakout board? A: No, this breakout board does not support recharging. Use only non-rechargeable batteries.

Q: What is the maximum battery size that can fit in this holder? A: The holder is designed for 20mm diameter coin cell batteries, such as the CR2032.

Q: Is it possible to replace the battery while the circuit is powered? A: It is not recommended to replace the battery while the circuit is powered, as this may cause voltage fluctuations that could damage sensitive components.

Example Code for Arduino UNO

// Example code to read the battery voltage using an Arduino UNO

const int batteryPin = A0; // Connect BAT+ to analog pin A0

void setup() {
  Serial.begin(9600);
}

void loop() {
  int sensorValue = analogRead(batteryPin); // Read the battery voltage
  float voltage = sensorValue * (5.0 / 1023.0); // Convert to voltage
  Serial.print("Battery Voltage: ");
  Serial.print(voltage);
  Serial.println(" V");
  delay(1000); // Wait for a second before reading again
}

Remember to adjust the voltage conversion calculation if you are using a reference voltage other than 5V. The code above assumes that the Arduino's AREF is set to 5V and that the battery voltage does not exceed the AREF voltage.