How to Use 18650 V8 Shield: Examples, Pinouts, and Specs
Introduction
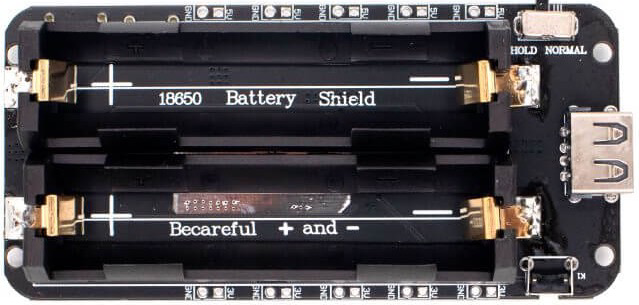
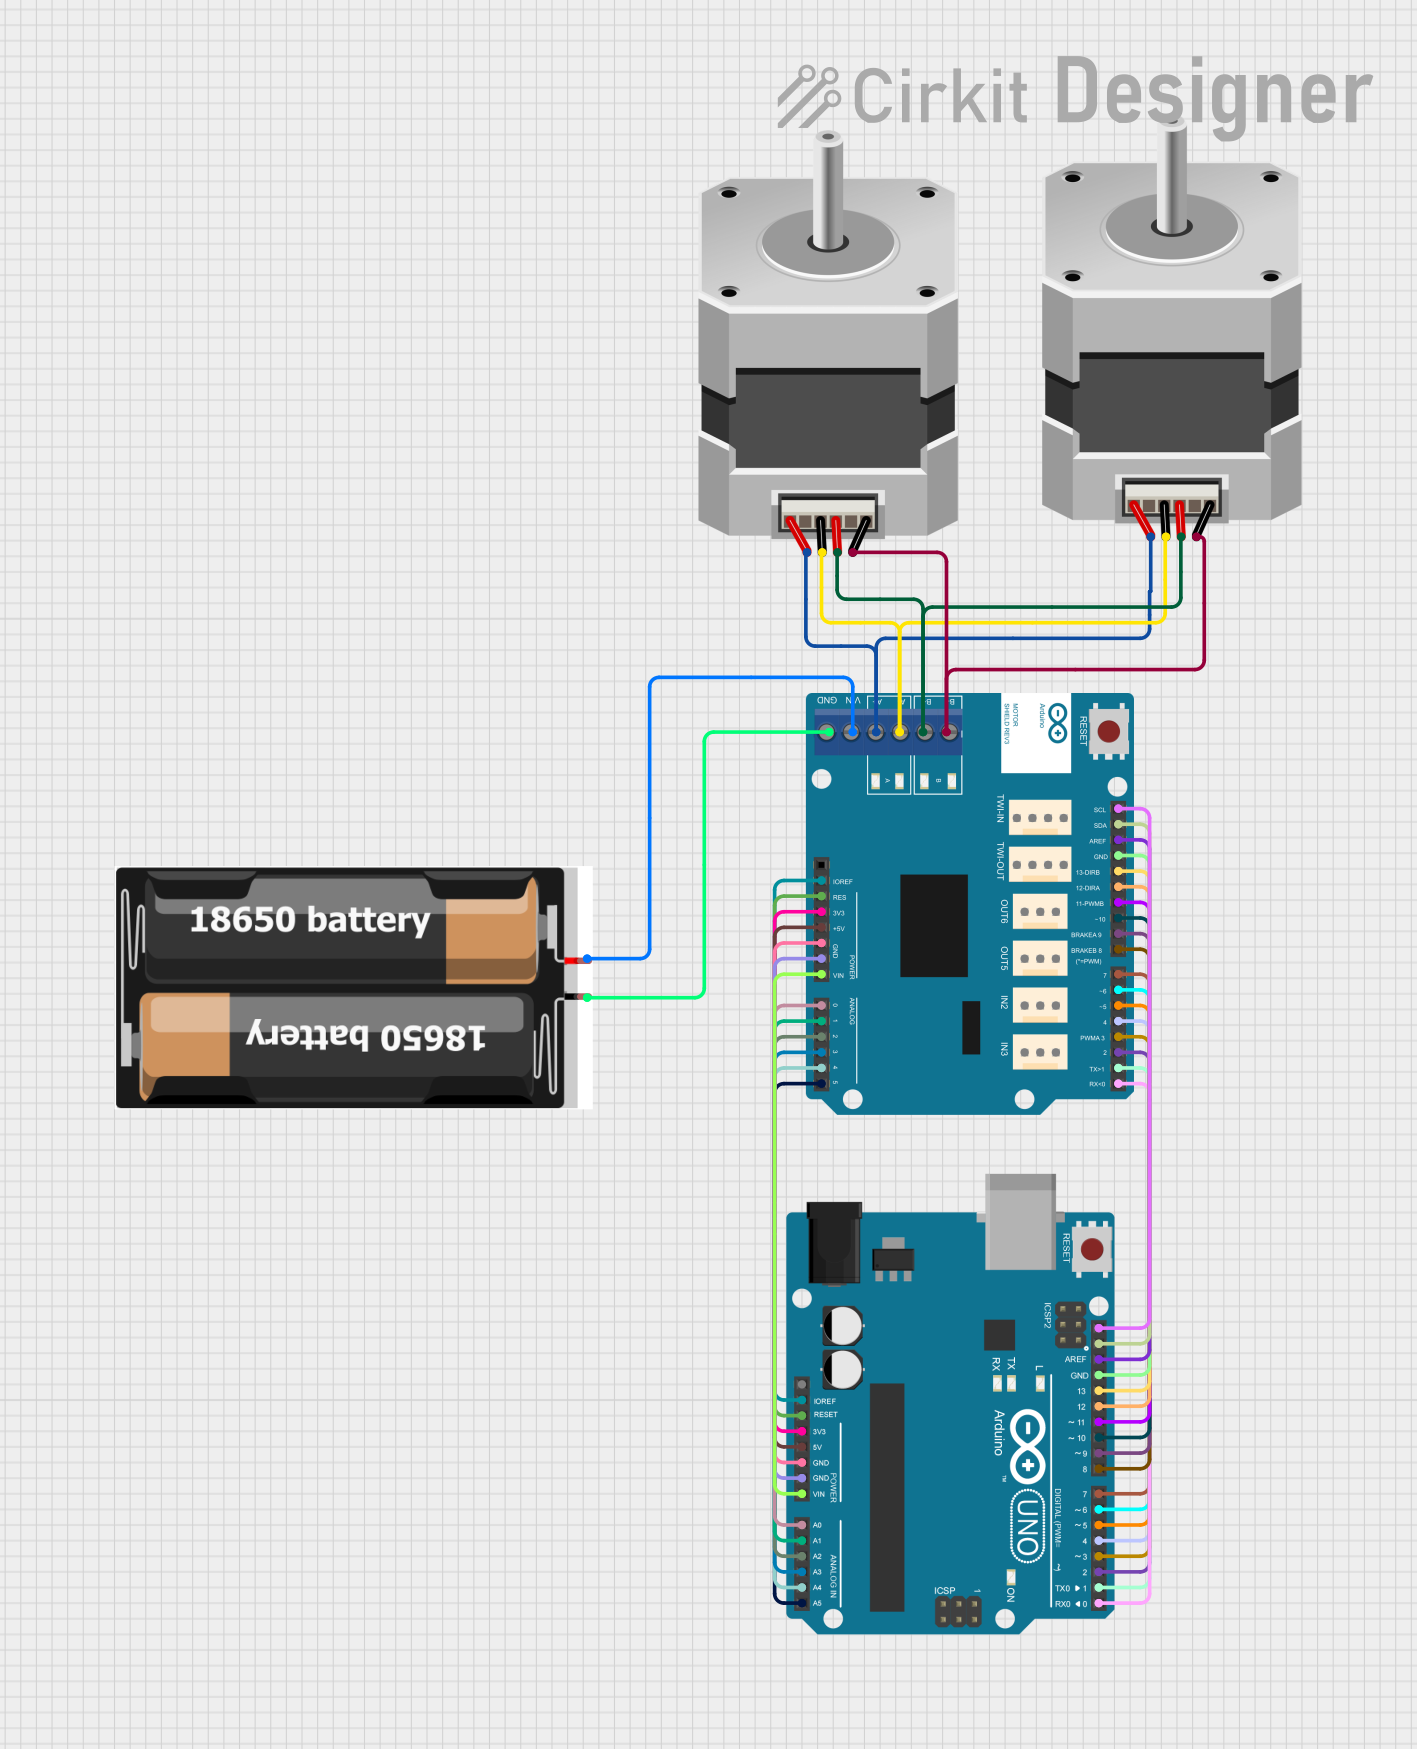
The 18650 V8 Shield by Unit Electronics is a versatile battery shield designed to securely house and utilize 18650 lithium-ion cells. It provides essential features such as charging circuitry, overcharge and discharge protection, and voltage regulation, making it an ideal power solution for a wide range of electronic projects. The shield is particularly popular in DIY electronics, IoT devices, and portable systems due to its reliability and ease of integration.
Explore Projects Built with 18650 V8 Shield
Explore Projects Built with 18650 V8 Shield
Common Applications and Use Cases
- Powering microcontroller-based projects (e.g., Arduino, ESP32, Raspberry Pi Pico)
- Portable IoT devices and sensors
- Robotics and small motorized systems
- Backup power supplies
- DIY power banks
Technical Specifications
The following table outlines the key technical details of the 18650 V8 Shield:
| Parameter | Specification |
|---|---|
| Input Voltage | 3.7V (nominal, from 18650 cell) |
| Output Voltage | 5V (regulated via USB output) |
| Charging Input Voltage | 5V (via micro-USB or Type-C port) |
| Maximum Output Current | 1A (USB output) |
| Battery Protection | Overcharge, over-discharge, and short-circuit protection |
| Charging Current | 1A (maximum) |
| Dimensions | 60mm x 24mm x 18mm |
| Weight | ~15g (without battery) |
Pin Configuration and Descriptions
The 18650 V8 Shield includes several key pins and connectors for integration into your projects. Below is a detailed description:
| Pin/Connector | Description |
|---|---|
| USB Output | Standard USB-A port for 5V regulated output to power external devices. |
| Micro-USB Input | Micro-USB port for charging the 18650 cell. |
| Type-C Input | Type-C port for charging the 18650 cell (alternative to Micro-USB). |
| Battery Terminals | Positive (+) and Negative (-) terminals for securely connecting the 18650 cell. |
| ON/OFF Switch | Toggle switch to enable or disable the output power. |
| Indicator LEDs | LEDs to indicate charging status, battery level, and power output. |
Usage Instructions
How to Use the 18650 V8 Shield in a Circuit
- Insert the Battery: Place a single 18650 lithium-ion cell into the shield, ensuring correct polarity (positive and negative terminals).
- Connect to a Load: Use the USB output port to power your device or connect wires to the output pins if available.
- Charge the Battery: Connect a 5V power source (e.g., USB charger) to the micro-USB or Type-C input port to charge the battery.
- Monitor Status: Use the onboard LEDs to monitor charging and power status:
- Red LED: Charging in progress.
- Green LED: Charging complete.
- Blue LED: Power output active.
Important Considerations and Best Practices
- Battery Selection: Use only high-quality, protected 18650 cells to ensure safety and optimal performance.
- Heat Management: Avoid using the shield in high-temperature environments or under heavy loads for extended periods.
- Polarity Check: Always double-check the battery polarity before inserting it into the shield to prevent damage.
- Output Current Limit: Do not exceed the maximum output current of 1A to avoid overloading the shield.
Example: Using the 18650 V8 Shield with an Arduino UNO
The 18650 V8 Shield can be used to power an Arduino UNO via its USB port. Below is an example of a simple Arduino sketch to blink an LED while powered by the shield:
// Simple LED Blink Example for Arduino UNO
// This code blinks an LED connected to pin 13 of the Arduino UNO.
// Ensure the Arduino is powered via the 18650 V8 Shield's USB output.

void setup() {
  pinMode(13, OUTPUT); // Set pin 13 as an output pin
}

void loop() {
  digitalWrite(13, HIGH); // Turn the LED on
  delay(1000);            // Wait for 1 second
  digitalWrite(13, LOW);  // Turn the LED off
  delay(1000);            // Wait for 1 second
}
Troubleshooting and FAQs
Common Issues and Solutions
The shield does not power my device.
- Ensure the battery is properly inserted with the correct polarity.
- Check if the ON/OFF switch is in the "ON" position.
- Verify that the battery is charged.
The battery is not charging.
- Confirm that the charging cable and power source are functioning correctly.
- Check the micro-USB or Type-C port for any physical damage.
- Ensure the battery is not over-discharged; if so, use a dedicated charger to recover it.
The output voltage is unstable.
- Ensure the connected load does not exceed the 1A maximum output current.
- Verify that the battery is not depleted or damaged.
The LEDs are not lighting up.
- Check the battery connection and ensure it is securely seated.
- Inspect the shield for any visible damage or loose components.
FAQs
Q: Can I use two 18650 cells with this shield?
A: No, the 18650 V8 Shield is designed for a single 18650 cell only. Using multiple cells may damage the shield.
Q: Is the shield compatible with LiFePO4 batteries?
A: No, the shield is specifically designed for 3.7V lithium-ion cells and is not compatible with LiFePO4 batteries.
Q: Can I charge the battery while powering a device?
A: Yes, the shield supports simultaneous charging and discharging, but ensure the total load does not exceed the input power capacity.
Q: What happens if I insert the battery backward?
A: The shield includes reverse polarity protection, but it is always best to double-check the polarity to avoid potential issues.
By following this documentation, you can safely and effectively use the 18650 V8 Shield in your electronic projects.