
How to Use Gravity: Factory Calibrated Electrochemical Nitrogen Dioxide Sensor: Examples, Pinouts, and Specs
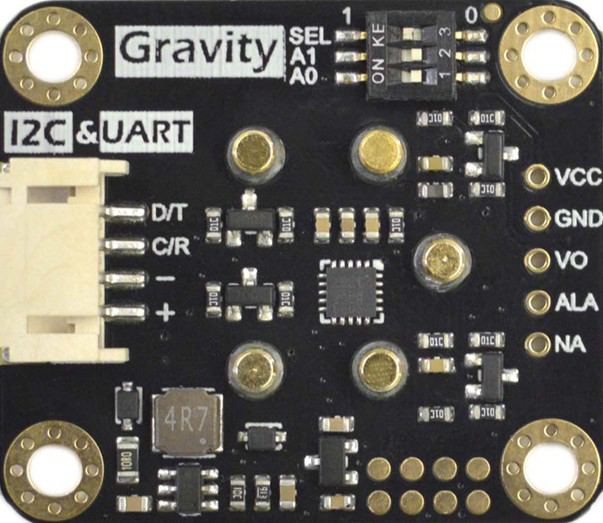
 Design with Gravity: Factory Calibrated Electrochemical Nitrogen Dioxide Sensor in Cirkit Designer
Introduction
The Gravity: Factory Calibrated Electrochemical Nitrogen Dioxide Sensor by DFRobot is a highly sensitive and reliable sensor designed to detect and measure nitrogen dioxide (NO₂) levels in the air. Utilizing advanced electrochemical technology, this sensor provides accurate and stable readings, making it ideal for environmental monitoring and industrial applications. The sensor is factory calibrated, ensuring consistent performance across a wide range of environmental conditions.
Explore Projects Built with Gravity: Factory Calibrated Electrochemical Nitrogen Dioxide Sensor
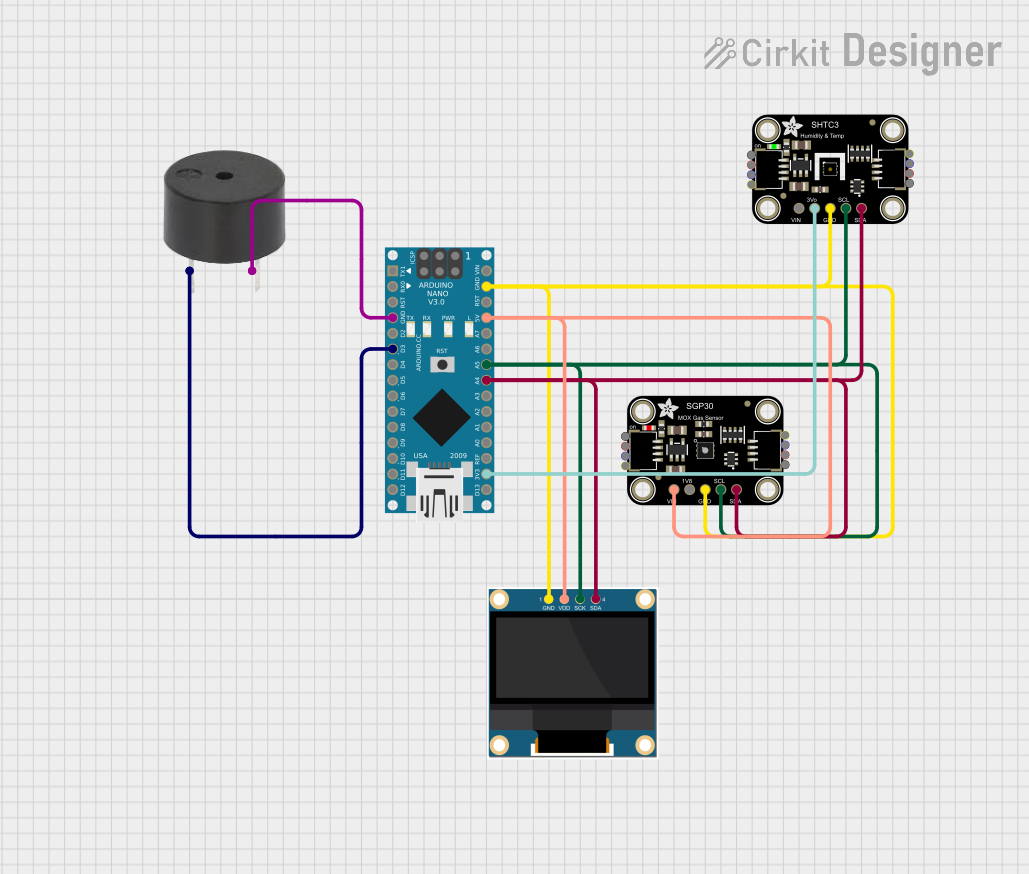 Open Project in Cirkit Designer
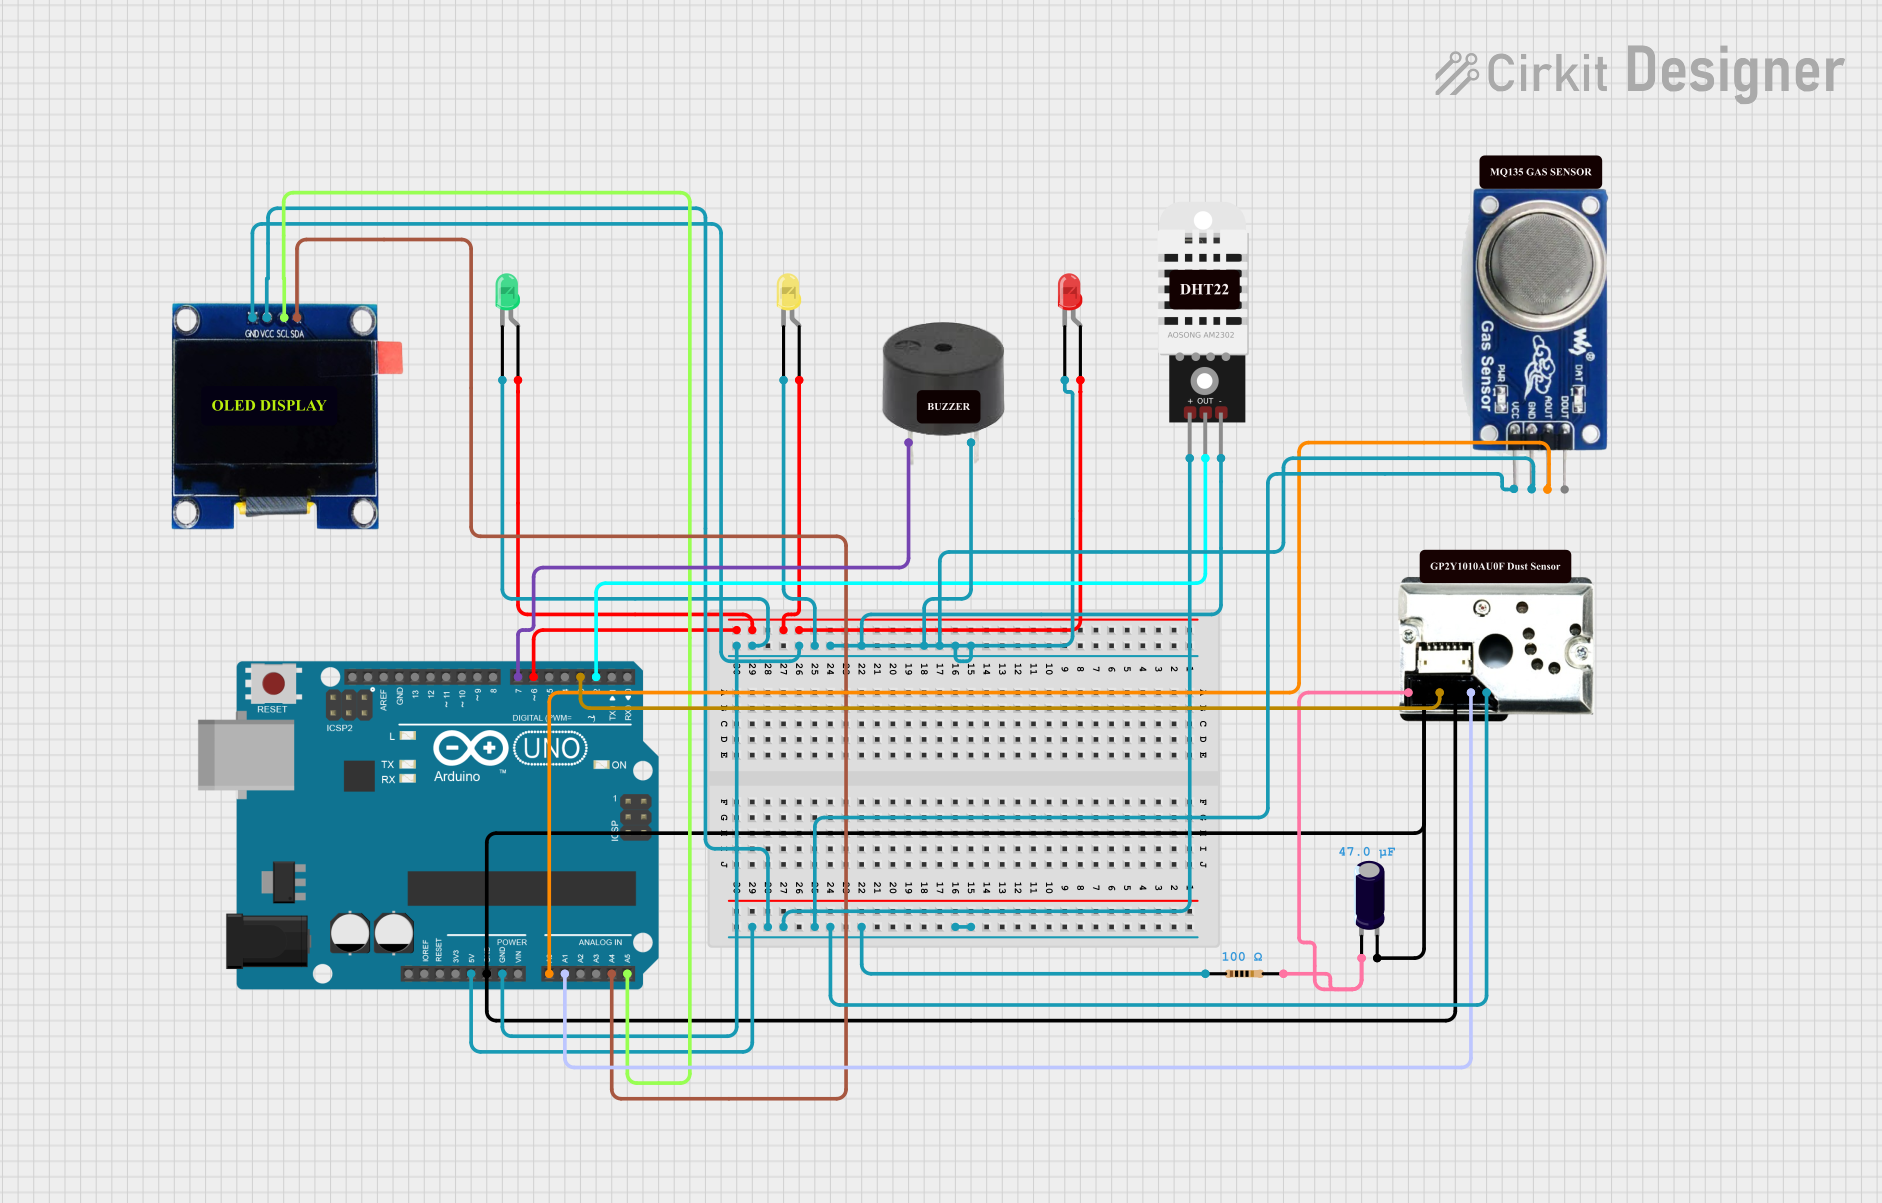 Open Project in Cirkit Designer
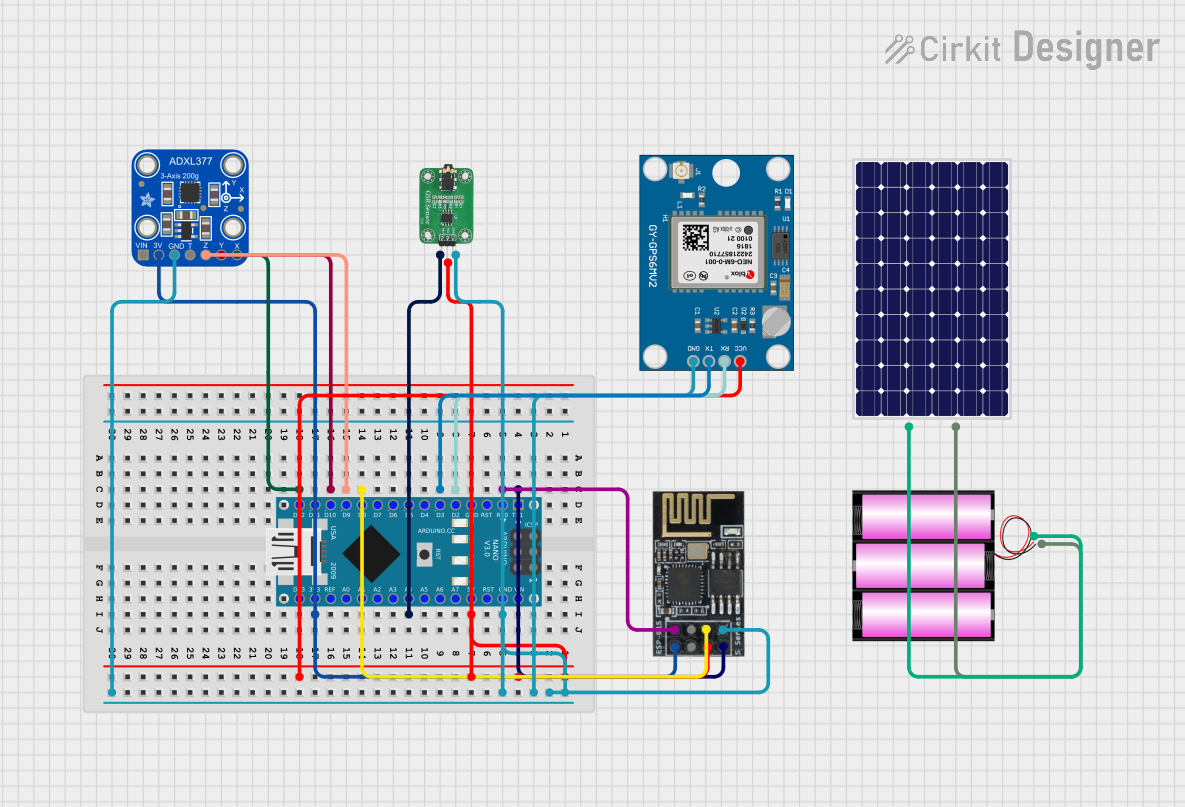 Open Project in Cirkit Designer
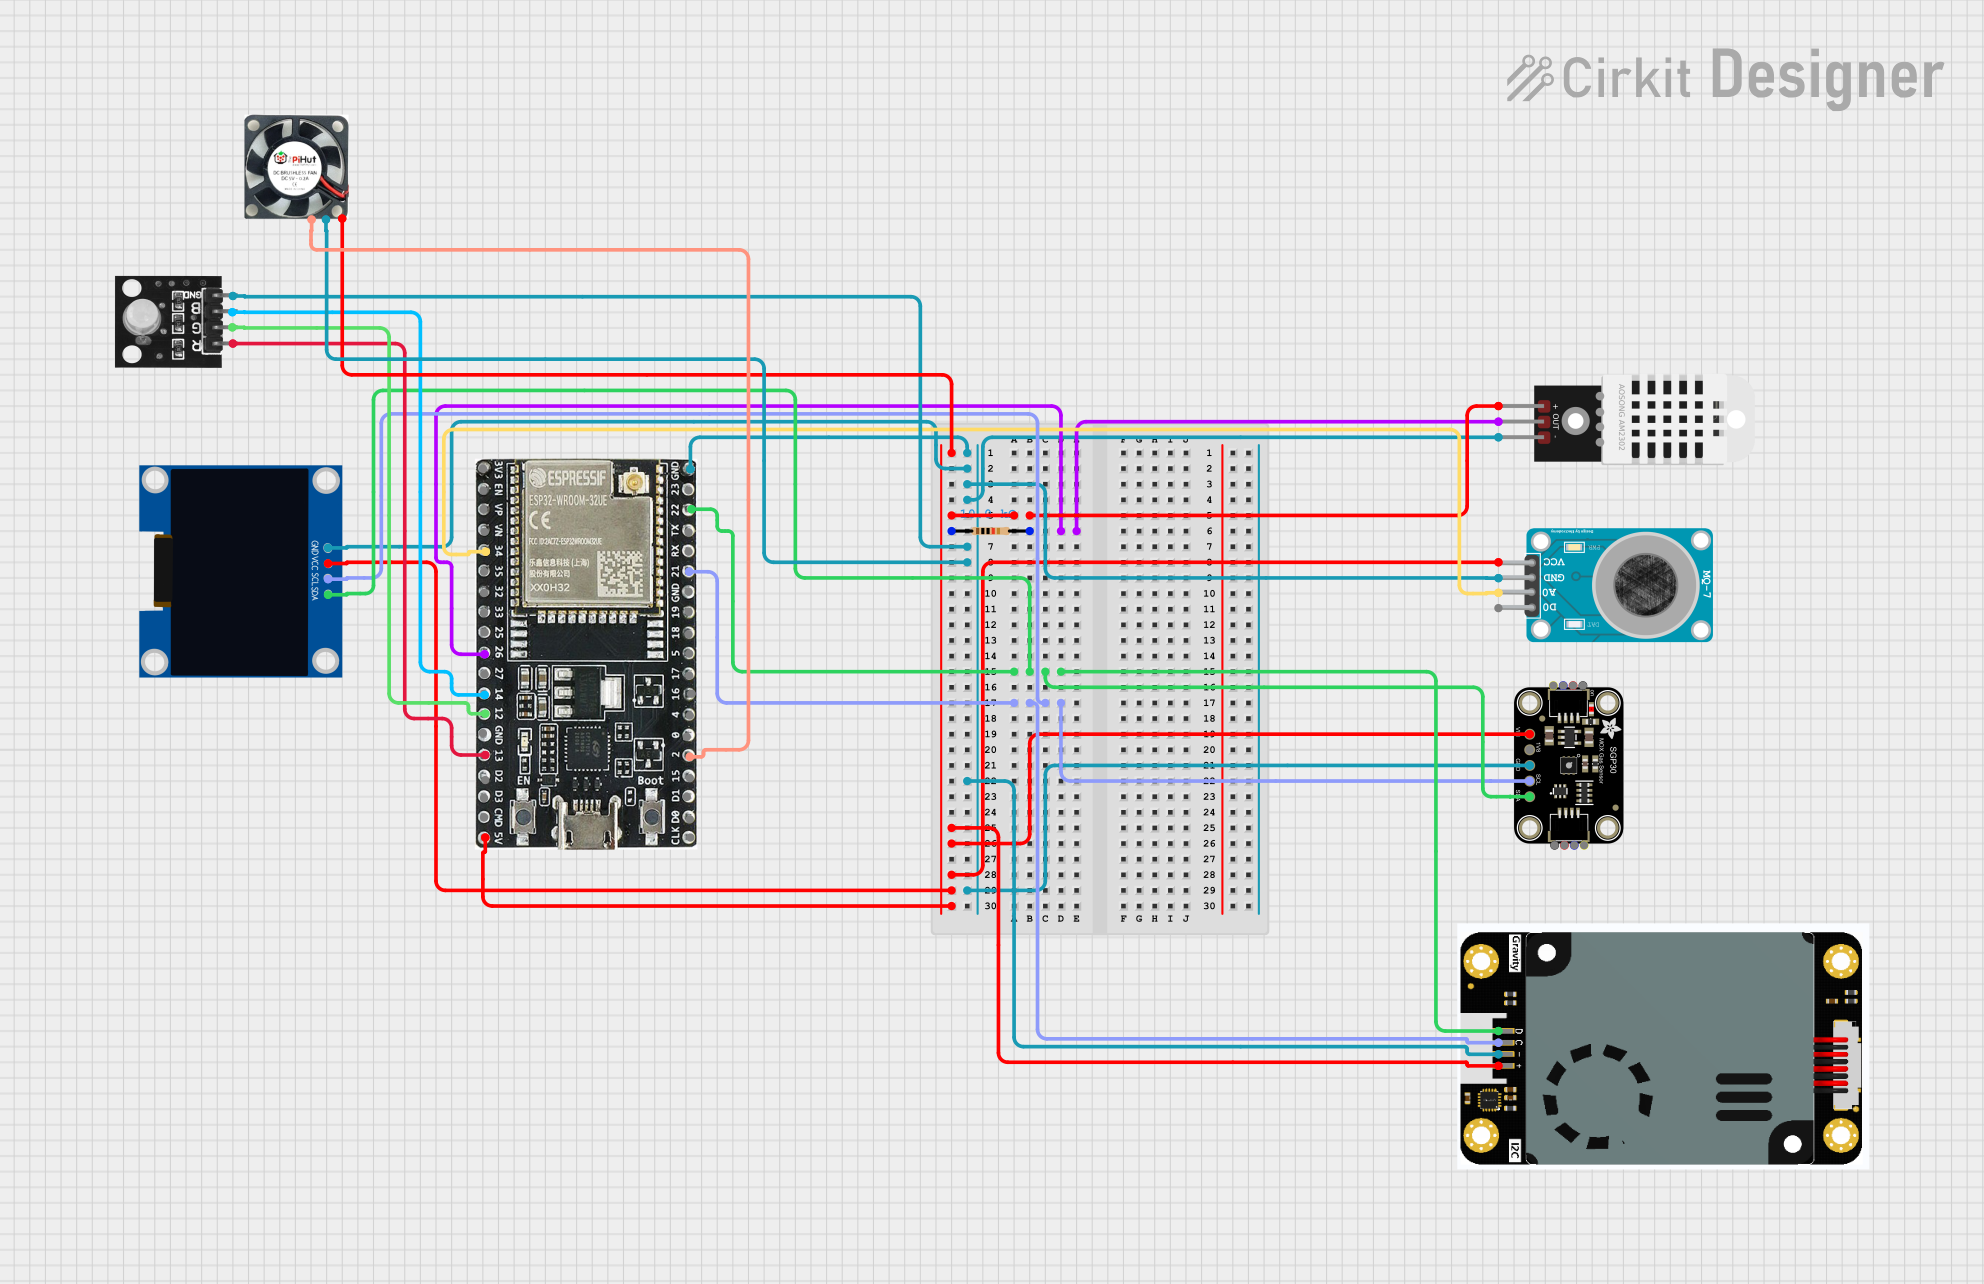 Open Project in Cirkit Designer
Explore Projects Built with Gravity: Factory Calibrated Electrochemical Nitrogen Dioxide Sensor
Open Project in Cirkit DesignerOpen Project in Cirkit DesignerOpen Project in Cirkit DesignerOpen Project in Cirkit DesignerCommon Applications and Use Cases
- Air quality monitoring systems
- Industrial safety and pollution control
- Smart city environmental monitoring
- HVAC systems for indoor air quality management
- Educational and research projects
Technical Specifications
Below are the key technical details of the sensor:
| Parameter | Value |
|---|---|
| Measurement Range | 0–20 ppm (parts per million) |
| Resolution | 0.01 ppm |
| Accuracy | ±0.1 ppm |
| Response Time (T90) | ≤ 60 seconds |
| Operating Voltage | 3.3V–5.5V |
| Operating Current | ≤ 5 mA |
| Operating Temperature Range | -20°C to 50°C |
| Operating Humidity Range | 15%–90% RH (non-condensing) |
| Output Signal | Analog voltage (0.1V–3.0V) |
| Sensor Life Span | > 2 years |
| Dimensions | 37mm x 32mm |
Pin Configuration and Descriptions
The sensor module has a 4-pin interface. Below is the pinout description:
| Pin | Label | Description |
|---|---|---|
| 1 | VCC | Power supply input (3.3V–5.5V) |
| 2 | GND | Ground connection |
| 3 | AOUT | Analog output signal proportional to NO₂ levels |
| 4 | NC | Not connected (reserved for future use) |
Usage Instructions
How to Use the Sensor in a Circuit
- Power the Sensor: Connect the VCC pin to a 3.3V–5.5V power source and the GND pin to the ground.
- Read the Analog Output: Connect the AOUT pin to an analog input pin of a microcontroller (e.g., Arduino UNO) to read the voltage signal corresponding to the NO₂ concentration.
- Calibrate if Necessary: Although the sensor is factory calibrated, you can perform additional calibration in your specific environment for enhanced accuracy.
- Warm-Up Period: Allow the sensor to stabilize for 5–10 minutes after powering it on for the first time or after a long period of inactivity.
Important Considerations and Best Practices
- Avoid Condensation: Ensure the sensor is not exposed to high humidity or condensation, as this may affect its performance.
- Avoid Contaminants: Keep the sensor away from volatile organic compounds (VOCs) or other gases that may interfere with NO₂ detection.
- Use in Ventilated Areas: For accurate readings, use the sensor in areas with proper air circulation.
- Analog Signal Scaling: The output voltage (AOUT) ranges from 0.1V to 3.0V, corresponding to 0–20 ppm NO₂. Use this range to map the voltage to the concentration.
Example Code for Arduino UNO
Below is an example of how to interface the sensor with an Arduino UNO to read and display NO₂ levels:
// Gravity: Factory Calibrated Electrochemical Nitrogen Dioxide Sensor Example
// Connect the sensor's AOUT pin to Arduino's A0 pin
// Ensure VCC and GND are properly connected to the Arduino

const int sensorPin = A0; // Analog pin connected to AOUT
float voltage;           // Variable to store sensor output voltage
float no2Concentration;  // Variable to store NO2 concentration in ppm

void setup() {
  Serial.begin(9600); // Initialize serial communication at 9600 baud
  Serial.println("NO2 Sensor Initialization...");
}

void loop() {
  // Read the analog voltage from the sensor
  int sensorValue = analogRead(sensorPin);

  // Convert the analog value (0–1023) to voltage (0–5V for Arduino UNO)
  voltage = sensorValue * (5.0 / 1023.0);

  // Map the voltage to NO2 concentration (0.1V–3.0V corresponds to 0–20 ppm)
  no2Concentration = (voltage - 0.1) * (20.0 / (3.0 - 0.1));

  // Ensure the concentration is within the valid range
  if (no2Concentration < 0) {
    no2Concentration = 0;
  }

  // Print the results to the Serial Monitor
  Serial.print("Voltage: ");
  Serial.print(voltage, 2); // Print voltage with 2 decimal places
  Serial.print(" V, NO2 Concentration: ");
  Serial.print(no2Concentration, 2); // Print concentration with 2 decimal places
  Serial.println(" ppm");

  delay(1000); // Wait for 1 second before the next reading
}
Troubleshooting and FAQs
Common Issues and Solutions
No Output Signal or Incorrect Readings
- Cause: Improper wiring or loose connections.
- Solution: Double-check all connections, ensuring VCC, GND, and AOUT are properly connected.
Unstable or Fluctuating Readings
- Cause: Insufficient warm-up time or environmental interference.
- Solution: Allow the sensor to stabilize for 5–10 minutes after powering on. Ensure the sensor is used in a well-ventilated area.
Output Voltage Exceeds Expected Range
- Cause: Incorrect power supply voltage or damaged sensor.
- Solution: Verify the power supply voltage is within the 3.3V–5.5V range. Replace the sensor if damaged.
Low Sensitivity or No Response to NO₂
- Cause: Sensor degradation or contamination.
- Solution: Replace the sensor if it has exceeded its lifespan or has been exposed to contaminants.
FAQs
Q1: Can this sensor detect gases other than NO₂?
A1: No, this sensor is specifically designed and calibrated for nitrogen dioxide (NO₂) detection. It may not provide accurate readings for other gases.
Q2: How often should I calibrate the sensor?
A2: The sensor is factory calibrated and does not require frequent calibration. However, you may recalibrate it periodically for enhanced accuracy in specific environments.
Q3: Can I use this sensor outdoors?
A3: Yes, but ensure it is protected from extreme weather conditions, high humidity, and condensation.
Q4: What is the lifespan of the sensor?
A4: The sensor has a lifespan of over 2 years under normal operating conditions.