
How to Use LilyPad Slide Switch: Examples, Pinouts, and Specs
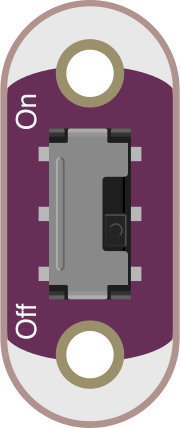
 Design with LilyPad Slide Switch in Cirkit Designer
Introduction
The LilyPad Slide Switch (Manufacturer Part ID: DEV-09350) is a compact, low-profile switch designed by SparkFun Electronics for use in wearable electronics. This switch allows users to easily turn devices on or off with a simple sliding motion. Its lightweight and sewable design make it ideal for e-textile projects and other applications where space and flexibility are critical.
Explore Projects Built with LilyPad Slide Switch
 Open Project in Cirkit Designer
 Open Project in Cirkit Designer
 Open Project in Cirkit Designer
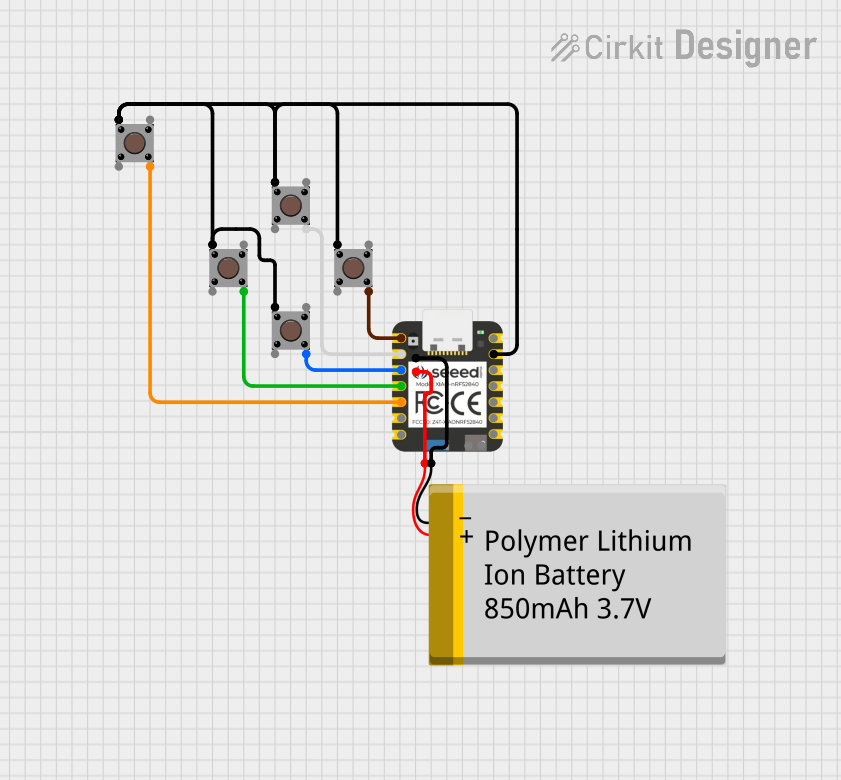 Open Project in Cirkit Designer
Explore Projects Built with LilyPad Slide Switch
Open Project in Cirkit DesignerOpen Project in Cirkit DesignerOpen Project in Cirkit DesignerOpen Project in Cirkit DesignerCommon Applications and Use Cases
- Wearable electronics and e-textiles
- Battery-powered devices requiring an on/off switch
- Interactive clothing and accessories
- Prototyping small, portable circuits
Technical Specifications
The LilyPad Slide Switch is designed to integrate seamlessly into wearable projects. Below are its key technical details:
| Parameter | Specification |
|---|---|
| Manufacturer | SparkFun Electronics |
| Part Number | DEV-09350 |
| Operating Voltage | 3.3V to 5V |
| Current Rating | 300mA |
| Dimensions | 20mm x 8mm |
| Weight | 0.5g |
| Mounting Style | Sewable with conductive thread |
| Switch Type | SPDT (Single Pole Double Throw) |
Pin Configuration and Descriptions
The LilyPad Slide Switch has three connection points (sewable pads) for easy integration into circuits. The table below describes each pin:
| Pin Name | Description |
|---|---|
| Pin 1 | Common terminal (connects to the circuit's power source or signal input) |
| Pin 2 | Normally Open (NO) terminal (connected to Pin 1 when the switch is slid ON) |
| Pin 3 | Normally Closed (NC) terminal (connected to Pin 1 when the switch is slid OFF) |
Usage Instructions
The LilyPad Slide Switch is straightforward to use in circuits. Follow the steps below to integrate it into your project:
Sewing the Switch:
- Use conductive thread to sew the switch onto your fabric or project base.
- Ensure the thread connects the appropriate pads (Pin 1, Pin 2, and/or Pin 3) to your circuit components.
- Avoid overlapping threads to prevent short circuits.
Connecting to a Circuit:
- Connect Pin 1 to the power source or signal input.
- Connect Pin 2 to the device or circuit you want to power when the switch is ON.
- Optionally, connect Pin 3 to a secondary circuit or leave it unconnected if not needed.
Testing the Switch:
- Slide the switch to the ON position to connect Pin 1 and Pin 2.
- Slide it to the OFF position to disconnect Pin 1 and Pin 2, and optionally connect Pin 1 to Pin 3.
Example: Using the LilyPad Slide Switch with an Arduino UNO
The LilyPad Slide Switch can be used to control power or signals in Arduino projects. Below is an example of using the switch to toggle an LED:
Circuit Connections:
- Connect Pin 1 of the switch to the 5V pin on the Arduino.
- Connect Pin 2 of the switch to one leg of a 220-ohm resistor.
- Connect the other leg of the resistor to the anode (long leg) of an LED.
- Connect the cathode (short leg) of the LED to the Arduino's GND pin.
Arduino Code:
// This code demonstrates how to use the LilyPad Slide Switch to control an LED.
// When the switch is ON, the LED will light up.

const int ledPin = 13; // Pin connected to the LED
const int switchPin = 2; // Pin connected to the switch

void setup() {
  pinMode(ledPin, OUTPUT); // Set the LED pin as an output
  pinMode(switchPin, INPUT); // Set the switch pin as an input
}

void loop() {
  int switchState = digitalRead(switchPin); // Read the state of the switch

  if (switchState == HIGH) {
    digitalWrite(ledPin, HIGH); // Turn the LED on if the switch is ON
  } else {
    digitalWrite(ledPin, LOW); // Turn the LED off if the switch is OFF
  }
}
Important Considerations and Best Practices
- Ensure the conductive thread connections are tight and secure to avoid intermittent connections.
- Avoid exposing the switch to moisture, as it may affect its performance in wearable applications.
- Test the switch's functionality before sewing it into your final project to ensure proper operation.
Troubleshooting and FAQs
Common Issues and Solutions
The switch does not turn the circuit on or off.
- Check the conductive thread connections for continuity.
- Ensure the switch is properly sewn into the circuit and the pads are not shorted.
The circuit behaves erratically when the switch is used.
- Verify that the conductive threads are not overlapping or touching unintentionally.
- Check for loose connections or frayed thread ends.
The switch feels stuck or does not slide smoothly.
- Inspect the switch for debris or damage.
- Gently clean the switch with a soft, dry cloth.
FAQs
Q: Can the LilyPad Slide Switch handle higher voltages or currents?
A: No, the switch is rated for a maximum of 5V and 300mA. Exceeding these limits may damage the switch.
Q: Can I use the switch in non-wearable projects?
A: Yes, the switch can be used in any low-power circuit where a compact, SPDT switch is required.
Q: How do I sew the switch securely onto fabric?
A: Use multiple loops of conductive thread through each pad to ensure a strong connection. Knot the thread securely to prevent it from unraveling.
By following this documentation, you can effectively integrate the LilyPad Slide Switch into your wearable or electronic projects!