How to Use Quad DC motor driver shield: Examples, Pinouts, and Specs
Introduction
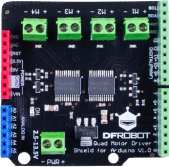
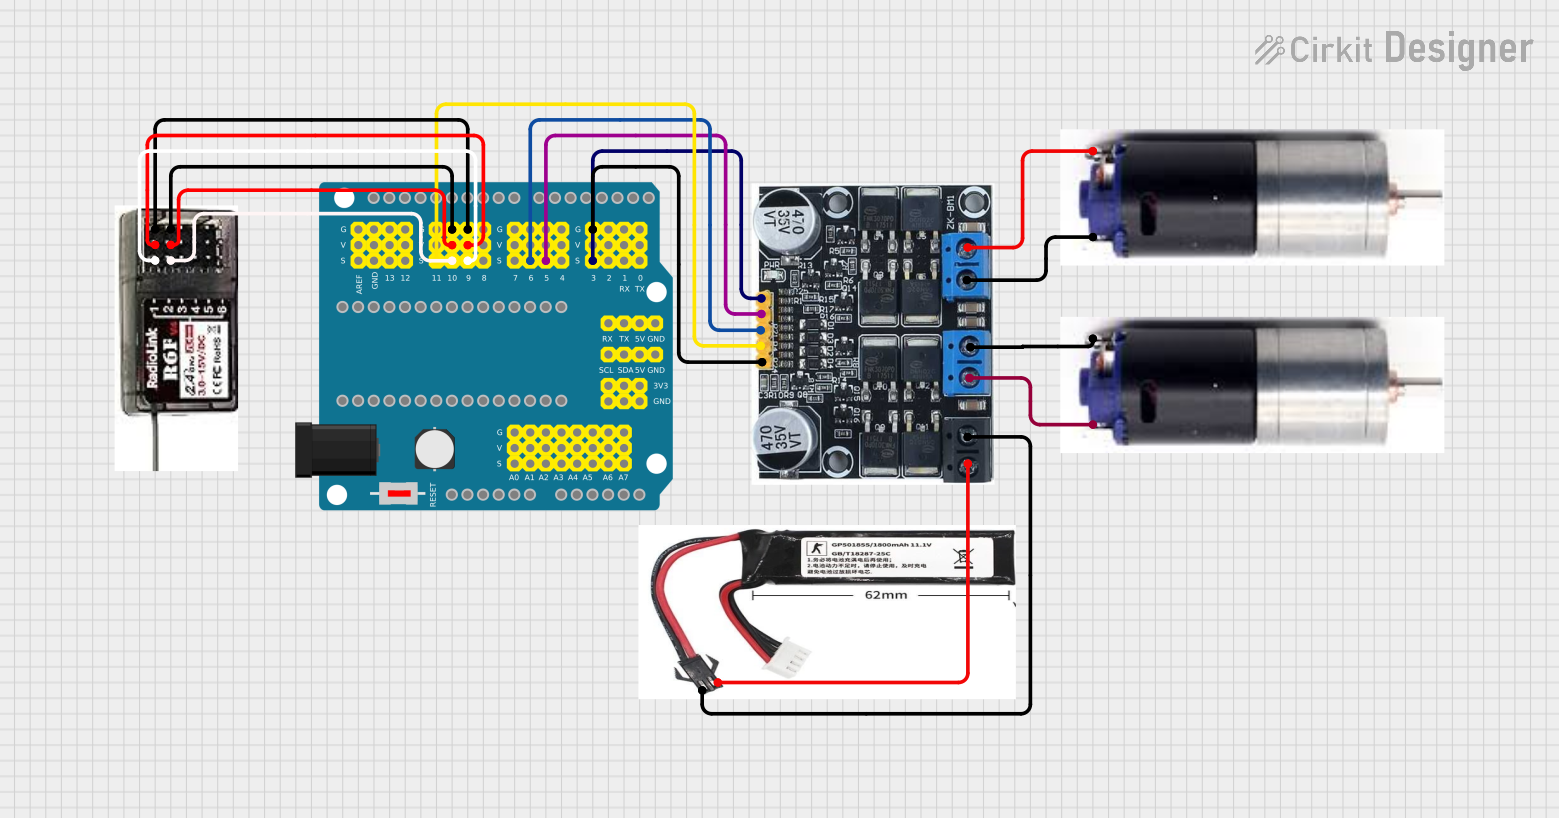
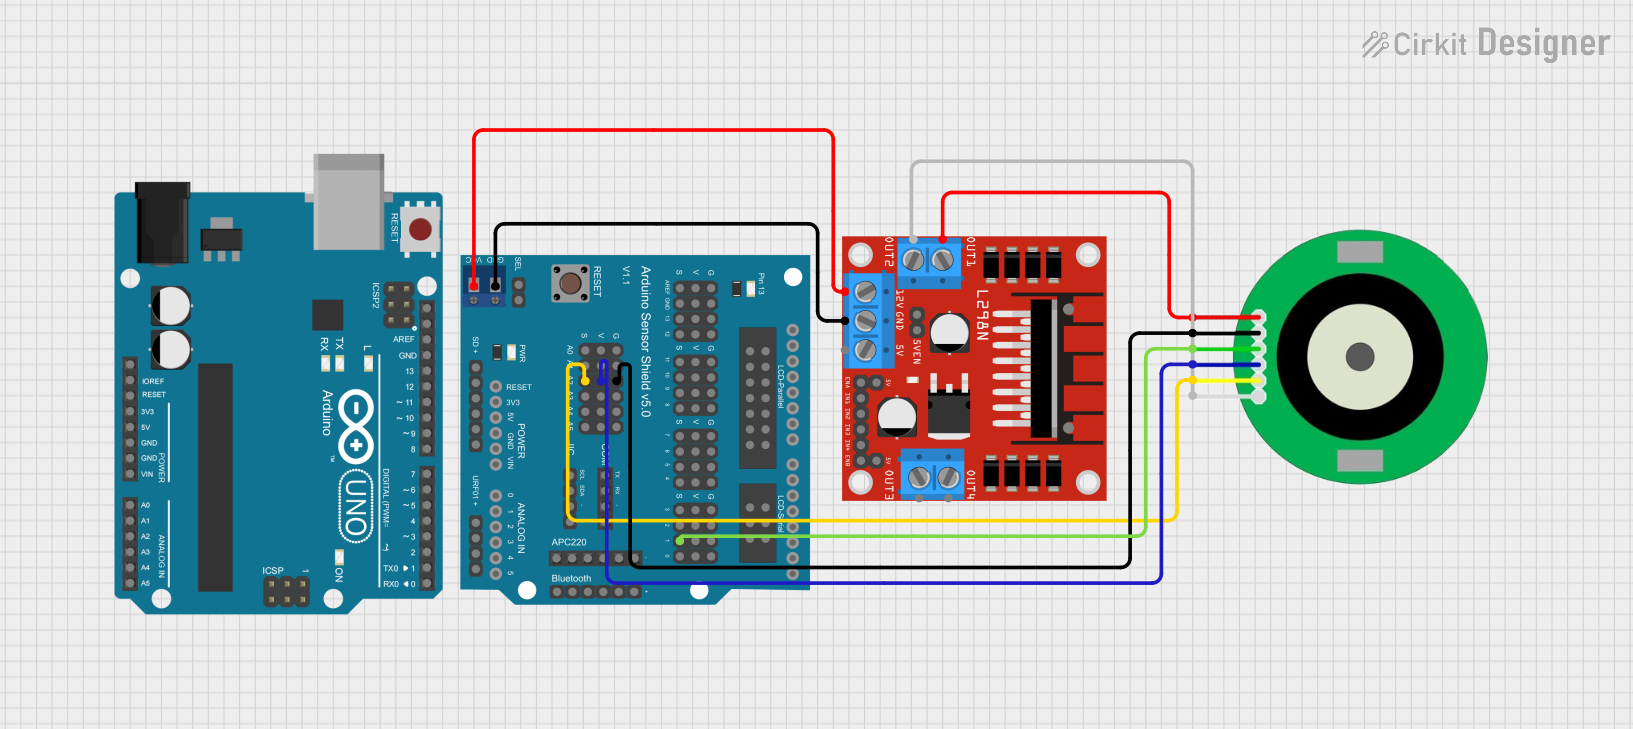
The Quad DC Motor Driver Shield (DRI0039) is an Arduino-compatible shield designed to control up to four DC motors, making it an ideal choice for robotics projects and other applications requiring multiple motor controls. This shield allows for independent control of speed and direction of each motor, providing a versatile platform for creating complex motion patterns and behaviors.
Explore Projects Built with Quad DC motor driver shield
Explore Projects Built with Quad DC motor driver shield
Common Applications and Use Cases
- Robotics vehicles and platforms
- Multi-motor installations for art installations
- Educational projects involving motor control
- Prototyping for industrial automation systems
Technical Specifications
Key Technical Details
- Operating Voltage: 6V to 12V
- Motor Driver: L293D
- Logic Control Voltage: 5V (from Arduino)
- Continuous Current per Channel: 600mA
- Peak Current per Channel: 1.2A
- PWM Control: Yes, for speed control
- Protection: Over-temperature, over-current
Pin Configuration and Descriptions
| Pin Number | Description | Notes |
|---|---|---|
| D4 | Motor 1 Direction Control | |
| D5 | Motor 1 Speed Control (PWM Capable) | |
| D6 | Motor 2 Speed Control (PWM Capable) | |
| D7 | Motor 2 Direction Control | |
| D8 | Motor 3 Direction Control | |
| D9 | Motor 3 Speed Control (PWM Capable) | |
| D10 | Motor 4 Speed Control (PWM Capable) | |
| D11 | Motor 4 Direction Control | |
| GND | Ground | Common ground for logic |
| VIN | Motor Power Supply | 6V to 12V |
| A0-A3 | Optional Feedback (e.g., encoders) | Not used by default |
Usage Instructions
How to Use the Component in a Circuit
Mount the Shield: Place the Quad DC Motor Driver Shield onto your Arduino UNO, ensuring all pins are aligned and the shield is firmly seated.
Connect the Motors: Attach up to four DC motors to the shield's motor terminals. Ensure that the polarity is correct to avoid damage.
Power Supply: Connect a suitable power supply (6V to 12V) to the VIN and GND terminals of the shield to power the motors.
Arduino Connection: Connect the Arduino to your computer via USB. The Arduino will provide the logic power for the shield.
Programming: Upload your motor control sketch to the Arduino to start controlling the motors.
Important Considerations and Best Practices
- Ensure the power supply voltage and current are within the specified range for the shield.
- Do not exceed the continuous current rating of 600mA per channel to avoid overheating and potential damage.
- Use PWM pins for speed control to enable smooth and variable motor speeds.
- If using motors that generate electrical noise, consider adding capacitors across the motor terminals to minimize interference.
Example Code for Arduino UNO
#include <Arduino.h>

// Motor pin definitions
const int motor1Speed = 5; // D5 PWM
const int motor1Direction = 4; // D4
const int motor2Speed = 6; // D6 PWM
const int motor2Direction = 7; // D7

void setup() {
  // Set motor control pins as outputs
  pinMode(motor1Speed, OUTPUT);
  pinMode(motor1Direction, OUTPUT);
  pinMode(motor2Speed, OUTPUT);
  pinMode(motor2Direction, OUTPUT);
}

void loop() {
  // Set motor 1 forward
  digitalWrite(motor1Direction, HIGH);
  analogWrite(motor1Speed, 128); // Set speed (0-255)

  // Set motor 2 reverse
  digitalWrite(motor2Direction, LOW);
  analogWrite(motor2Speed, 128); // Set speed (0-255)

  delay(2000); // Run for 2 seconds

  // Stop motors
  analogWrite(motor1Speed, 0);
  analogWrite(motor2Speed, 0);

  delay(1000); // Wait for 1 second
}
Troubleshooting and FAQs
Common Issues Users Might Face
- Motor not running: Check connections, ensure power supply is within the specified range, and verify that the Arduino sketch is correctly controlling the motor driver pins.
- Overheating: If the shield or motors are overheating, reduce the load or duty cycle, or provide additional cooling.
- Inconsistent motor speeds: Ensure that the PWM signal is stable and that the power supply can handle the current draw.
Solutions and Tips for Troubleshooting
- Check Connections: Loose connections can cause intermittent or failed operation. Ensure all connections are secure.
- Power Supply: Verify that the power supply is capable of delivering sufficient current for all motors at their peak load.
- Code Verification: Double-check the Arduino code for any logical errors or incorrect pin assignments.
FAQs
Q: Can I control stepper motors with this shield? A: No, this shield is designed for DC motors. Stepper motors require a different type of driver.
Q: What is the maximum number of motors I can control with this shield? A: You can control up to four DC motors independently.
Q: Can I use this shield with other Arduino models? A: Yes, as long as the other Arduino model supports the required pin configuration and voltage levels.
Q: How do I adjust the speed of the motors?
A: Use the analogWrite() function on the PWM-capable pins to control the speed of each motor.