How to Use Fuel Pump: Examples, Pinouts, and Specs
Introduction
The Walbro 245LPH Fuel Pump is a high-performance device designed to transfer fuel from the fuel tank to the engine, ensuring a consistent and reliable supply for combustion. This pump is widely used in automotive applications, particularly in high-performance and racing vehicles, where maintaining a steady fuel flow is critical for engine efficiency and power output. Its compact design and robust construction make it suitable for a variety of fuel systems.
Explore Projects Built with Fuel Pump

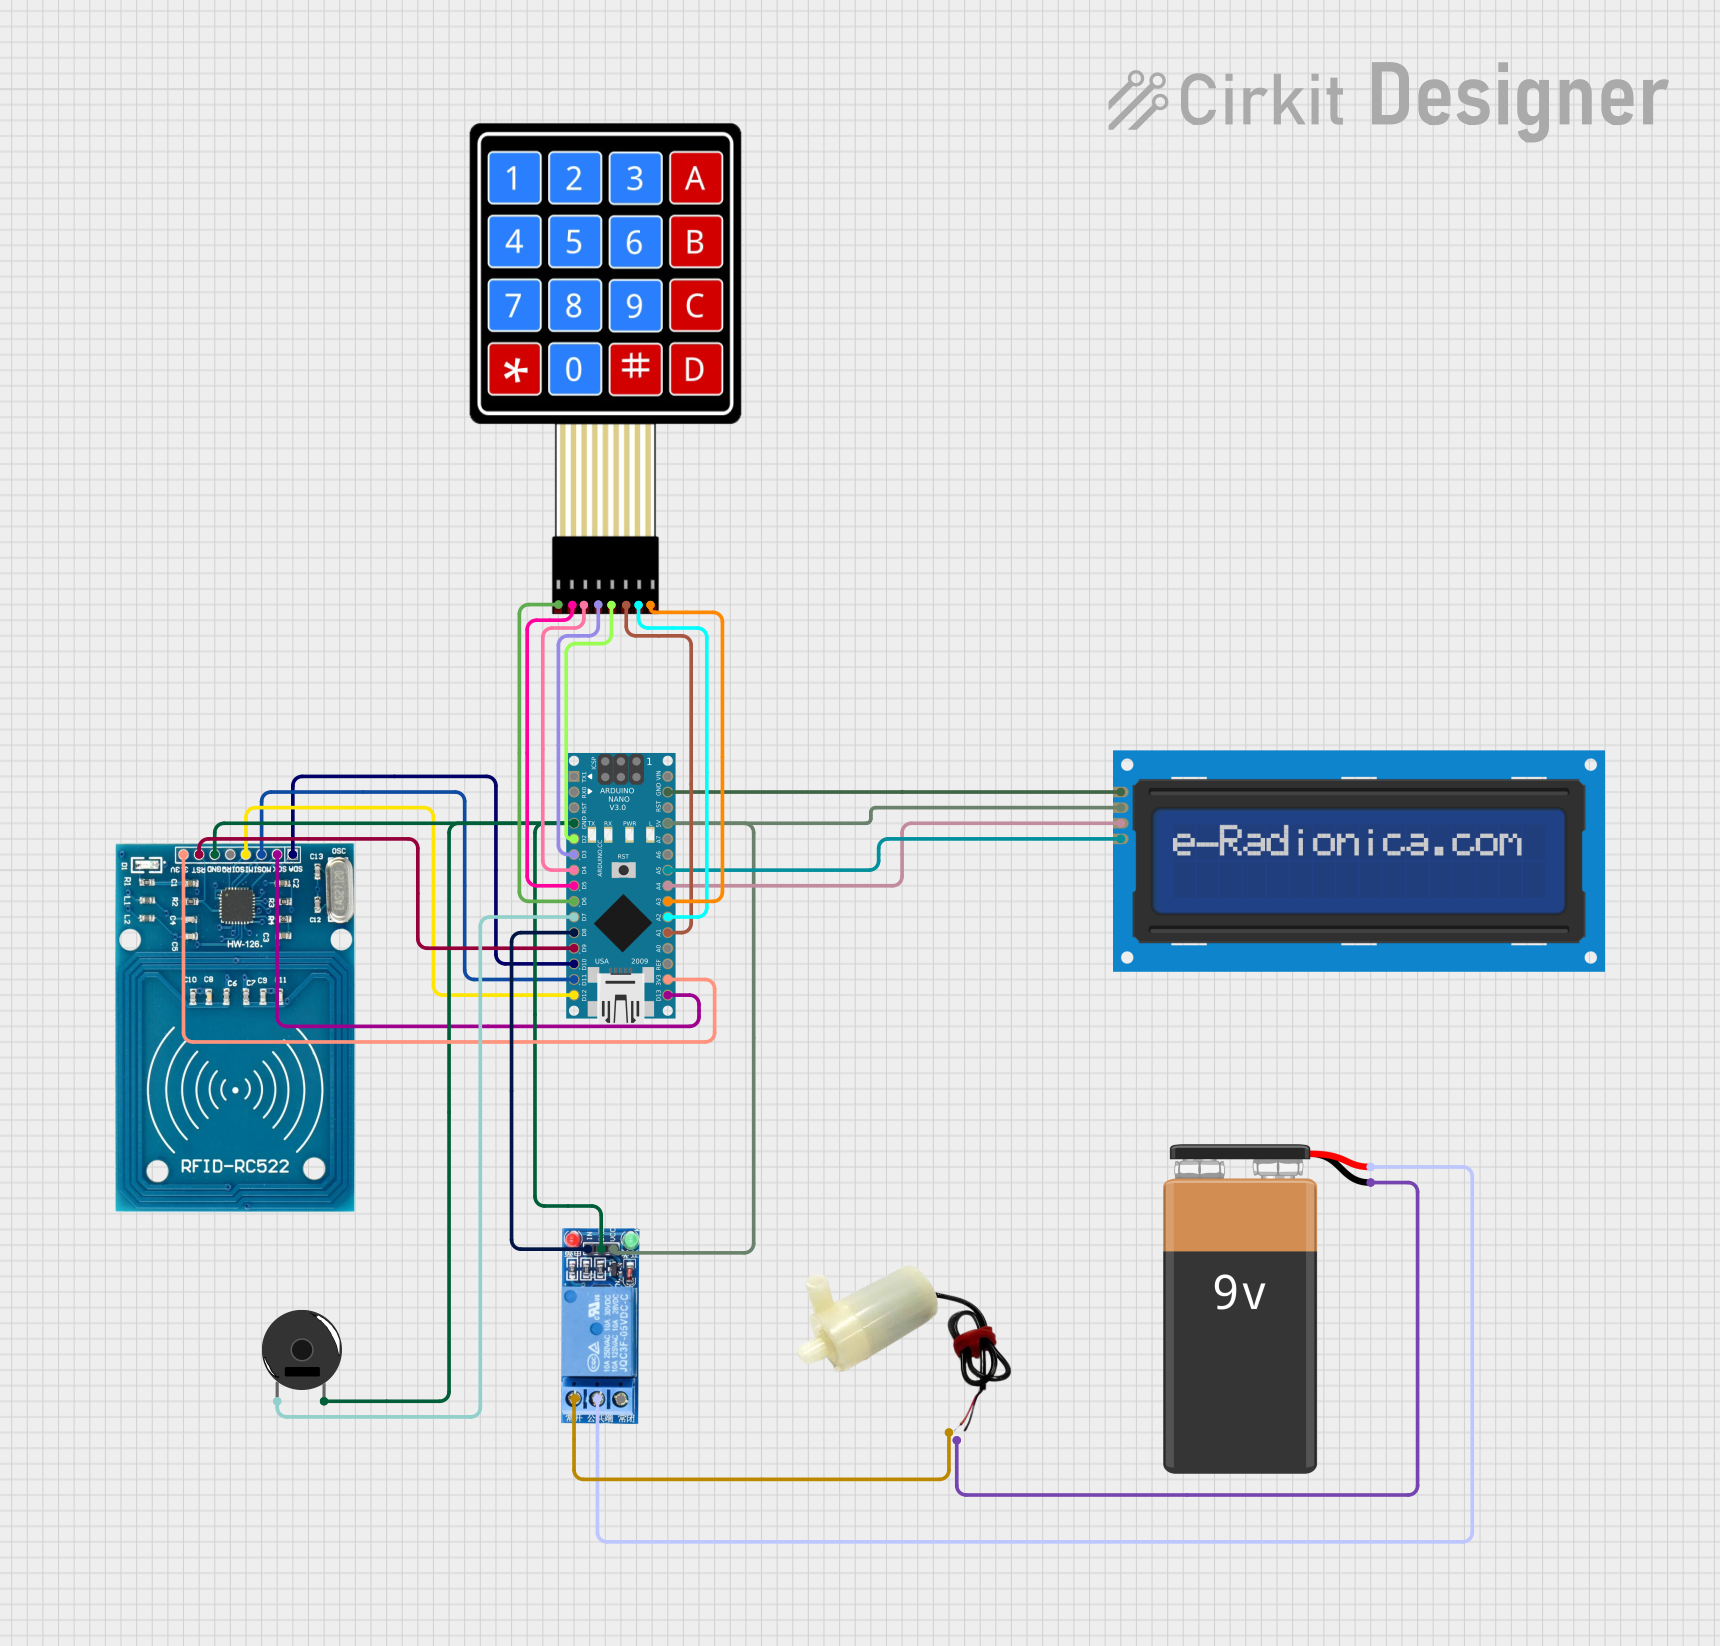

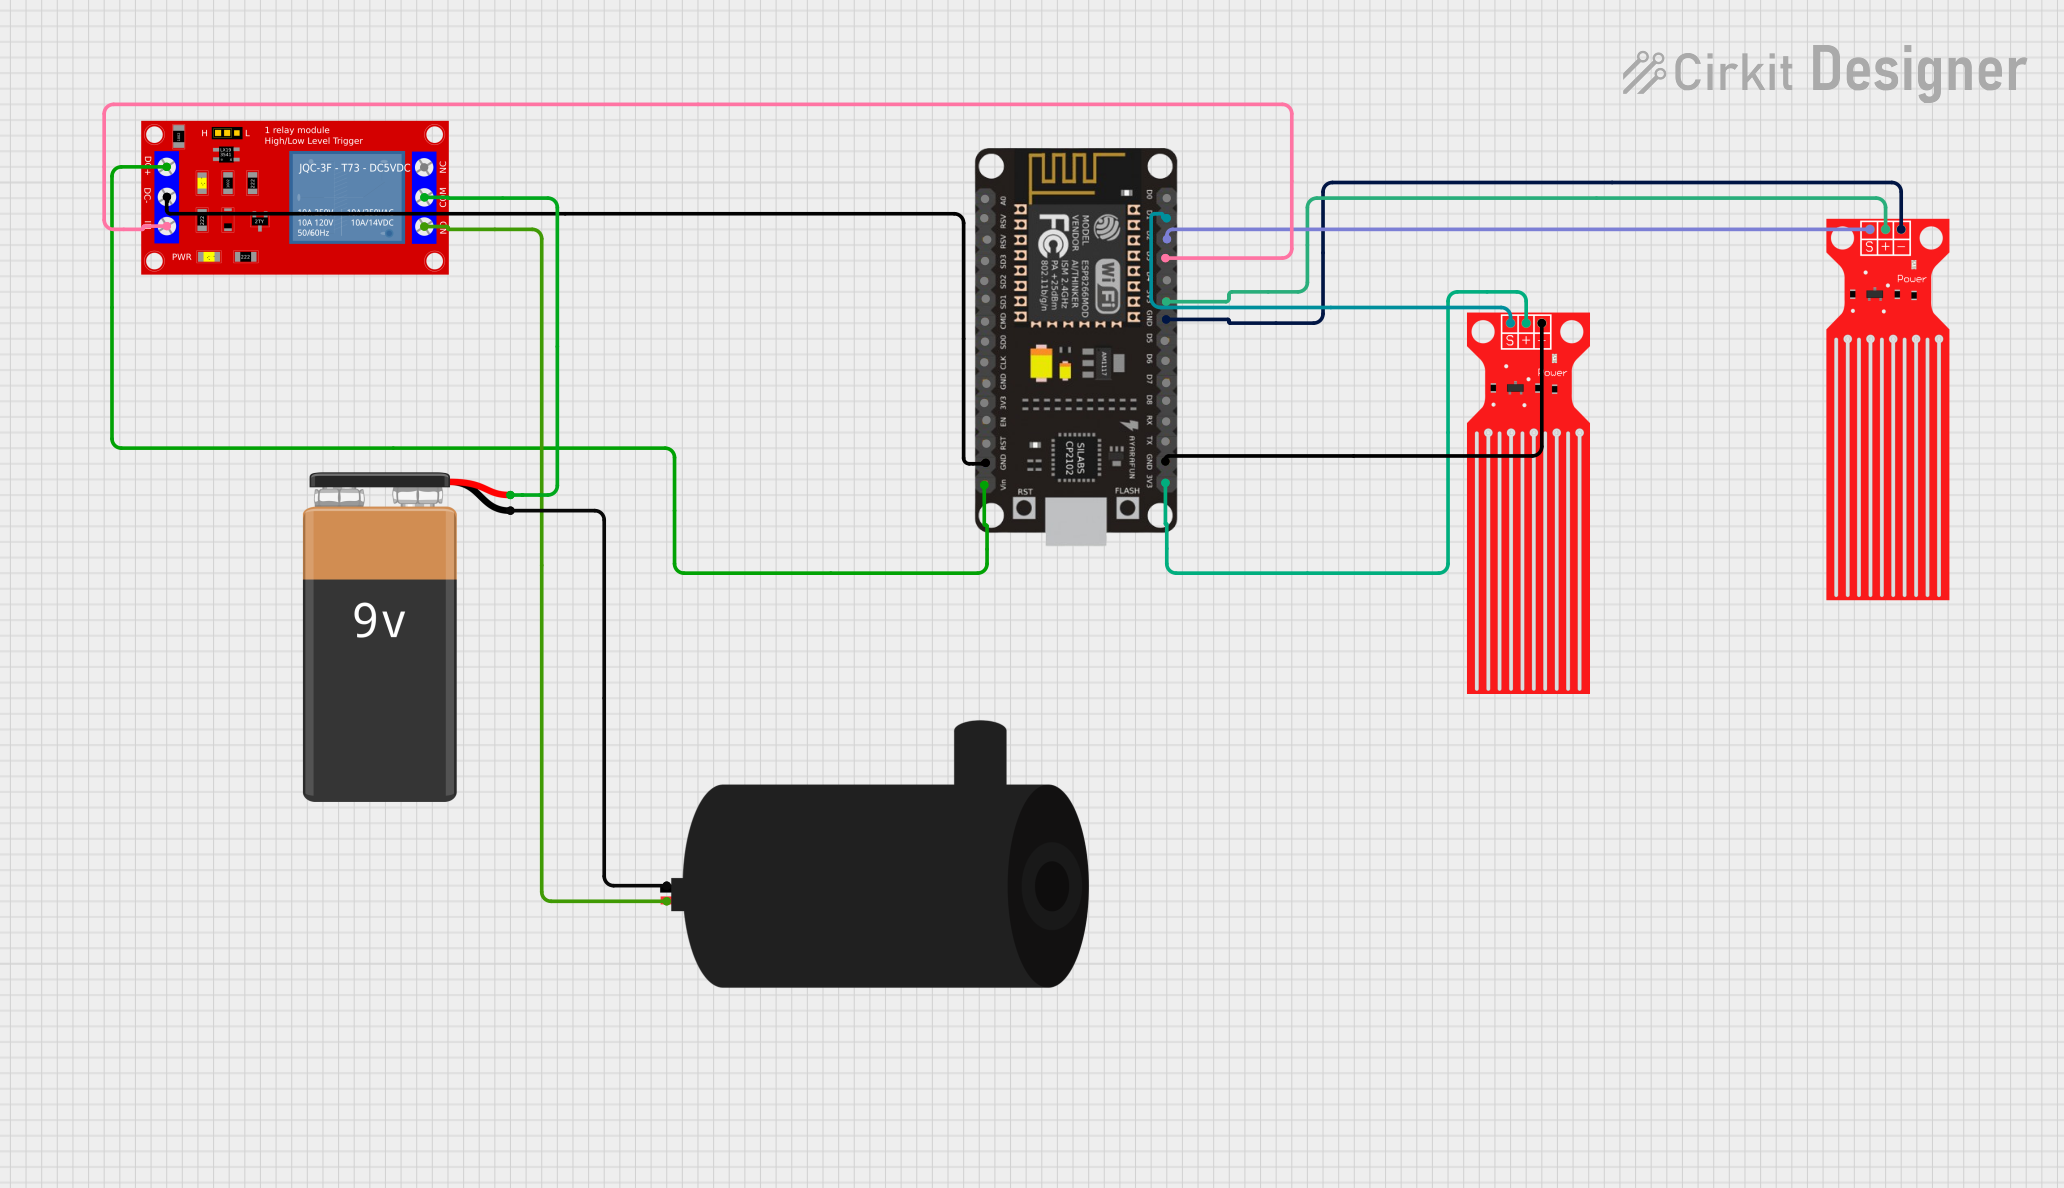
Explore Projects Built with Fuel Pump
Common Applications and Use Cases
- High-performance automotive engines
- Racing vehicles requiring high fuel flow rates
- Aftermarket fuel system upgrades
- Replacement for OEM fuel pumps in vehicles
- Applications requiring consistent fuel delivery under high pressure
Technical Specifications
The following table outlines the key technical details of the Walbro 245LPH Fuel Pump:
| Specification | Value |
|---|---|
| Manufacturer | Walbro |
| Part ID | 245LPH |
| Flow Rate | 245 liters per hour (LPH) |
| Operating Voltage | 12V DC |
| Operating Pressure | 30-70 PSI (adjustable) |
| Maximum Pressure | 90 PSI |
| Current Draw | 10 Amps (maximum) |
| Inlet/Outlet Size | 8mm (inlet), 8mm (outlet) |
| Fuel Compatibility | Gasoline, E85, and other blends |
| Dimensions | 39mm (diameter) x 120mm (length) |
| Weight | 0.36 kg |
Pin Configuration and Descriptions
The Walbro 245LPH Fuel Pump has two electrical terminals for operation:
| Pin | Description | Notes |
|---|---|---|
| +12V | Positive Power Input | Connect to a 12V DC power source. |
| GND | Ground | Connect to the vehicle's ground. |
Usage Instructions
How to Use the Component in a Circuit
- Power Supply: Ensure the fuel pump is connected to a stable 12V DC power source. Use a relay and fuse to protect the circuit and ensure safe operation.
- Wiring: Connect the positive terminal (+12V) to the relay output and the ground terminal (GND) to the vehicle's chassis or a dedicated ground wire.
- Fuel Lines: Attach the inlet and outlet ports to the appropriate fuel lines. Ensure the connections are secure and leak-free.
- Mounting: Install the pump in a location close to the fuel tank, ensuring it is mounted securely and away from excessive heat or vibration.
- Testing: After installation, test the pump by turning on the ignition. Verify that fuel is being delivered to the engine at the correct pressure.
Important Considerations and Best Practices
- Fuel Compatibility: Ensure the fuel used is compatible with the pump (e.g., gasoline, E85).
- Pressure Regulation: Use a fuel pressure regulator to maintain the desired operating pressure.
- Filtration: Install a fuel filter before the pump to prevent debris from entering and damaging the pump.
- Electrical Safety: Use a properly rated fuse and relay to protect the pump and wiring.
- Heat Management: Avoid mounting the pump near high-temperature components to prevent overheating.
Arduino UNO Integration Example
While the Walbro 245LPH Fuel Pump is not typically controlled by an Arduino, it can be integrated into a system for monitoring or control purposes. Below is an example of using an Arduino UNO to control the pump via a relay:
// Arduino code to control a fuel pump using a relay
// Ensure the relay is rated for the pump's current draw (10A max)

const int relayPin = 7; // Pin connected to the relay module

void setup() {
  pinMode(relayPin, OUTPUT); // Set relay pin as output
  digitalWrite(relayPin, LOW); // Ensure the relay is off initially
}

void loop() {
  // Example: Turn the pump on for 5 seconds, then off for 5 seconds
  digitalWrite(relayPin, HIGH); // Turn the pump on
  delay(5000); // Wait for 5 seconds
  digitalWrite(relayPin, LOW); // Turn the pump off
  delay(5000); // Wait for 5 seconds
}
Note: Always use a relay module with an optocoupler for isolation and safety. Ensure the relay can handle the pump's current requirements.
Troubleshooting and FAQs
Common Issues and Solutions
| Issue | Possible Cause | Solution |
|---|---|---|
| Pump does not turn on | No power or faulty wiring | Check power supply and wiring. |
| Pump is noisy or vibrates excessively | Air in the fuel lines or loose mounting | Bleed air from lines and secure pump. |
| Inconsistent fuel delivery | Clogged fuel filter or low voltage | Replace filter and check power supply. |
| Overheating | Mounted near heat source | Relocate pump to a cooler location. |
| Fuel leaks | Loose or damaged connections | Tighten or replace fittings. |
FAQs
Can this pump be used with diesel fuel?
- No, the Walbro 245LPH Fuel Pump is not designed for diesel fuel. Use only with gasoline, E85, or compatible blends.
What is the recommended fuse rating?
- Use a 15A fuse to protect the pump and wiring.
Can the pump run continuously?
- Yes, the pump is designed for continuous operation, provided it is installed correctly and within its operating specifications.
How do I adjust the fuel pressure?
- Use an external fuel pressure regulator to adjust and maintain the desired pressure.
What maintenance is required?
- Regularly inspect the fuel filter and replace it as needed. Check for leaks and ensure all connections are secure.
By following this documentation, users can ensure the proper installation, operation, and maintenance of the Walbro 245LPH Fuel Pump for optimal performance and reliability.