How to Use CCS 811: Examples, Pinouts, and Specs
Introduction
The CCS811 is an advanced digital gas sensor designed to measure indoor air quality. It detects levels of carbon dioxide (CO2) and total volatile organic compounds (TVOCs) using a metal oxide (MOX) sensor. The CCS811 communicates via the I2C interface, making it easy to integrate into microcontroller-based systems. Its compact size and low power consumption make it ideal for applications such as:
- Smart home devices (e.g., air purifiers, thermostats)
- Environmental monitoring systems
- IoT devices for air quality tracking
- HVAC systems for air quality optimization
Explore Projects Built with CCS 811
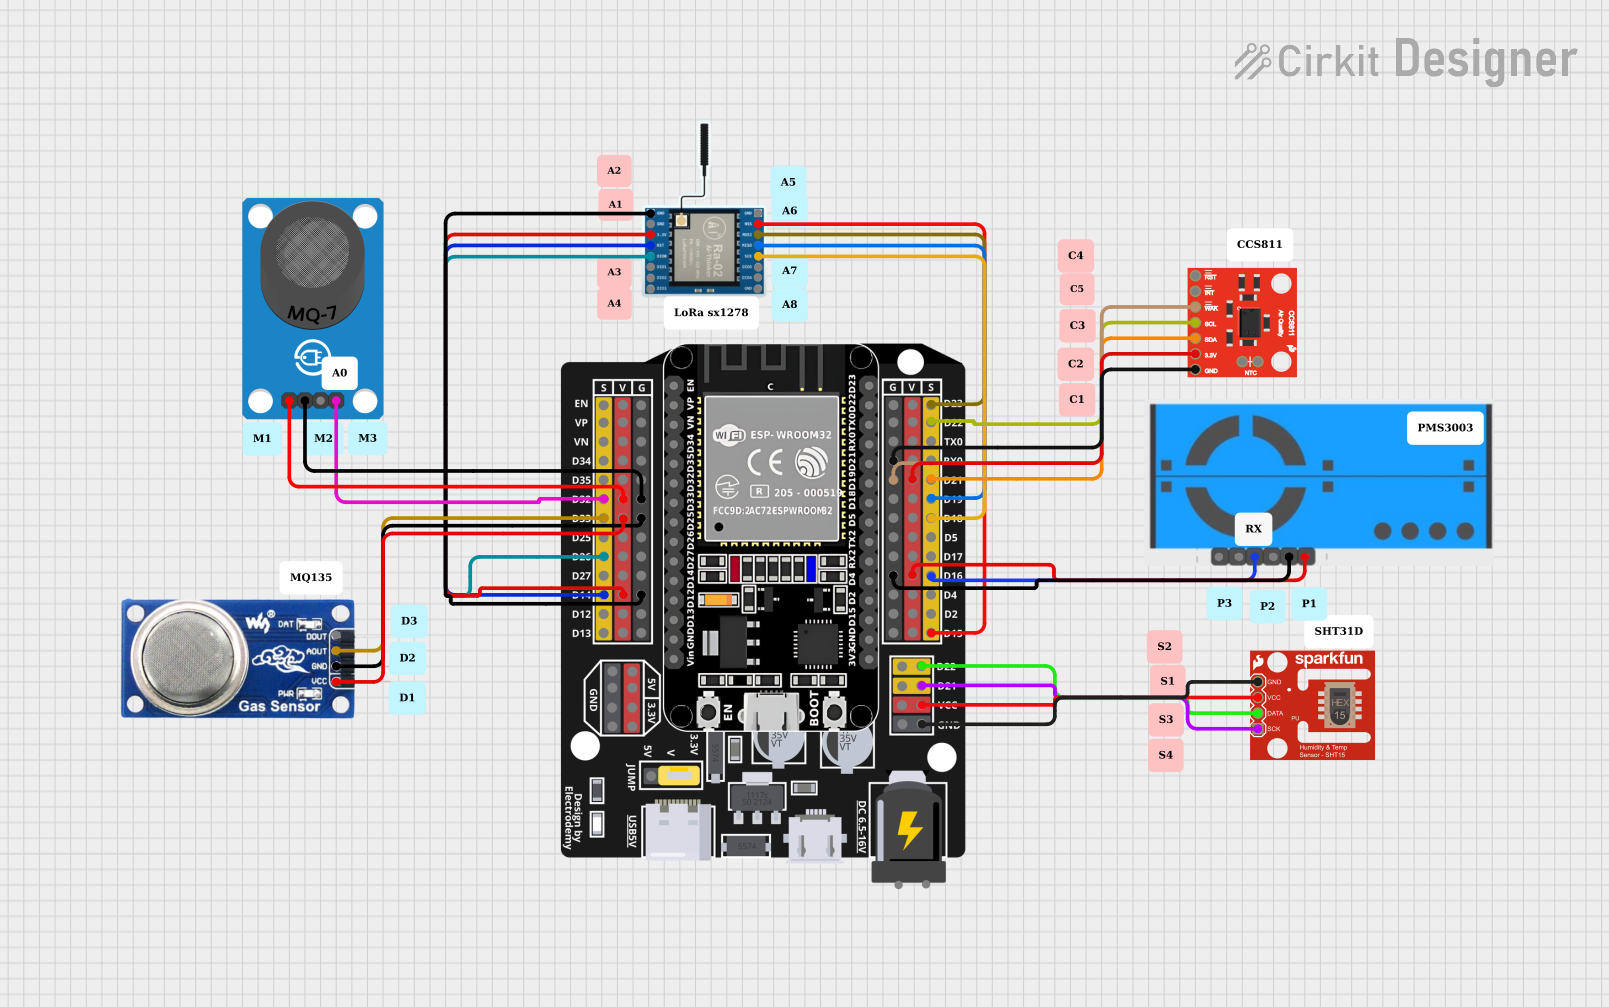
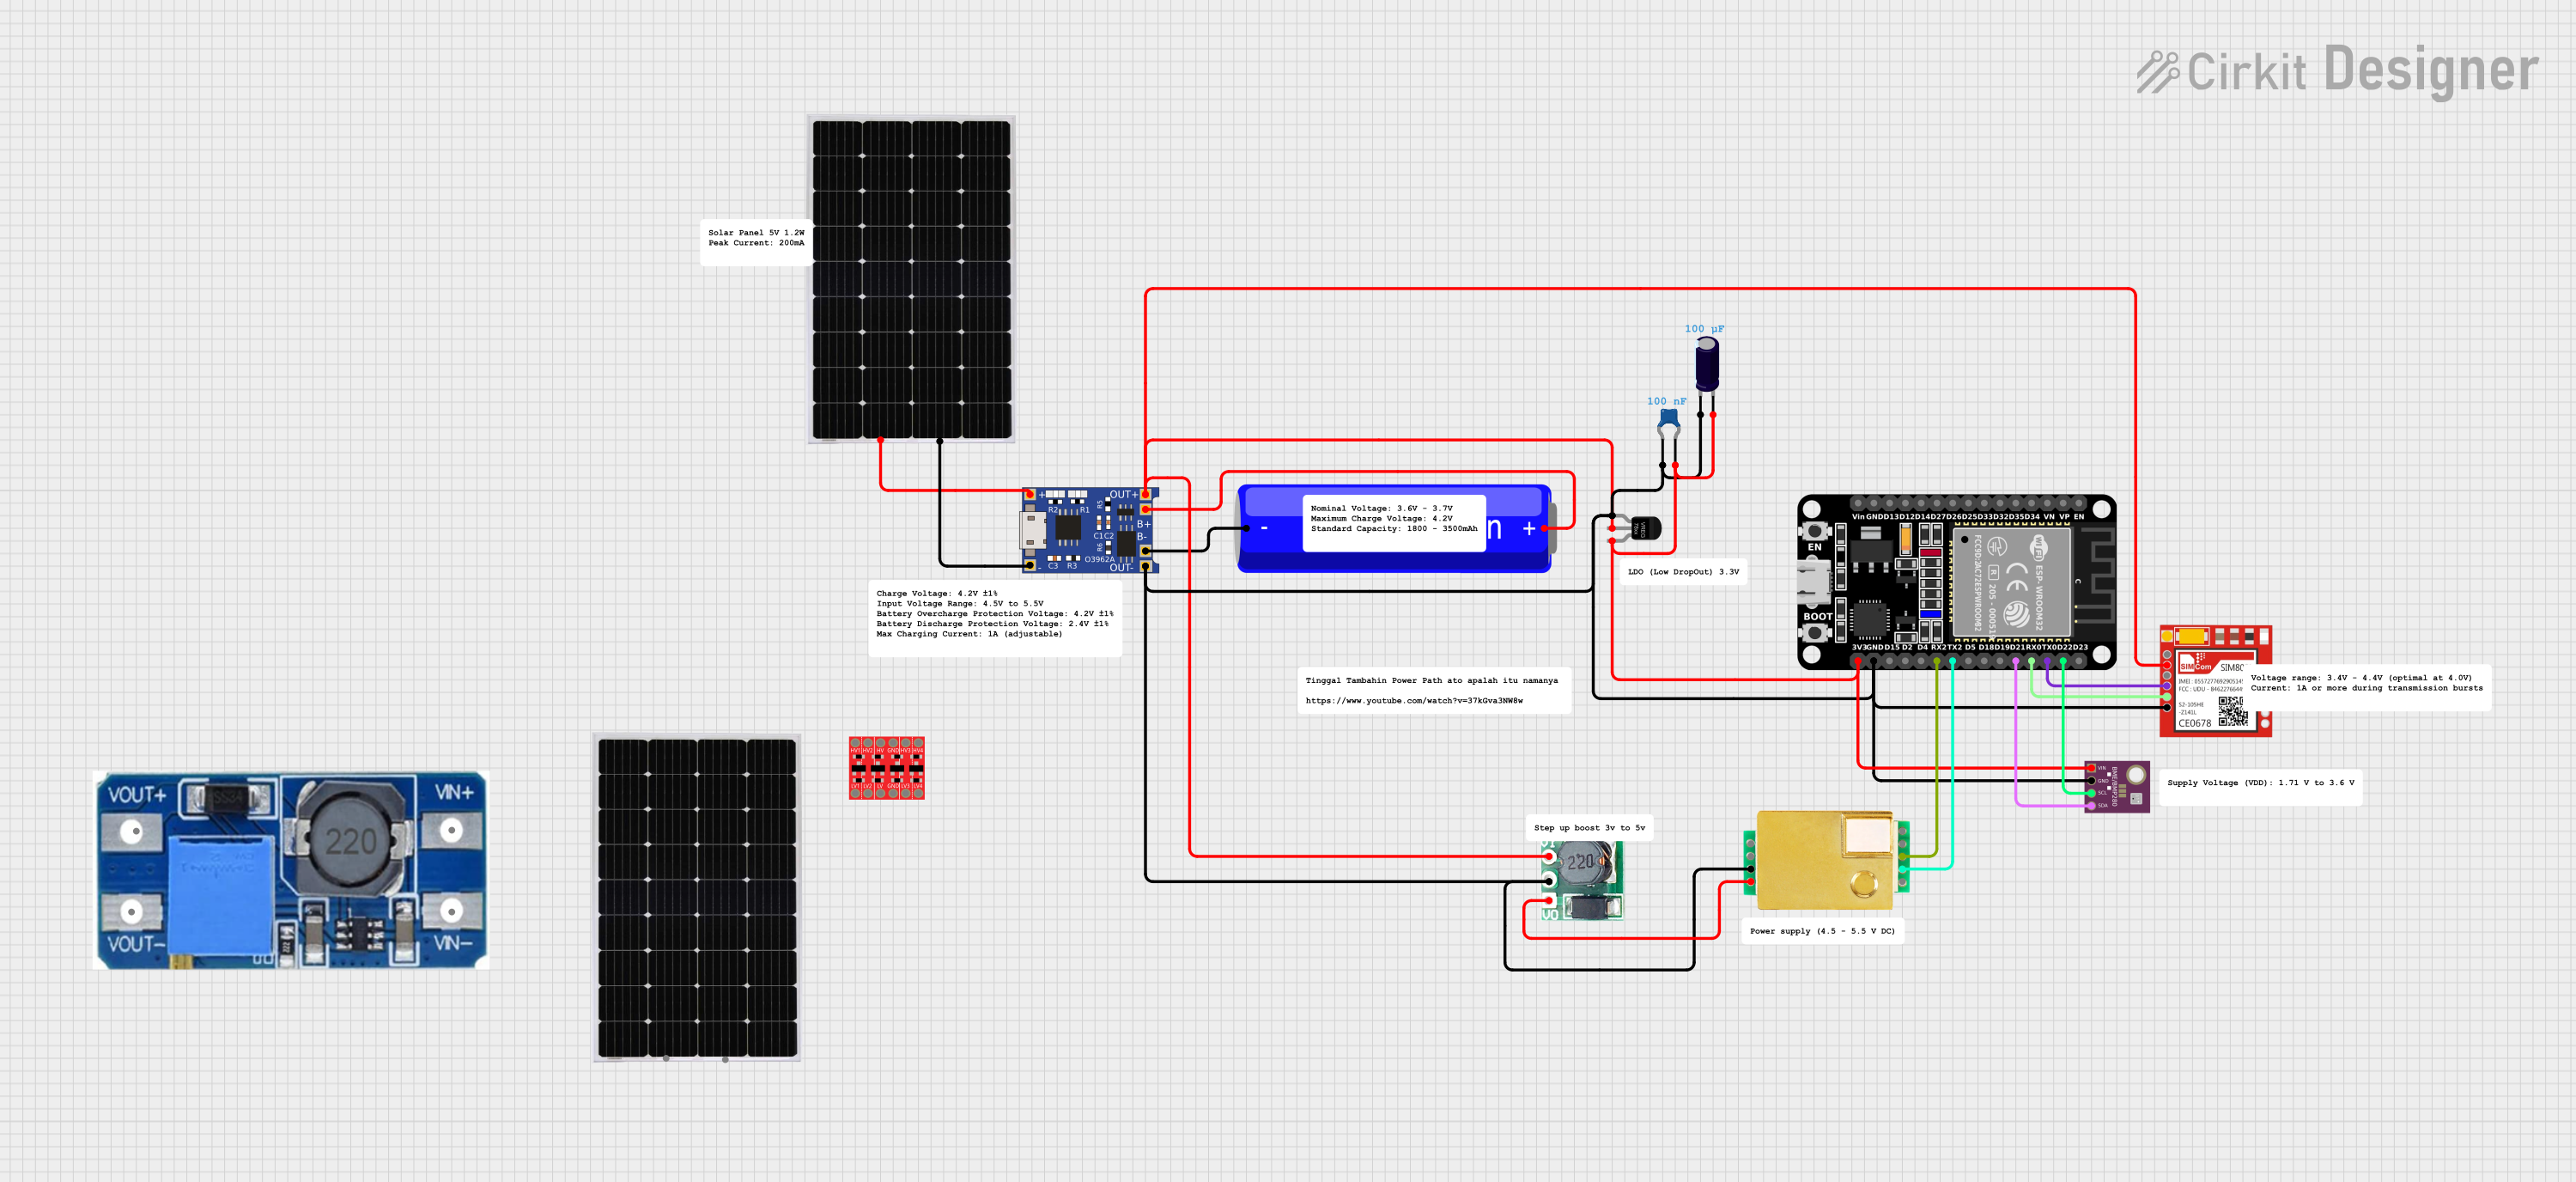
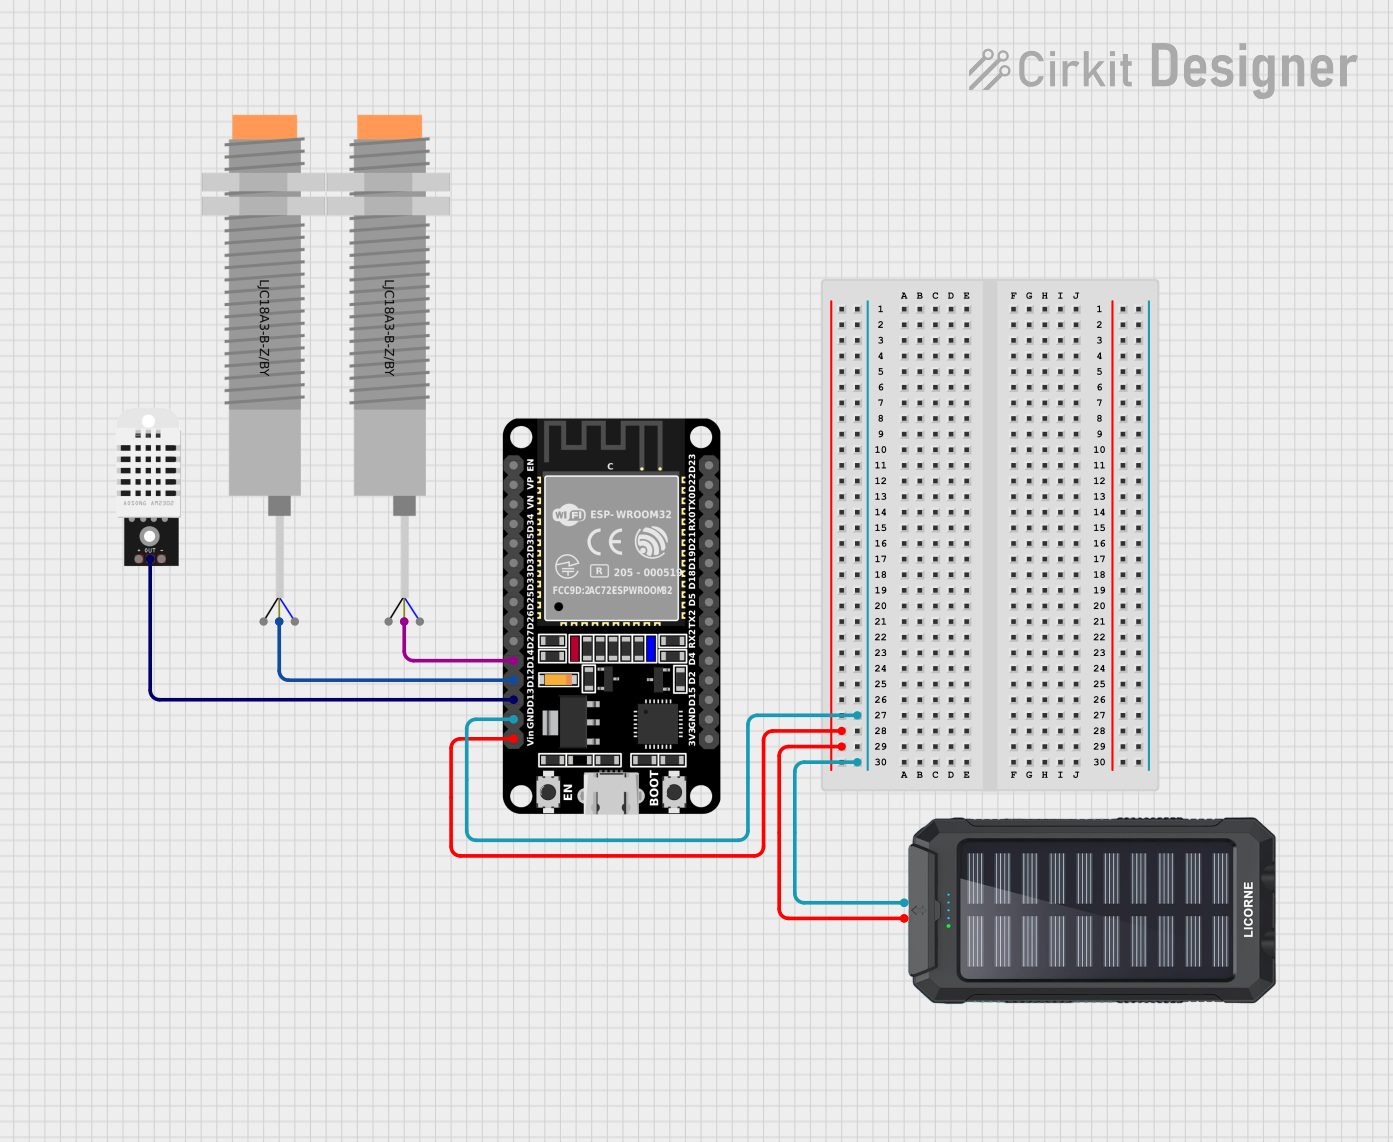

Explore Projects Built with CCS 811
Technical Specifications
The CCS811 sensor is equipped with a range of features that make it versatile and reliable for air quality monitoring. Below are its key technical details:
Key Specifications
| Parameter | Value |
|---|---|
| Supply Voltage (VDD) | 1.8V to 3.6V |
| Interface | I2C |
| Operating Current | 1.1mA (typical) |
| Idle Current | 20µA |
| Measurement Range | CO2: 400–8192 ppm |
| TVOC: 0–1187 ppb | |
| Operating Temperature | -40°C to +85°C |
| Humidity Range | 10% to 95% RH (non-condensing) |
| Dimensions | 2.7mm x 4.0mm x 1.1mm |
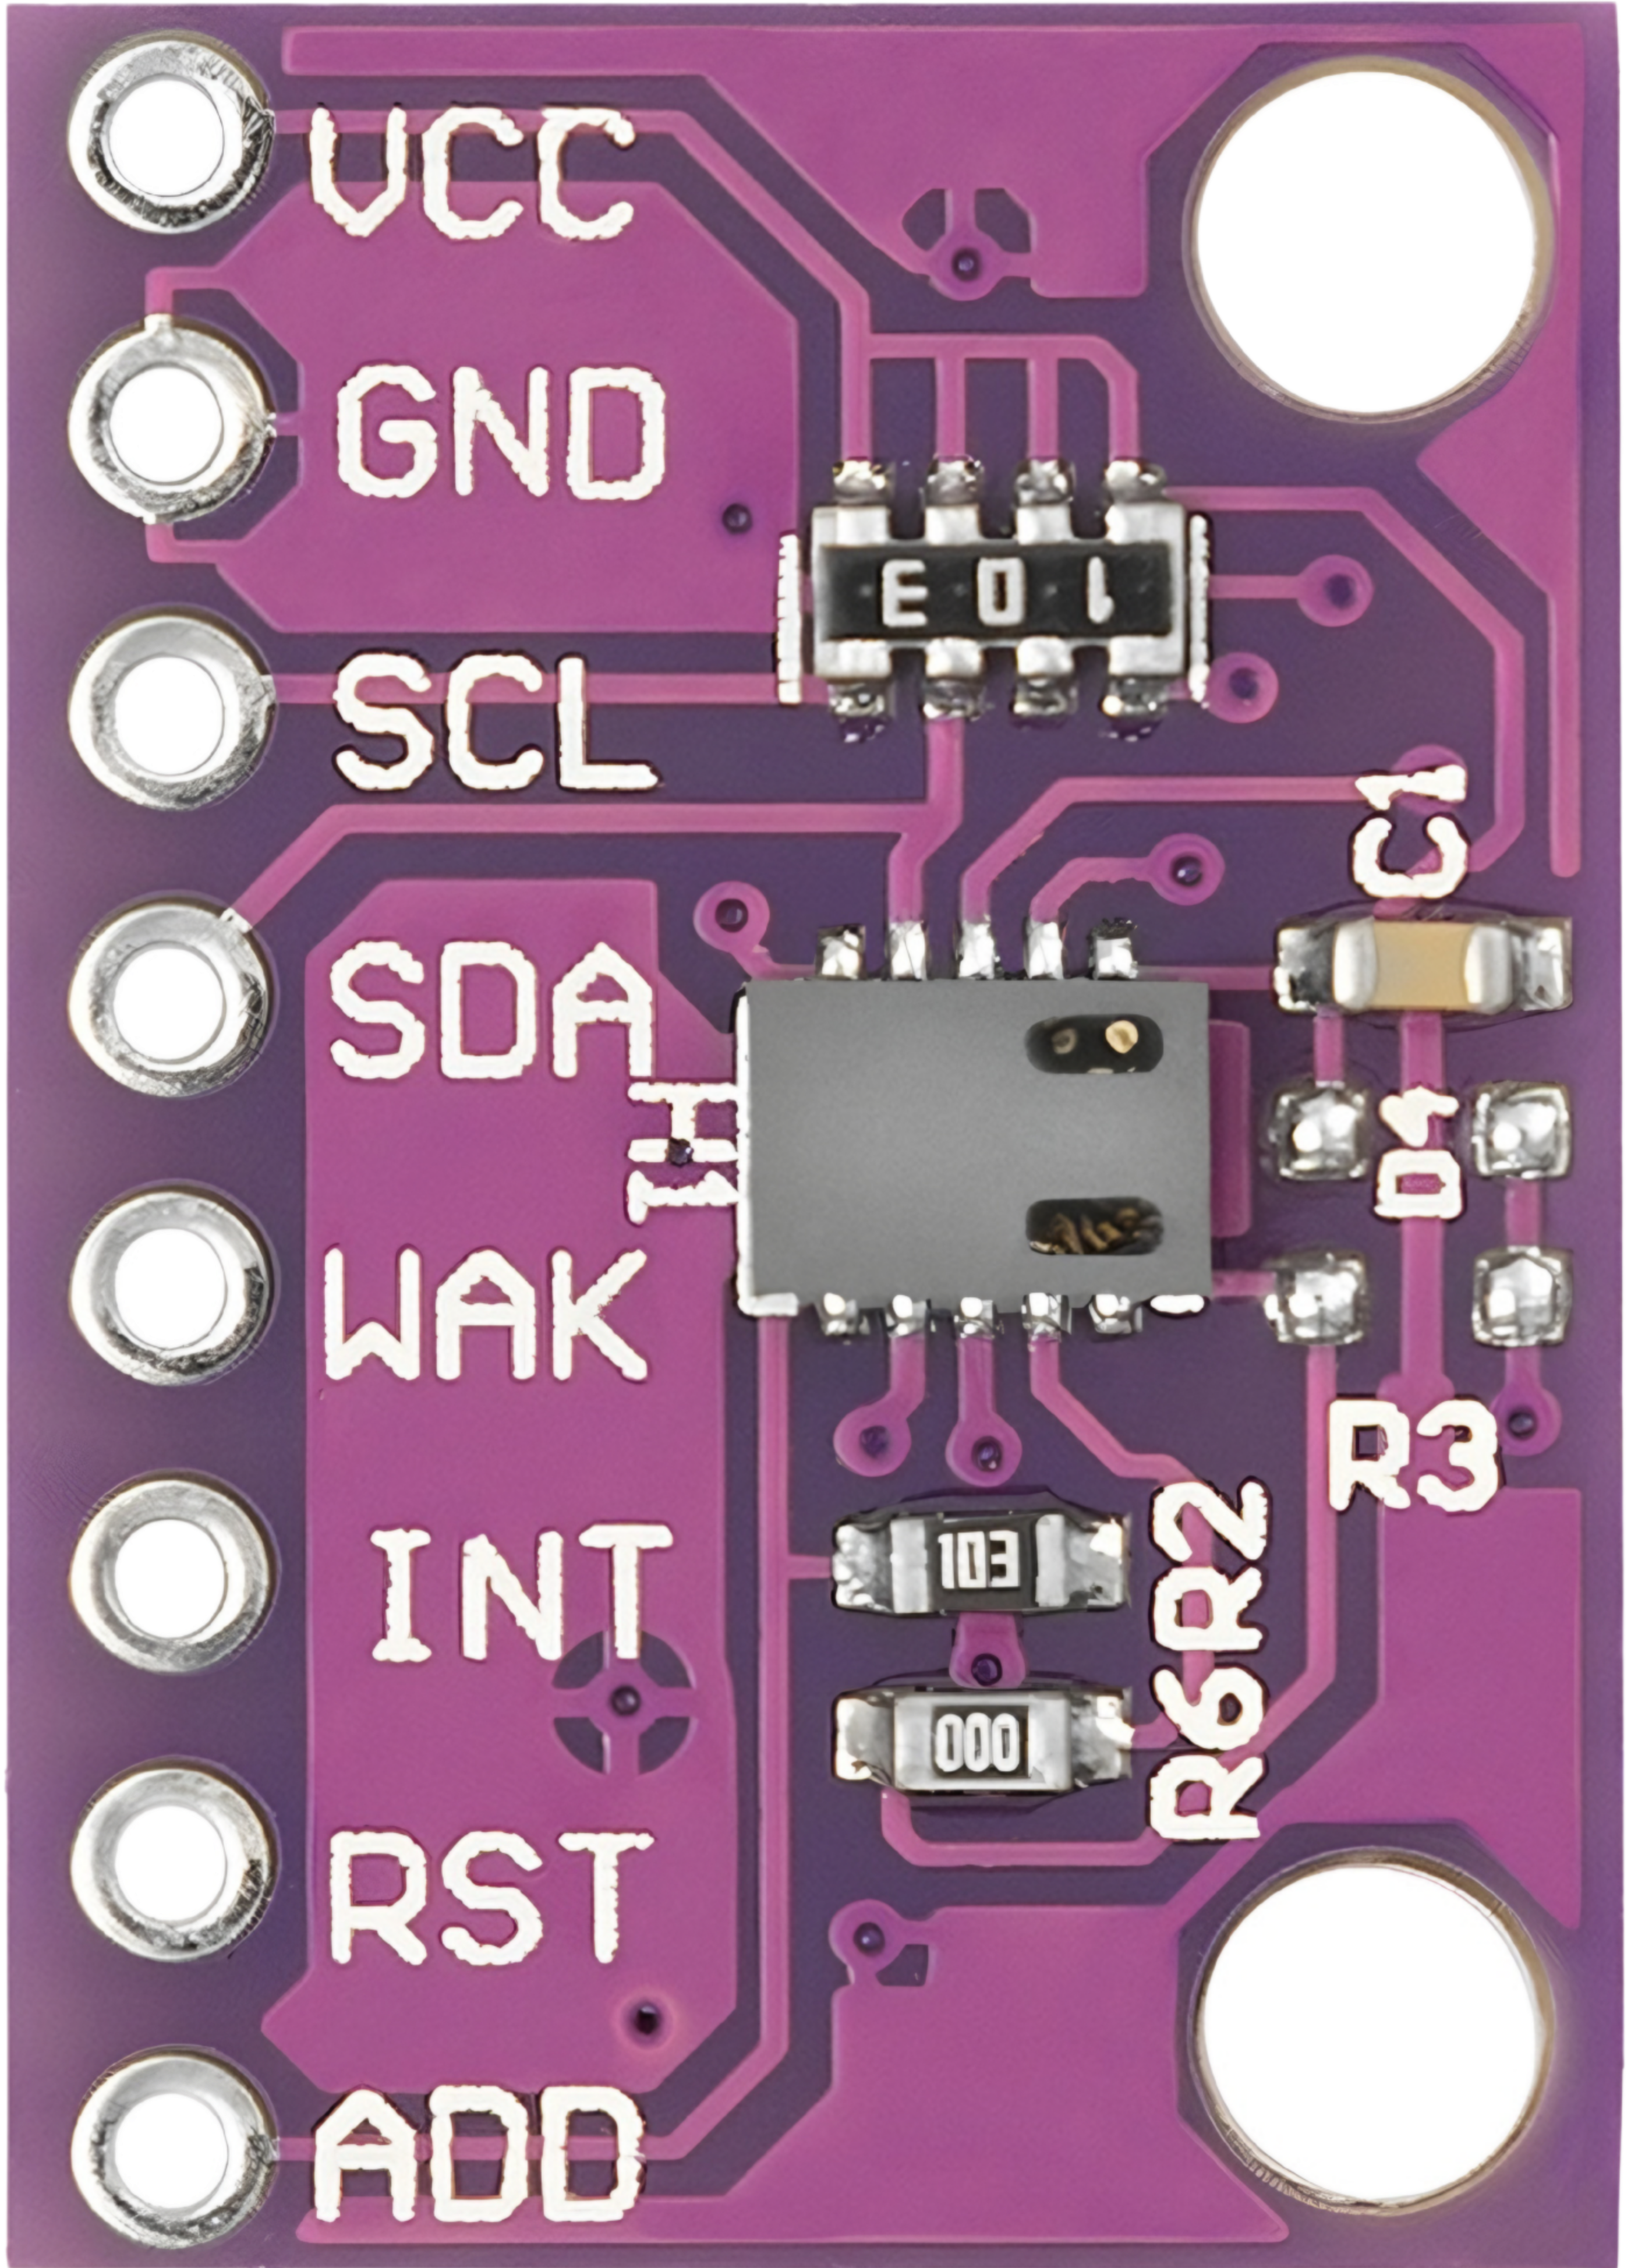
Pin Configuration
The CCS811 sensor typically comes in a 10-pin LGA package. Below is the pinout description:
| Pin Number | Name | Description |
|---|---|---|
| 1 | VDD | Power supply (1.8V to 3.6V) |
| 2 | GND | Ground |
| 3 | SDA | I2C data line |
| 4 | SCL | I2C clock line |
| 5 | nWAKE | Wake-up pin (active low) |
| 6 | RST | Reset pin (active low) |
| 7 | INT | Interrupt pin (optional, active low) |
| 8–10 | NC | Not connected (leave floating or grounded) |
Usage Instructions
How to Use the CCS811 in a Circuit
- Power Supply: Connect the VDD pin to a 1.8V–3.6V power source and the GND pin to ground.
- I2C Communication: Connect the SDA and SCL pins to the corresponding I2C pins on your microcontroller. Use pull-up resistors (typically 4.7kΩ) on both lines if not already present.
- Wake-Up: Pull the nWAKE pin low to enable the sensor. If not used, connect it to VDD.
- Reset: Optionally, connect the RST pin to the microcontroller for hardware resets.
- Interrupts: If desired, connect the INT pin to a GPIO pin on the microcontroller to handle interrupts.
Best Practices
- Burn-In Period: Allow the sensor to run for 48 hours during the first use to stabilize readings.
- Periodic Calibration: Operate the sensor in a well-ventilated environment periodically to maintain accuracy.
- Avoid Contaminants: Keep the sensor away from dust, oils, and other contaminants that may affect its performance.
Example: Connecting CCS811 to Arduino UNO
Below is an example of how to connect and use the CCS811 with an Arduino UNO:
Wiring Diagram
| CCS811 Pin | Arduino UNO Pin |
|---|---|
| VDD | 3.3V |
| GND | GND |
| SDA | A4 |
| SCL | A5 |
| nWAKE | GND |
Arduino Code
#include <Wire.h>
#include "Adafruit_CCS811.h"

// Create an instance of the CCS811 sensor
Adafruit_CCS811 ccs;

void setup() {
  Serial.begin(9600); // Initialize serial communication
  Wire.begin();       // Initialize I2C communication

  // Initialize the CCS811 sensor
  if (!ccs.begin()) {
    Serial.println("Failed to start CCS811 sensor! Check connections.");
    while (1);
  }

  // Wait for the sensor to be ready
  while (!ccs.available());
  Serial.println("CCS811 sensor initialized successfully.");
}

void loop() {
  if (ccs.available()) {
    // Read CO2 and TVOC levels
    if (!ccs.readData()) {
      Serial.print("CO2: ");
      Serial.print(ccs.geteCO2()); // Get CO2 in ppm
      Serial.print(" ppm, TVOC: ");
      Serial.print(ccs.getTVOC()); // Get TVOC in ppb
      Serial.println(" ppb");
    } else {
      Serial.println("Error reading data from CCS811 sensor.");
    }
  }
  delay(1000); // Wait 1 second before the next reading
}
Troubleshooting and FAQs
Common Issues
Sensor Not Detected on I2C Bus
- Cause: Incorrect wiring or missing pull-up resistors.
- Solution: Verify SDA and SCL connections. Add 4.7kΩ pull-up resistors if needed.
Inaccurate Readings
- Cause: Insufficient burn-in period or exposure to contaminants.
- Solution: Allow a 48-hour burn-in period and ensure the sensor is clean and unobstructed.
Error Codes from Sensor
- Cause: Communication issues or sensor malfunction.
- Solution: Check the error code in the datasheet and verify the I2C communication.
High Power Consumption
- Cause: Sensor not entering idle mode when not in use.
- Solution: Use the nWAKE pin to put the sensor into sleep mode when idle.
FAQs
Q: Can the CCS811 measure outdoor air quality?
A: The CCS811 is optimized for indoor air quality monitoring. Outdoor conditions, such as extreme temperatures and humidity, may affect its accuracy.
Q: How often should I calibrate the sensor?
A: Periodic calibration in a well-ventilated environment is recommended every few weeks for optimal performance.
Q: Can I use the CCS811 with a 5V microcontroller?
A: Yes, but you must use a logic level shifter for the I2C lines, as the CCS811 operates at 3.3V logic levels.
Q: What is the warm-up time for the sensor?
A: The sensor requires approximately 20 minutes to stabilize after power-up for accurate readings.