How to Use PH Meter: Examples, Pinouts, and Specs

Introduction
A pH meter is an electronic device used to measure the acidity or alkalinity of a solution, which is expressed as pH. The pH scale ranges from 0 to 14, with 7 being neutral. A pH lower than 7 is acidic, while a pH higher than 7 is alkaline. pH meters are commonly used in laboratories, agriculture, water treatment, and the food and beverage industry to ensure product quality and safety.
Explore Projects Built with PH Meter
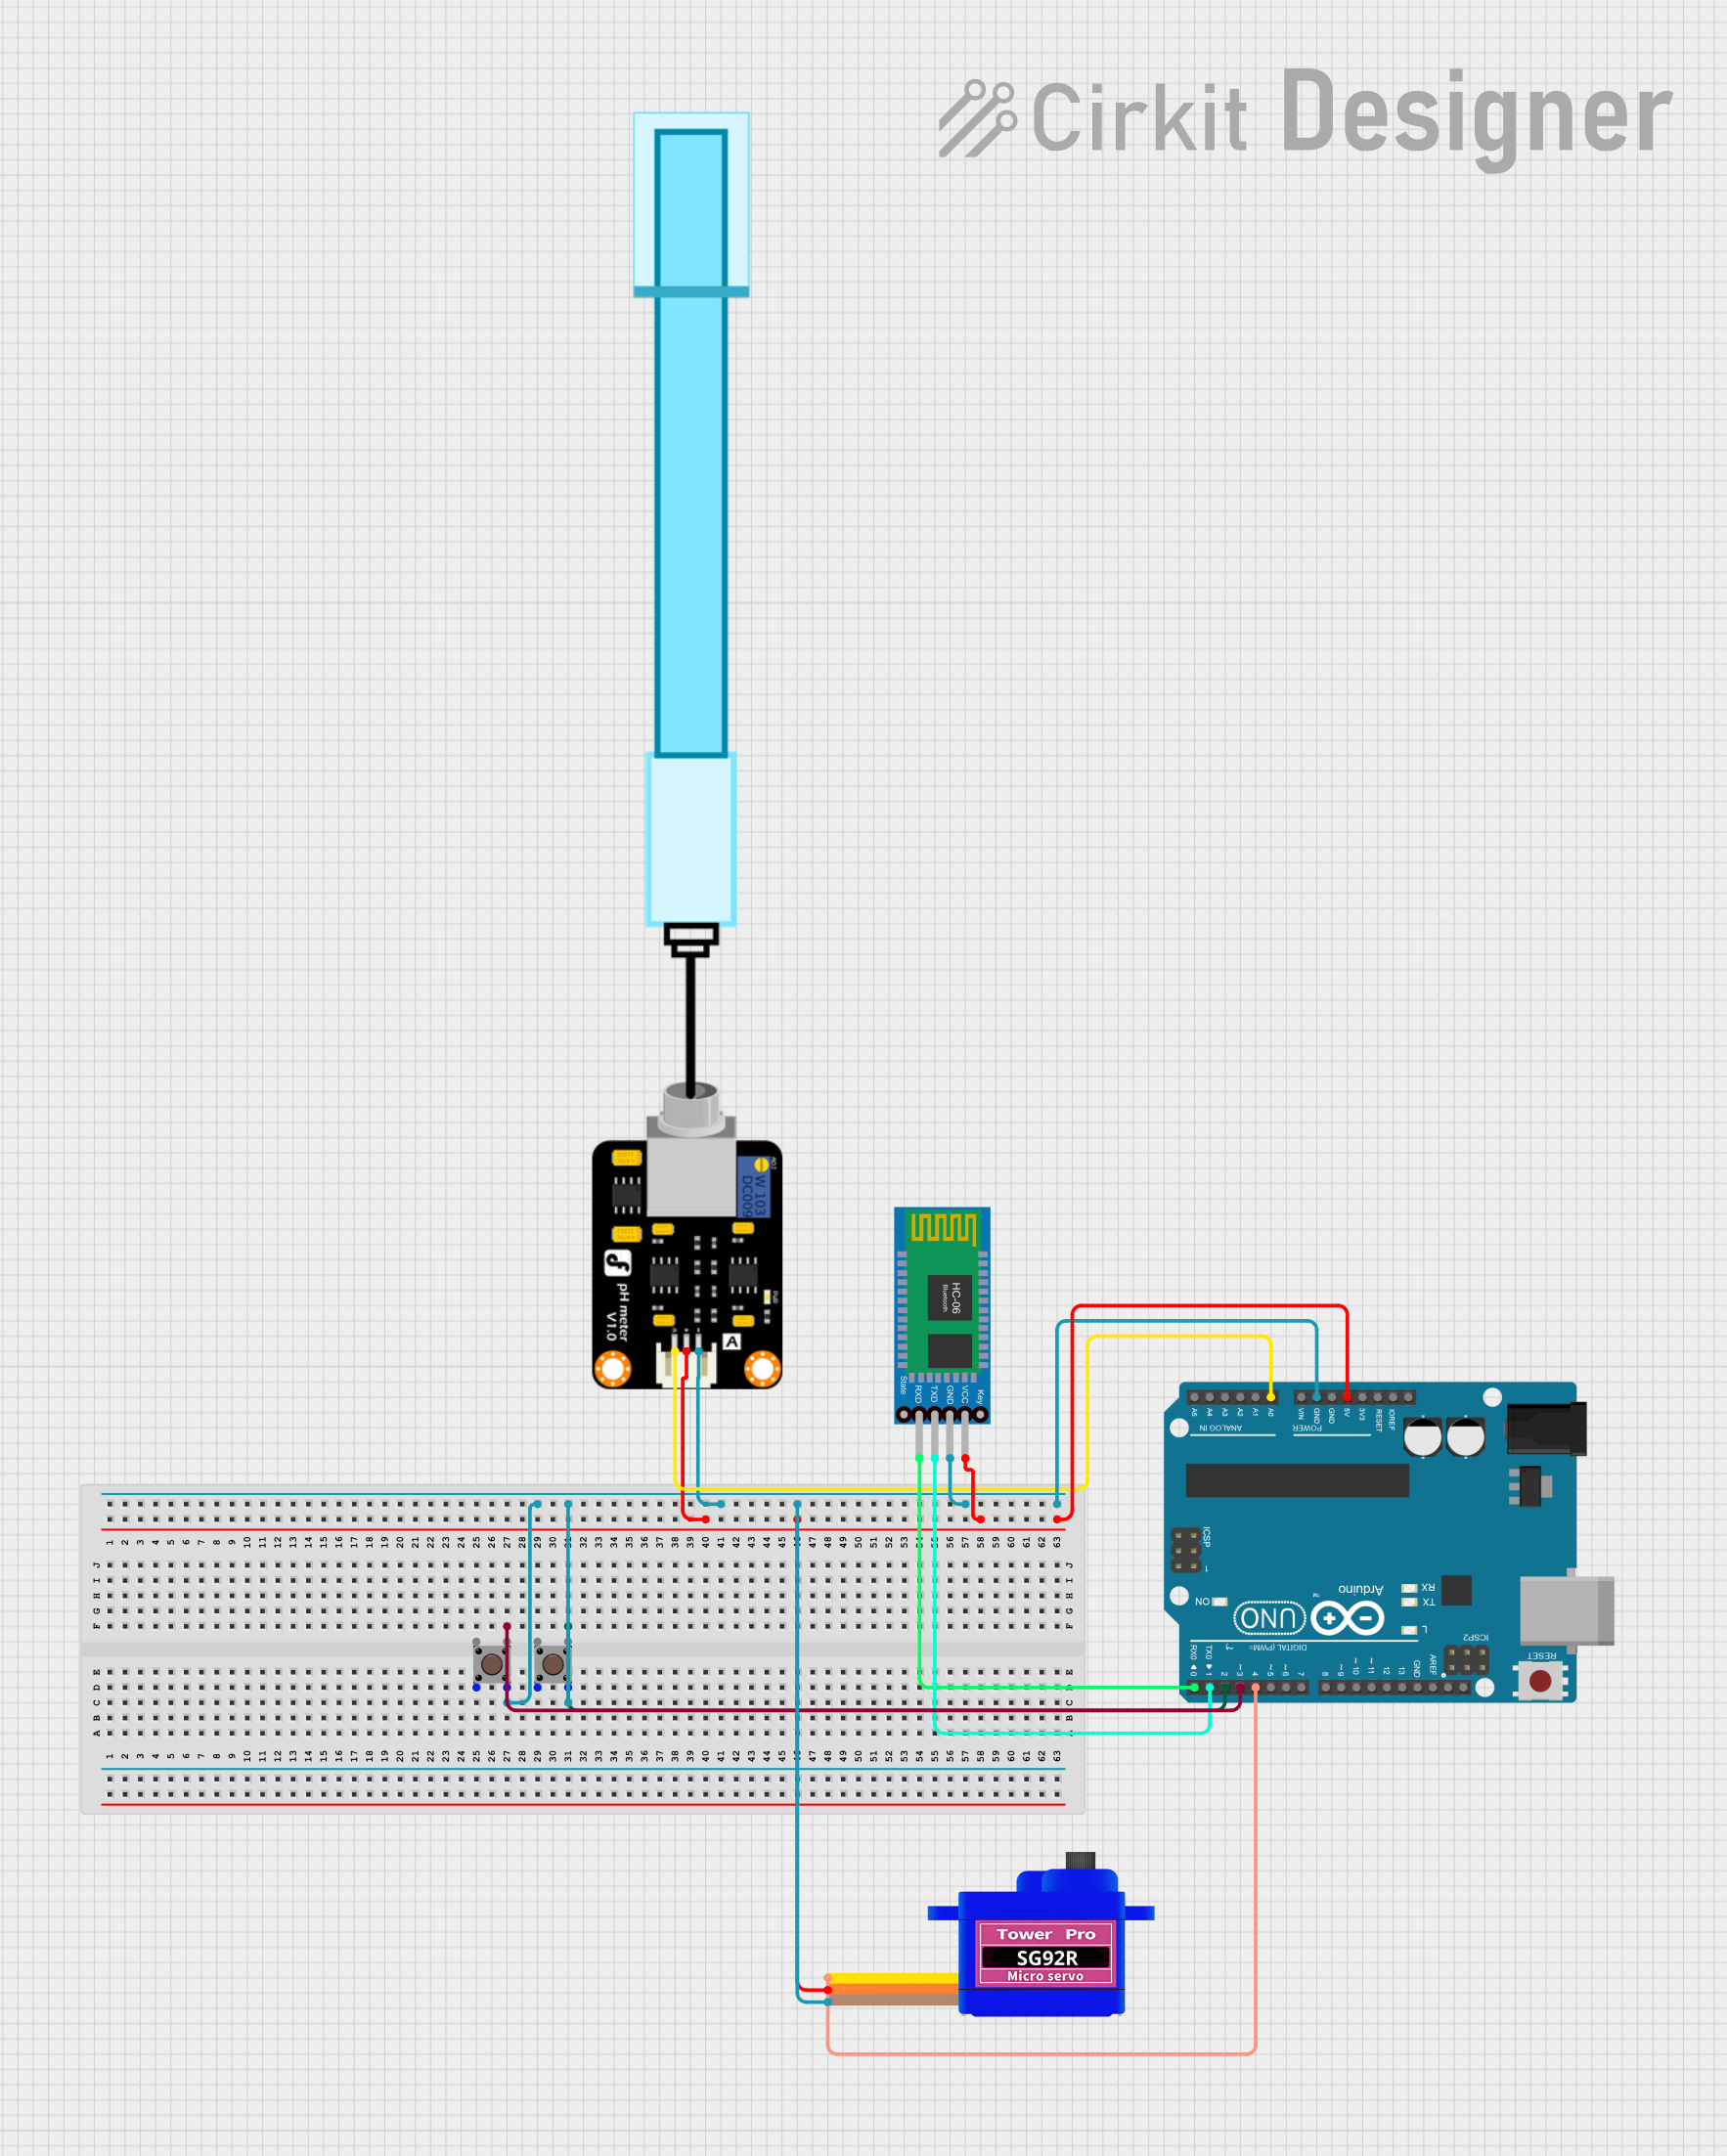
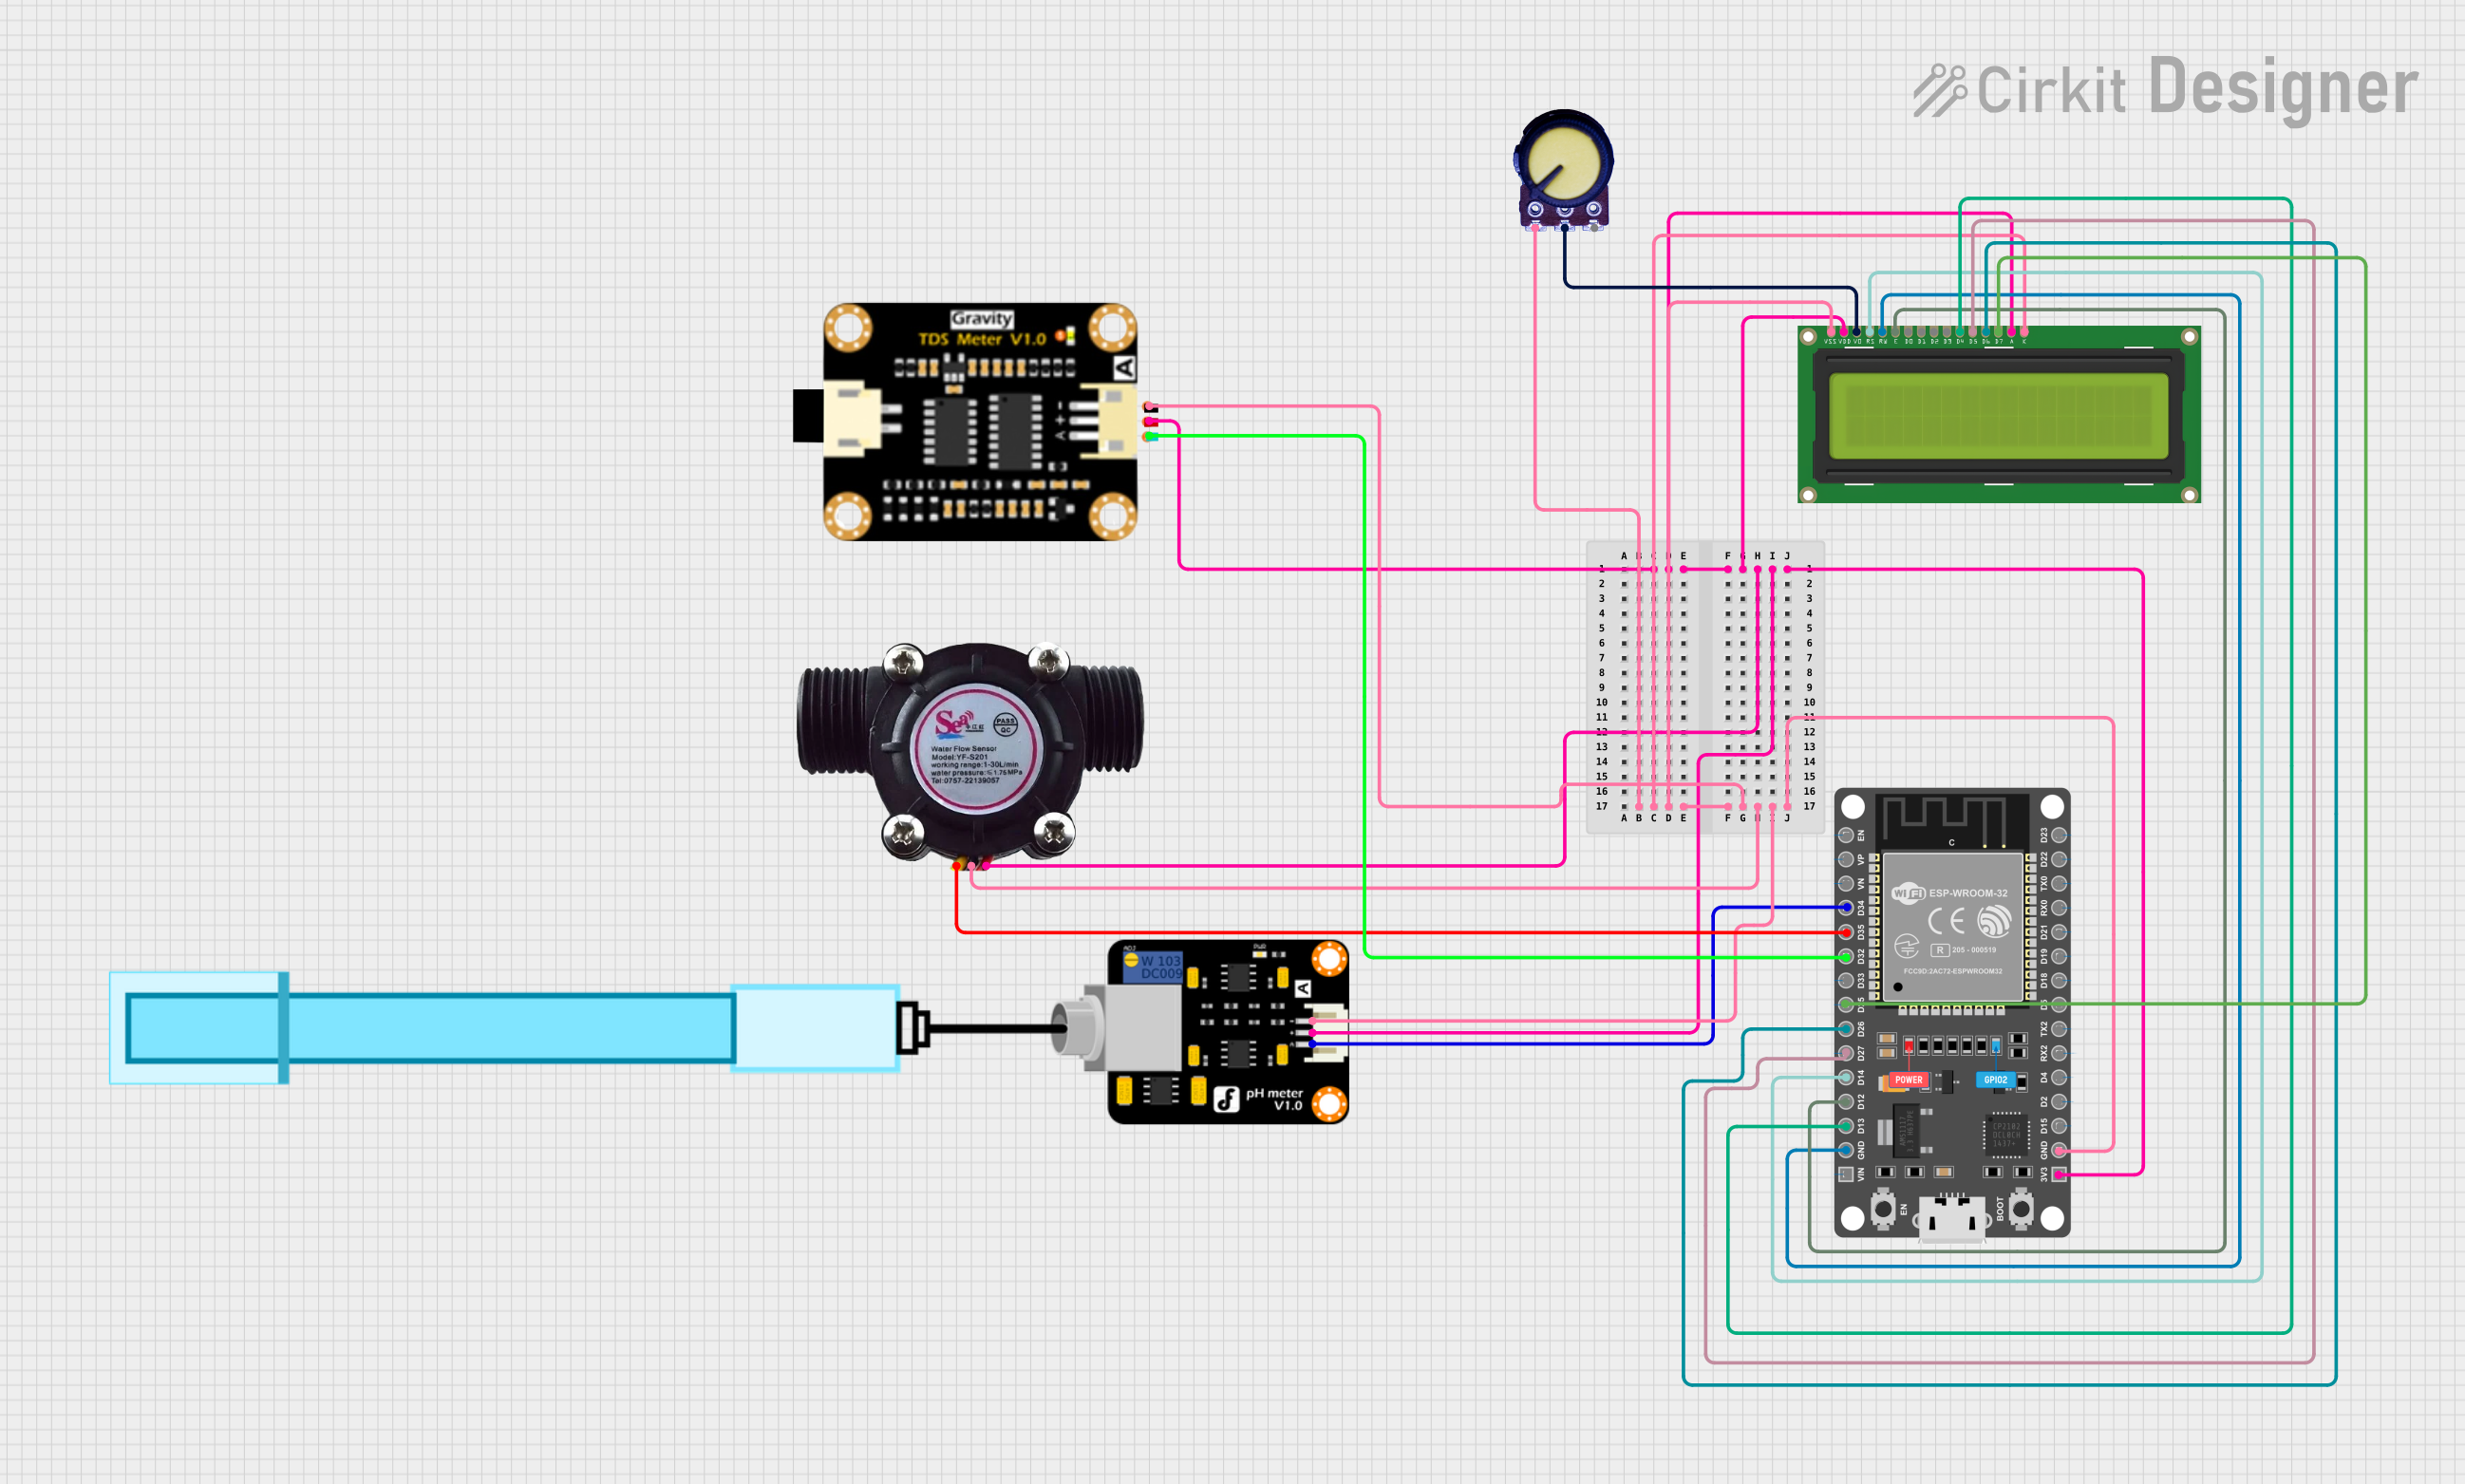
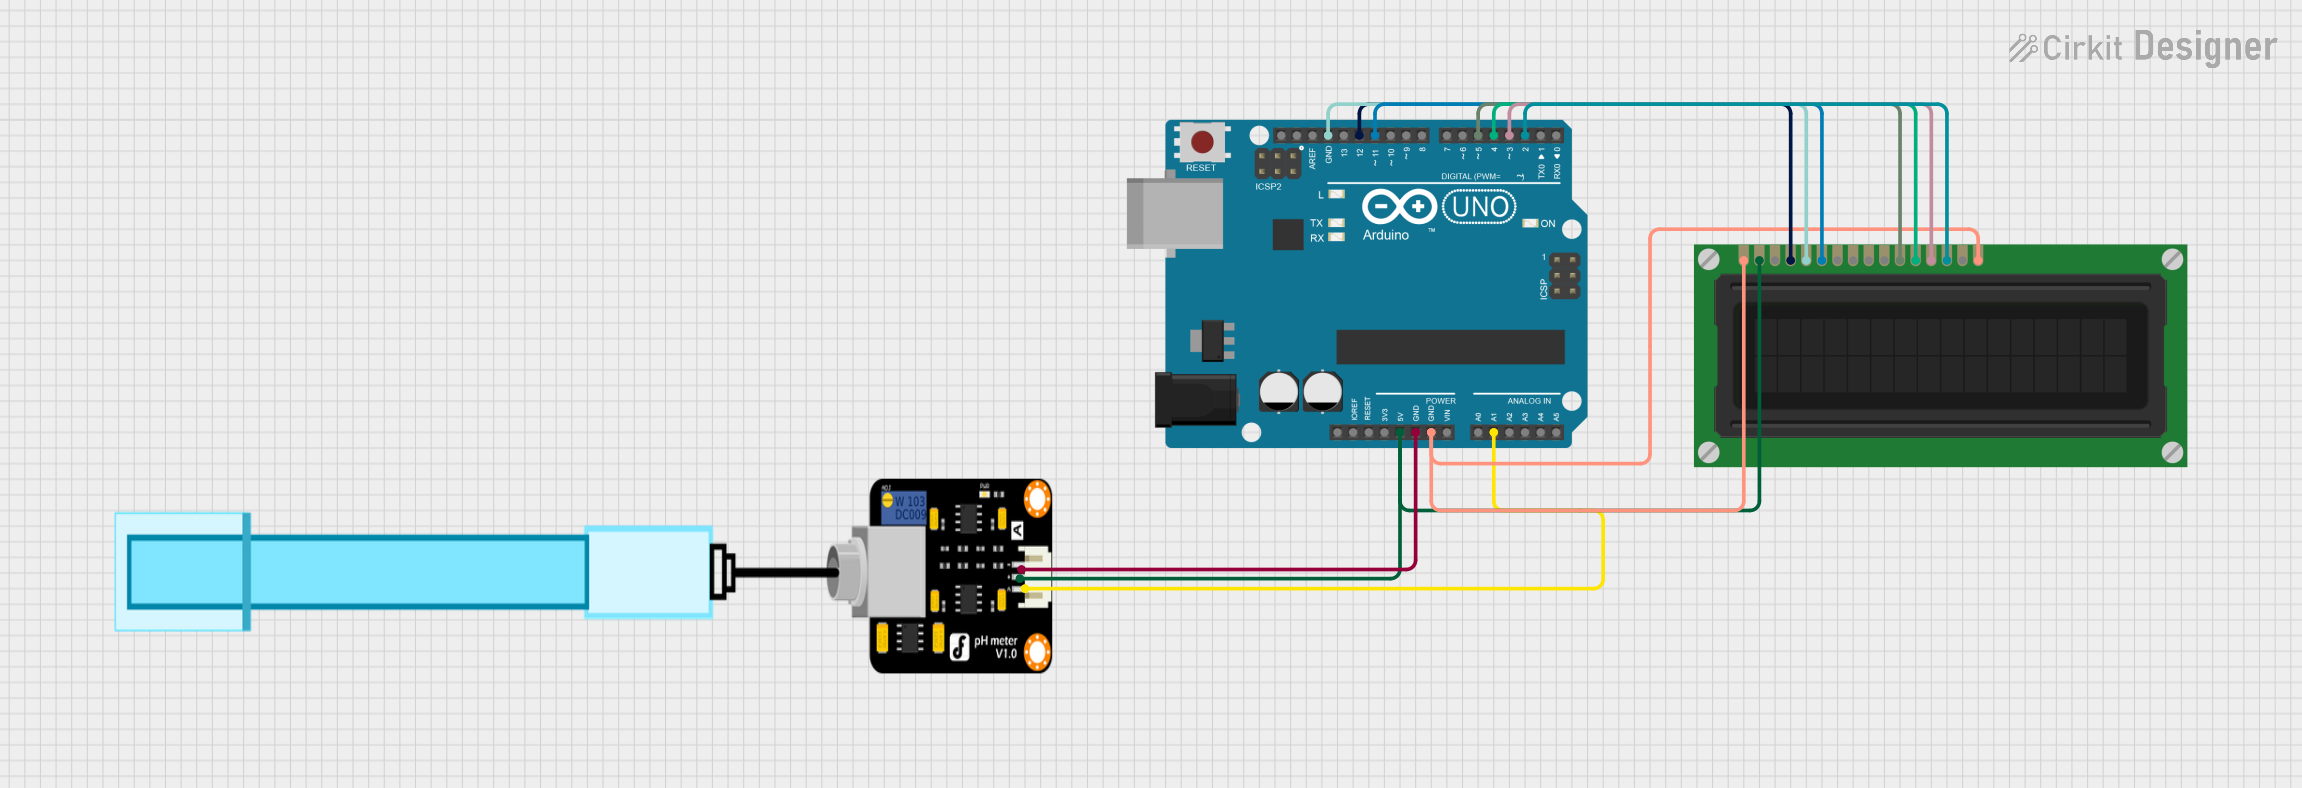
Explore Projects Built with PH Meter
Technical Specifications
Key Technical Details
- Measurement Range: 0 to 14 pH
- Resolution: 0.01 pH
- Accuracy: ±0.1 pH
- Operating Temperature: 0°C to 60°C
- Calibration: Manual or automatic, typically with buffer solutions at pH 4.00, 7.00, and 10.01
Pin Configuration and Descriptions
| Pin Number | Description | Notes |
|---|---|---|
| 1 | V+ (Power Supply) | 3.3V to 5V DC |
| 2 | GND (Ground) | Connect to system ground |
| 3 | Analog Output (AO) | pH value output (0-5V) |
| 4 | Temperature Sensor | Optional, for temperature compensation |
| 5 | Offset Adjustment | Potentiometer for calibration |
Usage Instructions
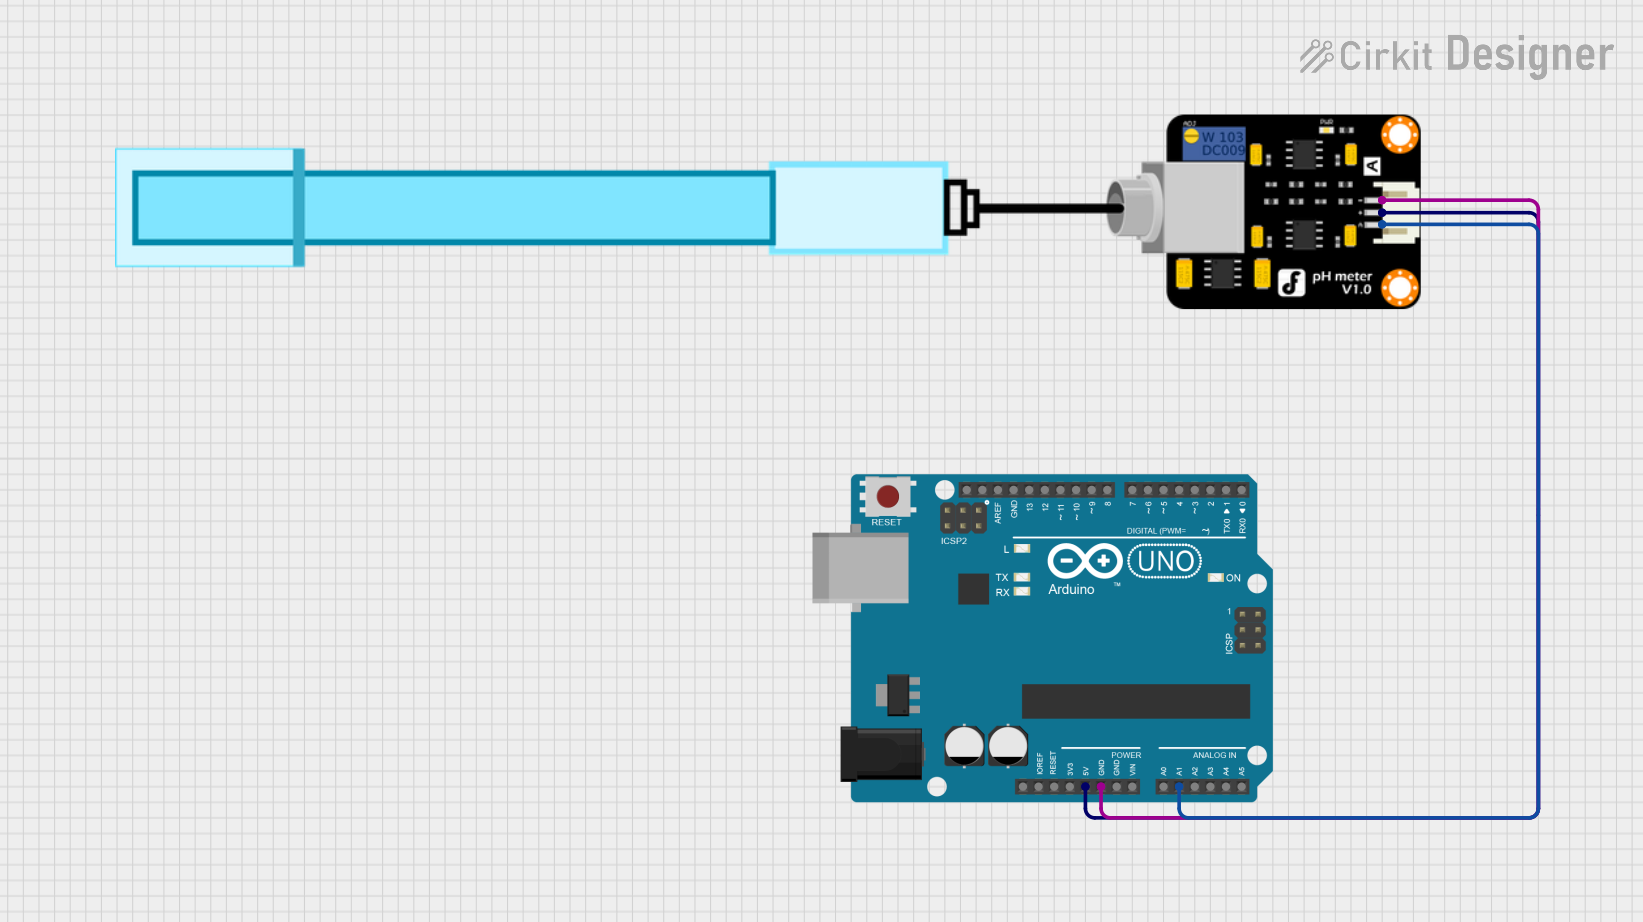
Connecting to a Circuit
- Connect the V+ pin to a 3.3V or 5V power supply.
- Connect the GND pin to the ground of the power supply.
- Connect the Analog Output (AO) to an analog input on a microcontroller, such as an Arduino UNO.
- If available, connect the temperature sensor to an appropriate input for temperature compensation.
Calibration
Before using the pH meter for the first time or after an extended period, calibrate it using standard buffer solutions. Follow the manufacturer's instructions for calibration procedures.
Best Practices
- Always rinse the probe with distilled water before and after use to prevent contamination.
- Store the probe in a suitable storage solution to prolong its lifespan.
- Avoid touching the glass electrode as it is fragile and sensitive.
Example Code for Arduino UNO
// This example demonstrates basic usage of a pH meter with an Arduino UNO.

const int pH_pin = A0; // Connect the pH meter AO pin to Arduino A0 pin

void setup() {
  Serial.begin(9600); // Start serial communication at 9600 baud rate
}

void loop() {
  int sensorValue = analogRead(pH_pin); // Read the analog value from sensor
  float voltage = sensorValue * (5.0 / 1023.0); // Convert to voltage
  float pH = (voltage * 3.5) + 0.5; // Convert voltage to pH value (example equation)

  Serial.print("Sensor Value: ");
  Serial.print(sensorValue);
  Serial.print(", Voltage: ");
  Serial.print(voltage);
  Serial.print(", pH: ");
  Serial.println(pH);

  delay(1000); // Wait for 1 second before reading again
}
Troubleshooting and FAQs
Common Issues
- Inaccurate Readings: Ensure the pH meter is calibrated correctly. Replace the probe if it is damaged or has been used extensively.
- Drifting Readings: Check for loose connections and ensure the probe is clean. Drifting can also occur if the probe is not stored properly.
- No Readings: Verify that the power supply is connected correctly and the pins are not damaged.
FAQs
Q: How often should I calibrate my pH meter? A: Calibration frequency depends on usage, but it is generally recommended to calibrate before each critical measurement session or at least once a month.
Q: Can I use the pH meter in high-temperature solutions? A: Most pH meters have an operating temperature range. Exceeding this range can damage the probe and affect accuracy.
Q: What should I do if the pH readings are consistently off? A: First, recalibrate the pH meter. If the issue persists, inspect the probe for any signs of damage or wear.
Remember to follow all safety and handling instructions provided by the manufacturer to ensure accurate measurements and prolong the life of your pH meter.