
How to Use ph sensor with module: Examples, Pinouts, and Specs
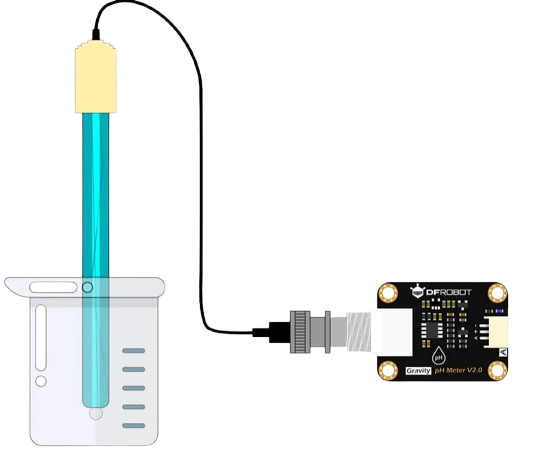
 Design with ph sensor with module in Cirkit Designer
Introduction
The DFRobot pH Sensor with Module (Part ID: DO SENSOR) is a versatile electronic device designed to measure the acidity or alkalinity (pH) of a solution. It consists of a pH probe and an interface module that converts the analog signal from the probe into a digital or analog output, making it easy to integrate with microcontrollers, such as Arduino, Raspberry Pi, or other data acquisition systems.
This sensor is widely used in applications such as:
- Water quality monitoring
- Hydroponics and aquaponics systems
- Laboratory experiments
- Environmental monitoring
- Industrial process control
The module simplifies the process of interfacing with the pH probe, providing accurate and reliable pH readings for a wide range of applications.
Explore Projects Built with ph sensor with module
 Open Project in Cirkit Designer
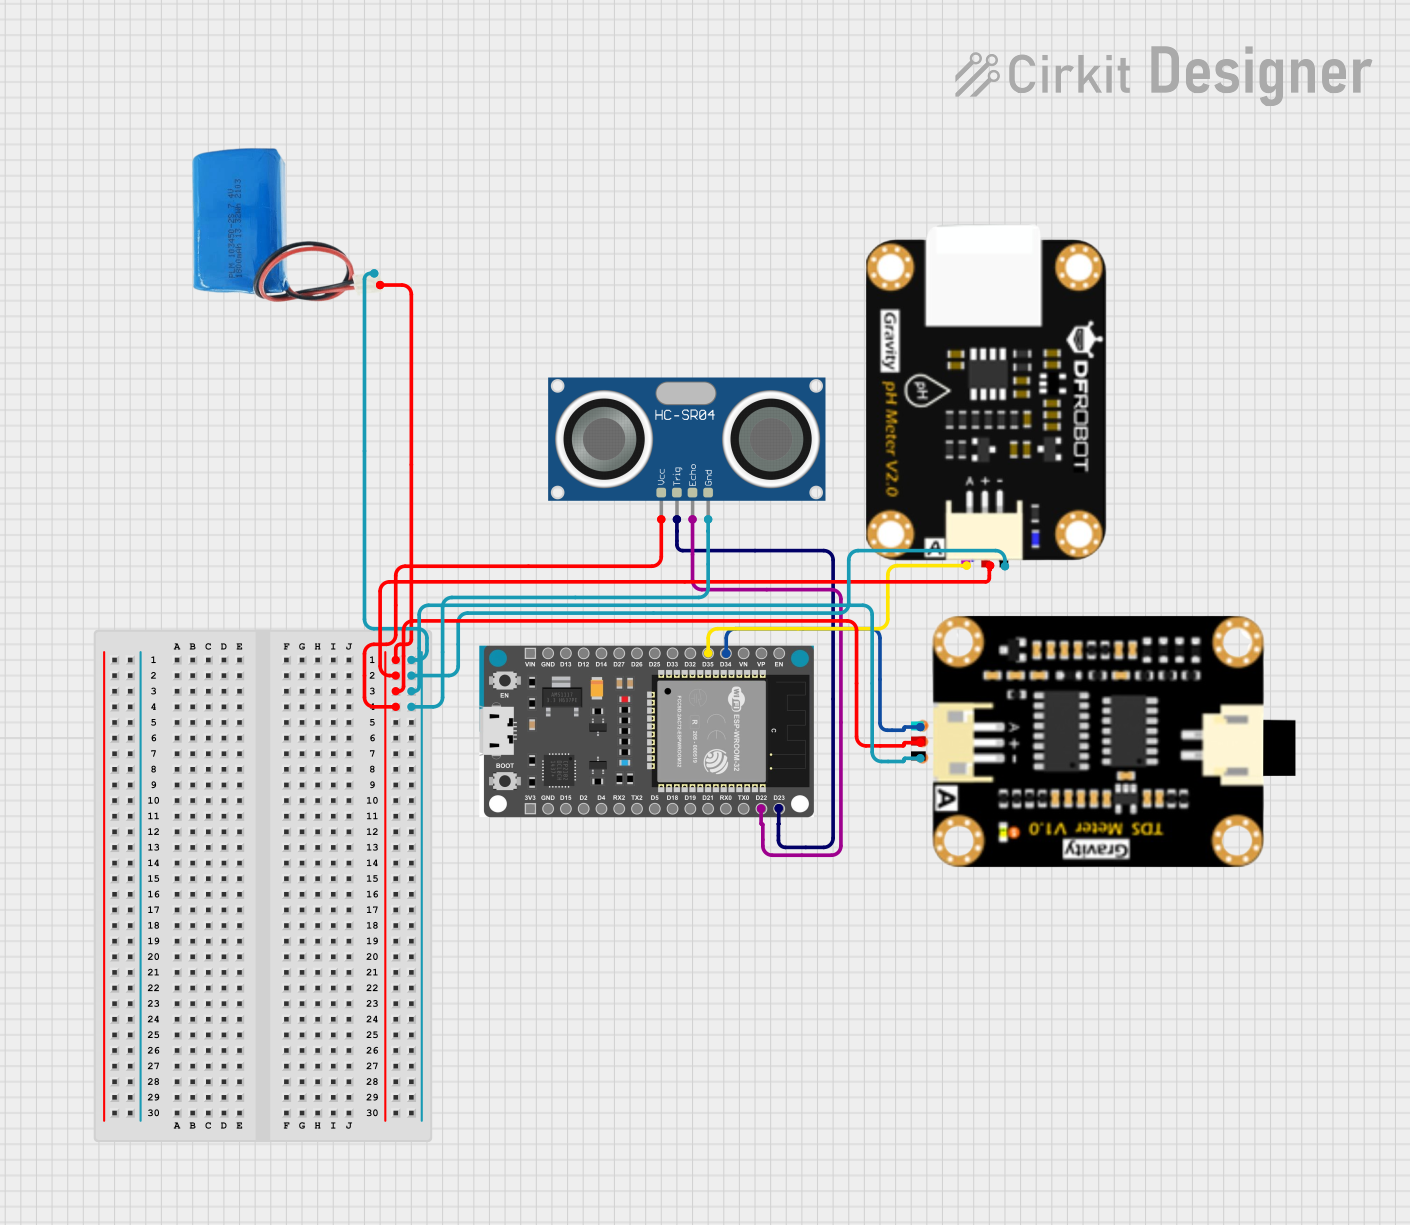 Open Project in Cirkit Designer
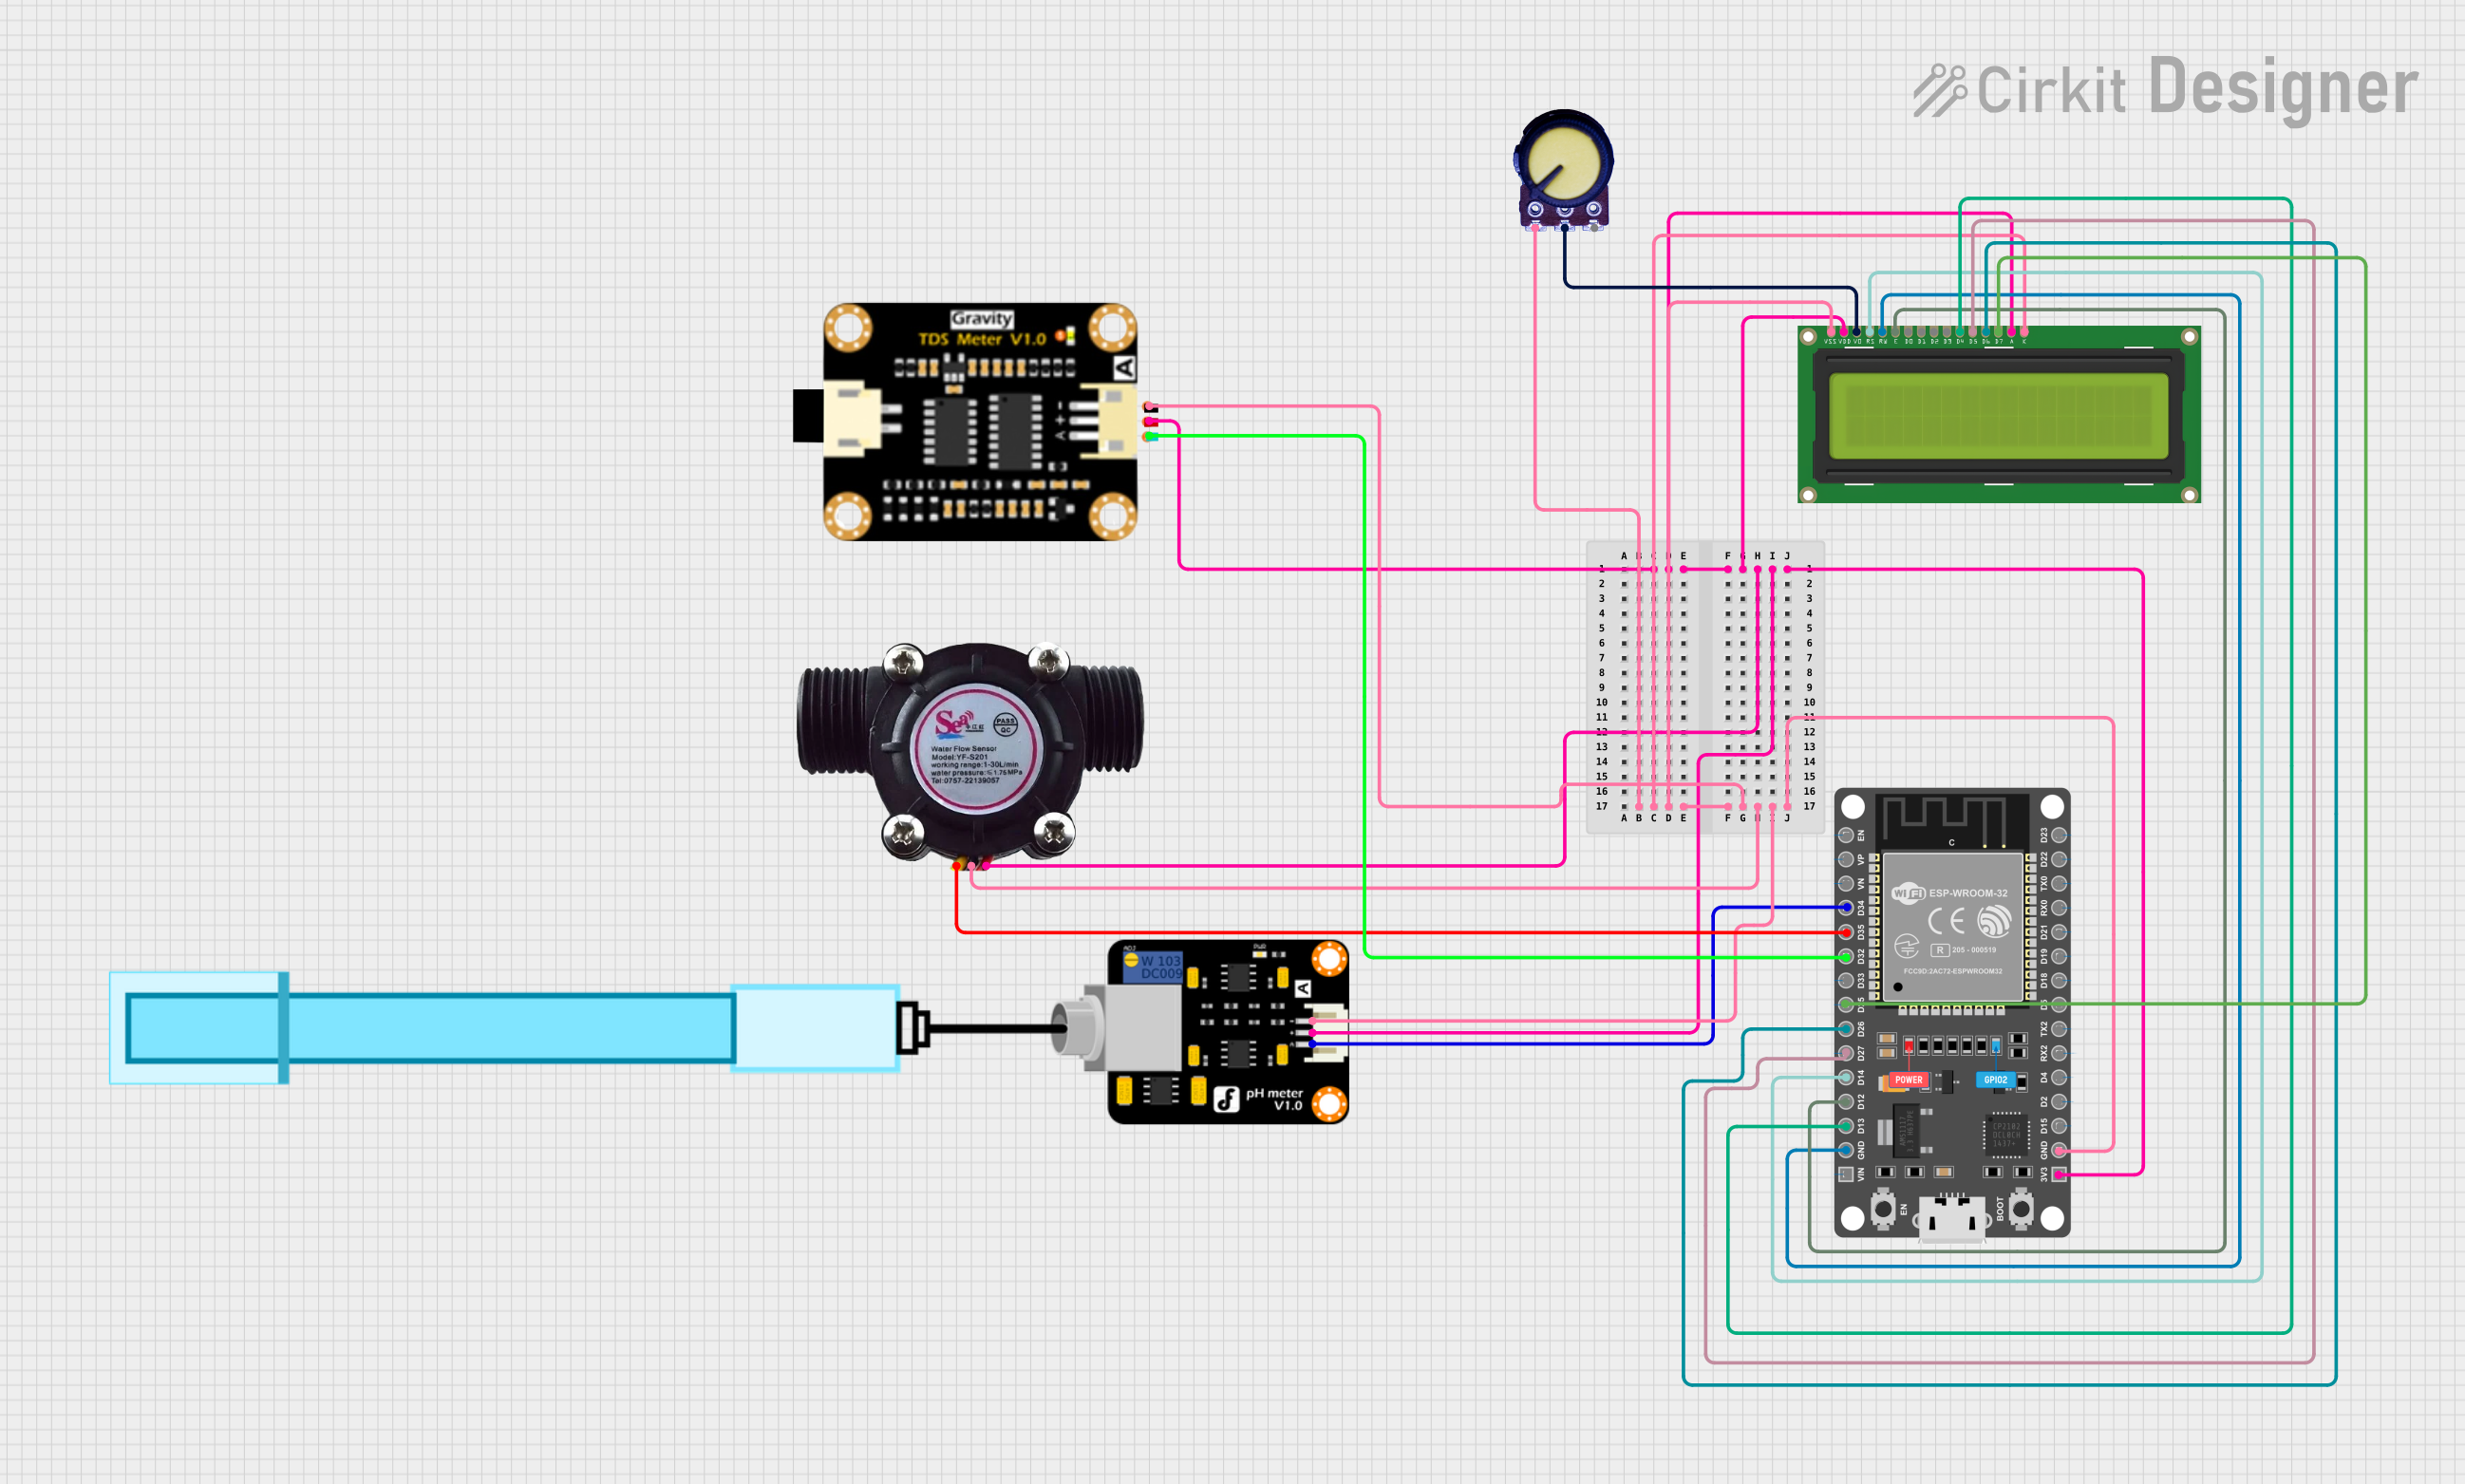 Open Project in Cirkit Designer
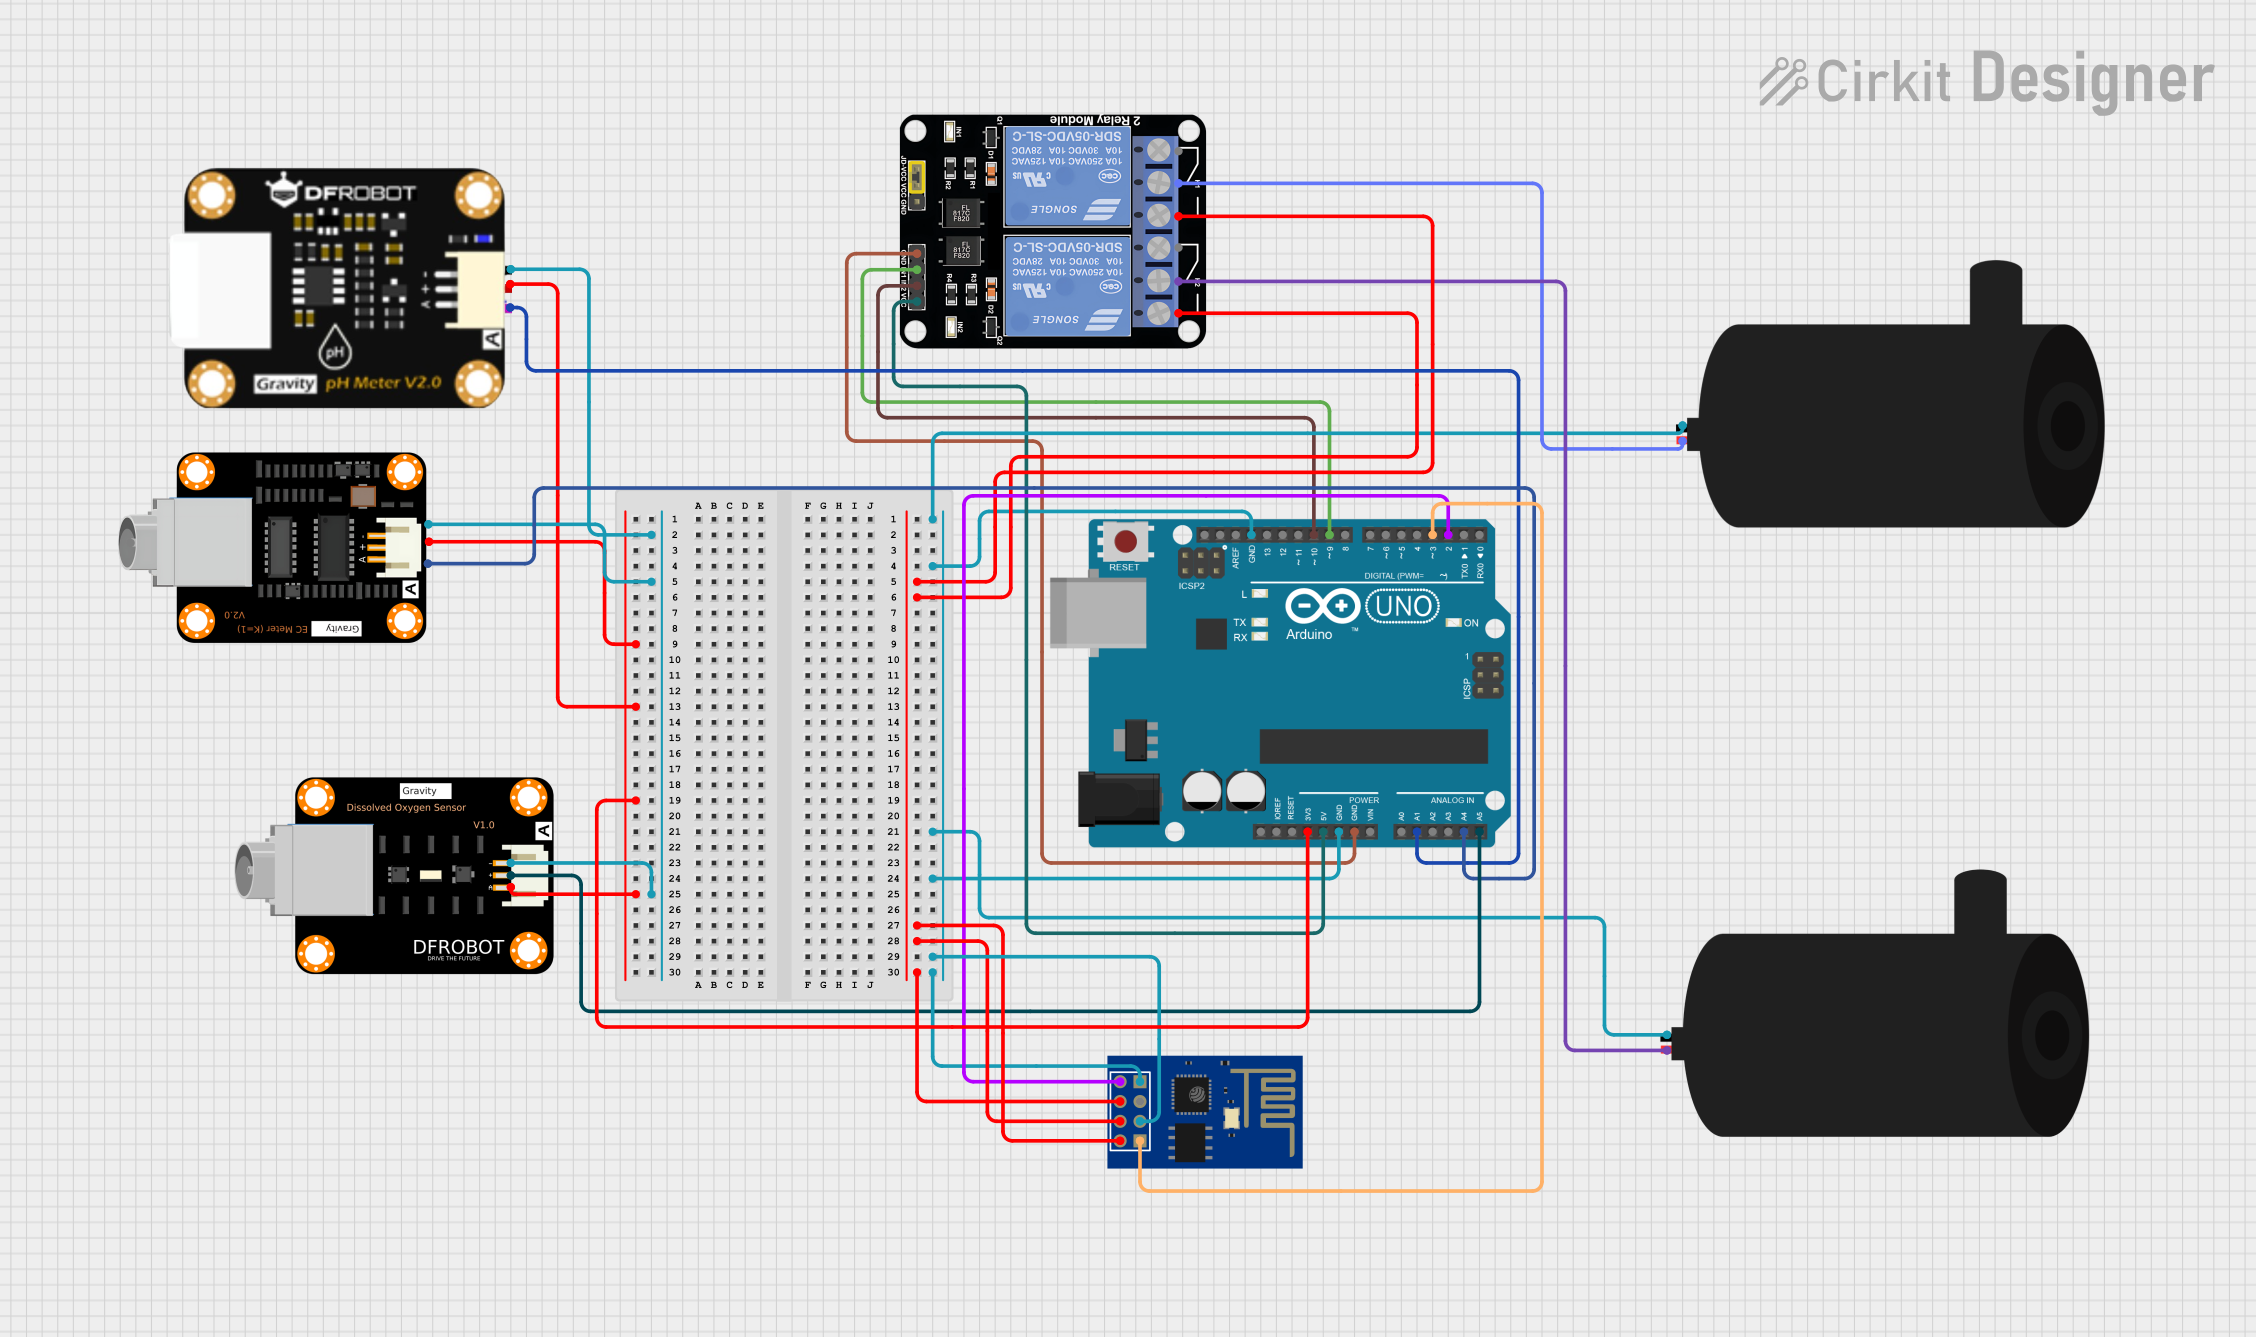 Open Project in Cirkit Designer
Explore Projects Built with ph sensor with module
Open Project in Cirkit DesignerOpen Project in Cirkit DesignerOpen Project in Cirkit DesignerOpen Project in Cirkit DesignerTechnical Specifications
Key Technical Details
| Parameter | Specification |
|---|---|
| Manufacturer | DFRobot |
| Part ID | DO SENSOR |
| Operating Voltage | 5V DC |
| Output Signal | Analog (0-5V) |
| pH Measurement Range | 0 to 14 pH |
| Accuracy | ±0.1 pH (at 25°C) |
| Operating Temperature | 0°C to 60°C |
| Response Time | ≤1 minute |
| Probe Cable Length | 1 meter |
| Calibration | 2-point calibration (pH 4.0 and 7.0) |
Pin Configuration and Descriptions
The pH sensor module has a 3-pin interface for easy connection to a microcontroller or other devices.
| Pin Name | Description |
|---|---|
| VCC | Power supply input (5V DC) |
| GND | Ground |
| AOUT | Analog output signal (0-5V) |
Usage Instructions
How to Use the Component in a Circuit
Wiring the Sensor Module:
- Connect the VCC pin of the module to the 5V pin of your microcontroller.
- Connect the GND pin of the module to the ground (GND) of your microcontroller.
- Connect the AOUT pin of the module to an analog input pin (e.g., A0) on your microcontroller.
Calibrating the Sensor:
- Immerse the pH probe in a standard buffer solution with a known pH value (e.g., pH 4.0 or pH 7.0).
- Adjust the potentiometer on the module until the output matches the expected pH value.
- Repeat the process with a second buffer solution for 2-point calibration.
Reading pH Values:
- The module outputs an analog voltage proportional to the pH value. Use an analog-to-digital converter (ADC) on your microcontroller to read the voltage and calculate the pH.
Important Considerations and Best Practices
- Always rinse the pH probe with distilled water before and after use to prevent contamination.
- Store the pH probe in a storage solution when not in use to maintain its accuracy and lifespan.
- Avoid exposing the probe to extreme temperatures or corrosive chemicals.
- Perform regular calibration to ensure accurate readings.
Example Code for Arduino UNO
Below is an example of how to interface the pH sensor module with an Arduino UNO to read and display pH values.
// Define the analog pin connected to the pH sensor module
const int pH_Pin = A0;

// Calibration values (adjust based on your calibration process)
const float Voltage_Offset = 0.0; // Adjust this based on calibration
const float Slope = 3.5;          // Typical slope value for pH sensors

void setup() {
  Serial.begin(9600); // Initialize serial communication
  Serial.println("pH Sensor with Module - DFRobot");
}

void loop() {
  // Read the analog voltage from the pH sensor
  int sensorValue = analogRead(pH_Pin);
  float voltage = sensorValue * (5.0 / 1023.0); // Convert ADC value to voltage

  // Calculate the pH value using the calibration formula
  float pH = Slope * voltage + Voltage_Offset;

  // Print the pH value to the Serial Monitor
  Serial.print("pH Value: ");
  Serial.println(pH);

  delay(1000); // Wait for 1 second before the next reading
}
Troubleshooting and FAQs
Common Issues and Solutions
Inaccurate pH Readings:
- Cause: The sensor is not calibrated.
- Solution: Perform a 2-point calibration using standard buffer solutions.
No Output Signal:
- Cause: Incorrect wiring or insufficient power supply.
- Solution: Verify the connections and ensure the module is powered with 5V DC.
Slow Response Time:
- Cause: The probe is dirty or damaged.
- Solution: Clean the probe with distilled water and check for physical damage.
Fluctuating Readings:
- Cause: Electrical noise or unstable power supply.
- Solution: Use a decoupling capacitor near the module and ensure a stable power source.
FAQs
Q1: Can the pH sensor be used in seawater?
A1: Yes, the sensor can be used in seawater, but frequent calibration is recommended due to the high salinity.
Q2: How often should I calibrate the sensor?
A2: Calibration should be performed before each use or at least once a week for consistent accuracy.
Q3: Can I extend the probe cable length?
A3: Extending the cable may introduce noise. Use shielded cables and keep the extension as short as possible.
Q4: What is the lifespan of the pH probe?
A4: The typical lifespan is 1-2 years, depending on usage and maintenance.
This documentation provides all the necessary details to effectively use the DFRobot pH Sensor with Module (DO SENSOR) in your projects.