How to Use GY-30 BH1750FVI Digital Light Intensity Illumination Sensor: Examples, Pinouts, and Specs

Introduction
The GY-30 BH1750FVI is a digital light intensity sensor designed to measure ambient light in lux. It provides precise and reliable readings, making it ideal for applications such as automatic lighting control, environmental monitoring, and smart home systems. The sensor communicates via the I²C interface, ensuring easy integration with microcontrollers and development boards like the Arduino UNO.
Explore Projects Built with GY-30 BH1750FVI Digital Light Intensity Illumination Sensor
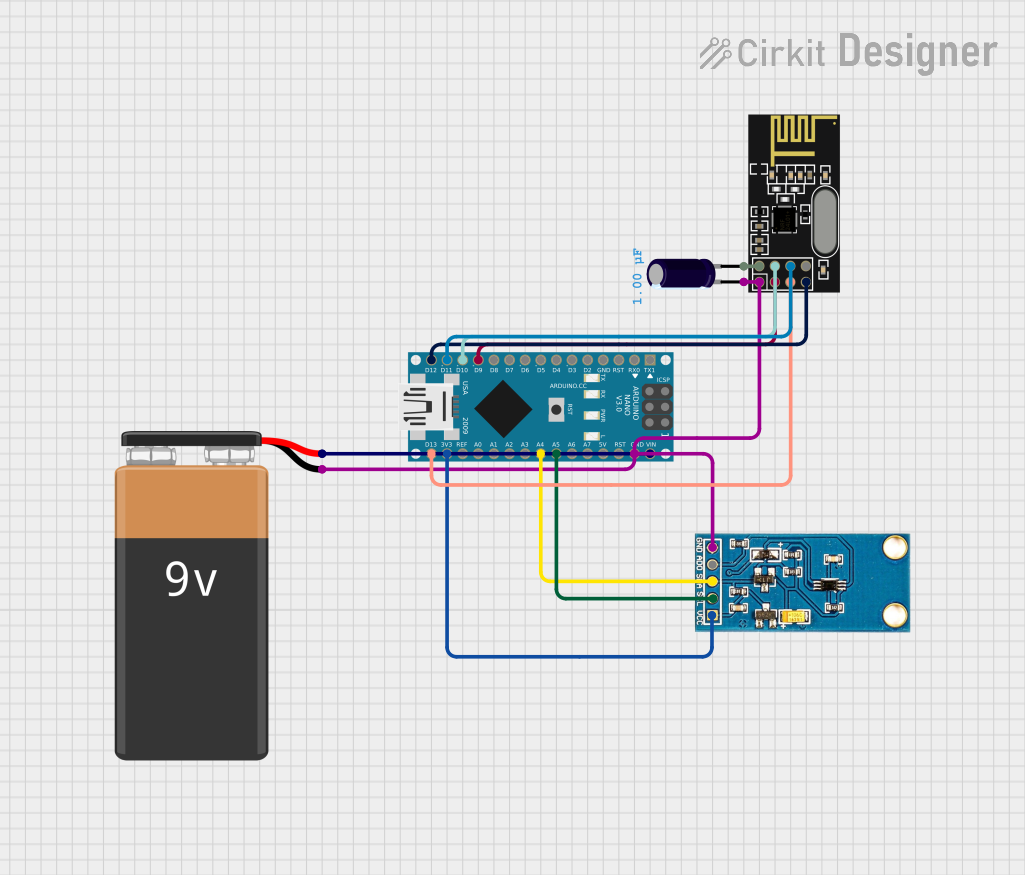


Explore Projects Built with GY-30 BH1750FVI Digital Light Intensity Illumination Sensor
Common Applications
- Automatic brightness adjustment in displays
- Smart lighting systems
- Environmental light monitoring
- Agricultural light intensity measurement
- Industrial automation requiring light sensing
Technical Specifications
The GY-30 BH1750FVI sensor is compact and efficient, with the following key specifications:
| Parameter | Value |
|---|---|
| Operating Voltage | 3.0V to 5.0V |
| Operating Current | 0.12 mA (typical) |
| Measurement Range | 1 lux to 65535 lux |
| Communication Protocol | I²C |
| I²C Address | 0x23 (default) or 0x5C (optional) |
| Resolution | 1 lux |
| Operating Temperature | -40°C to +85°C |
| Dimensions | 13.9mm x 18.5mm |
Pin Configuration
The GY-30 module has 4 pins, as described in the table below:
| Pin | Name | Description |
|---|---|---|
| 1 | VCC | Power supply pin (3.0V to 5.0V) |
| 2 | GND | Ground pin |
| 3 | SDA | Serial Data Line for I²C communication |
| 4 | SCL | Serial Clock Line for I²C communication |
Usage Instructions
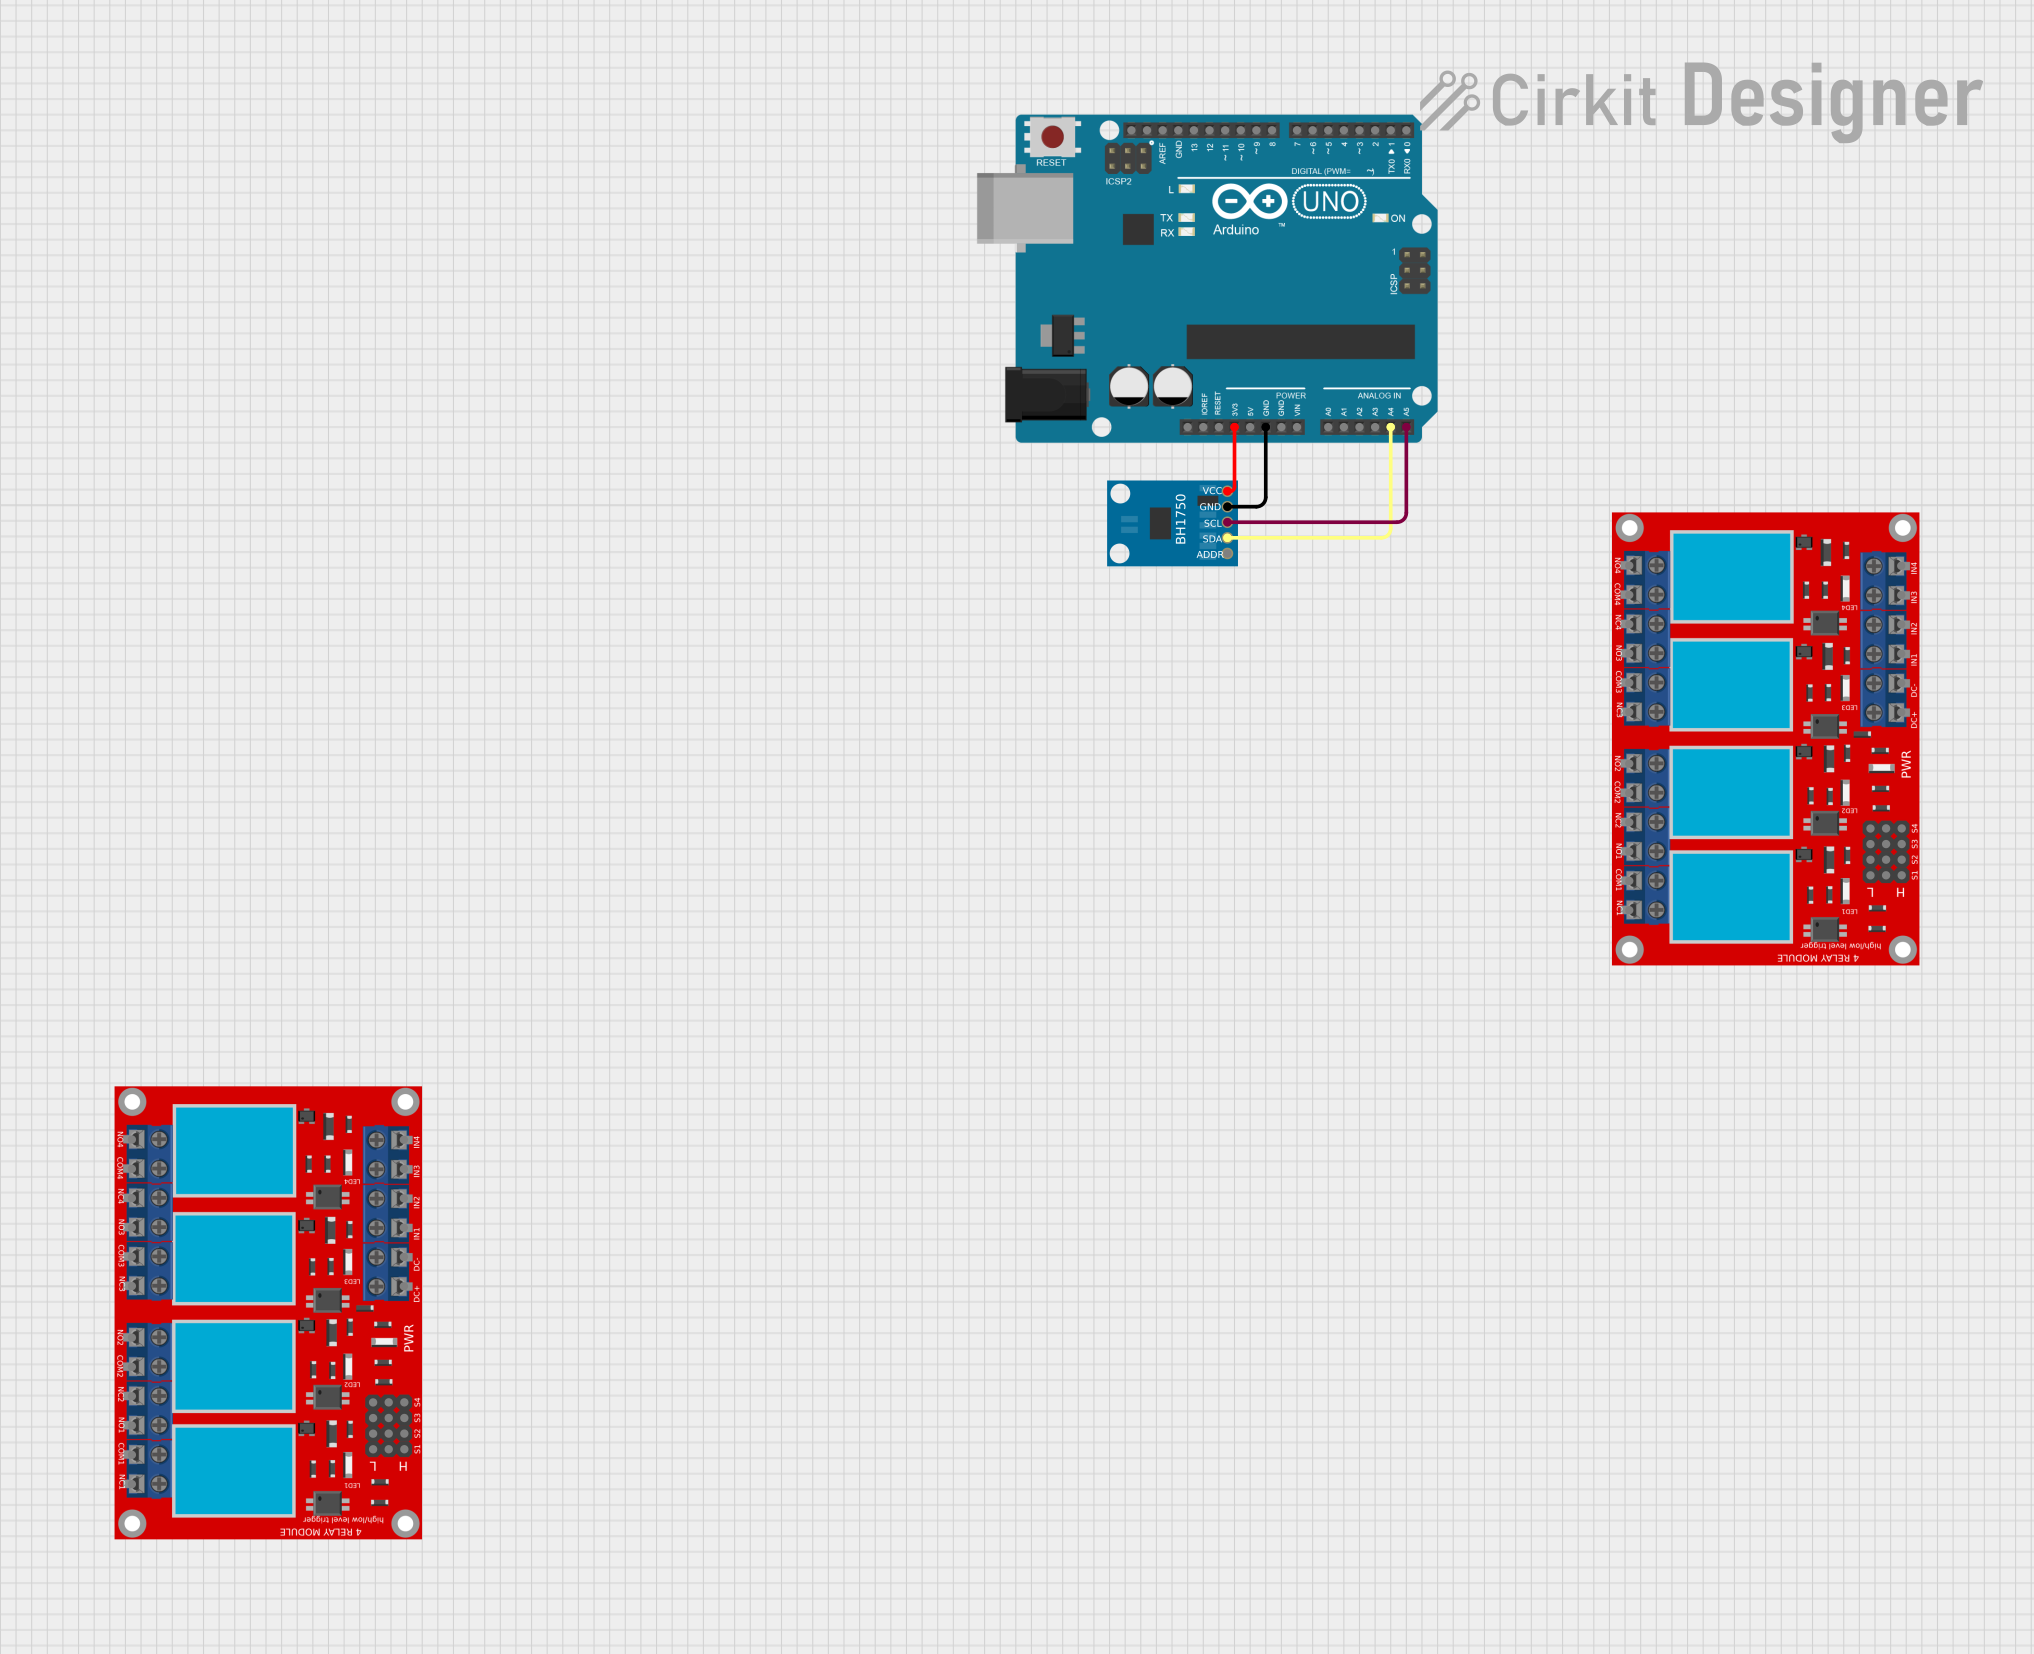
Connecting the GY-30 to an Arduino UNO
To use the GY-30 BH1750FVI sensor with an Arduino UNO, follow these steps:
Wiring: Connect the sensor to the Arduino as shown below:
- VCC → 5V on Arduino
- GND → GND on Arduino
- SDA → A4 on Arduino (I²C data line)
- SCL → A5 on Arduino (I²C clock line)
Install Required Library:
- Open the Arduino IDE.
- Go to
Sketch→Include Library→Manage Libraries. - Search for "BH1750" and install the library by Christopher Laws.
Upload Example Code: Use the following code to read light intensity values from the sensor:
#include <Wire.h>
#include <BH1750.h>

// Create an instance of the BH1750 sensor
BH1750 lightMeter;

void setup() {
  Serial.begin(9600); // Initialize serial communication
  Wire.begin();       // Initialize I²C communication

  // Initialize the BH1750 sensor
  if (lightMeter.begin()) {
    Serial.println("BH1750 initialized successfully");
  } else {
    Serial.println("Error initializing BH1750. Check wiring!");
    while (1); // Halt execution if initialization fails
  }
}

void loop() {
  // Read light intensity in lux
  float lux = lightMeter.readLightLevel();

  // Print the light intensity to the Serial Monitor
  Serial.print("Light Intensity: ");
  Serial.print(lux);
  Serial.println(" lux");

  delay(1000); // Wait for 1 second before the next reading
}
Important Considerations
- Power Supply: Ensure the sensor is powered within its operating voltage range (3.0V to 5.0V).
- I²C Address: The default I²C address is 0x23. If the address does not work, try 0x5C.
- Ambient Light: Avoid covering the sensor or exposing it to direct sunlight for accurate readings.
- Pull-Up Resistors: The module includes built-in pull-up resistors for the I²C lines. Additional resistors are not required.
Troubleshooting and FAQs
Common Issues and Solutions
| Issue | Solution |
|---|---|
| No readings or incorrect values | Check wiring connections and ensure the correct I²C address is used. |
| Sensor not initializing | Verify the power supply voltage and ensure the SDA/SCL lines are connected. |
| Unstable or fluctuating readings | Ensure the sensor is not exposed to flickering light sources. |
| Arduino IDE error: "No such file or directory" | Install the BH1750 library from the Library Manager. |
FAQs
Can the GY-30 measure light intensity in complete darkness?
- No, the sensor cannot measure light intensity below 1 lux.
What is the maximum distance between the sensor and the microcontroller?
- The I²C protocol supports distances up to approximately 1 meter. For longer distances, consider using I²C extenders.
Can the sensor be used outdoors?
- Yes, but it should be protected from moisture and extreme environmental conditions.
How do I change the I²C address?
- The I²C address can be changed by modifying the ADDR pin configuration. Refer to the sensor's datasheet for details.
By following this documentation, you can effectively integrate the GY-30 BH1750FVI sensor into your projects and achieve accurate light intensity measurements.