How to Use Mtiny Programmer: Examples, Pinouts, and Specs
Introduction
The Mtiny Programmer is a specialized device designed by Makerlabvn for programming MTiny microcontrollers. These microcontrollers are commonly used in a variety of applications, including hobbyist projects, educational purposes, and professional embedded systems. The Mtiny Programmer serves as a bridge between your computer and the MTiny microcontroller, allowing you to upload code and communicate with the microcontroller for development and debugging purposes.
Explore Projects Built with Mtiny Programmer


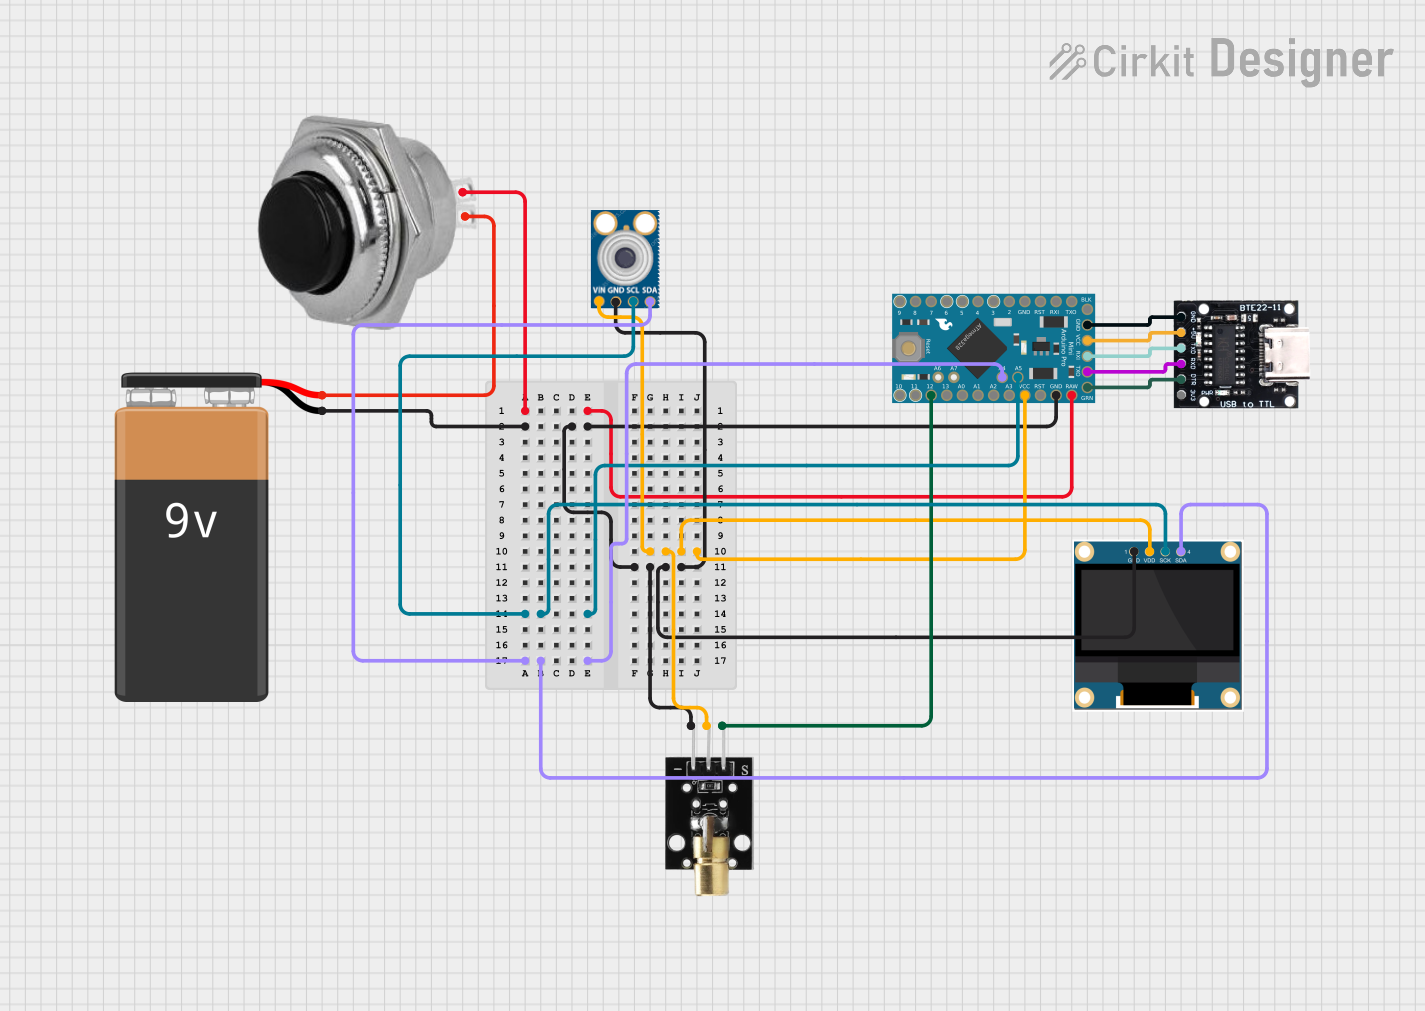
Explore Projects Built with Mtiny Programmer
Common Applications and Use Cases
- Robotics
- DIY electronics projects
- Educational tools for learning programming and electronics
- Prototyping for embedded systems
Technical Specifications
Key Technical Details
- Supported Microcontrollers: MTiny series
- Interface: USB 2.0 for connection to PC
- Programming Voltage: 3.3V - 5V
- Dimensions: 50mm x 20mm x 10mm (approximate)
- Operating Temperature: -40°C to +85°C
Pin Configuration and Descriptions
| Pin Number | Description | Notes |
|---|---|---|
| 1 | VCC | Connect to 3.3V or 5V power |
| 2 | GND | Ground |
| 3 | TXD | Transmit Data (to microcontroller) |
| 4 | RXD | Receive Data (from microcontroller) |
| 5 | RST | Reset pin for the microcontroller |
| 6 | DTR | Data Terminal Ready (for auto-reset) |
Usage Instructions
How to Use the Mtiny Programmer in a Circuit
Connecting to the MTiny Microcontroller:
- Ensure that the Mtiny Programmer is properly connected to the MTiny microcontroller via the pin configuration outlined above.
- Connect the VCC and GND pins to the corresponding power and ground pins on the microcontroller.
- Connect the TXD and RXD pins to the RX and TX pins on the microcontroller, respectively.
- The RST pin should be connected to the reset pin on the microcontroller, and the DTR can be used for auto-reset functionality if supported.
Connecting to a Computer:
- Use a USB cable to connect the Mtiny Programmer to your computer.
- Install any necessary drivers or software provided by Makerlabvn to ensure your computer can communicate with the Mtiny Programmer.
Programming the Microcontroller:
- Open your preferred Integrated Development Environment (IDE) or programming software that supports the MTiny microcontroller.
- Write or load the desired code for your microcontroller.
- Select the correct port and microcontroller model in your IDE or programming software.
- Compile and upload the code to the MTiny microcontroller using the Mtiny Programmer.
Important Considerations and Best Practices
- Always ensure that the power supply voltage matches the requirements of the MTiny microcontroller to prevent damage.
- Double-check connections between the Mtiny Programmer and the microcontroller before powering up the system.
- When programming the microcontroller, ensure that no other devices are communicating with it to avoid interference.
- Use proper electrostatic discharge (ESD) precautions when handling the Mtiny Programmer and MTiny microcontroller to prevent damage from static electricity.
Troubleshooting and FAQs
Common Issues Users Might Face
- Device Not Recognized: Ensure that all drivers are installed correctly and that the USB cable is functioning and properly connected.
- Programming Errors: Double-check the wiring between the Mtiny Programmer and the microcontroller, and ensure that the correct device and port are selected in your programming software.
- Power Issues: Verify that the power supply is adequate and that the VCC and GND connections are secure.
Solutions and Tips for Troubleshooting
- If the device is not recognized, try using a different USB port or cable and reinstalling the drivers.
- For programming errors, review the code for any syntax or logical errors and consult the MTiny microcontroller documentation for any specific programming guidelines.
- If you encounter power issues, use a multimeter to check the voltage levels at the VCC and GND pins to ensure they are within the specified range.
FAQs
Q: Where can I find drivers for the Mtiny Programmer? A: Drivers are typically available on the Makerlabvn website or through the documentation that comes with the device.
Q: Can I use the Mtiny Programmer with other microcontrollers? A: The Mtiny Programmer is designed specifically for MTiny microcontrollers. Using it with other microcontrollers is not recommended unless specified by Makerlabvn.
Q: What should I do if I can't upload code to the microcontroller? A: Check all connections, ensure the correct port and microcontroller model are selected, and that the programmer is recognized by your computer. If the issue persists, consult Makerlabvn's support resources.
For further assistance, contact Makerlabvn's customer support or refer to the community forums for additional help.